Category Archives: CTMH

15 years of Close to my Heart goodness!

Scrapbooking Global Blog Hop

It's a Scrapbooking Blog Hop!

Welcome to the Scrapbooking Global Blog Hop!

Scrapbooking Global is a Stampin’ Up! facebook group that loves to share their scrapbook pages and ideas!  As a CTMH Maker that will be transitioning to Stampin’ Up! as of May 1st (due to the closing of Close to my Heart), I joined the group and thought it would be fun to join in on the blog hop!

So, let’s take a look at the sketch that we are going to use today!

My project today uses a few things that were still available as of this morning!  (Things are selling out quickly!)

I started with the Starter Cut Above Layout Kit 2.  I decided to add the Let’s Go Anywhere sticker sheet.  When We decide which photos to use, we will use the Starter Alphabet Stamp Set.  (My thoughts are for my Daughter’s trip with EF Tours to London, Pompeii, and a few other stops along the way.  I will let her choose a few photos and then we can add the title with which location it was!)

This kit was so easy to put together, and for only $3.13!  WHAT?  That is a steal!

I decided to change the color of the tabs, by using an alcohol marker.  The most fun part was adding the extra stickers to the layout, totally making it one of a kind!
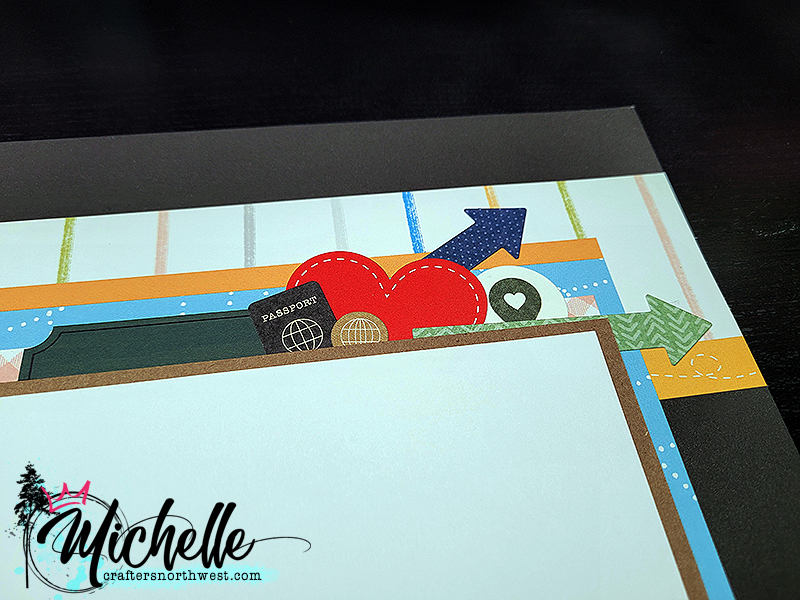
Adding just a bit of foam tape helps to give this cluster so much dimension!

In the video I give a few tips on how to make these stickers work with foam tape, and some tips about that bow you can see off to the right of the photo below!

I even did a quick video to show you the process!  If you would like, take a peek at that, and if you like, I would love to have you as a blog and YouTube subscriber!

I hope you have liked my project today!  Like others, I love to see comments about the projects I share!  Please take a moment to leave a comment before you hop on to the next person!

The next button below will send you to the next blog (Danielle), but here is the whole list of hoppers!  Each blog should have a next button on it, to make it super easy to get through the hop!

Sharon Dalton – CreativeMe68 (Australia)
Jo Blackman (UK)
Michelle Johns – Crafters Northwest (US) <– you are Here!
Danielle Wagner – DanYellScraps (US)
Tania Brown
Rochelle Laird-Smith – Stamping Flair (Australia)
Cheryl Taylor – Stampin n crafting with Cheryldiana – UK
Sherry Roth – Stamped Treasures – Canada
Caz Hurst – Happy Crafter – New Zealand
Julia Quinn – Handmade by Julia Quinn (Australia)

We hope that you enjoy the hop and leave a little love on each of your stops along the way!

Products used today:

(Due to CTMH closing, many of these items are sold out.  However, what is available at the time of this post is linked above)
Three on Thursday

Its a new year and with that comes a new Three on Thursday! This week’s class has some adorable cards, and many of the stamps you may already have in your stash! Each week I do a YouTube Live video, and I make three cards for you. This is what we did this week! Let’s take a look, shall we?

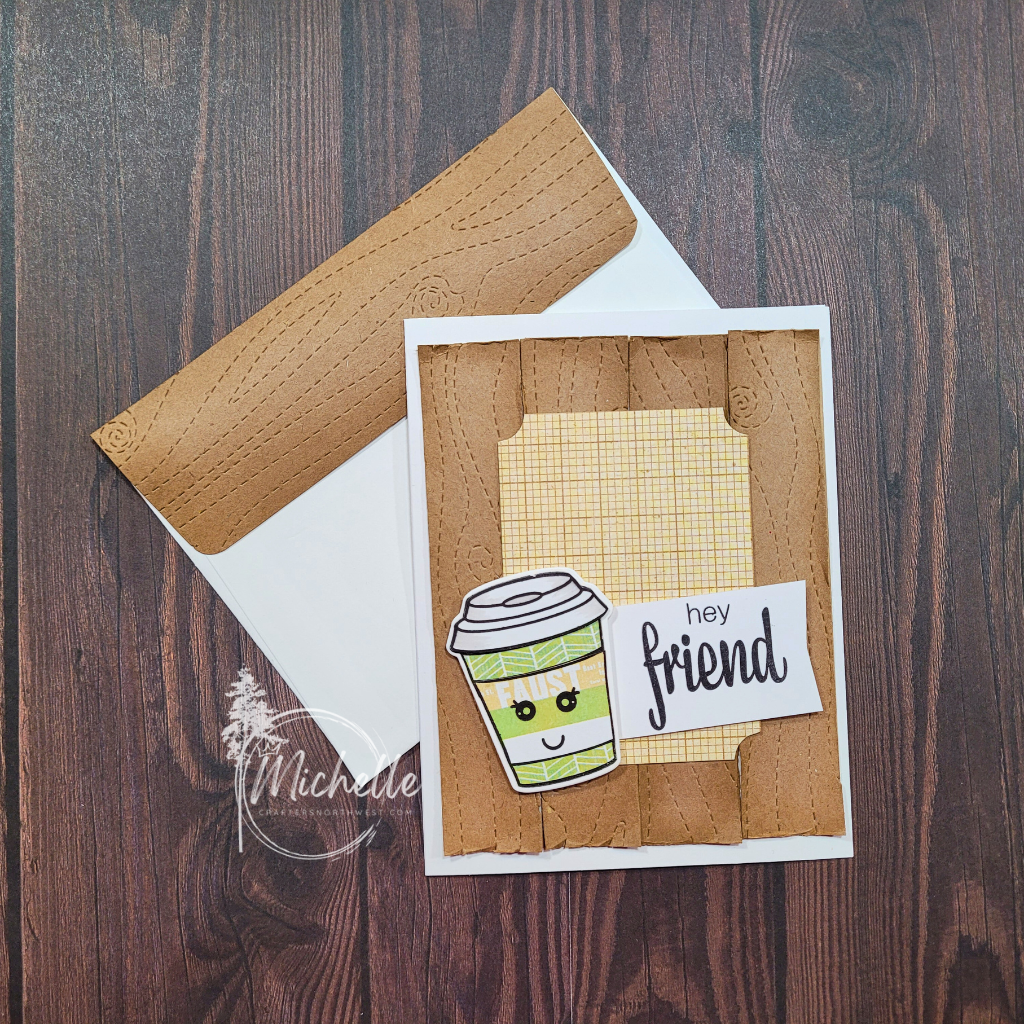
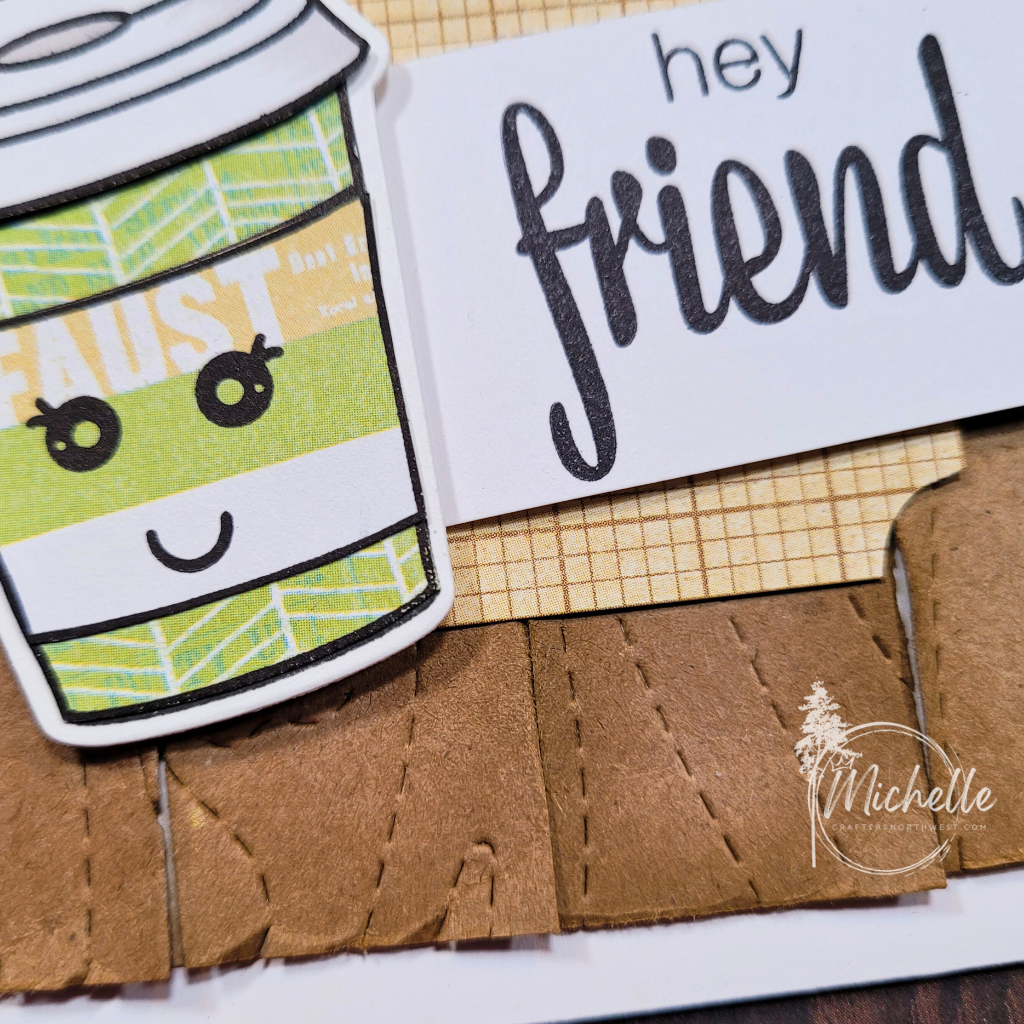
Isn’t this card just adorable? I have always loved the little faces, but never used them, because they were individual, and I was afraid that I would make them look wonky! This card was inspired by a card done by Jodi Collins, and of course, I had to put my own spin on it!

There is some paper piecing involved with the coffee cup, but it is super easy to do, and it just looks so cute! I love the detail on the wood planks!

And, of course, we can’t forget the inside! I don’t normally stamp a sentiment on the inside, but this card just screamed for something more! So, stamp I did! It’s fun to pair different stamp sets together, don’t you think?

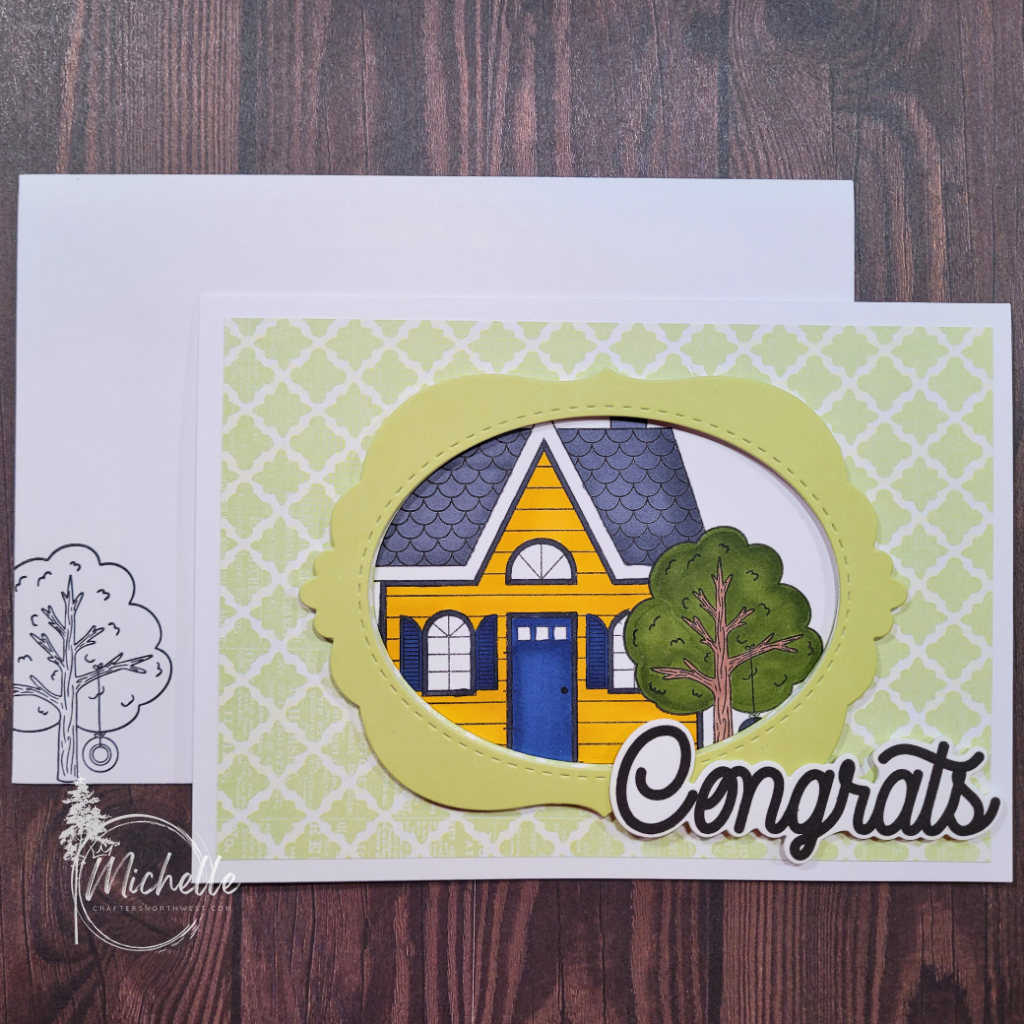
I have a realtor friend who shares houses all the time, and I love it when she shares the congrats pics and all the fun doorstep drops that she does! So, this card is dedicated to her! The design itself is inspired by a few different cards, by Janne KE, Brenda Rose, and Kelly Baxter. (I almost wonder if I should have put some string on it to make it look like an old fashioned hanging framed photo, what do you think?)

The coloring was super fast, as I didn’t do any shading. Just a few markers, and you are done! I love that even with this paper, you could totally make this house a different color!

Of course, you can’t forget the inside, nor the envelope! Just quick little bits and it just makes everything 100 times better! So simple!

Last, but not least, we have this super fun card! This is definitely old paired with new! I really wanted to go for that flying banner look, and I think I nailed it!

Different layers of foam tape make the plane pop out between the clouds!

And, of course the inside and envelope!

I hope that you have enjoyed this week’s cards! I have listed all of the supplies below. If you have any questions that aren’t answered in the video or this post, please let me know, and I will be happy to answer them for you!

Michelle's Signature

Coffee Card:

Skylark Paper Pack

White Daisy Cardstock

A2 Card Bases & Envelopes

Desserts a la Whirl Z3957

Hey Friend B1845

Slimline Stitched Card Front & Background Z4651

Black Lepen

Brown Grey Blend TriBlend Marker

Blending Brush

Toffee Ink

Intense Black Ink

Tombow Mono Air Adhesive

Glue Dots

Foam Tape

Thin Foam Tape

2×2 Acrylic Block

1×3 Acrylic Block

House Card:

Skylark Paper Pack

White Daisy Cardstock

Limeade Cardstock

5×7 Card Base & Envelope

Memory Lane

Home Sweet Home Z3755

Howdy Neighbor Z3918

Oval Frame Thin Cuts Z4295

Intense Black Ink

Tombow Mono Air Adhesive

Shaker Window Foam & Acetate – Oval Z5031

Red Brown Blend Tri-Blend Marker

Gold Yellow Blend Tri-Blend Marker

True Blue Shades Tri-Blend Marker

Dull Green Blend Tri-Blend Marker

Ice Grey Shades Tri-Blend Marker

3×3 Acrylic Block

Misti Stamping Tool

Plane Card:

Skylark Paper Pack

White Daisy Cardstock

Slimline Card Base & Envelope

Dreams Take Flight Z3703

Looking Forward – January 2024 SOTM

Intense Black Ink

Tombow Mono Air Adhesive

Fancy Borders Thin Cuts Z3682

Foam Tape

Thin Foam Tape

2 x 3 Acrylic Block

1×3 Acrylic Block

I like to move it, move it!

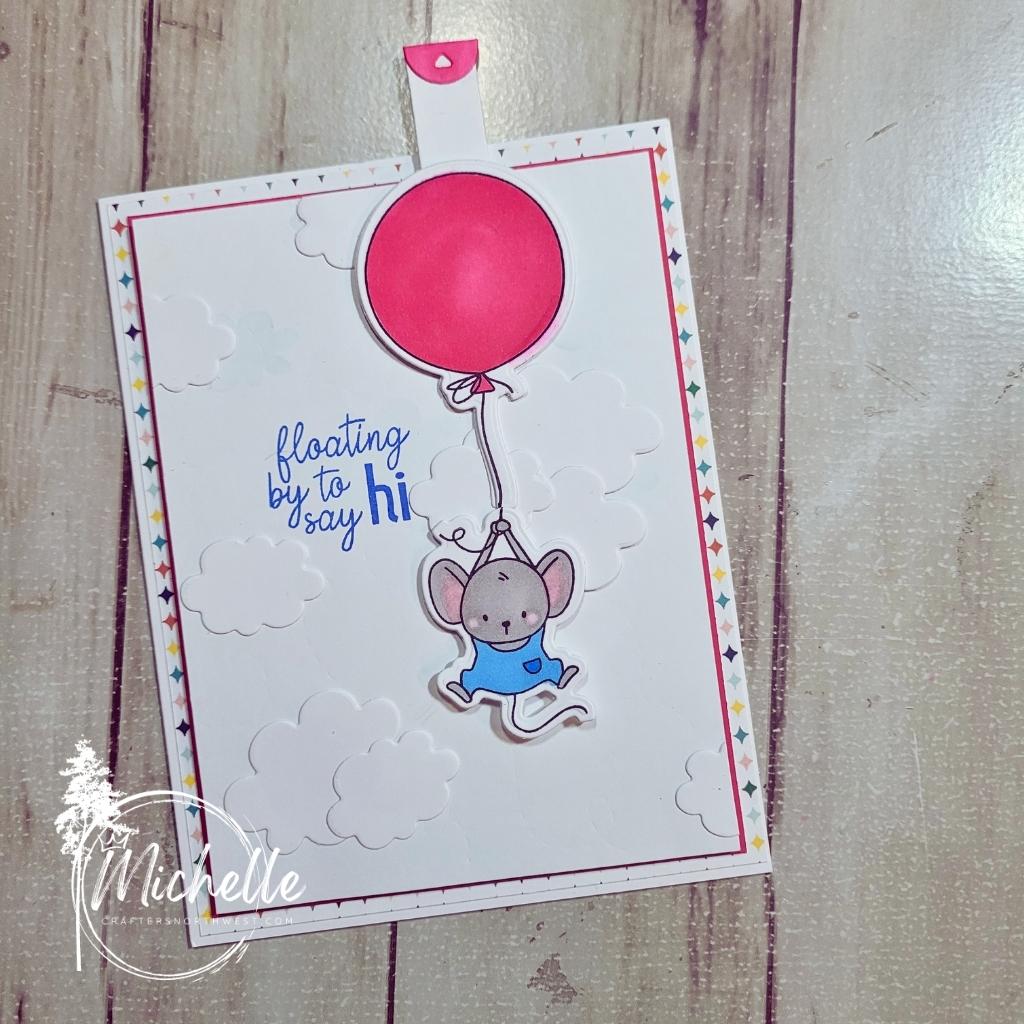
Hey Friends!  It’s the first Monday of the month, which means that there is a new challenge over at H2H!  This one is all about things that move!  Cards, scrapbooks, and any other crafty project!  I made this super fun and adorable card with a few new products!  Let’s take a look, shall we?


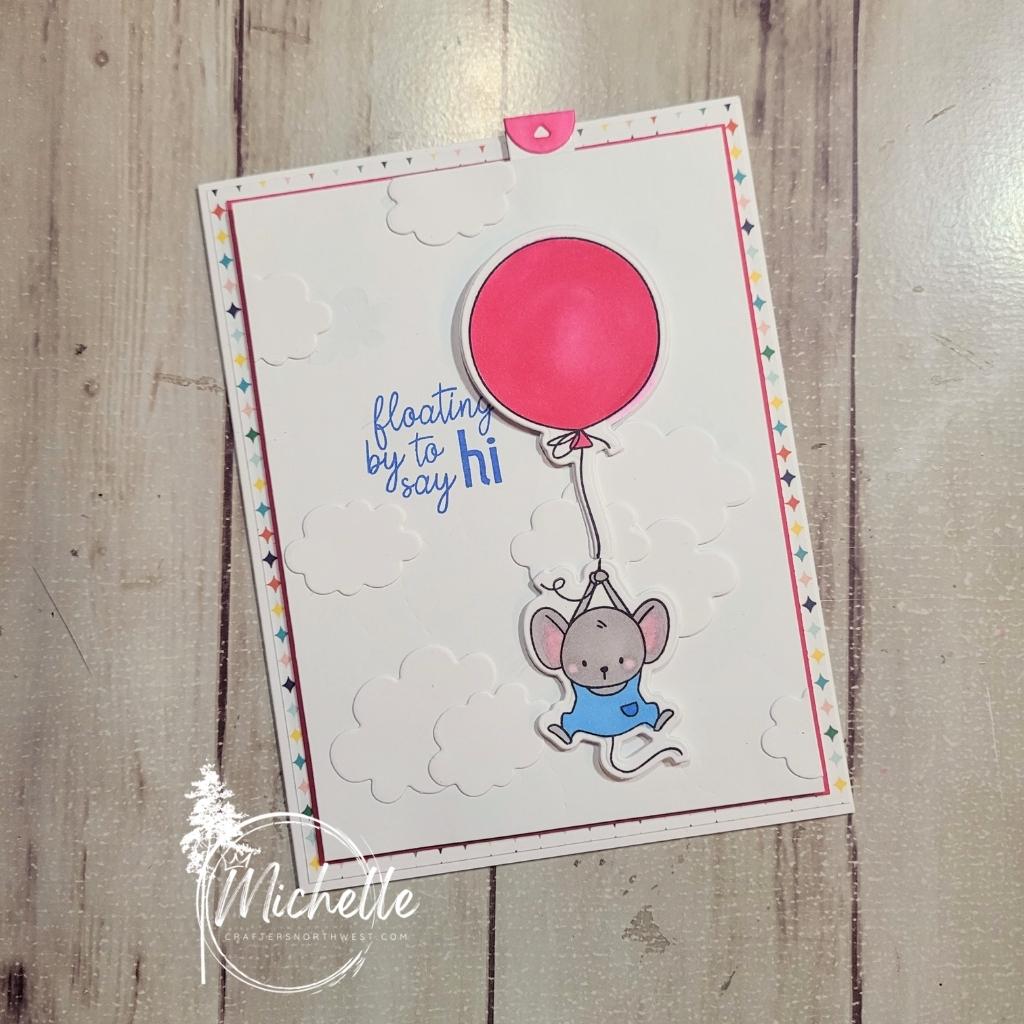
Floating Mouse

I used the Brights paper pack, that is available in the Flash sale happening until the end of the day, today.  I paired it with some white daisy cardstock (you can never go wrong with that!) and some Raspberry cardstock.  Add a few Triblend markers to the mix (True Blue Blend, Pale Pink Blend, Magenta Blend, Brown Grey Blend, Light Green Blend, and the clear Blender Pen) and you can’t go wrong!

I used a few of the new things with the National Stamping Special, and it turned out super cute!  I will list all the items below, so you can grab them too, if you would like!


This new pull tab option is a thin cut that we now carry!  Isn’t it great?  It just makes this card so fun for the recipient!


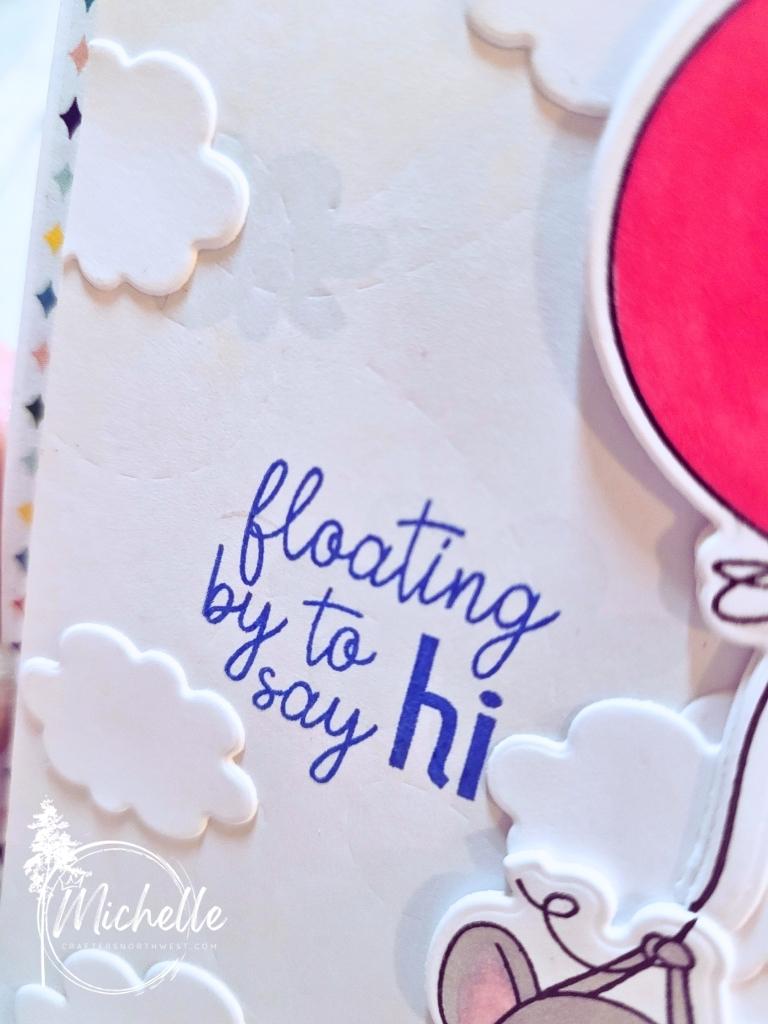
Here you can see a few different things.  The background die that I embossed instead of cut, the cloud stencil that is super light in the background, and the cloud die cuts that are from the cloud background die.  All of these, along with the mouse and balloon are part of the National Stamping Month special!  The pull tab thin cut is in the new core book!  I can’t wait to show you more things coming from it!  There are SO MANY THINGS!!


Thanks so much for stopping by!  I would love it if you left a little love before you left!


CTMH items used:

Card Close Up

Scraps in the Backyard?

The newest challenge over at H2H is “In the Backyard”.  You could take that any number of ways, however most of us are using the Backyard Bliss paper packet!  It’s such a fun paper, and I have so many projects coming up for you guys in the next few days!  I can’t wait to show you!

Onto today’s project!  I totally forgot to take a photo of the scraps that I was working with, I wish I had, but I will have a process video for you, soon!  It shows what I started with!

ANYWAY . . . Everything that I used on this card was scraps!  (except the card base and envelope!)  I LOVE being able to use up all of my bits and pieces!  (especially when it turns out super cute!)

I had the torn up pieces left from the scrapbook workshop that is coming out, the stickers are from the sticker sheet, more pieces that didn’t make it into that workshop!  The flowers are all from the paper board compliments, that I used the Purple Blend Tri-Blend marker on.  And the kraft paper was the perfect width, I just had to trim the length!

This card went together really very quickly!  it took more time to color the flowers than it did to do the whole rest of the card!  You have to love it when it comes together super quickly!

I would LOVE to know what you think about this card!  And if you decide to play along with the H2H challenge this time!  (remember, it’s “In the Backyard” not “Scraps”!)

Thanks so much for stopping by!  Until next time, be crafty!

Michelle's Signature

What kind of card do you get with White Daisy Cardstock and Thin Cuts?

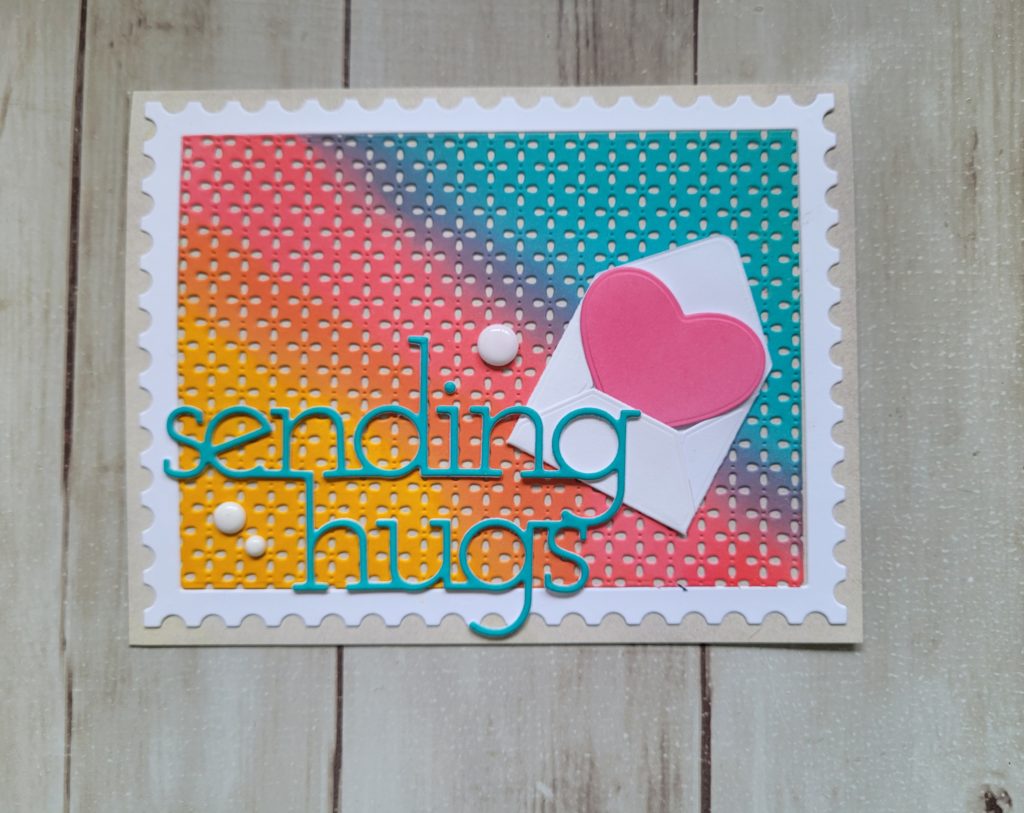
This week’s challenge over at H2H is all about the thin cuts!  Well, let me share with you a card that is ONLY white daisy cardstock.  (well, and three white dots for embellishment . . )  The card came together really rather easily!!

I used the postage frames thin cuts to get my frame.  Then I took the inside piece, and used the decorative texture background thin cut to get all those itty bitty dots and petals cut out of the center . . . AFTER I added some distress oxide to it.  I used Mustard Seed, PIcked Raspberry, and Peacock Feathers on that panel, making sure to overlap them to get some additional blended colors.  I put some Peacock Feathers onto some more white daisy cardstock, and then used the Sending Hugs thin cut.  I cut it two more times from white, to make it a bit thicker for my card.

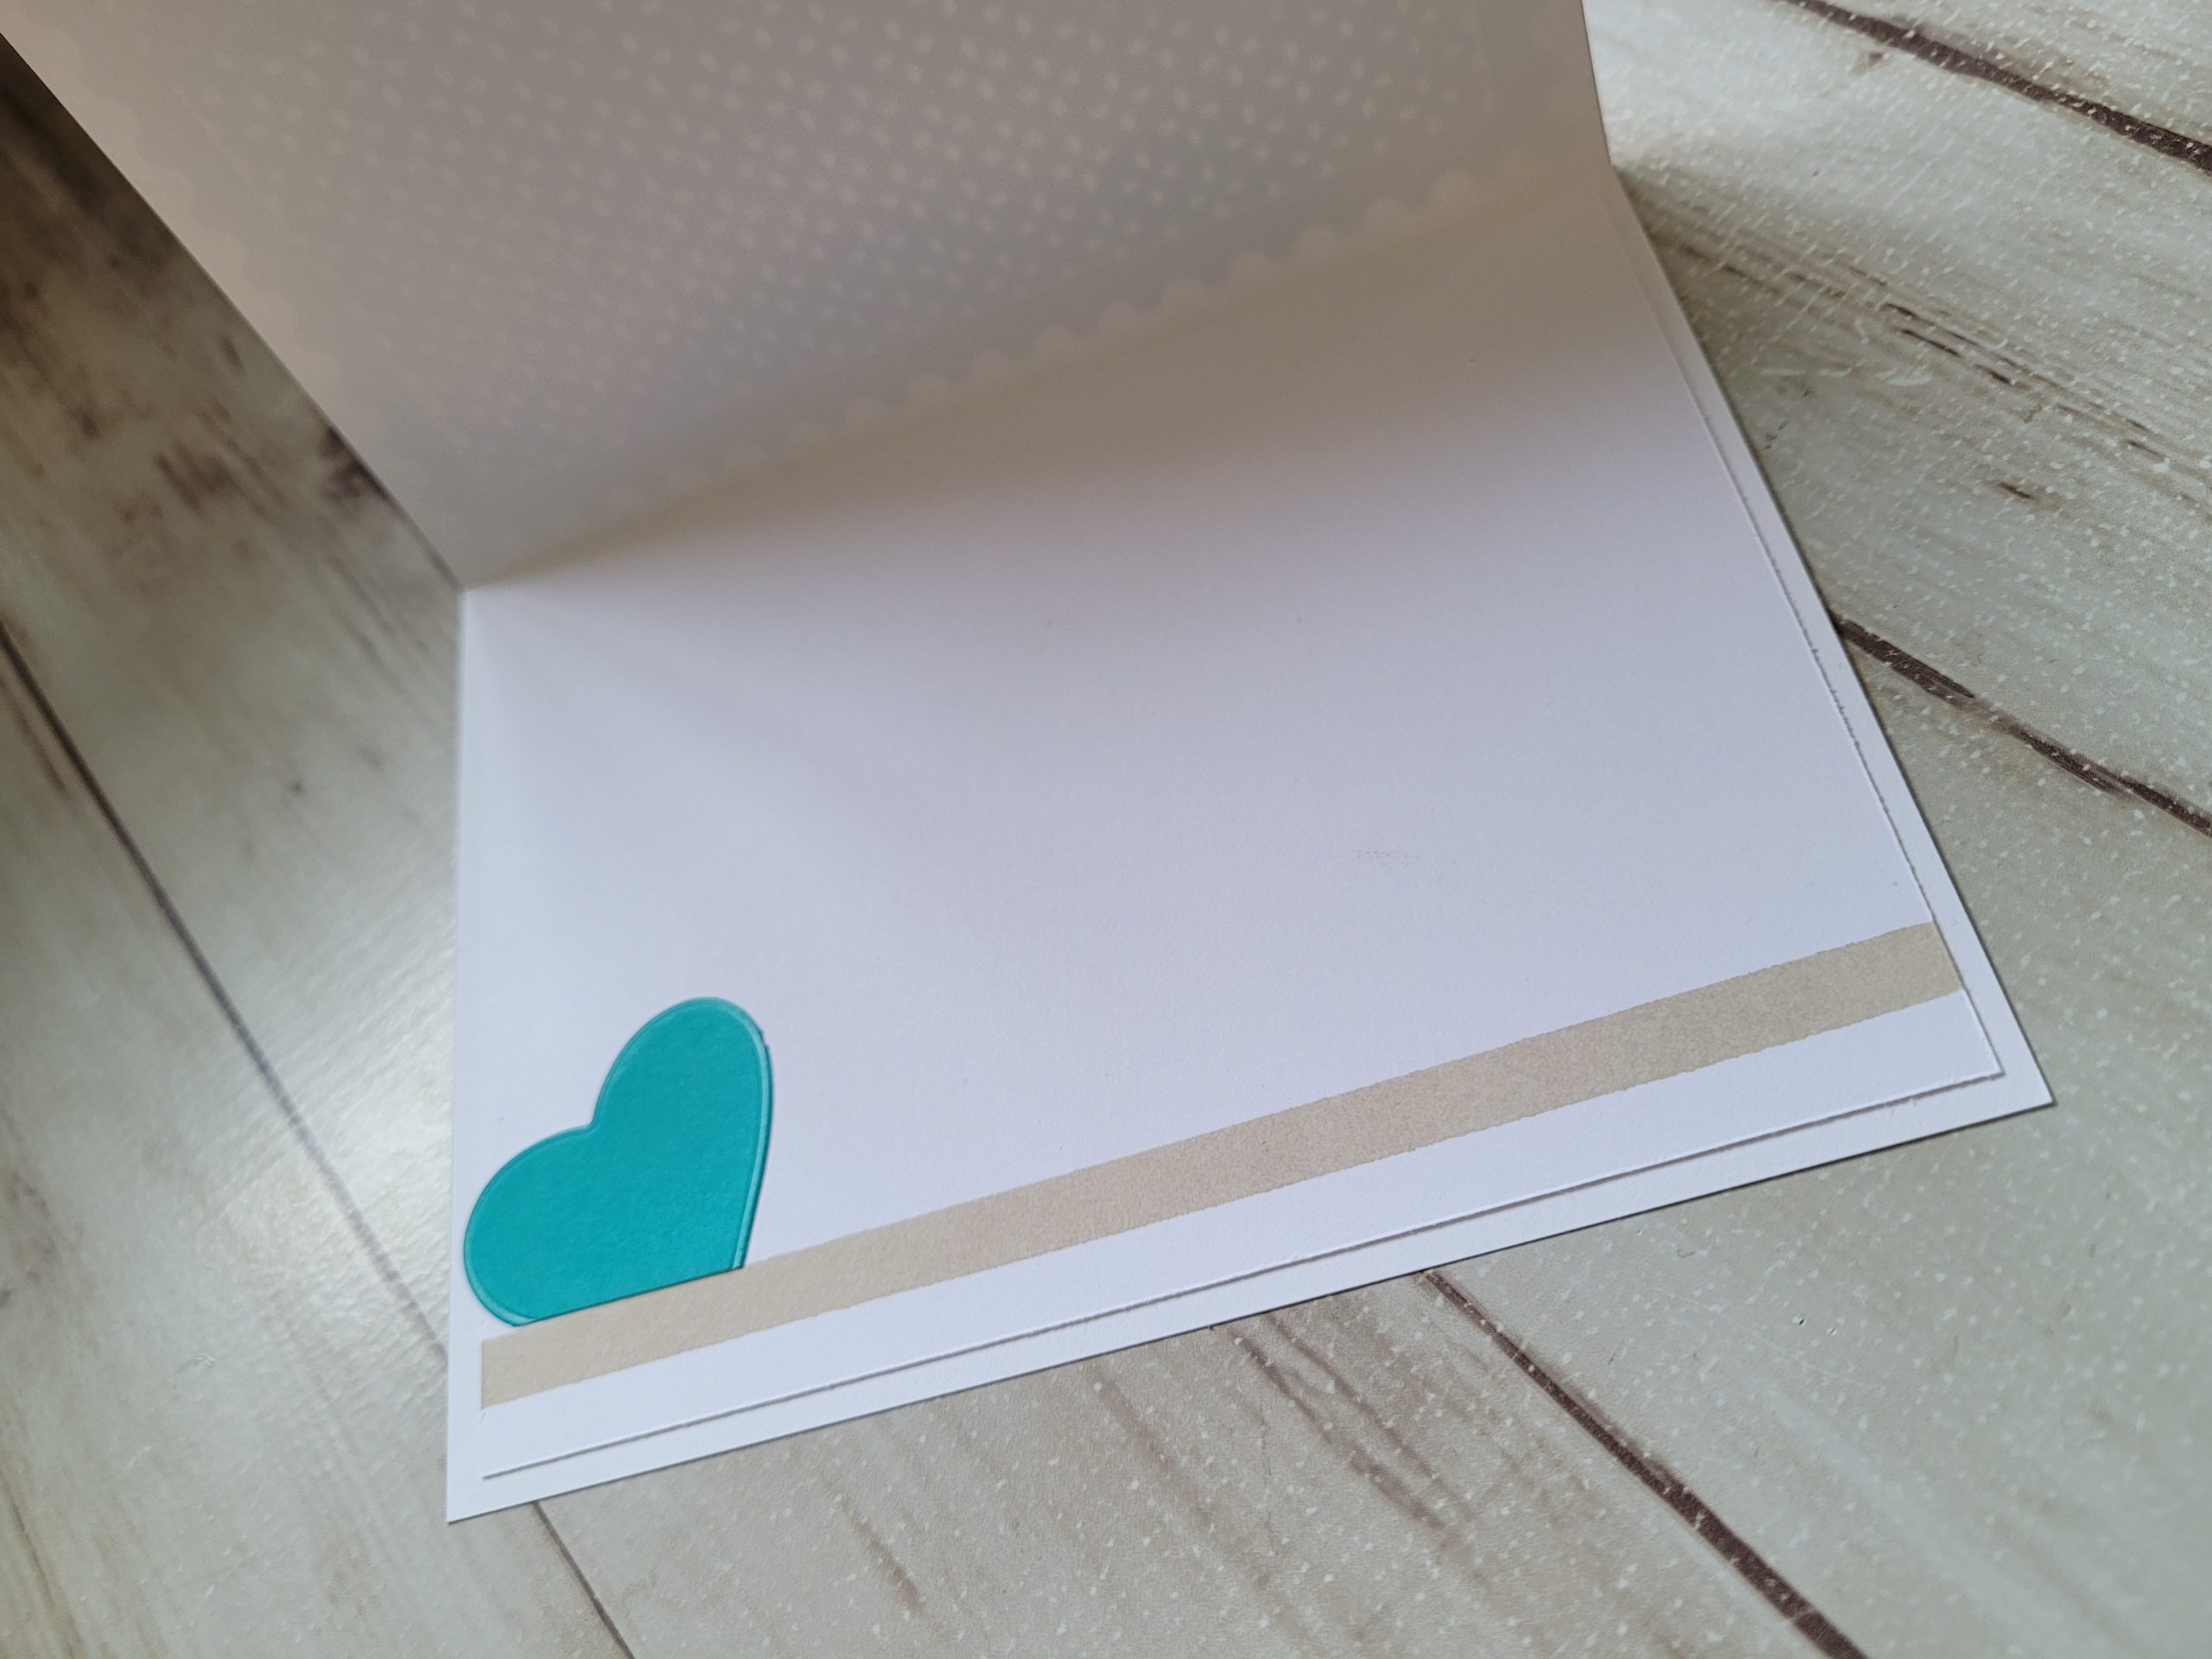
I colored a corner of more white daisy with the picked raspberry and used the heart from Teddy Bear Hugs to cut that out.  I had a bit of space on the peacock feathers, so cut out another heart for the inside of the card.  And, last, but not least in the thin cuts is the mini envelope thin cut.

I did use some pumice stone on the card base, and a line on the inside of the card to bring that color inside as well.  I like how it turned out!  And no scissors, no paper trimmer!  Just thin cuts and white daisy paper!

I hope that you like my little project today!  I think it turned out super cute!  

You should dig into your stash, show us what you can do with your thin cuts!


Until next time!

~Michelle

Will it be Flora or Fauna?

As you have seen, H2H Challenge Blog does challenges twice a month.  If you haven’t played along yet, you really should!  The prompts are great, and the artwork is pretty splendid as well!  The second challenge for April is Flora or Fauna.  That leaves so many different options!  You can do almost anything with this!


So, I decided to go with Flora.  My card is more of a masculine card, even though it has flowers and butterflies on it.  (Guys do actually like flowers, too!)

This is called a Bookbinding Card.  It is sealed at the far right, with a ‘lip’.  (as opposed to the normal fold)  It gives you a smaller space to write on the inside, but that’s ok too, sometimes!


I stamped on the charcoal piece with white craft ink.  Once dried, it comes to this nice almost faded look that I think fits and pairs well with the B&T from In Full Bloom.


The sentiment is heat embossed in white powder, so that it would stand out from the card.

I really like how this card turned out!  Simple and elegant, and can be used for so many reasons, just by changing the sentiment.


Thanks for stopping in to see my card!  I hope you will leave a comment below, for me!


Then, hop over to the H2H Challenge Blog and play along!


Keep being Crafty!

~Michelle

Layered Flowers

Welcome to the Technique blog hop!  This month our focus is on layered flowers!  There are so many different ways that you could do that!  The Layered Flowers Thin Cuts might be the easiest way to do that!  I will link some other projects below, that I had fun making in different ways.  If you are following the hop, you should have arrived here from Michelle’s blog.  If you started here, that’s ok!!  You will continue around in a circle until you get back to here!  I know you will find a bunch of great ideas that you will want to copy!

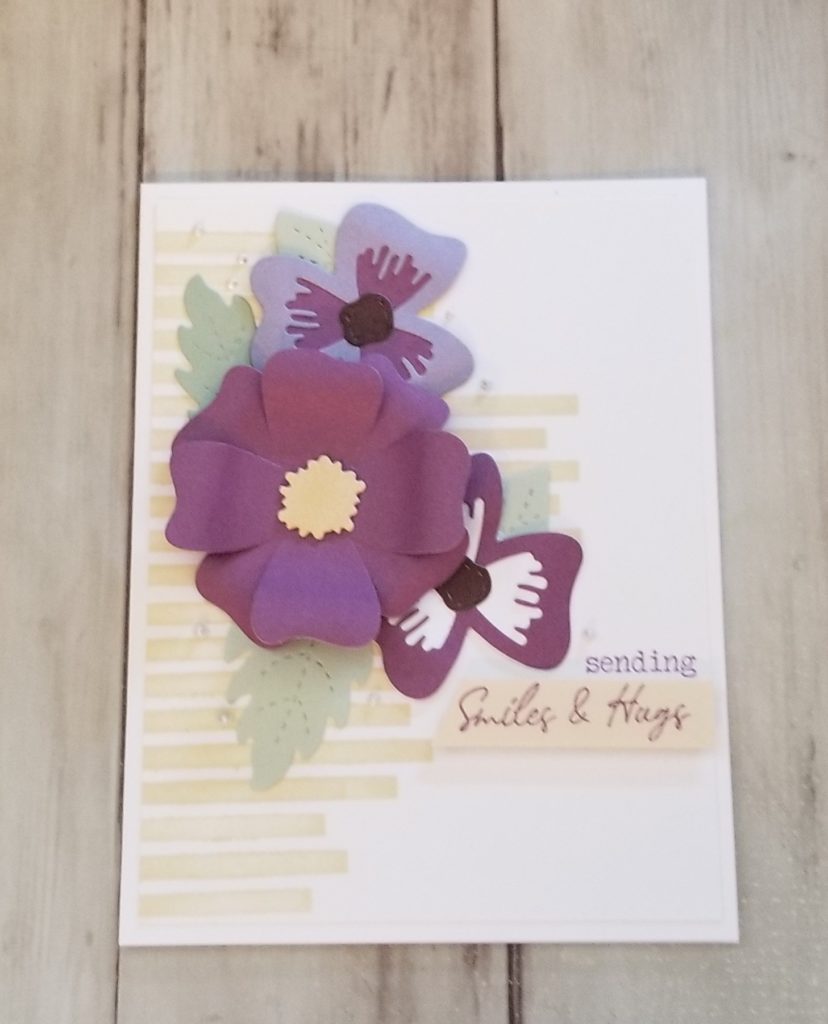
So, for my card, I used a few different things!  I used the stencil from the In Full Bloom Scrapbooking workshop, the stamped sentiment from the cardmaking workshop, and the layered flowers thin cuts.

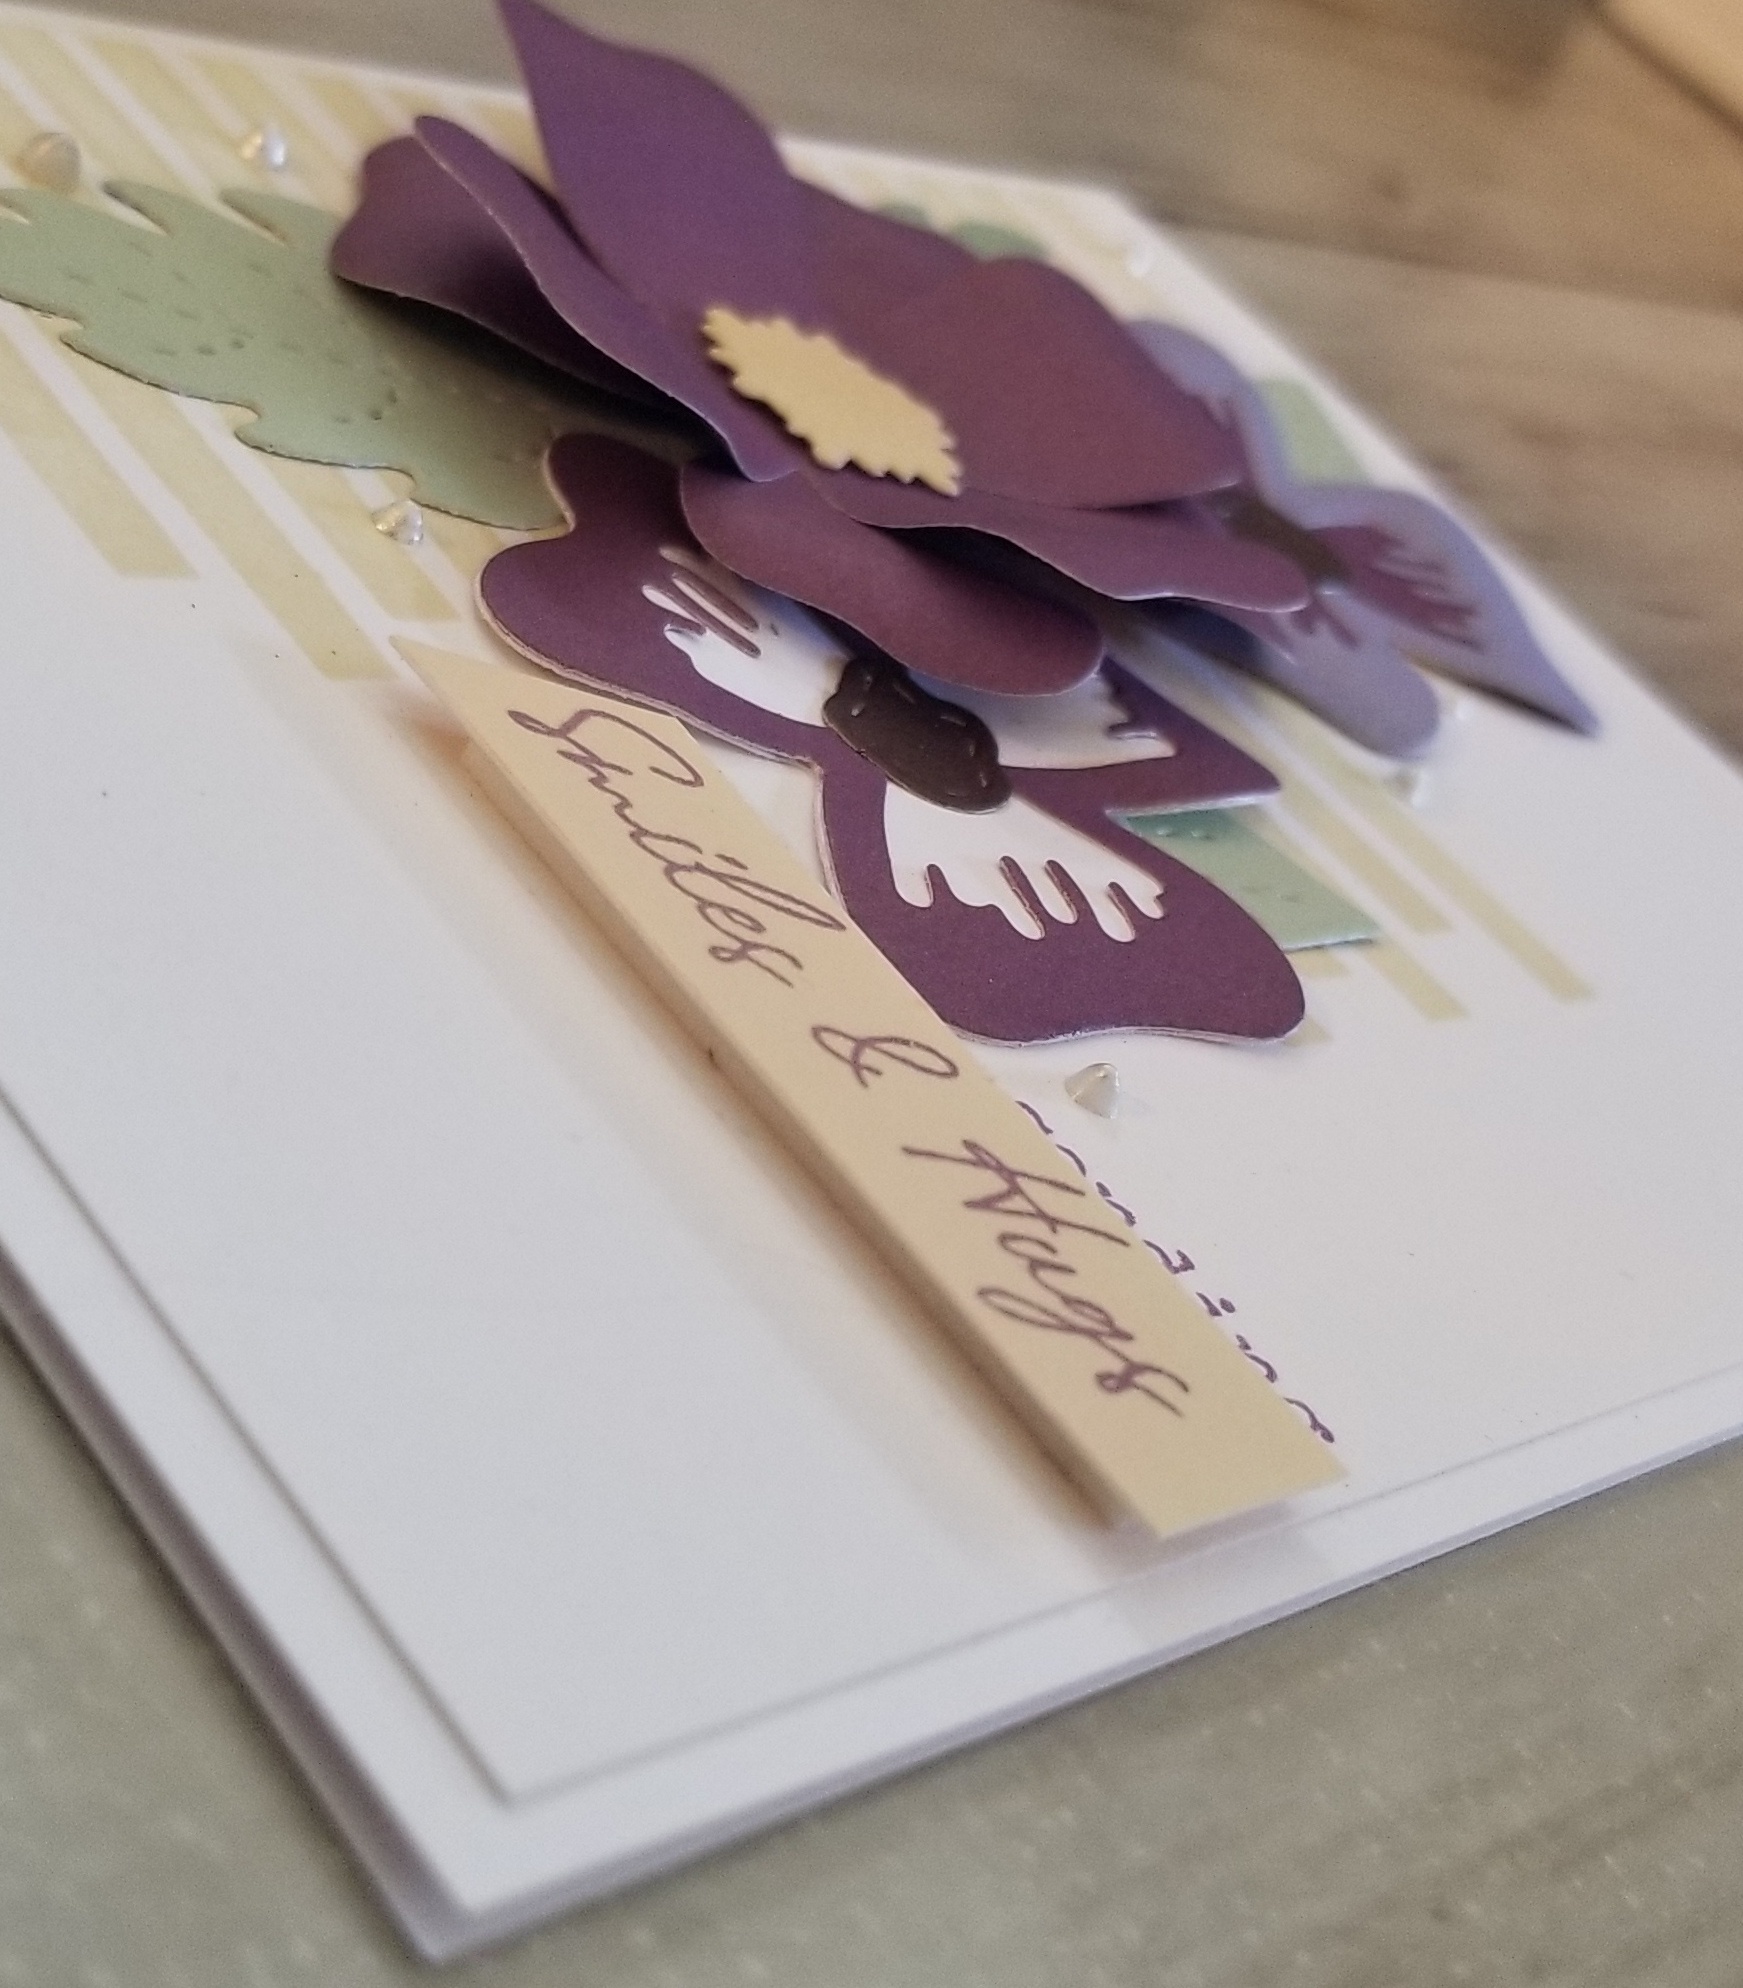
I used the stencil a few different times with shortbread ink.  The sentiment is stamped in grape ink to coordinate with the grape cardstock of the flowers.  The leaves are cut from both light and dark sides of sage cardstock.  Tof finish it off, I used some liquid pearls!  (I don’t know about you, but I tend to forget how much I like them!)

I hope that you like the card that I shared today!  I have a short video that you can watch of me putting it together, here.

I said I would link some other cards that I have made thatw ould fit for this blog hop.  I have this card here that shows how to use different colors of cricut cuts for a flower.  This one uses a different style of cricut cuts, that are similar to what I have done today with the large flower.  Last but not least, this is a whole different style, with multiple layers of the B&T paper being cut and layered.

Thanks so much for stopping by!  Next you should be going to Lauren’s blog.  Before you hop away, however, I would love it if you left me a comment about my project!

Have a crafty day!

~ Michelle

CTMH Items used:

{All items are clickable!}
Sponged Dino

Can you sponge your Dino?

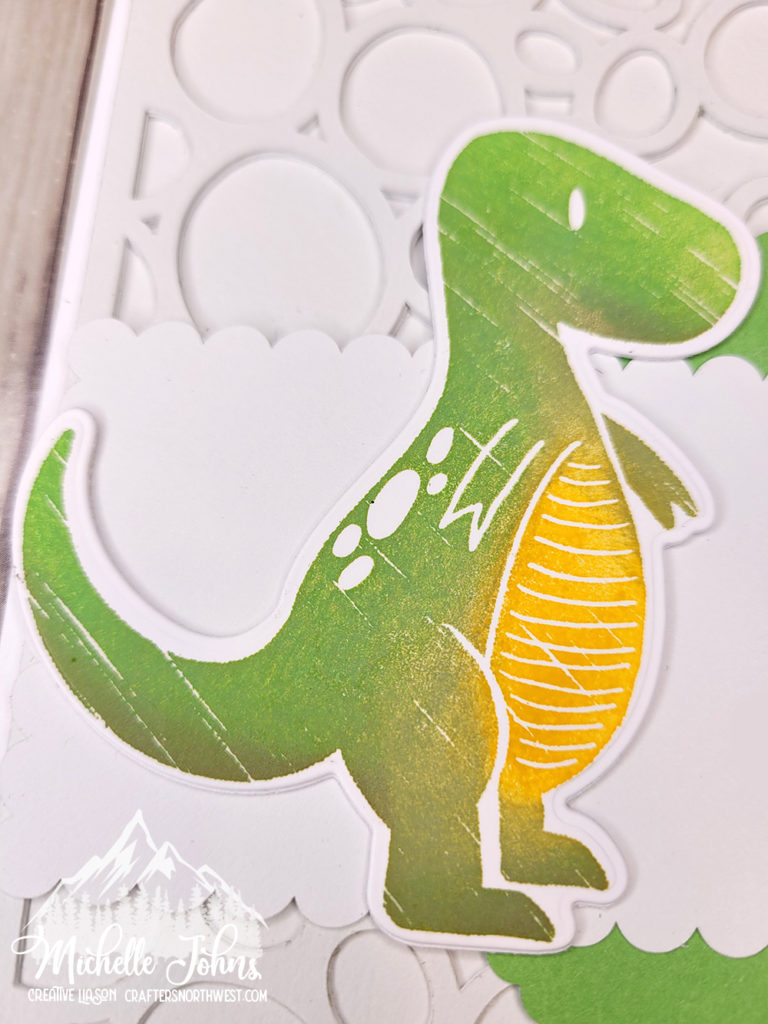
The new challenge of the month over at H2H is all about sponge techniques!  This one was fun!  Because, I don’t know about you, but I like to channel my inner Tim Holtz every now and again!  I saw him do this technique years ago, on a video, that was probably years old!  LOL!!  Basically he used a Misti tool to make a rainbow of colors on a stamp, by sponging colors onto the stamp and overlapping them.


So, before you leave, I would love for you to leave me a note and let me know which is YOUR favorite card, and let me know if you have tried this technique!

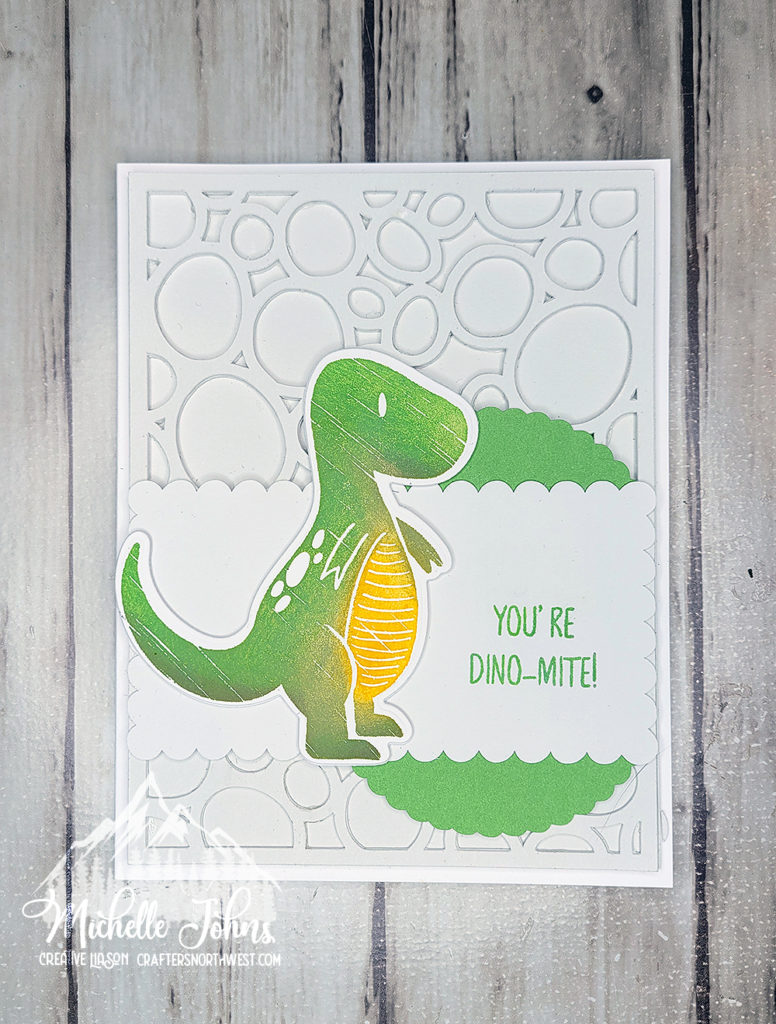
Sponged Dino Card

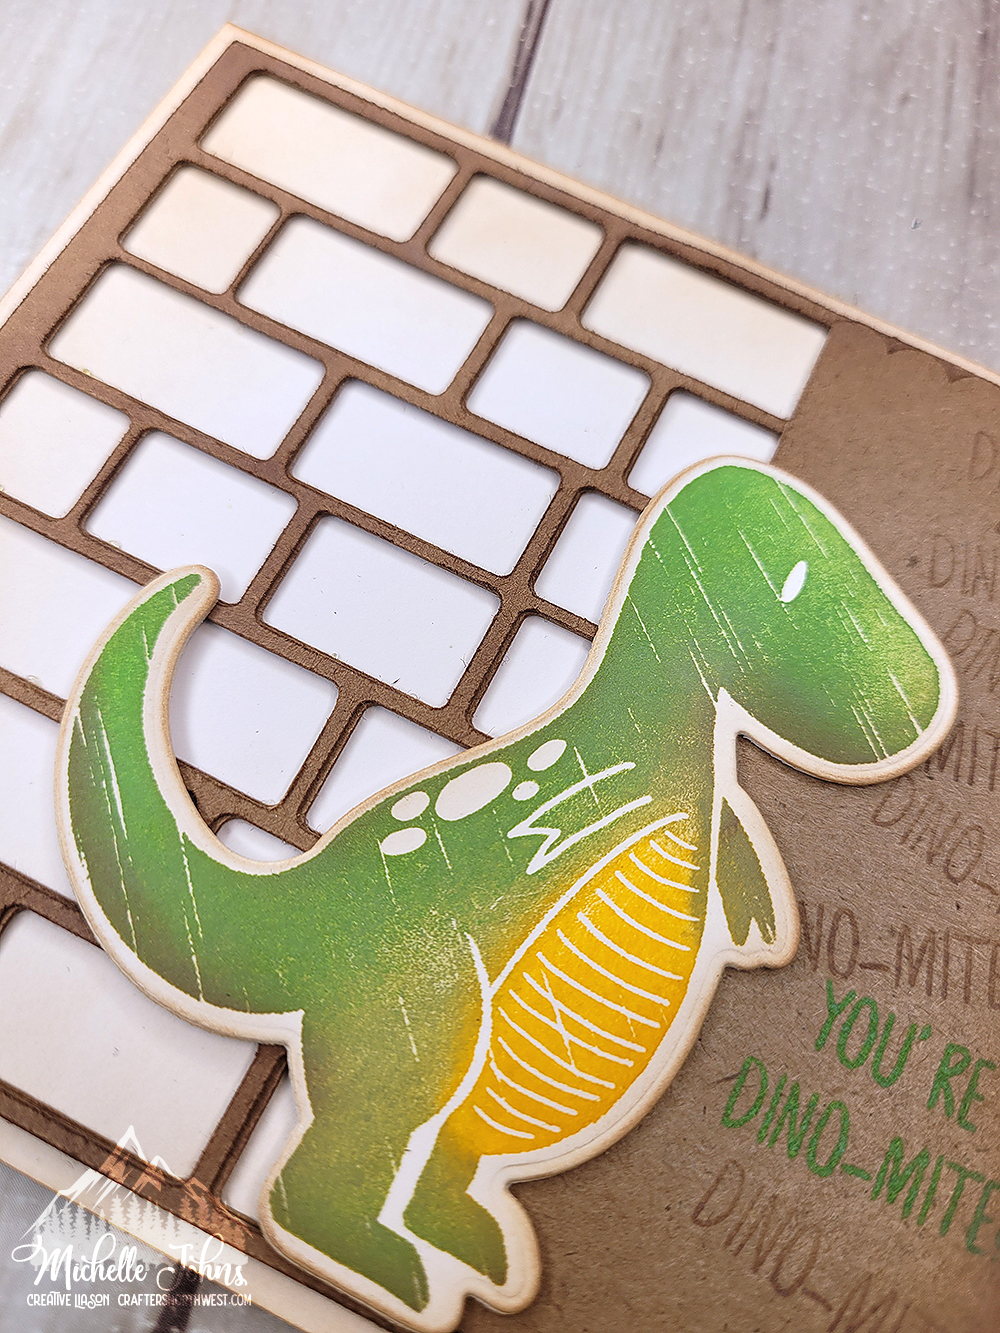
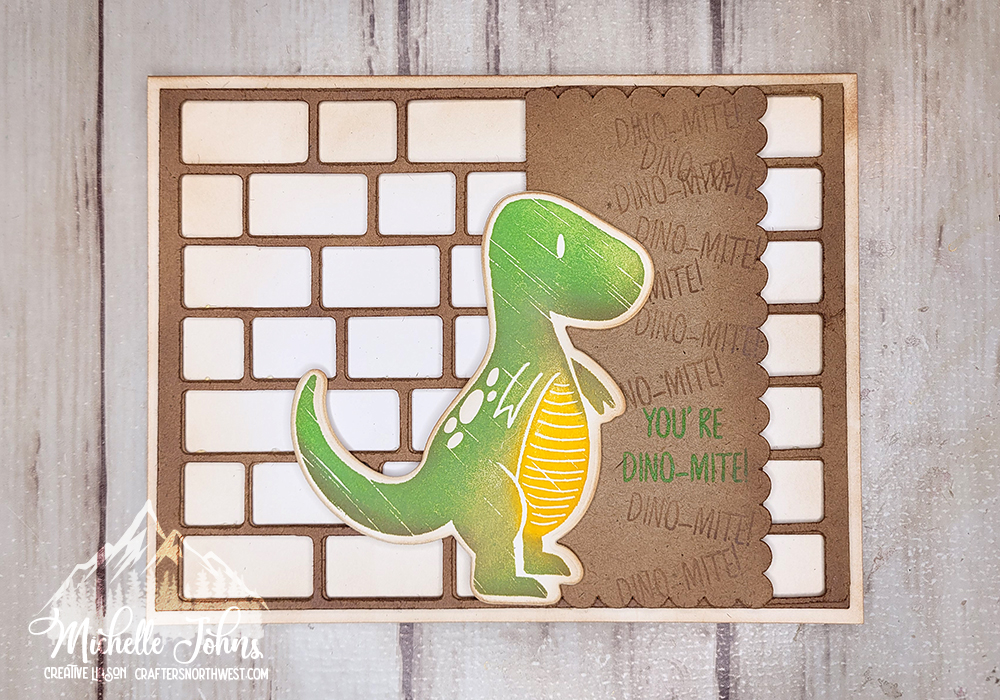
Mine didn’t ALL overlap, but some of them did!  I just think the whole thing turned out great!


I also channeled my inner Jennifer McGuire, and made TWO dinos when I was stamping, to make two cards.  However, I couldn’t decide which background I wanted, so I just went ahead and did two!


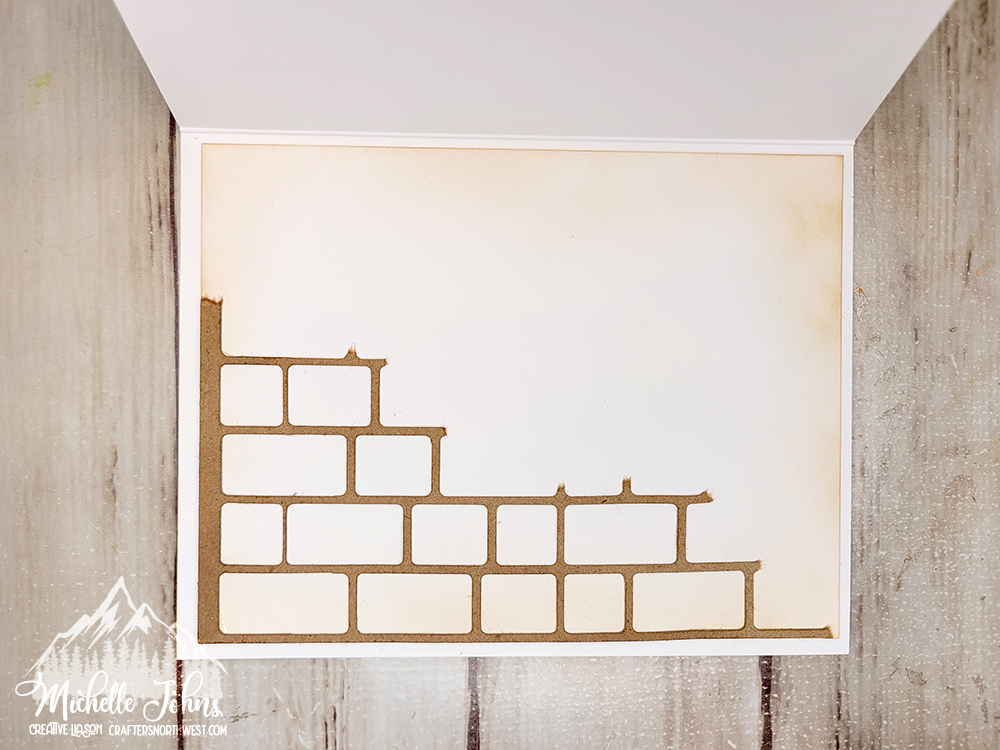
Before I swap over to the other card, I wanted to show something.  I managed to blow a fuze when I was making this card.  (literally, had to go and flip the breaker!)  So, one of my pieces didn’t cut all the way.  So, I decided to do something fun with the inside, and use that piece that hadn’t cut all the way.  


I tore it into a ‘sloped’ shape, and then distressed it, and glued it to the inside of the card.  I think it turned out great!

inside of card

Ok, let’s see the other card, shall we?

Sponged Dino

This is the other dino!  Isn’t he cute, too?  I created a background with one of the images on the Artbooking cartridge.  Then I cut it four times, to give it some depth

Sponged Dino Card

It was fun to do two different cards!  It would have been much faster if I had done two of the same, but that’s ok too!

Last week, you saw that I was inspired by a friend’s son, and this week is the same!  Just, a different friend!  (actually, both friends’ sons like dinos!)


Like I said earlier, I hope that you will let me know which card is YOUR favorite!  Also, if you might want to try this whole sponging thing, join us over at H2H for some fun challenges, and put YOUR artwork into the hat!

Thanks so much for joining me!

Blog Signature

Have you been afraid to use Stencils?

Have you been scared to try stencils, because they might be hard?  Well, you shouldn’t be!  And with this Technique hop, we will give you more than a few reasons why you need to try them!

You should have arrived here from Danielle’s blog, (if you didn’t start here!) and she always has great ideas!  If you started here, no worries!  You will get back around to her blog, as it’s a giant circle!

So, let’s get started on what I have to show you, shall we?

Isn’t this just an adorable card!?!?  (I hope you leave a comment below to let me know what you think!!)  I loved coloring this little guy!  I used my friend’s son as my model for coloring!  (I’m not the best at it, but I think he’s cute!)


Now, the stenciling part.  I started with his hoodie!  I masked his hoodie first, so that I could get an ombre effect on it (which I looooove how that turned out!) and then masked off his arms and pocket, so I could add stripes from the stencil.  I used the card front 3 bundle for the stripes.  (these are all done in bluebird ink.)


Then I decided I needed to make it a bit more!  So, I grabbed the thanks stencil from the card stencil pack 1, picked the upper case A, masked off around it, and used texture paste and silver embossing powder to make an A on the front.  (my model’s first name starts with an A).  I let the paste dry, then heat embossed the A, it gives it some extra dimension!

I took some white daisy cardstock, and stamped the headphones, pizza, cup, donut, TV, and laptop in linen ink to make the background less boring!  I stamped and cut the headphones and cup with their thin cuts, and the pizza I fussy cut (no thin cut for that one!)  I popped up my model, and he is super cute!


I decided I needed a bit more blue, and a bit more silver, as well, so I grabbed a strip to heat emboss the word Awesome in the silver embossing powder, and then the ‘you are’ in sapphire ink just above it!


I used most of the guys stamps, because they are so easy to mix and match!  I even used one of the girls!

To finish off the card, I used the same stencil and same ink (bluebird) to create the stencils on the card base.  I think it ties everything in perfectly!  Now, after you leave a quick comment, head on over to Lauren’s blog!  She has some great stuff! 

Remember to leave a little love on everyone’s post!  We all love crafting, and we love to know that what we show you is appreciated!  

Thanks!  And see you next time!

~Michelle

SWAK isn’t what you think it means!

We grew up thinking this was Sealed with a Kiss, right?  Well, you could technically do that with what I have for you today, but today I have a different meaning for you!


Today we are STAMPING with a KISS!  Have you heard about the Kiss Technique?  Well, it is where you ink up one stamp, stamp it onto another stamp that has a design, and then stamp the remaining ink onto your project.  Sounds pretty cool, right?  Well, let’s see what I made to show you!

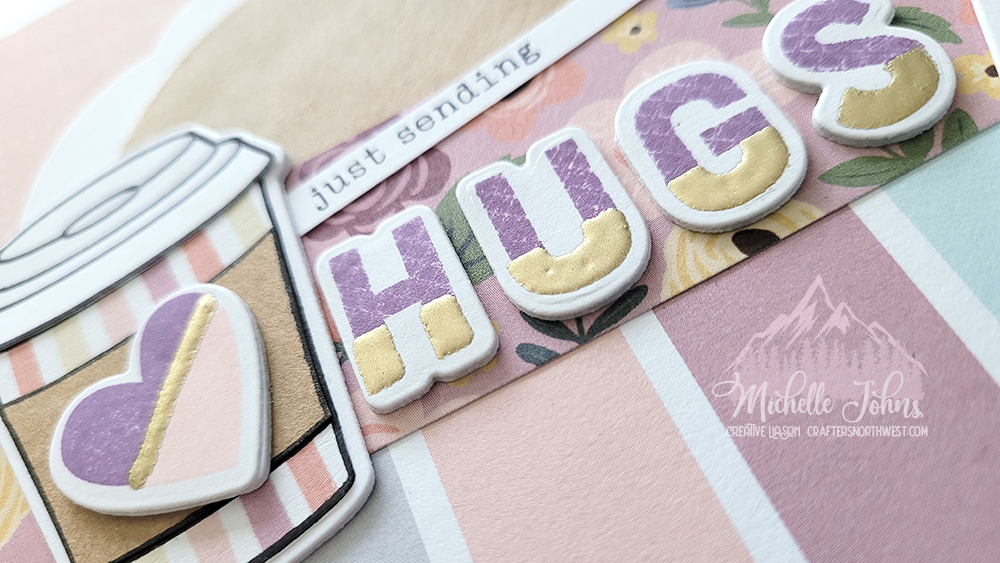
close view of sentiment

Isn’t this sentiment just so cute??  I bet you couldn’t guess which stamp I used to kiss the letters onto!  Would you believe it was an ice cream cone stamp?  Well, it was!  I just thought the texture was so fun, and would work so well with the PML card that I used for the top of the card!

The ice cream cone is in the same set as the coffee card, and we already know that I love me some coffee cards!  So, it just worked out so perfectly!

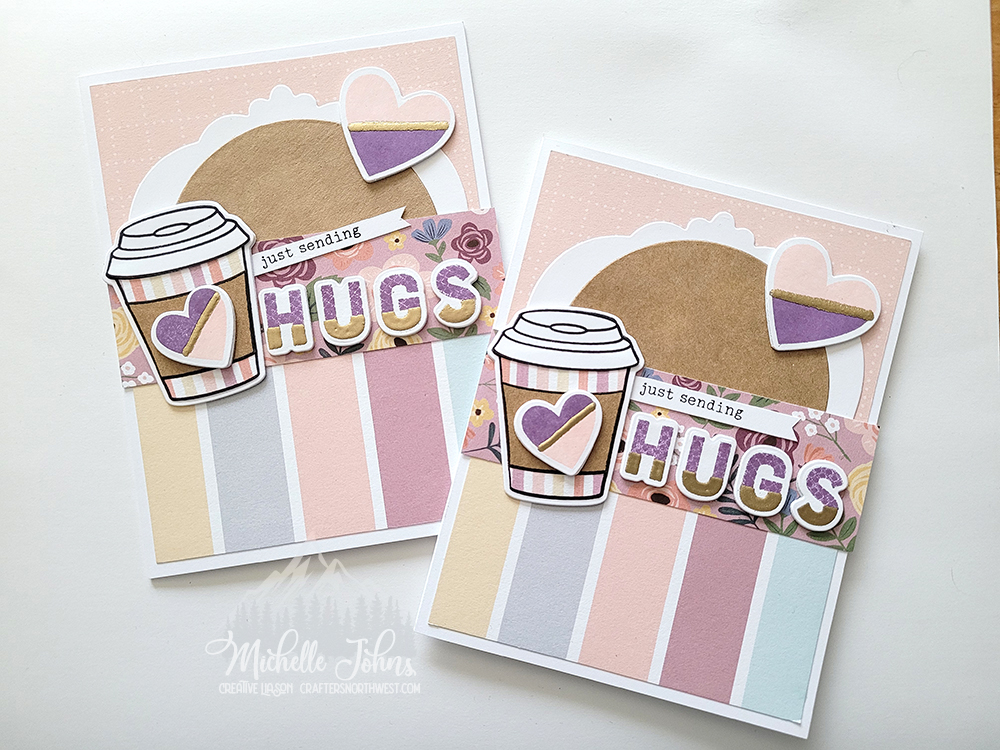
Full Front of Cards

I know my friend Lynn loves that there can be more uses for dies than what they are specifically designed for, so hopefully this card will make her smile!


The white frame on this card is the Oval Frame Thin Cut!  I paired it with the Circles Thin Cuts, and you wouldn’t know that it’s supposed to be an oval inside!

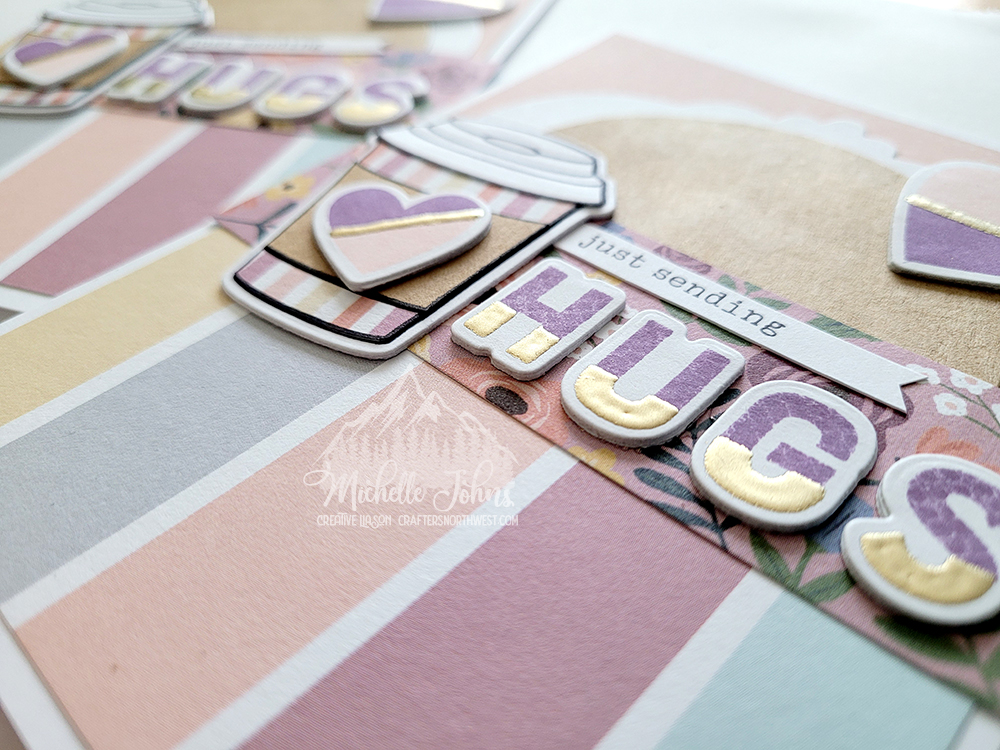
Semi Close view of sentiment

I just wanted to show off the gold embossing on the bottom of the letters!  It just makes them pop!  (well, that and a few layers of cardstock!)


I used no foam tape on this card, no coloring, I just wanted a nice ‘simple’ card!  (ok, maybe not ‘simple’ . . . )

I hope that you like the card, and leave a message below letting me know your thoughts!  If you try the Kiss technique, go and show off your project at the H2H blog!  The would LOVE to see your craftiness, too!

Blog Signature

CTMH Supplies Used:

SWAK challenge image