


Welcome to another weekly challenge hosted over at the Heart 2 Heart blog! This week is all about what’s new to you! And the majority of this card is all NEW TO ME!

Isn’t this card just adorable? I LOVE this little guy! So, I started by die cutting the gnome (From Garden Gnomes) twice, and then stamping with intense black ink. I also stamped him on the red pattern paper from the Comfort and Joy, and on the mistletoe paper (for the bottom of his parka). I let those dry while I moved onto the next step.
Next I used chipped sapphire distress ink with the ink blending tool to create the background for this cute guy! Then I took my card base, and again used the chipped sapphire distress ink for the edges, and went lighter on the ink the further down I went on the card base. Then I used the black soot distress ink to start at the bottom of the card base and work up, blending the two colors together.
While those were drying, I grabbed a few tri-blend markers and colored in the beard, nose, gloves, and boots on one of the stamped die cuts. (I’ll list them below) I cut out those pieces. I then cut out the pieces stamped on the B&T papers (the pretty ones). I used my liquid glass and glued the pieces, layered, onto the other stamped gnome!
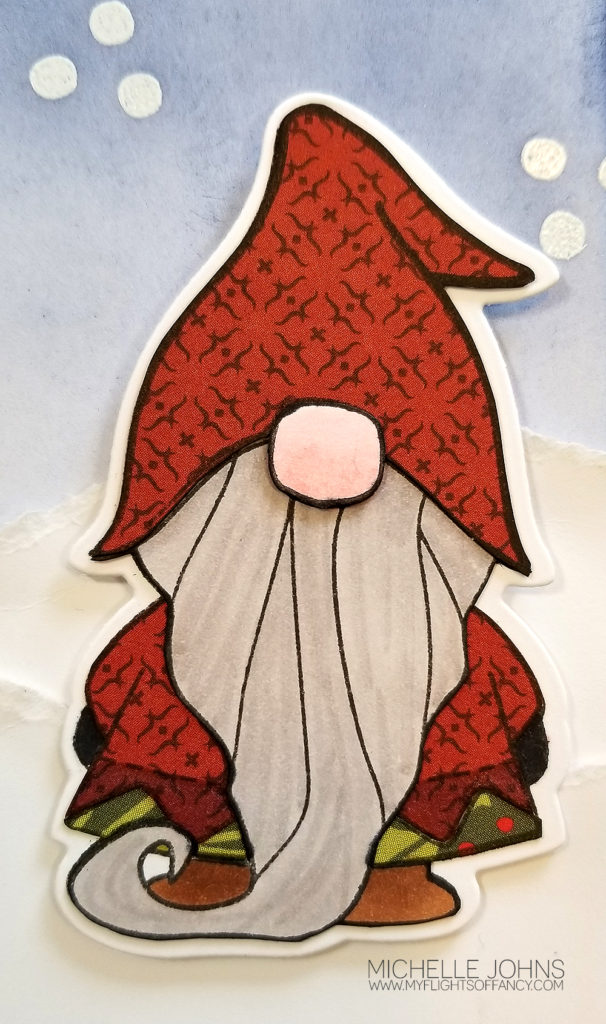
I used the three dots to simulate snow falling, and stamped with versa mark ink and covered that with white embossing powder. The heat gun made quick work of the heating of those, and they popped quite nicely against the distressed background! I popped that up over the card base with some 3-d Foam tape.
Next I used a piece of white daisy cardstock, and tore it twice to get the fun snow hills behind my gnome! Pop up Mr. Gnome with some thin and regular 3-D foam tape!
![]()
Viola! Our card is DONE! I love the little gnomie! I didn’t add a sentiment, but can do that inside, or add a flagged sentiment later when sending it.
What papers do YOU think would be fun to use for his hat and parka? I would LOVE to know!
Thanks for stopping by! I do hope you play along with the H2H challenge!
~ Michelle
CTMH Items used:
Comfort & Joy paper packet
White daisy cardstock
Intense Black Ink
Chipped Sapphire Distress Oxide Ink
Black Soot Distress Oxide Ink
Versamark Ink
White Embossing Powder
Black Marker
Earth Brown Blend
Pale Pink Blend
Yellow Green Blend
Brown Grey Blend
3-D Foam Tape
Thin 3-D Foam Tape
Liquid Glass
Non Stick Microtip Scissors
Mini Ink Blending Tool