

Welcome, welcome, welcome! This month’s Stamp of the month is such a pretty one! One that you can do so many things with! Color? Yup! Not color? Yup! With sentiments that cover a whole gambit of occasions! Today you could have arrived from Katy’s blog, or you could have started here. Either way, you should end up back where you started!
I honestly didn’t have any idea where to start, originally, with this set. I didn’t want to cut it out (it has no thin cuts), but didn’t want to leave it blank, either. I wanted to color it, but have been using my markers a lot recently, so decided to go with watercoloring, but decided to use the inks instead of the watercolor pencils that we carry.

I wanted to go with the colors of the In This Together paper packet. The purple stripes is actually a zip strip from one of those papers. I really love how this card turned out! The little brush strokes outside of the frame, the coloring (even though it isn’t perfect), the colors, and the whole thing! I hope you like it as well!

I triple layered the frame, to give it some substance on the card front, and I think that helps it pop all that much more!
Thanks again for stopping by! Hopefully you will leave a little note below before you hop over to Krista’s blog! Enjoy the rest of the blog hop!

How about a card sketch from CTMH to start the week and month off with? This is going to be a super fun one! So, CTMH has put out this sketch on their blog, you may have seen it already. So, you have the artwork that they have created with it. We here at H2H decided to have a play with it as well! Any of the currently available papers are fair game for us when we are working with this. I cannot wait to see all the different takes on the sketch with the different papers! I LOVE to see how everyone has their own view on the same thing!

I stuck with the sketch fairly closely. I did add a background image that was smaller than the card (giving it a frame) and I shortened the little image on the right, because of the scrap that I had available to me)

I used Mink ink for the butterfly, and some gold embossing for the sentiment and the little mini flower on the right. I think it turned out super cute!
Thanks so much for stopping by! I hope that you join us on the H2H challenge blog this week! This sketch makes some fantastic cards!
CTMH Items Used:
I was teaching a class the other day, and didn’t have the paper pack that the class was designed for, so I had to improvise!
So, what did I do? I shopped my stash, of course! The class used a bright happy paper packet, so I wanted to keep with that theory, and have bright happy colors!
I think I ended up with papers from 5 different paper packs! The class turned out great, and the ladies loved it!
Today I am going to share just the cards from the class, so, remember to put your Make it from Your Heart books to use, and use up those scraps!
I would love to see how you are using YOUR scraps! I do hope you will share with me!
Howdy! It is another challenge day over at H2H! Today we are showing off our favorite sketches! I have a hard time choosing just one, so I narrowed it to two! LOL!
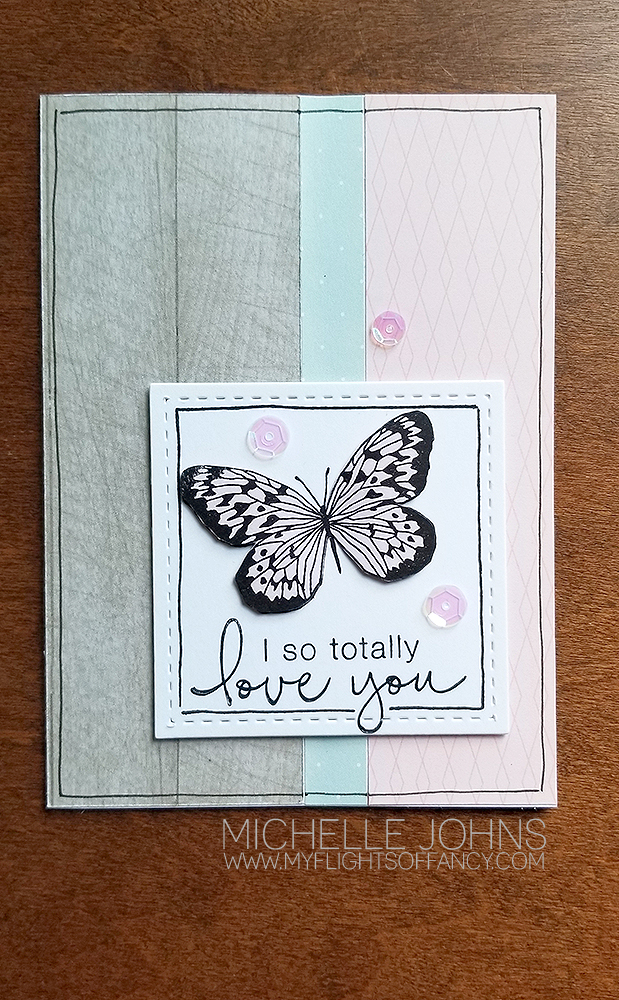
So, the first card that I chose was pattern 27 from the Make it from your Heart, Volume 1. It is a great, easy, but versatile pattern!

I used the April SOTM, and had fun with it! I stamped the butterfly in pewter on the white part, as well as the sentiment. I then stamped the butterfly in ballerina ink and cut it out. I also stamped the stripes on either side of the white ribbon. It just added a bit of texture and interest.

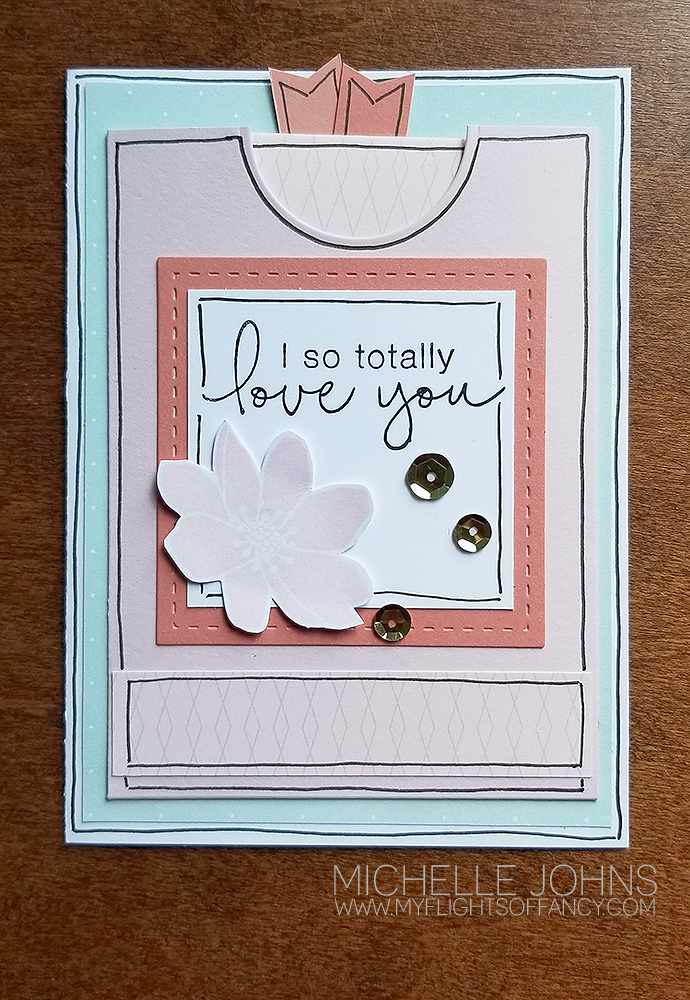
The second card uses pattern 23 from the Make it from your Heart volume two. These flowers from the SOTM are so beautiful! I stamped them in canary ink and cut them out. I stamped the cut out leaves in pewter ink, 2nd generation, and then under the flower and the thanks sentiment, I stamped the leaf image in 3rd generation pewter ink. It’s really hard to see in the photos, but adds just a bit of interest.
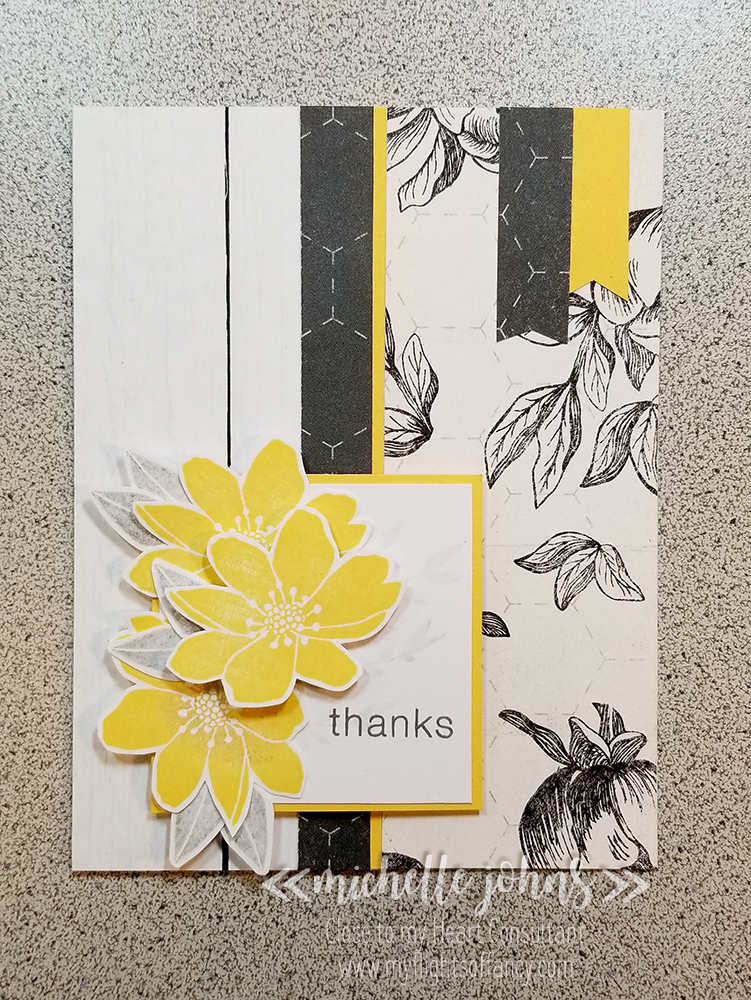
I popped up the top flower with foam tape, and tucked those leaves in here and there to help balance out the whole image. I love the little pop of color with the canary yellow!

Both of these cards use the Feels like Home paper pack, but they still look a bit different!
I hope you like my fun little cards! Come on over to H2H and play along and share YOUR favorite sketch!
Hello friends! Today brings yet another H2H challenge! This week’s challenge is all about Thankful Hearts.
I am guilty of not sending out thank you cards as quickly as I should (or, ya know, at all.)
So, it’s really nice to be able to throw together a super quick card, that I don’t even have to do any stamping on. In fact, because I had a piece of kraft cardstock in my stash that I had already done this fun effect on, the hardest thing I did on this card was the sponging on the edges of all of the pieces!

The kraft cardstock I scored every half inch, and then I turned the sheet over, and scored the opposite half inch, so that there was a score mark every quarter inch, just one was raised and one was indented. It gives a nice look to this cardstock, I think!
The focal image is a 3×4 PML card from the Grateful heart paper pack, as is the green dotted mat behind it. I trimmed the white PML card down 1/8″ on all four sides (to help keep the image centered), lightly sponged it with toffee ink, and then glued to the green card, that I had also sponged with toffee ink.

I wrapped a bit of the mink twine around the two cards three times and tied it in a knot. Popped the whole thing up on some 3D foam tape and put it on the front of the card, and viola! A beautiful, fun, easy card ready to be given in less than 5 minutes!
I would love to know what you think of it! Please leave me a comment to share your thoughts!
Thanks so much!
~Michelle
Welcome to another blog hop! Today we are sharing more about Picture My Life Cards! Today you should have come from Darlys’ Blog. If not, that’s ok, it’s a big circle, and you will get back around to her!
If you were around earlier this week, I shared a layout using a PML card from the Stargazer papers. You can see that here. Today I am showing another layout with PML cards! I LOVE to stretch my papers as much as I can, and I know that my crafty ladies love it too! (in fact, they have teased me if I use a 12″ strip that is covered by multiple things!)
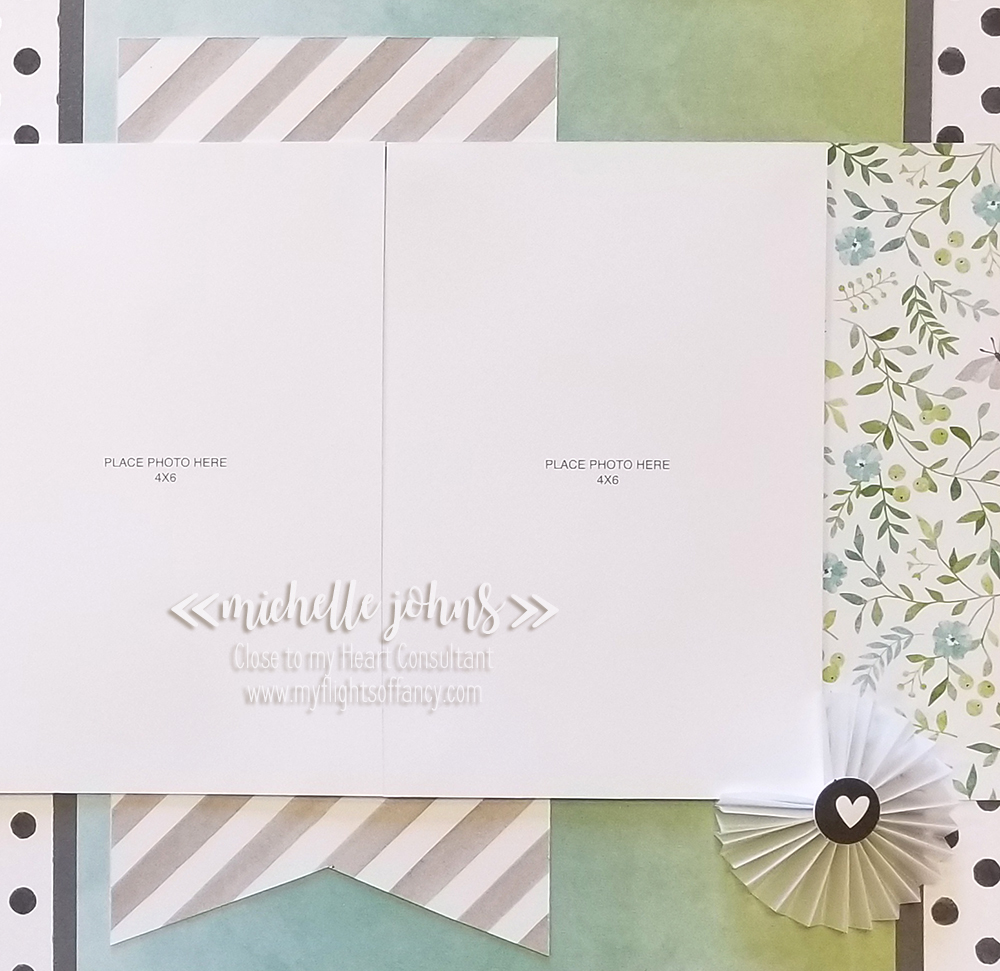
See this fun striped banner? It is one of the PML cards that are printed and with the Chelsea Gardens paper pack! I LOVE this striped paper! When you tuck the pieces in under other pieces, you can totally make it look like a bigger piece of paper than it is!
The next couple of photos aren’t of PML cards, but I really LOVE how they turned out, so I had to add a close up of them for you!

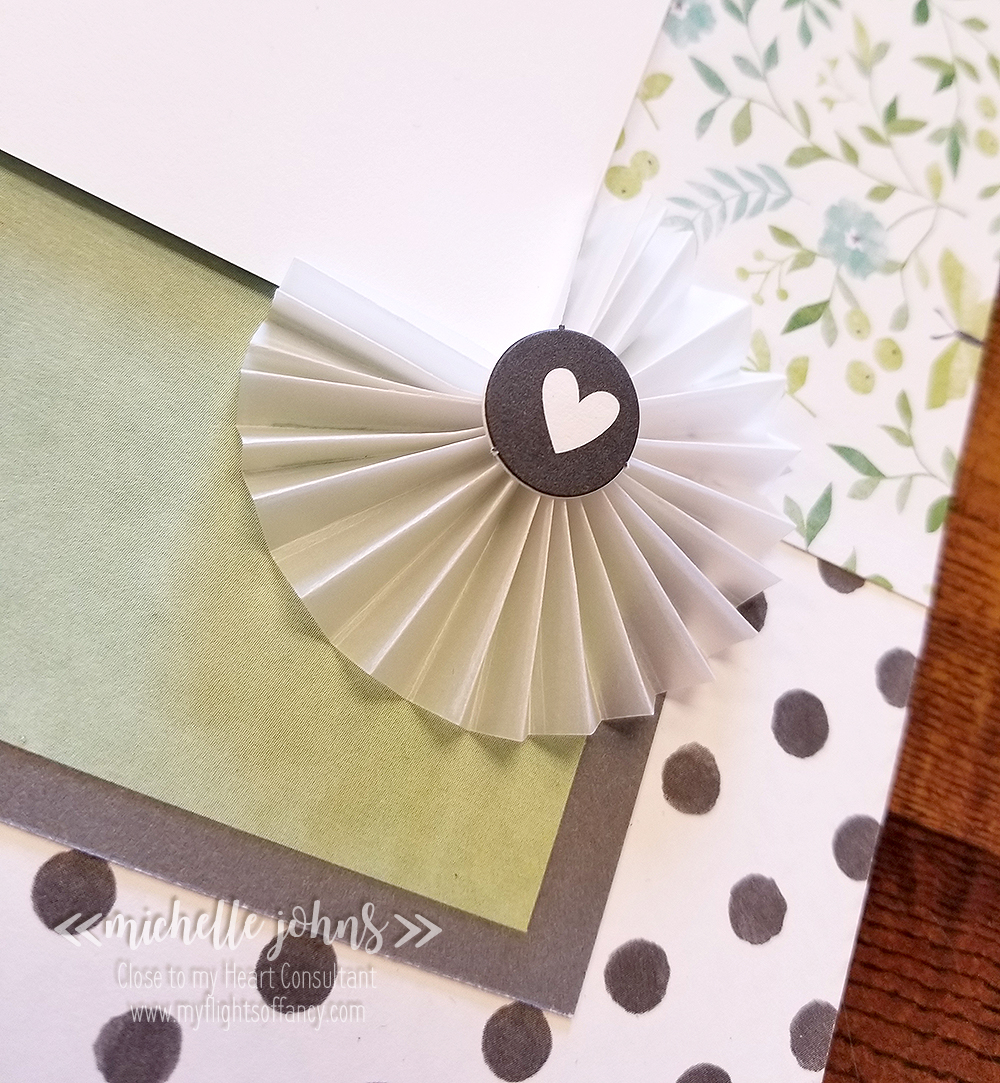
This last one uses our vellum paper! It is such a soft look, but it stands out so much at the same time!
I hope you have liked my page! I would LOVE to see what YOU have done with your PML cards! Come over and join my FB group, and share your PML card creations!
Now, hop on over to Kathy’s blog and see what fun stuff she has for you!
I look forward to seeing you again soon!!
~Michelle
Welcome to this months Technique Blog Hop! This month we are working with the Make if From Your Heart volumes 3 and 4. You should get plenty of great ideas from this blog hop, and I am certain that you will want one or both of these books by the time you are done! You should have arrived from Danielle’s blog. If you didn’t, and you started here, that’s ok, it’s a big round circle, and you will get back to her blog!
Today I am working with Volume 4, which is all about cards! I had a hard time choosing which pattern to use, but decided to go with pattern #4.

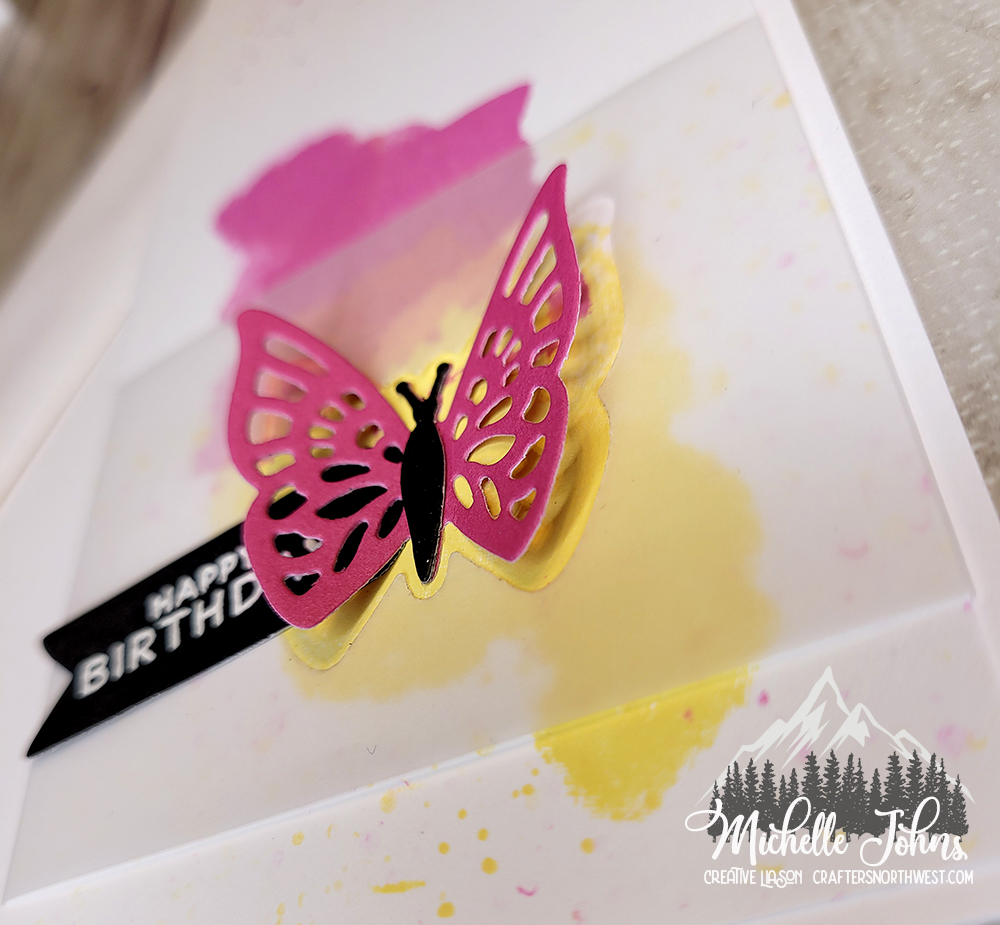
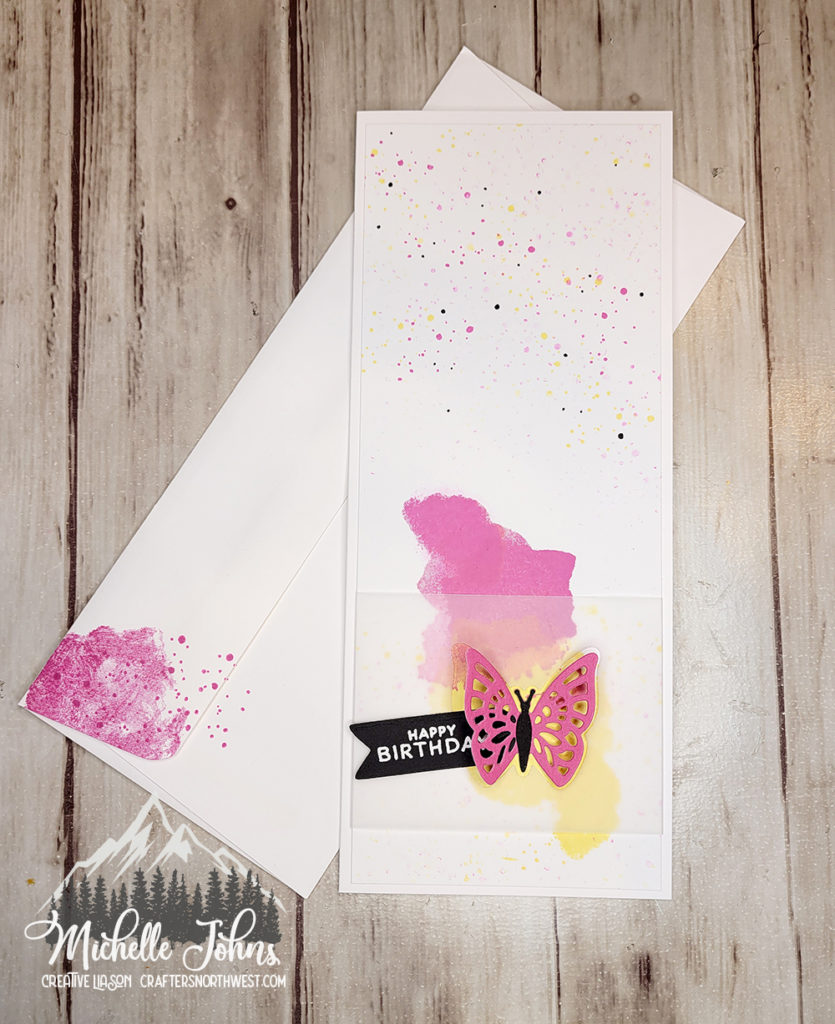
This is the first card that I made. Now, I did make some adjustments for this card. I left off the piece on the left, and I added another banner piece, plus the sentiment piece as well.
I loved the flowers and the butterflies on this PML card from the Chelsea Gardens paper pack. So, I trimmed it to 4 x 5.5, trimmed the card base down to the same size, and started layering things! This whole card (minus the base) is used from scraps from my projects that I have made already! That lacey banner piece, that was part of a 3×4 PML card. The mat under the sentiment? It’s the same PML card! I used charcoal ink to stamp the sentiment with and the Many Congratulations stamp set. I used just a bit of the White Shimmer Trim to give a bit more sparkle. Topped it off with some bitty sparkles, and you have a beautiful card!
The next card, believe it or not, is from the same Chelsea Gardens paper pack! I wanted to show that there is great versatility in this paper pack! I even used the same card pattern! The only difference is the size of the sentiment banner!

This is a MUCH more boy-ish card! It is very monochromatic! I am loving this card too! The dark banner piece is one of the zip strips from this paper line. That see through piece? That is our vellum that I colored with the Warm Grey 7 marker! I used that same marker to color the mat piece for the banner! The sentiment is from March’s Stamp of the Month. Like the first card, I stamped with Charcoal ink. I couldn’t leave it plain, so added a few of the white dots to finish it off, and it looks great!
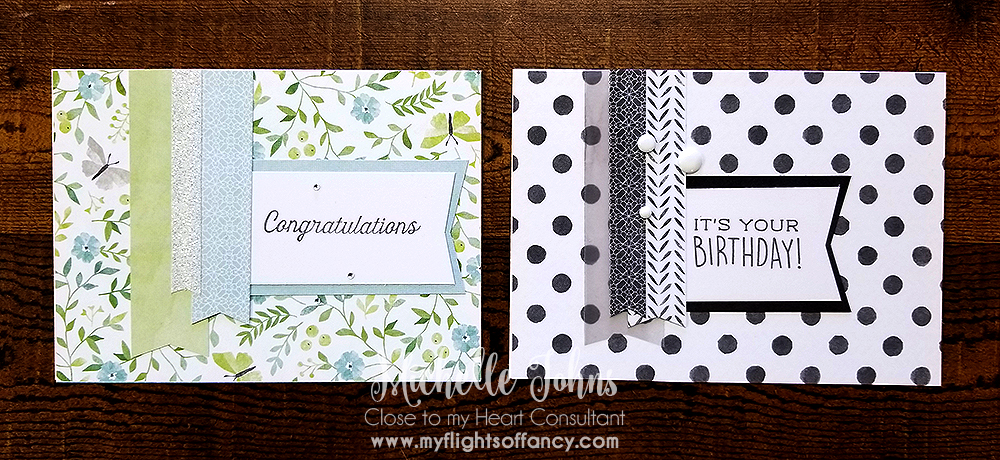
I love that these cards look the same, but so different at the same time! It just goes to show that these card patterns can be used so very many different ways!

The books show you the sketch of the pattern, the dimensions (which I’ve covered in the photo), and two samples of the cards as well. These volumes come hole punched and ready for you to put in an album. You can use any of the mini albums available right now!
Thanks for stopping by! Let me know which card is your favorite! Now you are on to Tammy’s blog.