Tag Archives: Masculine

Will it be Flora or Fauna?

As you have seen, H2H Challenge Blog does challenges twice a month.  If you haven’t played along yet, you really should!  The prompts are great, and the artwork is pretty splendid as well!  The second challenge for April is Flora or Fauna.  That leaves so many different options!  You can do almost anything with this!


So, I decided to go with Flora.  My card is more of a masculine card, even though it has flowers and butterflies on it.  (Guys do actually like flowers, too!)

This is called a Bookbinding Card.  It is sealed at the far right, with a ‘lip’.  (as opposed to the normal fold)  It gives you a smaller space to write on the inside, but that’s ok too, sometimes!


I stamped on the charcoal piece with white craft ink.  Once dried, it comes to this nice almost faded look that I think fits and pairs well with the B&T from In Full Bloom.


The sentiment is heat embossed in white powder, so that it would stand out from the card.

I really like how this card turned out!  Simple and elegant, and can be used for so many reasons, just by changing the sentiment.


Thanks for stopping in to see my card!  I hope you will leave a comment below, for me!


Then, hop over to the H2H Challenge Blog and play along!


Keep being Crafty!

~Michelle

Do you have problems with making masculine cards?

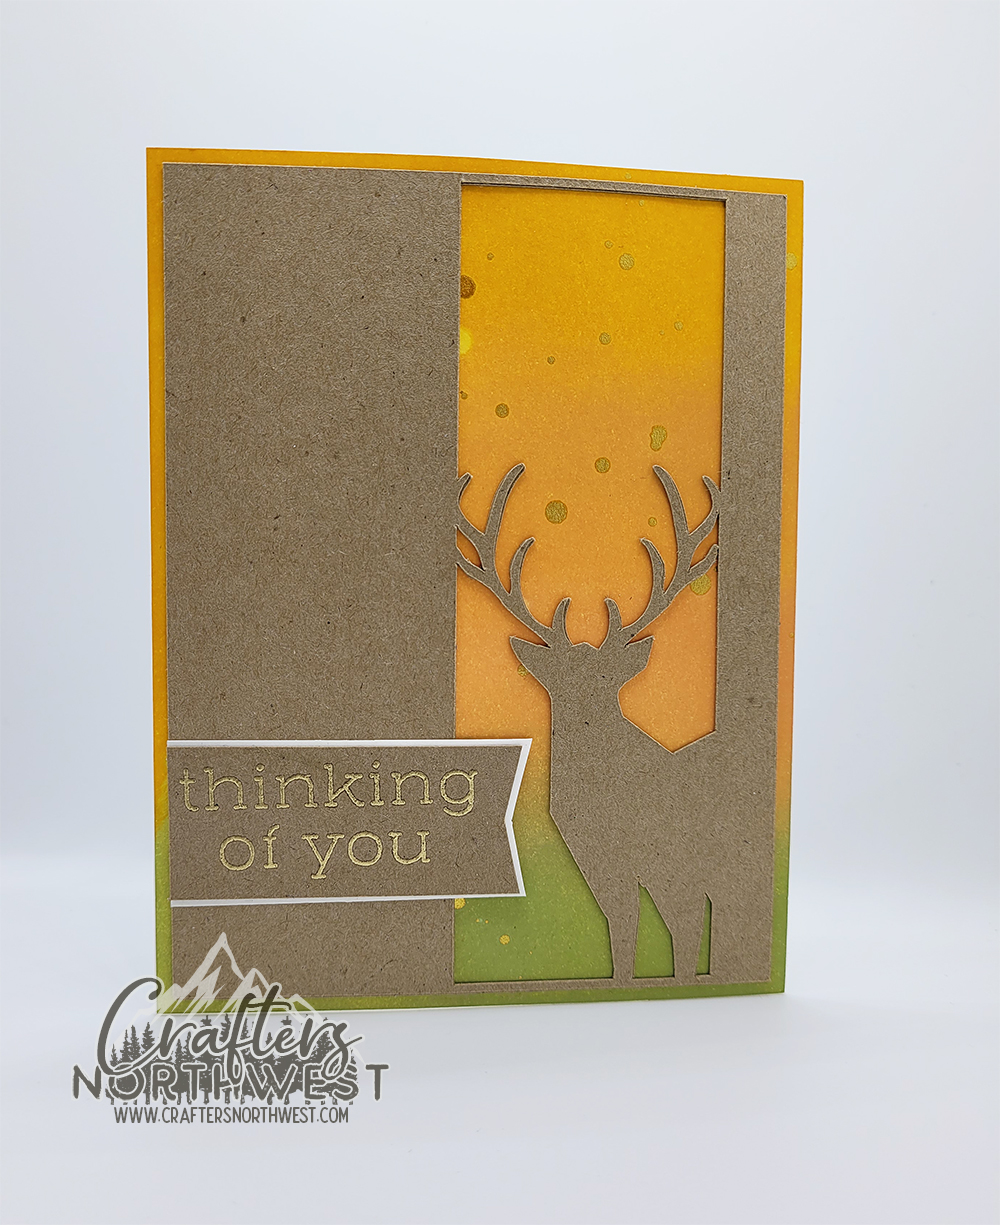
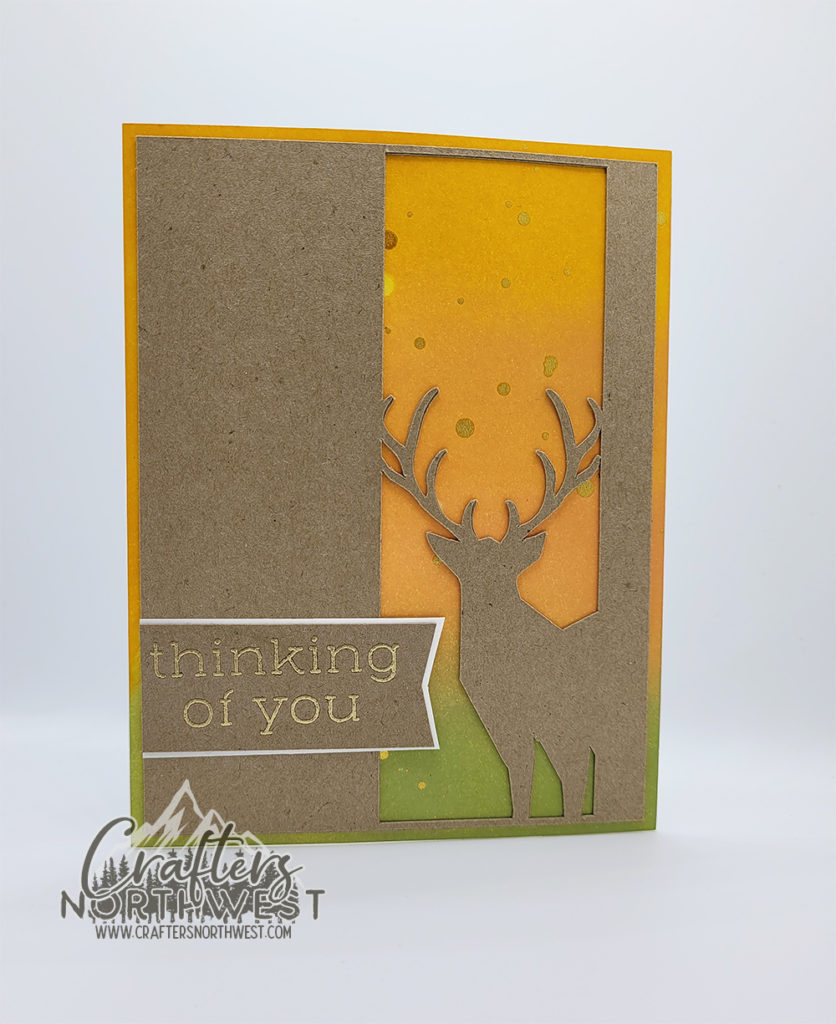
I know that sometimes I do!  I thought that the Oh Deer challenge over at H2H Designs was perfect to get in a fun guy card!  And the great news, it’s fairly easy, too!

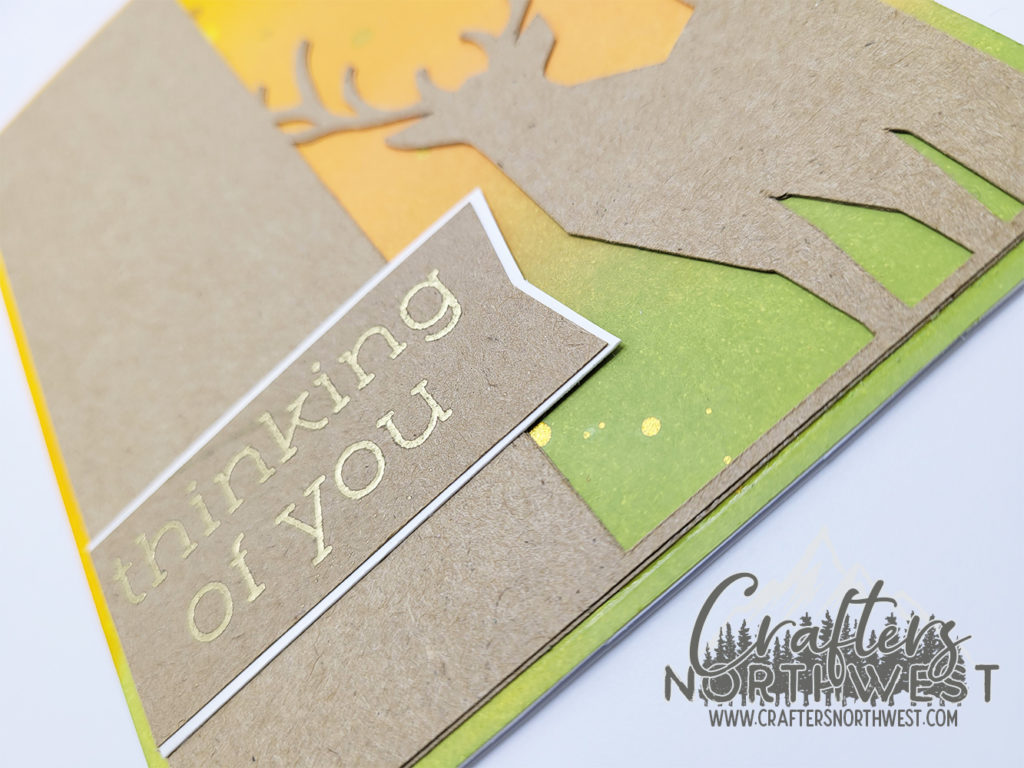
I grabbed a deer image off of one of the CTMH cartridges, and did some editing.  I cut it out a couple of times, so that I wouldn’t have to worry about foam tape on those teeny antlers!!

I used three different distress oxides to color the back panel, then sprinkled some water droplets on it, then sprinkled some gilt gloss spray over the oxides.

I used just a scrap of the french vanilla cardstock to help the sentiment pop off the card.  The sentiment itself was embossed with gold embossing powder.

The card went together super quickly!  And I could imagine it working with any number of color combinations!

I would love to see what you come up with, with the inspiration you get from the other ladies participating in the H2H Challenges!

Until next time, I hope you are able to stay crafty, my friends!


~ Michelle

Doodled Birthday Wishes

We all need birthday cards, because everyone has a birthday!  I was inspired by another consultant who did something similar, so had to give it a try!

I grabbed my Make it from your Heart book, and viola!  These fun cards were born!

I always say, if you are making one, you might as well make two!  And since I was making them in one color, I might as well do a few more!  These really went together very quickly!

I think they are kind of fun, being monochromatic!  I grabbed some of the Blossom papers that read as one color, and went with it!  Add some Lagoon, Nectarine, and Green Apple inks, and you are good to go!

I hope these fun cards inspire you!

Thanks so much for stopping by!


CTMH Items Used


Technique Hop – “It’s Faux”

Welcome to the Faux hop!  Hahaha!  It’s the real dealio, but it’s all about the faux!  This month’s technique is all about the faux look.  Stitching, textures, and such.  I am positive that you will get some great ideas from this blog hop!  Today you may have come from Alyson’s blog, or you may have started here.  Either way, it is a circle hop, and you should get back to where you started!  If you get lost along the way, you can check out the list on Melissa’s blog!

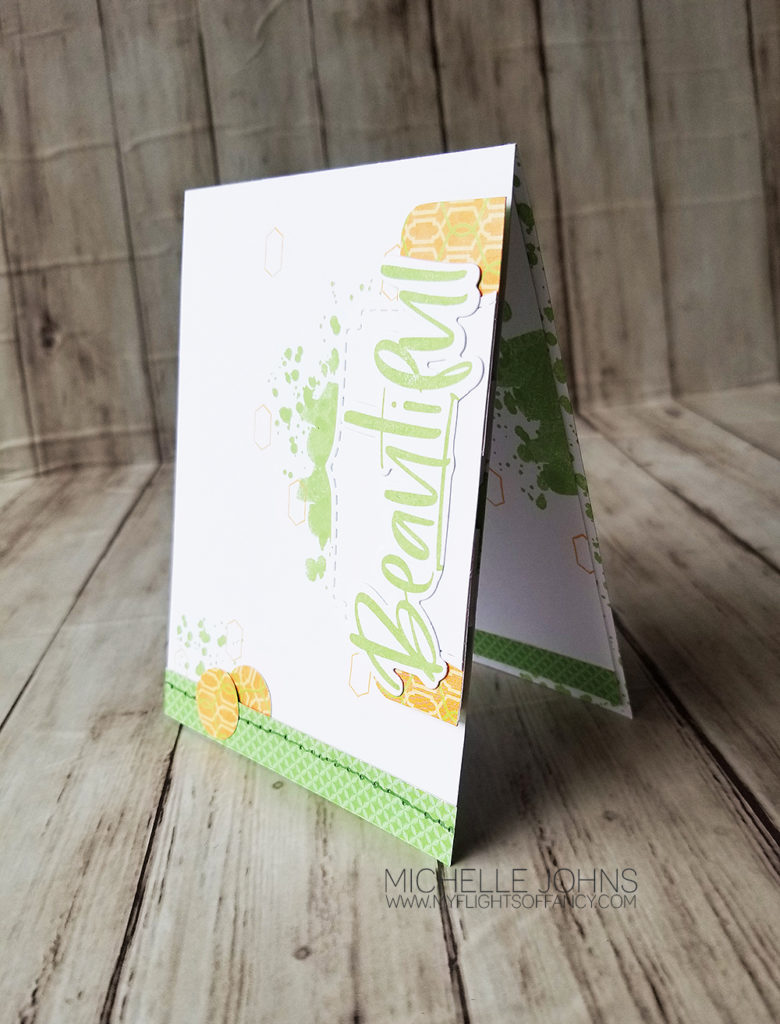
Today I wanted to do something a little different than what you might expect to see with the Blossom paper packet.  I was inspired by this card that I found on pinterest.  I just had so much fun making this “messy” card!  And it’s so so so simple!

I used Green Apple, Nectarine, and pewter inks.  I used a few pieces from just one of the B&T papers.  I used a few different stamp sets to make this fun card, I’ll list them below for you.  For the faux stitching, I used a stamp and my paper piercer to add the holes that a sewing machine would have, had it been real stitching.  I think it gives that extra little dimension!  We’ll be making this card tonight for my FB Live at 6pm!  I hope you will join me!

I even did more than my usual on the inside of this card!  I love how the liner pops with all the background!  Make sure to come and watch the live!  (or the replay!)


Thanks so much for hopping along!  I know you will like what Haley has up for you next!  See you next time!

CTMH Items Used:

Rad Dad – Masculine Themed Optional Hop

Another hop! You betcha! This month we have a special called Dad is Rad, and it’s only available until the end of June! I know you will want to get this set, and we are here to show you some ideas other than what you get with the kit itself! They will all be masculine themed, so they are perfect for the Dads (or guys) in your life! Today you should have arrived from Darlys’ blog. If not, that’s ok, it’s a circle, so you will get back there. So, let’s get started, shall we??

First, let’s start with what you get in the Dad is Rad kit. Check this out!

This kit contents:
1 – My Acrylix® Rad Dad Stamp Set (D1811)
11 – cardstock sheets (1 Almond, 1 Crystal Blue, 1 Juniper, 1 Sapphire, 2 Toffee, 4 White Daisy, 1 gold glitter)
1 – White Burlap Ribbon (Z3323)
1 – Gold Bows (Z3380)
4 – white cards & envelopes

You will also have access (even without purchase) to a pdf guide on how to create a two page layout and 5 cards with the supplies in this kit. It really is a great deal!

Now, shall I show you what I came up with? I must tell you, I totally CASEd this card I found on Pinterest. I changed the colors so that it would use what came in the kit, and I LOVE love love how it turned out!

I stamped the solid argyle image in Almond Ink and the dotted argyle in Sapphire Ink. The “Thank you” was cut with my explore, I used the font Lobster Two. I cut it four times and layered them together with liquid glass, and attached them to the card with it as well.

I used the Almond cardstock for the background and the Sapphire cardstock to tie in the ink and sentiment.

I even brought the design into the inside of the card. I just couldn’t stop stamping it!

I am LOVING how this card looks! Super classy and very masculine! Tell me what you think!! What color combos would you use??

Now, after you comment, hop on over to Alayne’s blog and see what she has for you!

Thanks so much for stopping by!