Category Archives: Uncategorized

Scrapbooking Global Blog Hop

It's a Scrapbooking Blog Hop!

Welcome to the Scrapbooking Global Blog Hop!

Scrapbooking Global is a Stampin’ Up! facebook group that loves to share their scrapbook pages and ideas!  As a CTMH Maker that will be transitioning to Stampin’ Up! as of May 1st (due to the closing of Close to my Heart), I joined the group and thought it would be fun to join in on the blog hop!

So, let’s take a look at the sketch that we are going to use today!

My project today uses a few things that were still available as of this morning!  (Things are selling out quickly!)

I started with the Starter Cut Above Layout Kit 2.  I decided to add the Let’s Go Anywhere sticker sheet.  When We decide which photos to use, we will use the Starter Alphabet Stamp Set.  (My thoughts are for my Daughter’s trip with EF Tours to London, Pompeii, and a few other stops along the way.  I will let her choose a few photos and then we can add the title with which location it was!)

This kit was so easy to put together, and for only $3.13!  WHAT?  That is a steal!

I decided to change the color of the tabs, by using an alcohol marker.  The most fun part was adding the extra stickers to the layout, totally making it one of a kind!

Adding just a bit of foam tape helps to give this cluster so much dimension!

In the video I give a few tips on how to make these stickers work with foam tape, and some tips about that bow you can see off to the right of the photo below!

I even did a quick video to show you the process!  If you would like, take a peek at that, and if you like, I would love to have you as a blog and YouTube subscriber!

I hope you have liked my project today!  Like others, I love to see comments about the projects I share!  Please take a moment to leave a comment before you hop on to the next person!

The next button below will send you to the next blog (Danielle), but here is the whole list of hoppers!  Each blog should have a next button on it, to make it super easy to get through the hop!

Sharon Dalton – CreativeMe68 (Australia)
Jo Blackman (UK)
Michelle Johns – Crafters Northwest (US) <– you are Here!
Danielle Wagner – DanYellScraps (US)
Tania Brown
Rochelle Laird-Smith – Stamping Flair (Australia)
Cheryl Taylor – Stampin n crafting with Cheryldiana – UK
Sherry Roth – Stamped Treasures – Canada
Caz Hurst – Happy Crafter – New Zealand
Julia Quinn – Handmade by Julia Quinn (Australia)

We hope that you enjoy the hop and leave a little love on each of your stops along the way!

Products used today:

(Due to CTMH closing, many of these items are sold out.  However, what is available at the time of this post is linked above)

Holy February, Batman!!

Is it just me, or is this year already flying by faster than expected?  Not just me?  Ok, good!

Since we need to catch up on some time, let’s hit some important topics, shall we??  First!  There was a new mini book that went live on January 1!  Have you seen it just yet?  It is so so so fun!!  You can see all the things on the website, you can download the PDF here, and if you want to look at it Magazine style, online, you can head to this page and just click on either the core book or the newest mini book!

Storybrook fb image

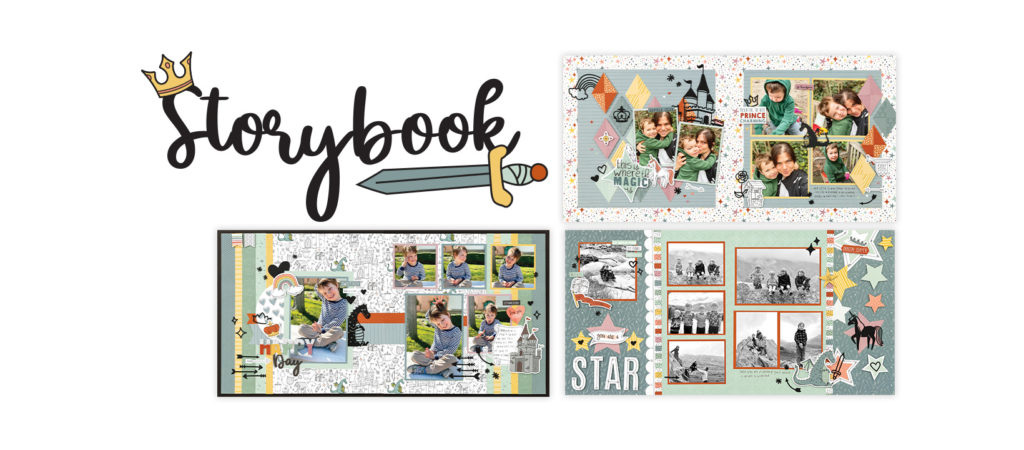
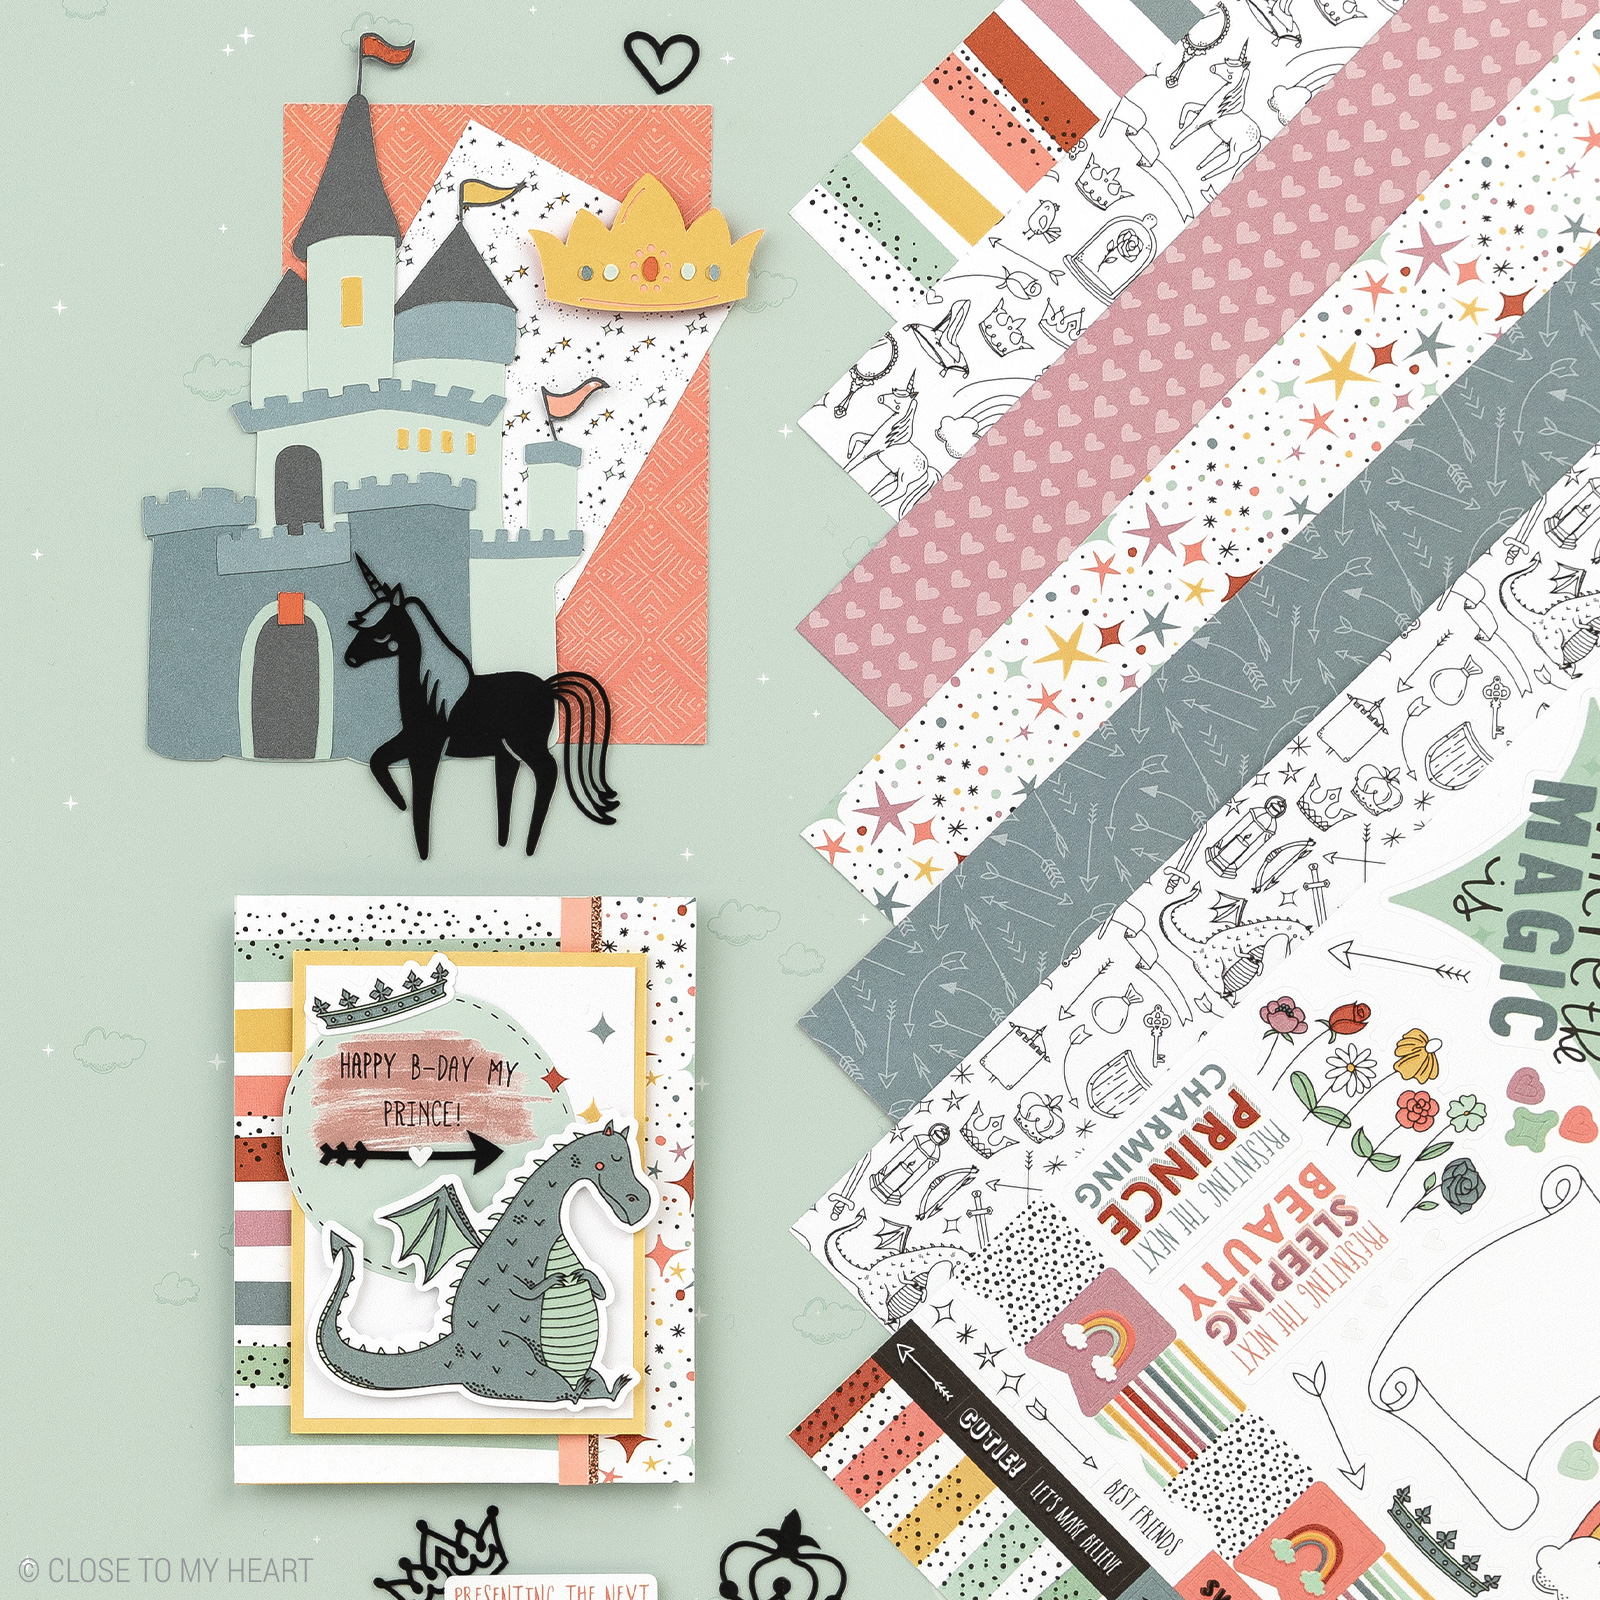
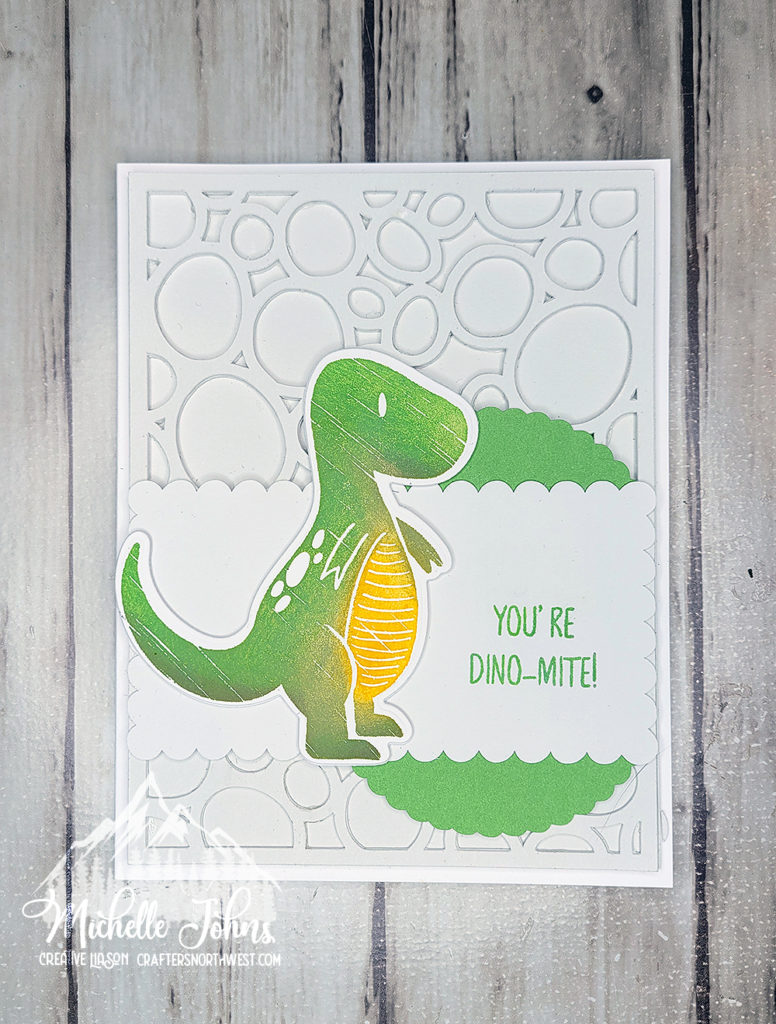
The artwork that CTMH is going to share this month is going to focus on Storybrook.  It’s a super cute fantasy Princess and dragons theme!  So so so cute!  I think I will name him Norbert!  (can YOU figure out who Norbert is?  Leave me a comment below, and tell me who you think I’m talking about!)

One of the great things that CTMH did with this paper pack, is that the opposite sides, are opposing themes!  So, one side is more ‘boy’ themed, and one side is more ‘girl’ themed!  So this one packet works wonderfully for boys or girls, and you can even mix the colors perfectly back and forth!


I will be hosting some live videos weekly!  I hope you will join me!  It’s going to be Three on Thursday!  We will make three cards each Thursday!  I am even going to be starting tomorrow, February 2nd!  You will be able to find me Right Here!


I don’t want to overwhelm you in one post, so I will see you tomorrow (Thursday) on the Live!  (you will also be able to watch the replay, if you miss us!)


Thanks for stopping by!  Remember to guess who Norbert is in the comments!

Layered Flowers

Welcome to the Technique blog hop!  This month our focus is on layered flowers!  There are so many different ways that you could do that!  The Layered Flowers Thin Cuts might be the easiest way to do that!  I will link some other projects below, that I had fun making in different ways.  If you are following the hop, you should have arrived here from Michelle’s blog.  If you started here, that’s ok!!  You will continue around in a circle until you get back to here!  I know you will find a bunch of great ideas that you will want to copy!

So, for my card, I used a few different things!  I used the stencil from the In Full Bloom Scrapbooking workshop, the stamped sentiment from the cardmaking workshop, and the layered flowers thin cuts.

I used the stencil a few different times with shortbread ink.  The sentiment is stamped in grape ink to coordinate with the grape cardstock of the flowers.  The leaves are cut from both light and dark sides of sage cardstock.  Tof finish it off, I used some liquid pearls!  (I don’t know about you, but I tend to forget how much I like them!)

I hope that you like the card that I shared today!  I have a short video that you can watch of me putting it together, here.

I said I would link some other cards that I have made thatw ould fit for this blog hop.  I have this card here that shows how to use different colors of cricut cuts for a flower.  This one uses a different style of cricut cuts, that are similar to what I have done today with the large flower.  Last but not least, this is a whole different style, with multiple layers of the B&T paper being cut and layered.

Thanks so much for stopping by!  Next you should be going to Lauren’s blog.  Before you hop away, however, I would love it if you left me a comment about my project!

Have a crafty day!

~ Michelle

CTMH Items used:

{All items are clickable!}
Online Bingo

Online Bingo!

It’s Bingo Time!

We are going to play bingo AND make cards!

With your registration, you will get:

  • 4 pre-cut projects
  • 5 numbers of your choice, between 1 & 25
  • Video putting the cards together
  • Fun embellishments for your projects, with some left over to use on other projects
  • PRIZES!  (prizes will be based on the number of registered players!  The more that play, the more (or bigger!) prizes!

Once you have paid your registration fee, I will send you the link to finish your registration (where you will pick your numbers).

We will be live on FB on April 28th at 6pm

Your kits will be mailed AFTER the video, so that you won’t miss your numbers during game play!

If you have any questions, please leave them in the comments below, or message me!

Thanks friends!

~ Michelle
Crafting Bee Logo

Crafting Bee

It is time for the Crafters to re-unite!

We WILL come together again!

With many things there is change, as is so with this!  What is now Crafting Bee, was once known as a Crop.

In the ‘olden days’, ladies got together for Quilting Bees.  So, we are going to bring that back to life, in a way, with our Crafting Bees!

I can’t wait to see you all again!  Old friends and new friends alike!

I know many of us have been working on many ‘different things!  I would love for everyone to bring 2 or 3 projects that they would like to ‘share with the class’, things that helped to keep you a bit sane during the pandemic!  (there might even ‘bee’ a small prize for those that do!)

Crafting Bee April time

12 pm to 8pm

  • Dinner Included
  • 6 feet of table space
  • Time with the ladies
  • Always a fun table treat!

**All Crafters Northwest Events require that participants have their vaccines and boosters up to date.  Thank you for your understanding!**

It will be so good to see you all!

~Michelle

Sponged Dino

Can you sponge your Dino?

The new challenge of the month over at H2H is all about sponge techniques!  This one was fun!  Because, I don’t know about you, but I like to channel my inner Tim Holtz every now and again!  I saw him do this technique years ago, on a video, that was probably years old!  LOL!!  Basically he used a Misti tool to make a rainbow of colors on a stamp, by sponging colors onto the stamp and overlapping them.


So, before you leave, I would love for you to leave me a note and let me know which is YOUR favorite card, and let me know if you have tried this technique!

Sponged Dino Card

Mine didn’t ALL overlap, but some of them did!  I just think the whole thing turned out great!


I also channeled my inner Jennifer McGuire, and made TWO dinos when I was stamping, to make two cards.  However, I couldn’t decide which background I wanted, so I just went ahead and did two!


Before I swap over to the other card, I wanted to show something.  I managed to blow a fuze when I was making this card.  (literally, had to go and flip the breaker!)  So, one of my pieces didn’t cut all the way.  So, I decided to do something fun with the inside, and use that piece that hadn’t cut all the way.  


I tore it into a ‘sloped’ shape, and then distressed it, and glued it to the inside of the card.  I think it turned out great!

inside of card

Ok, let’s see the other card, shall we?

Sponged Dino

This is the other dino!  Isn’t he cute, too?  I created a background with one of the images on the Artbooking cartridge.  Then I cut it four times, to give it some depth

Sponged Dino Card

It was fun to do two different cards!  It would have been much faster if I had done two of the same, but that’s ok too!

Last week, you saw that I was inspired by a friend’s son, and this week is the same!  Just, a different friend!  (actually, both friends’ sons like dinos!)


Like I said earlier, I hope that you will let me know which card is YOUR favorite!  Also, if you might want to try this whole sponging thing, join us over at H2H for some fun challenges, and put YOUR artwork into the hat!

Thanks so much for joining me!

Blog Signature

Inspired by Silver and Gold

Today I am participating in a blog hop with CTMH Techniques.  The theme of this hop is Silver and Gold!  I am sure you will get many fantastic ideas!  Just follow along in the hop, and you will get back to where you started.  You may have started here, or you may have started at Brandi’s blog.  Either way, let’s continue on with the hopping, shall we?

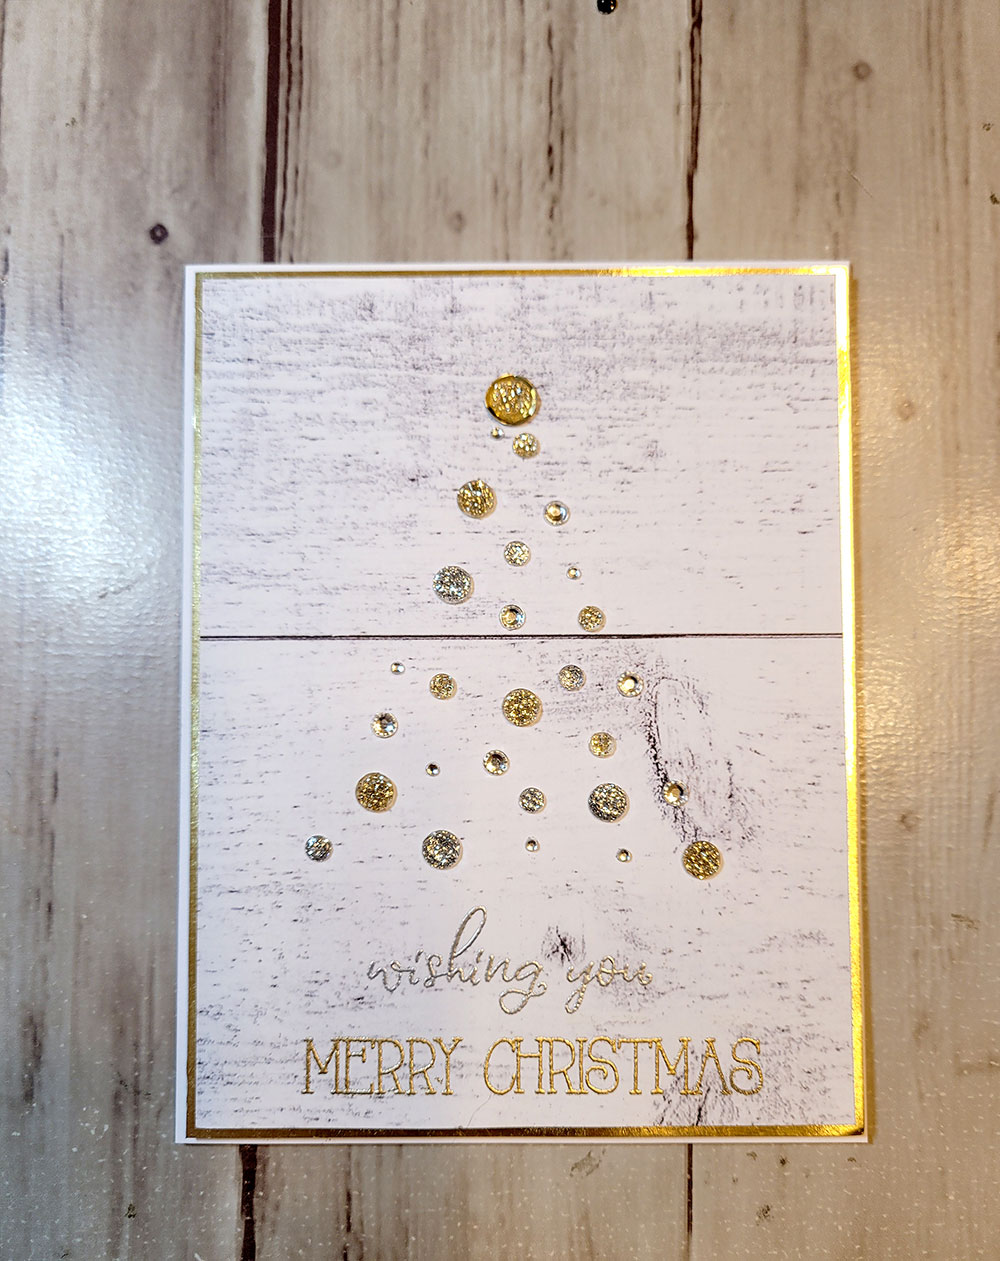
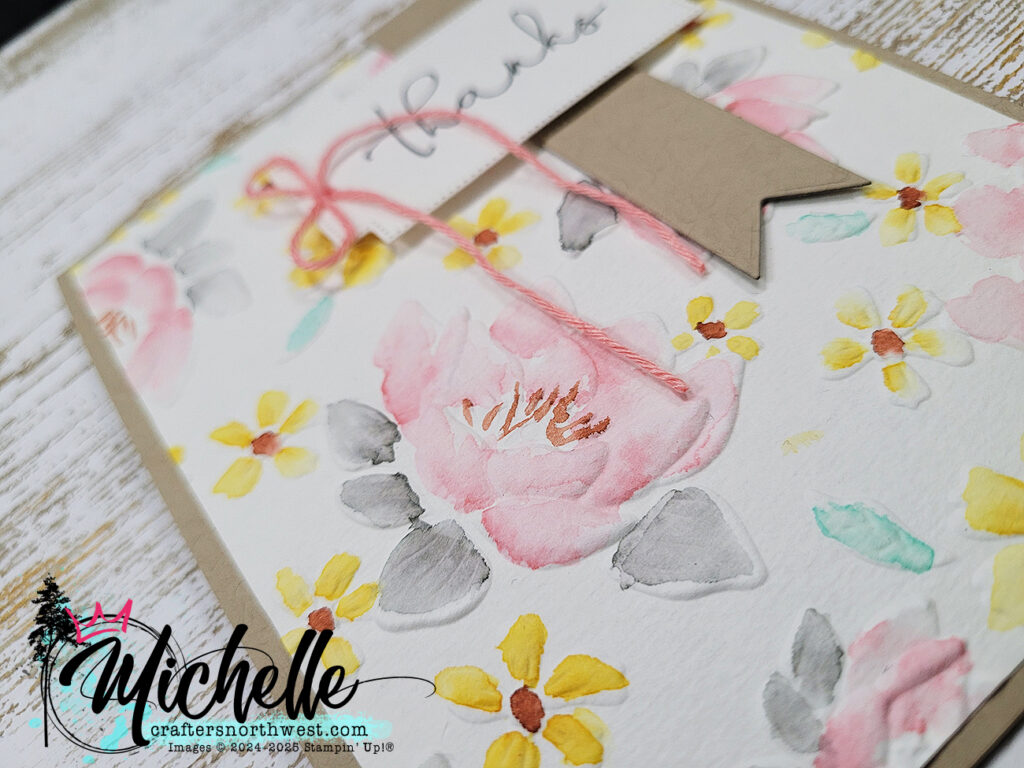
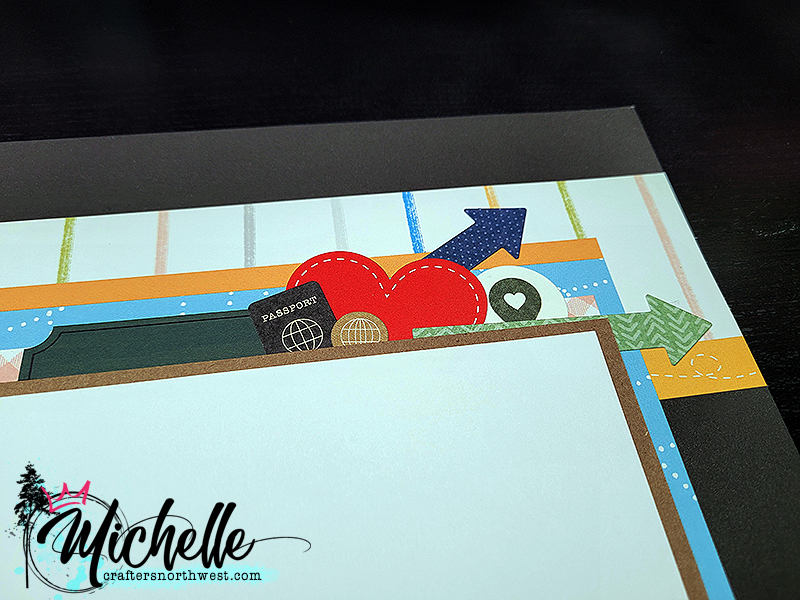
I was inspired by a card that I found on Pinterest, and just had a blast with lots of bits and bobs of left over bling!


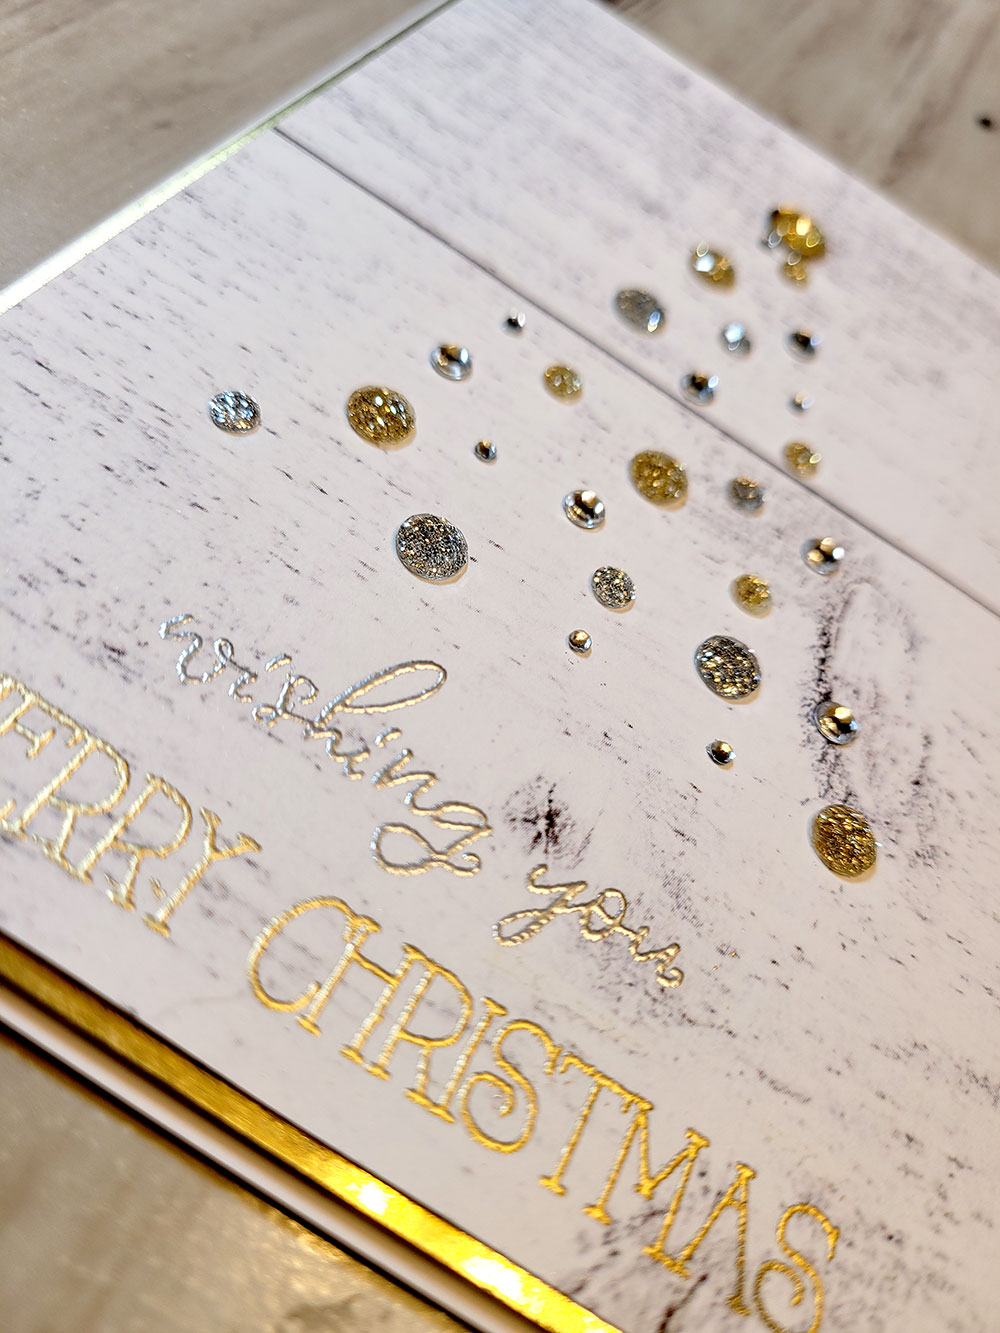
I did some stamp surgery with one of the sentiments, to make it even more fun!  I embossed each line with silver and gold embossing powder!

I think I quite fit the challenge, what do you think?  Do you have one or two (or more) pieces of bling left over in a pack?  This would be the perfect way to use them up!  (they don’t have to be only silver or gold!)  I would love to see what you do with this idea!

Now, if you would be so kind as to leave a comment before you hop away, I would greatly appreciate it!  Then, you can hop over to Judy’s blog, and see what she has for you!

Until next time, have some crafty fun!

~Michelle

Rose gold simplicity!

Have you seen the rose gold papers that CTMH carries?  There are 6 different designs, with rose gold foil on them!  They are so shiny and pretty!  They are perfect for cards, and like with a little black dress, you can dress it up or dress it down!

These two cards use the exact same measurements, but with the different papers, they look so different!  One looks a bit more ‘formal’ than the other.  I love how just changing a paper can make a world of difference!

Just look at all that shine!

These cards were first inspired by this week’s challenge over at H2H Challenges!  You should check them out!  Then, I started looking at the Make it from your Heart book, volumne 1, and pattern 20 was my starting off point!

I hope that these cards inspire you to try the Rose Gold Papers!  They are beautiful and fun!  (and so easy to use!)

Do you have problems with making masculine cards?

I know that sometimes I do!  I thought that the Oh Deer challenge over at H2H Designs was perfect to get in a fun guy card!  And the great news, it’s fairly easy, too!

I grabbed a deer image off of one of the CTMH cartridges, and did some editing.  I cut it out a couple of times, so that I wouldn’t have to worry about foam tape on those teeny antlers!!

I used three different distress oxides to color the back panel, then sprinkled some water droplets on it, then sprinkled some gilt gloss spray over the oxides.

I used just a scrap of the french vanilla cardstock to help the sentiment pop off the card.  The sentiment itself was embossed with gold embossing powder.

The card went together super quickly!  And I could imagine it working with any number of color combinations!

I would love to see what you come up with, with the inspiration you get from the other ladies participating in the H2H Challenges!

Until next time, I hope you are able to stay crafty, my friends!


~ Michelle

H2H Inspires Tags!

Aren’t these tags just adorable?  I used the As You Grow PML cards!  The longest part was the coloring on this adorable new coffee cup!


The challenge this week over at H2H Challenges is all about Tags.  By themselves, on a card, on a package, you name it!  You could always use this to get your Christmas or Holiday tags ready!

The mink twine is still available, but there aren’t many left in stock!

I colored all of the coffee cups with the TriBlend markers, and I love how much they pop!  The sentiment comes from the October Stamp of the Month, and it just worked so perfectly!

I hope I have inspired you to create some tags!  They don’t have to be super complicated, and are a great use of scraps!  I would love to see what you make!  Share in my FB group, or tag me when you share online!


Thank you for stopping by my new site!  I would love to hear what you think!


Until next time, 

Michelle

CTMH Supplies: