


Welcome to week 2 of the 52 week Layout challenge! I hope you have gotten a chance to play along with week 1!
I have been having fun doing these! I do still need photos for them, but I will find something! 🙂

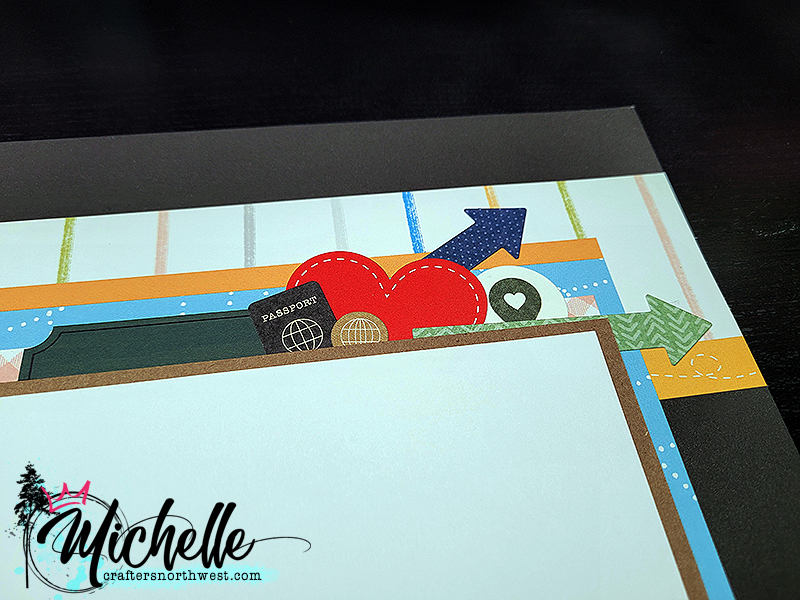
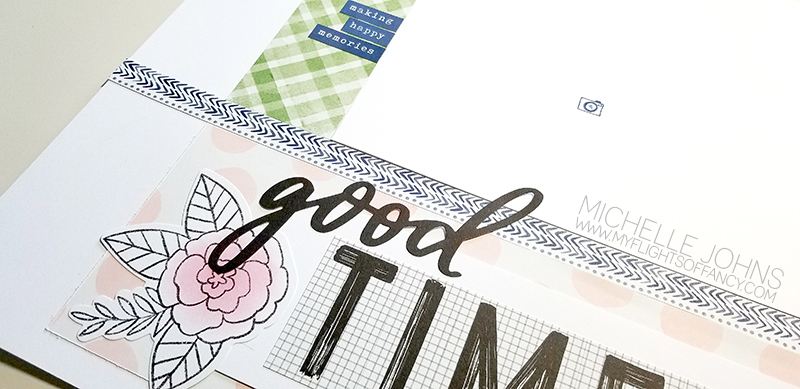
Here are just a few close up shots for you!

I hope you play along with me for these challenges! It will be a great way to get your scrapbook filled in!
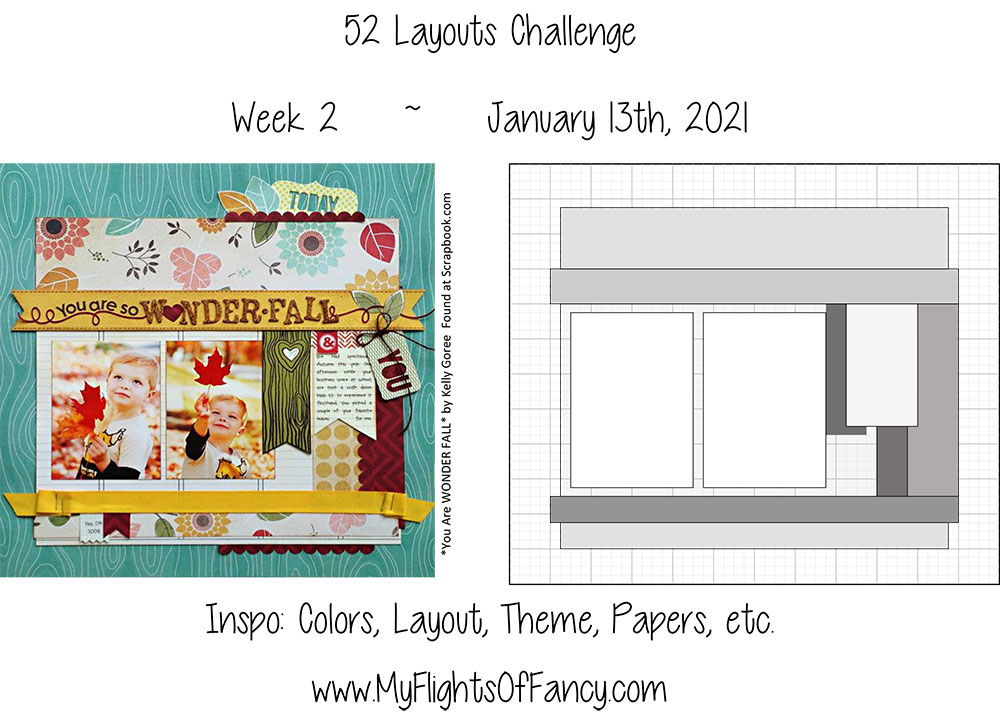
Here is the inspiration image for you!
Find the videos on my FB page or on Youtube! I would love for you to leave a comment and share the videos! It helps so very much!
Thank you so very much!

CTMH Products Used:
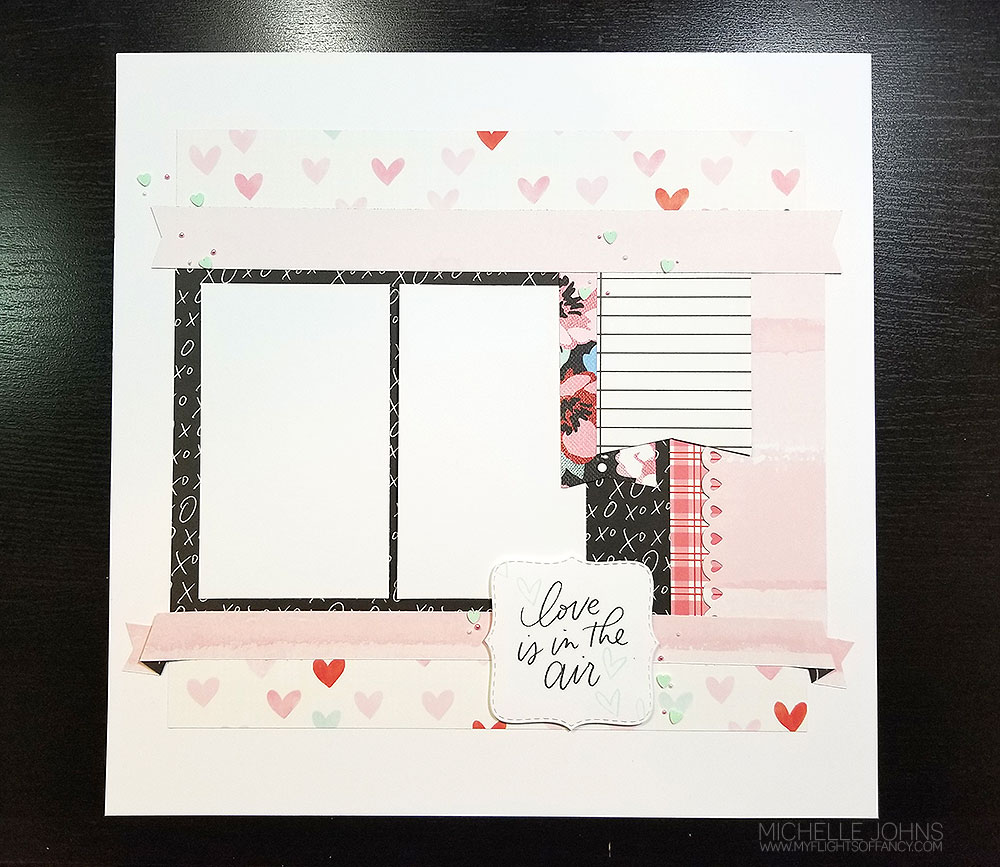
It’s a saying you hear often, right? So, wherever your love is, is where home is, right? That is the theory I am working with for this week’s challenge over at Heart 2 Heart Challenges! I have been working on a mini album, as you may know, for the trip that I surprised hubby with for his birthday a few years ago. We went to New York City, and that city hums on his wavelength.
We had so much fun there! I am so glad that we were able to do that! So, there aren’t any photos on here yet, but it is ready for the photos and the journaling! I think this might be a good page for when we were in Times Square!

Danielle and I did this layout during a zoom call for the Let’s Flock Together Facebook group. It’s a group that is participating in the #100DayProject with a video every single day!
Did you realize that Heart 2 Heart Challenges has a new challenge every week? And that you have the whole month to participate? We would love it if you came and participated with us! We are even looking for a few more people to join the design team!
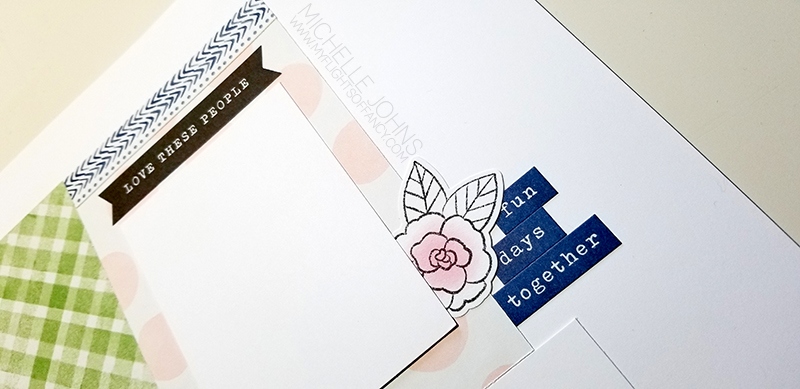
Thanks for joining us on the These are my People blog hop! Today you should have arrived from Becca’s blog. If you started here, don’t worry, it’s a big circle, so you will get back to Becca’s blog!
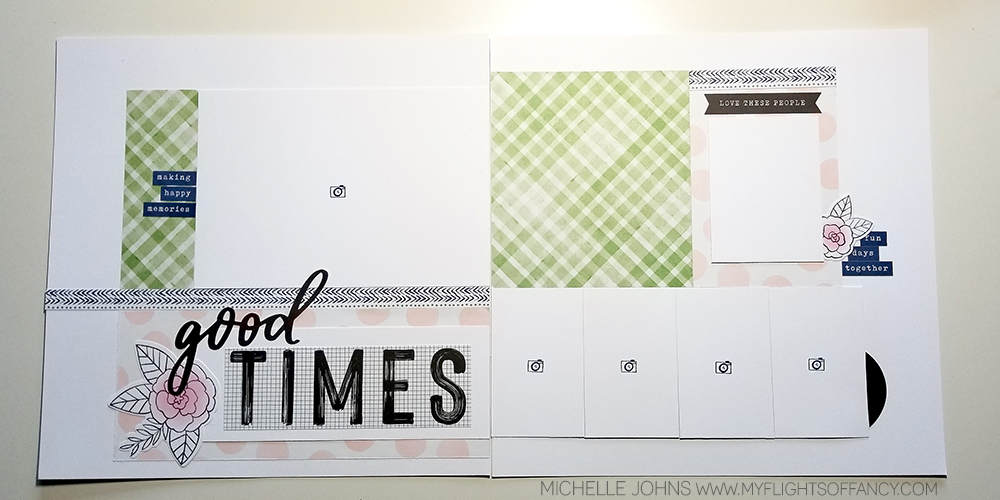
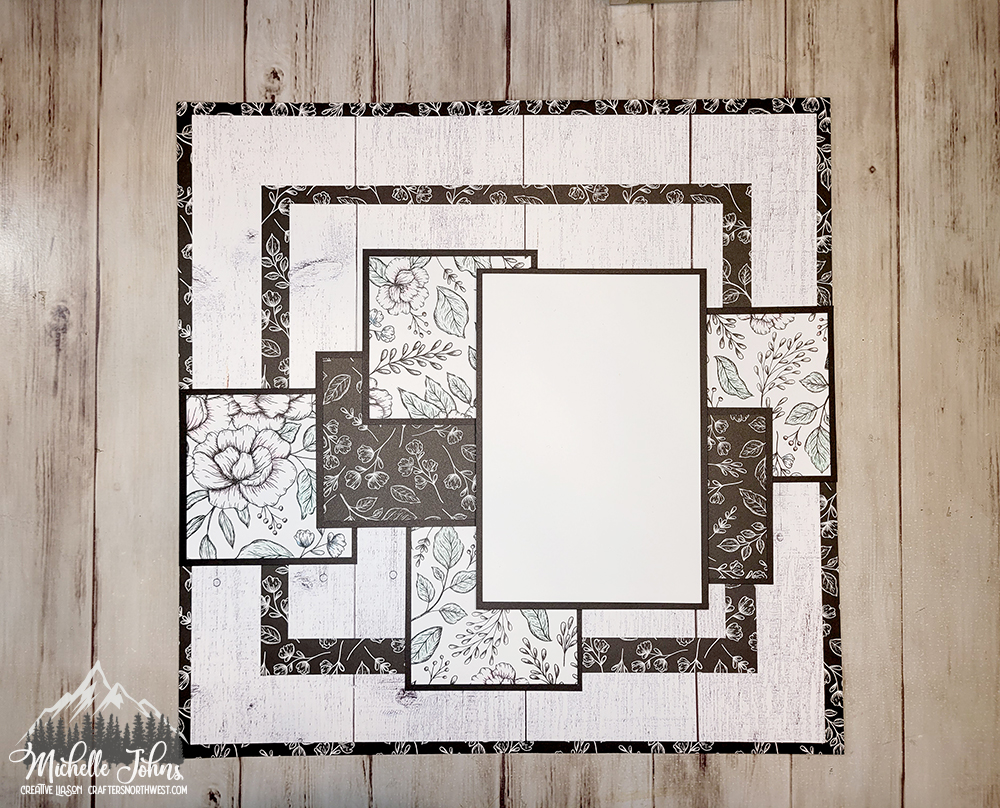
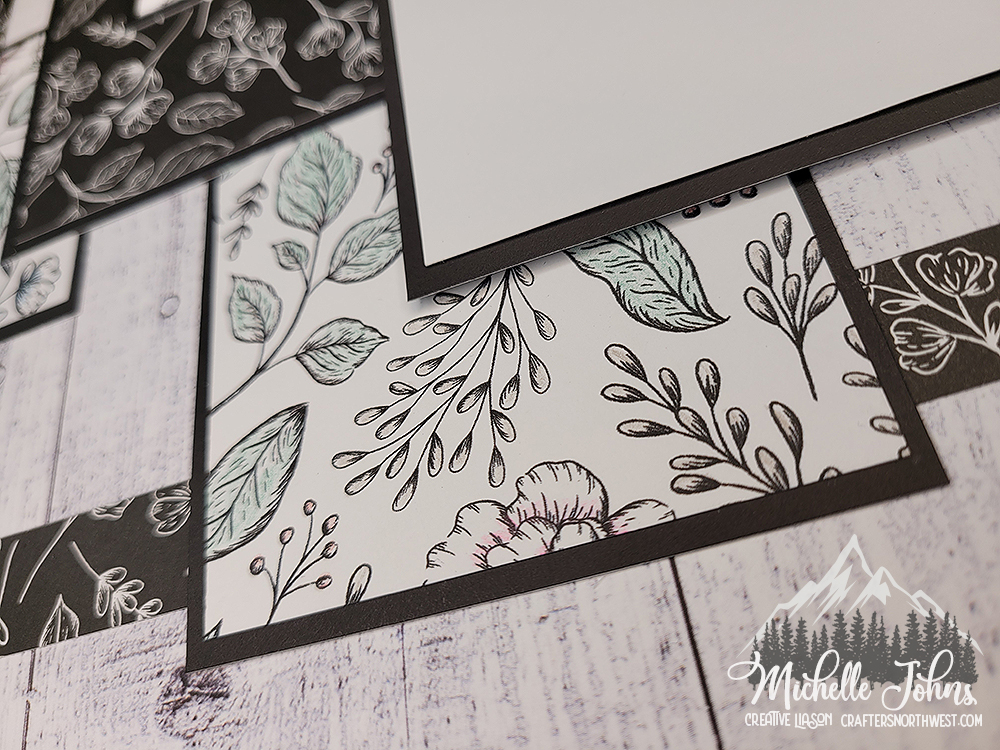
This fun layout is created with the These are my People papers and sticker sheet! It was super easy to put together, with the use of the free sketch on the Make it from your Heart blog! This page came from Moondoggie, so many years ago, and was re-shared a few years ago for NAM, and we used it this weekend for a zoom Virtual Crop over in the Let’s Flock Together FB group! All of the ladies used this same page, and everyone used a different paper, and the pages all turned out BEAUTIFULLY!!
These stickers made putting the extras on this two page layout a cinch!
Like I said, the page was EASY to put together! I know you could do something similar with this paper pack or any other! I would love to hear what you think about it! Leave me a quick note, and then head over to Valerie’s blog to see what she has for you!
Thanks so much for stopping by!
Happy Wednesday! Today Danielle and I used inspiration from the CTMH blog, Make it from your Heart. This layout (and the cards on the blog post as well) has a shaker bit on it. I did not do that part, but had fun with taking the rest of it into play!

If you remember, the layouts are going towards a mini album for the trip we had to NYC. This page is going to be about the concert we went to at Irving Plaza. I probably should have gone with red instead of glacier, but I liked this color! LOL!! I plan on printing out a nice copy of the logo for them, and putting it onto the left page as part of my title. (that’s why there is a big space there!)
I used the stamp set Can’t Get Enough for every bit of stamping on this mini layout! It has a little bit of everything in it, and I am LOVING it!

I even stamped lines (also from the stamp set) in linen ink on the right page for the journaling! I love that they will essentially disappear when I get the journaling down!

There are three different watercolor swooshes in this stamp set, and I used the smallest one, and ‘tucked’ it under the photo and mat, so that it only emphasized the word MUSIC.
All in all, I am super happy with how this layout turned out! It only uses cardstock, which is fun to do sometimes!
I would love to hear your thoughts on this! What else would YOU add? After you leave a comment, hop on over to Danielle’s blog to see what SHE did with this inspiration!
CTMH Items used:
Black cardstock
Glacier Cardstock
White Daisy Cardstock
Can’t Get Enough Stamp Set
Archival Black Ink
Glacier Ink
Linen Ink
Tombow Tape Runner
Fiskars Paper Trimmer
So, as you know, my mini layouts have been geared towards the trip that hubby and I did to NYC. Sometimes that becomes a bit difficult, but other times not so much. This time, Danielle and I chose this layout to be inspired by. It’s in a Traveler’s notebook, which is a different size than our mini albums. So, I was looking at the colors, the layout, all the little pieces.
When we were there, we happened upon the Easter Bonnet Parade! Totally unexpected event! Neither of us had ever heard of an Easter Bonnet Parade before! (and we had come upon people after the parade, as they were slowly dispersing, so it was a hat here and a hat there, and then more and more, and then found out what was going on!)

I don’t know if/what we got photos of (I didn’t consult the photo folder before making this page!) but I am hoping that we got at least a few! If nothing else, we will have something to journal on! LOL!!
I know it’s plain, kind of, at this point, but I want to get the photo on here before I add the title or embellishments (just in case I don’t have any photos that will work for what I want!)
Oh, that photo size, looks weird, right? I was going to do a 3×4, but then decided I wanted to have more space, so it’s a 3×6! I’m sure I can find something that I can chop off 1″ on the long end!
I would love to know what you think! Will you be playing along? Can you name the papers in this page? Leave me a note below, I would love to hear what you have to say! Then make sure to hop over to Danielle’s blog to see what she came up with for this page!
So, Danielle and I decided to do a 10 things layout. And, we both . . . kind of . . . have pockets on our pages. . . sort of. . . LOL!! I designed mine in design space, and then ended up not using that at all, but I wanted to keep some of the feel of it! We went off of this page as our inspiration.

I went ‘old school’ and every stamp on this page is retired. (sorry, not sorry!) I started with some sapphire cardstock, and stamped my NYC in Rustic Alphabet with versamark so that I could use the gold glitter embossing powder! It really does shimmer when it moves! Then I used Jennifer’s Hand with the versamark and white embossing powder. The little heart came from the Share the Love set, and I used the versamark and white embossing powder on it too. (The camera image comes from that same set)
To add some “stars” to the background, I used the Ink Blot set and the versamark ink with the gold glitter embossing powder.

I used one flip flap that was 3×4 and 5 that were the 2×2 size. I cut my cardstock to the right sizes and added the numbers. I haven’t decided if I am going to stick with just words for the numbers, or try to do some photos too!
Now, hop on over to Danielle‘s blog and see what fun stuff she has come up with! (I know she has a video for you too!)
Ok, that may sound silly, but it’s what I see everytime I look at the sketch that Danielle and I are using today! Originally I think it was designed for a card, but I thought it could EASILY be made into a mini layout! So, that’s what we did!

Now, this could EASILY be done with my cricut, but I didn’t want to have to pull it out and do all that, I just wanted to sit at my desk and make it happen. So, I grabbed a few different dies! I used the large scallped circle from the card spinner set, and the three smaller circles from the Basic Circles thin cut set, and the large circle from the Shaker Window set!
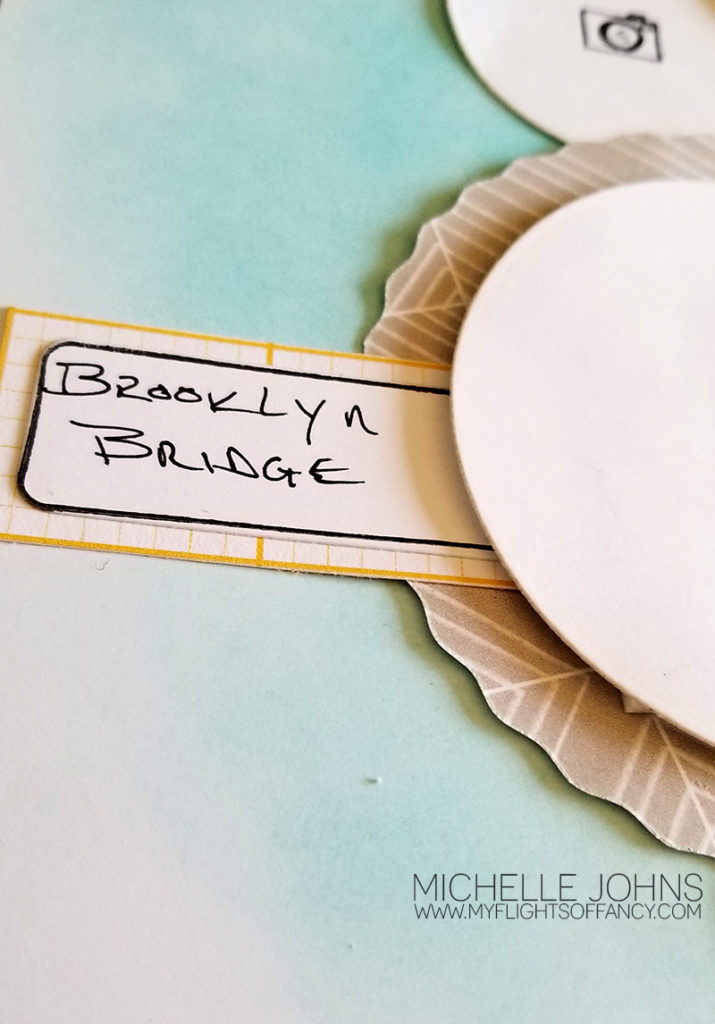
The journal box comes from the New Beginnings set, which includes a die, too! I masked off “word of the year” on the journal spot, so I could have enough room for hubby to write Brooklyn Bridge, since that is what I will be putting on this page!
All of the papers are from the Mix In paper packet, it’s so versatile! Originally I had used glacier ink to put the color behind, but that just kind of vanished in the few hours that I had put it onto the paper! ACK! So, then I tore it apart, I know none of you have ever done that before, right? hahaha!! So, then I grabbed my lagoon ink and redid the sponging to get that color behind there.
Take a look at the difference! (I made a couple of other changes too, but essentially the same) WOW!
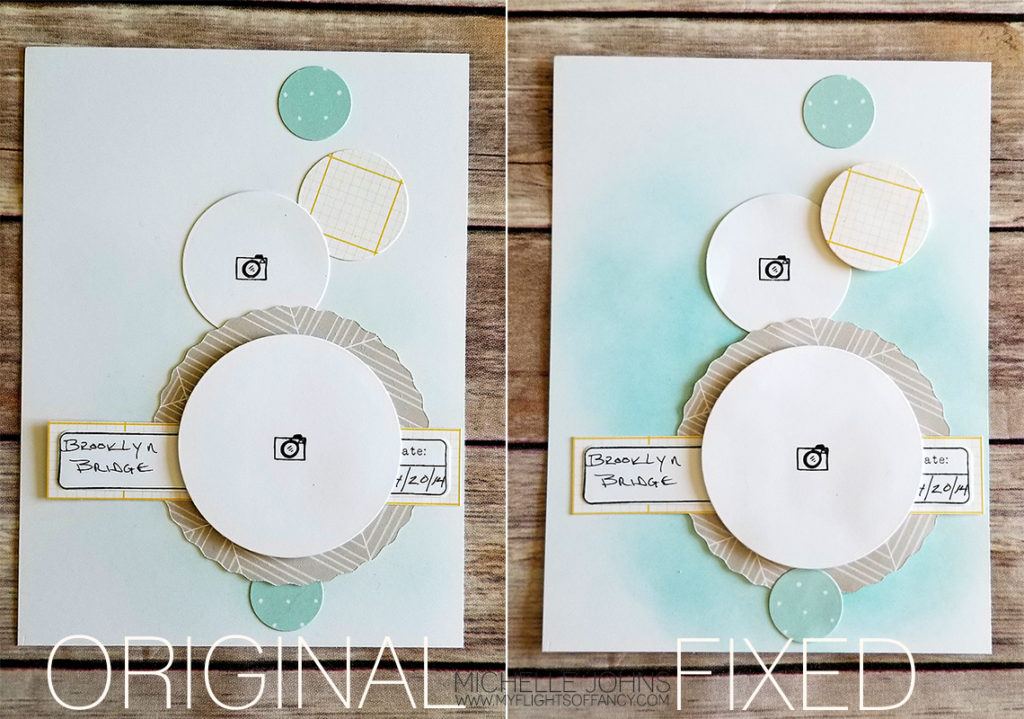
I really like how this turned out! I used the lines on the different papers to go with all of the cables of the bridge, I thought it tied it all together, really well!
I would love to know what you think! Leave me a message below, and then hop over to Danielle’s blog to see what she came up with! (it’s adorbs, btw, in case you didn’t already know that!)
Welcome back to another Mini Wednesday! Danielle and I are at it again! (you knew we would be, right?)
Today I chose this page to do a “choose your own adventure” type of page! There are so so so many options! I went with two 4×6 pieces, that will go in a page protector that is made for that. (I photographed them outside of it, as it’s easier to photograph!)

For the top piece, I use a piece of the Spruced Up B&T. Aren’t those trees just adorable? I found a piece of scrap vellum and stamped “grateful”, from the Say It In Style stamp set, in espresso ink and used my hair dryer to help the ink dry faster. I just glued it to the back side of the B&T. It will lay flat when it’s in the protector, no need for any other glue! My photo will be 3 1/2 x 3 1/2.
The bottom piece is the same piece of B&T, but the back side! This will be for journaling, but another photo could easily be added!
Super fast, super simple, and I have another page done!
I would love for you to pick and choose some of your own adventures, and make sure to share them with us!
Make sure to check out Danielle’s page too!