


I do love to work with color challenges! And this week we have a new one! The challenge is GOLD! That’s the only ‘given’. You can mix and match with any other colors that you would like! I don’t know about you, but this gives me a perfectly good reason to use the Gold Foil Patterns Paper Packet!
So, I will admit, that I didn’t know what exactly I was going to do at first. I wanted to use the gold foil paper packet and the new Daisy Meadows paper packet. I didn’t know which of the papers from either packet, so I went and played on Pinterest. I found the start of a great idea, and went with it!

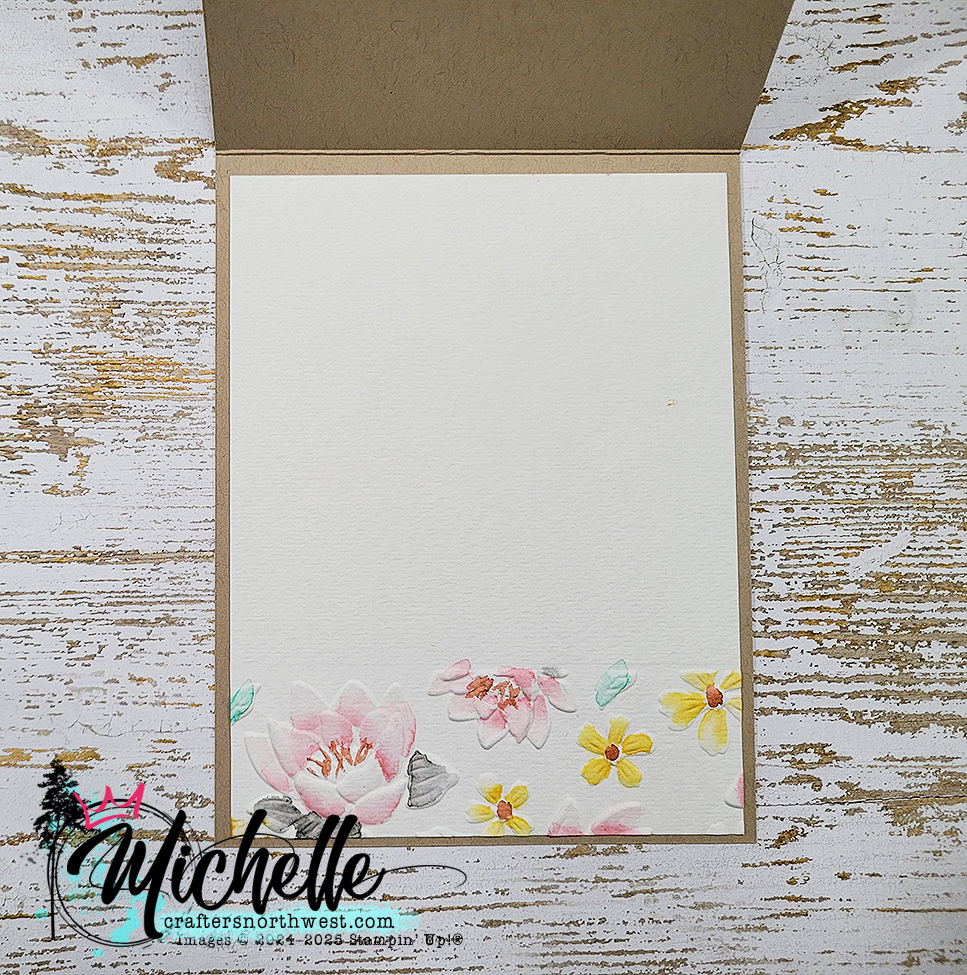
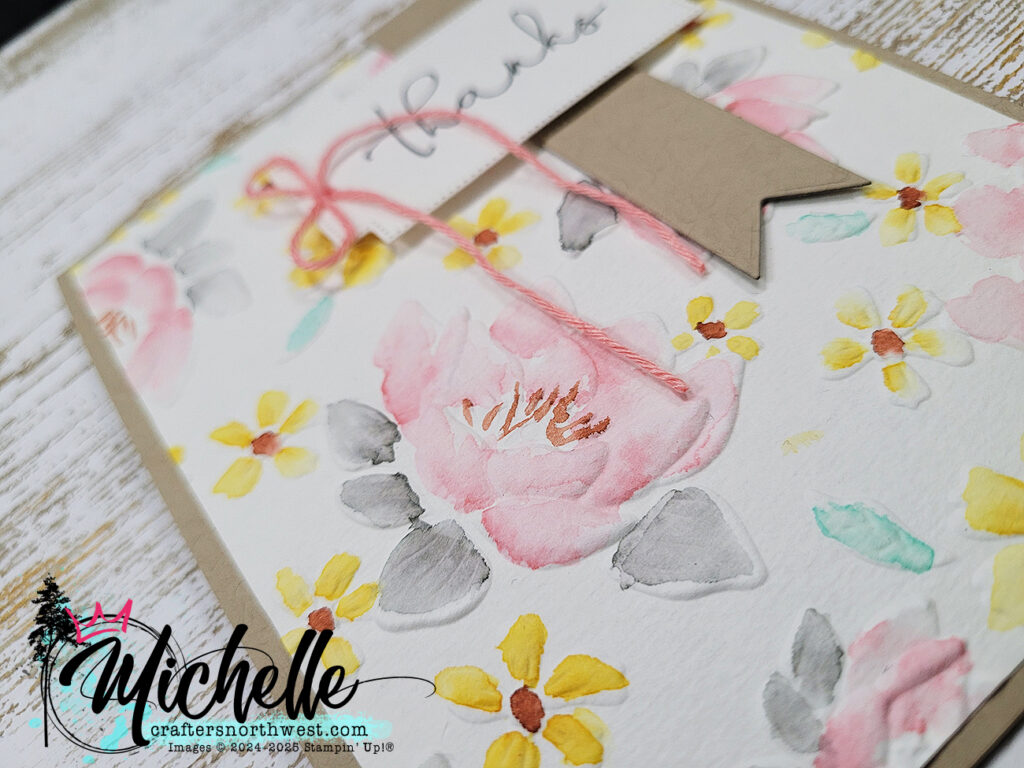
How beautiful is that paper?? So, when you get the gold foil patterns paper packet, it is white paper with gold foil. No other colors. So, I grabbed the water color pencils and added some in! I didn’t want to use the markers, because those will also color the foil, and if I’m being honest, I didn’t want to have to be that careful! LOL!!

The sentiment is stamped in peacock ink to match the background paper. I added two of the tiny pink dots from the Daisy Meadows dots to the right side to create the visual triangle. This card went together really quickly, even with the coloring! Join me at 5pm as I make this card over on my FB page!
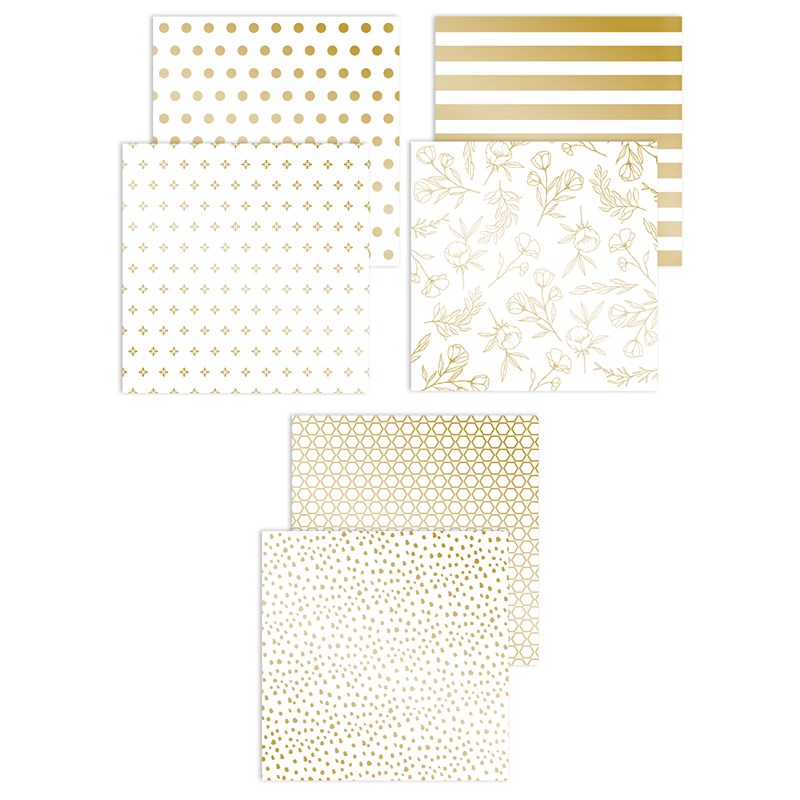
These are the patterns of the paper packet, aren’t they fun?
I encourage you to play along with both H2H in their bi-monthly challenges and also with me in my 52 weeks of Cards challenge!
I would love to hear what you think of this card! Which of the gold foil patterns is YOUR favorite?

Welcome back to another post for me today! It happens sometimes! This post is all about the Stamp of the Month blog hop! You will see a large handful of ladies share their work with this fun set! Today, you could have arrived from Megan’s blog, or you could have started here. Either way, it’s a big circle, so you should be able to hop along until you get back to your starting point! If you happen to get lost along the way, you can find the whole list on Melissa’s blog.
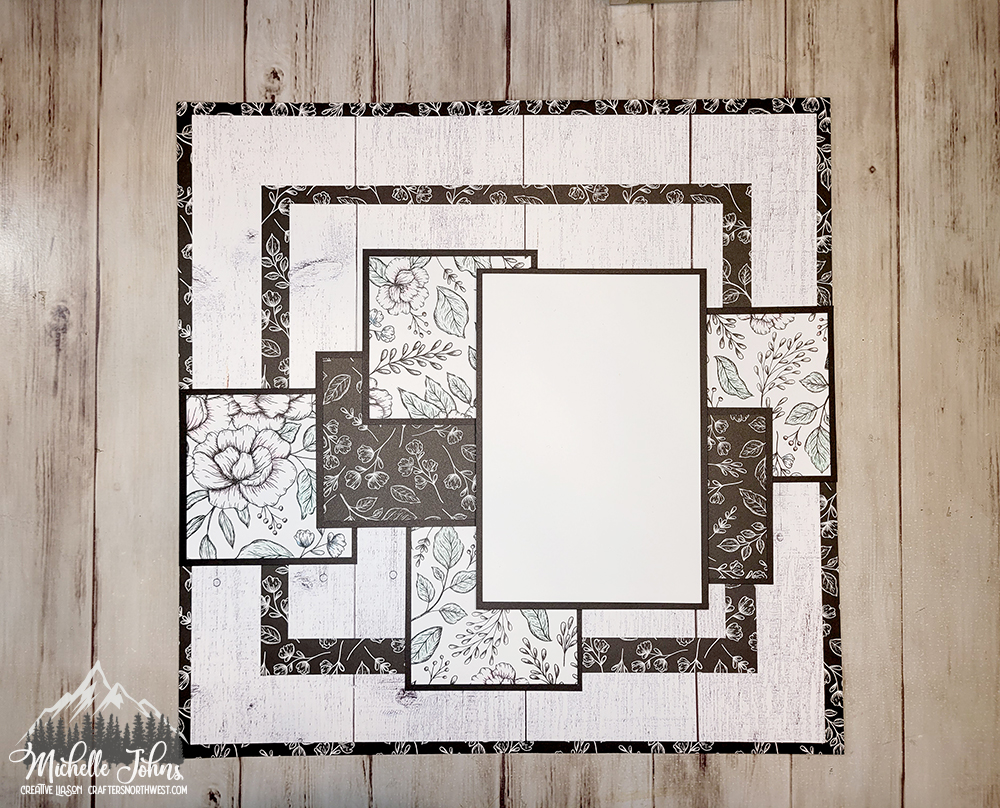
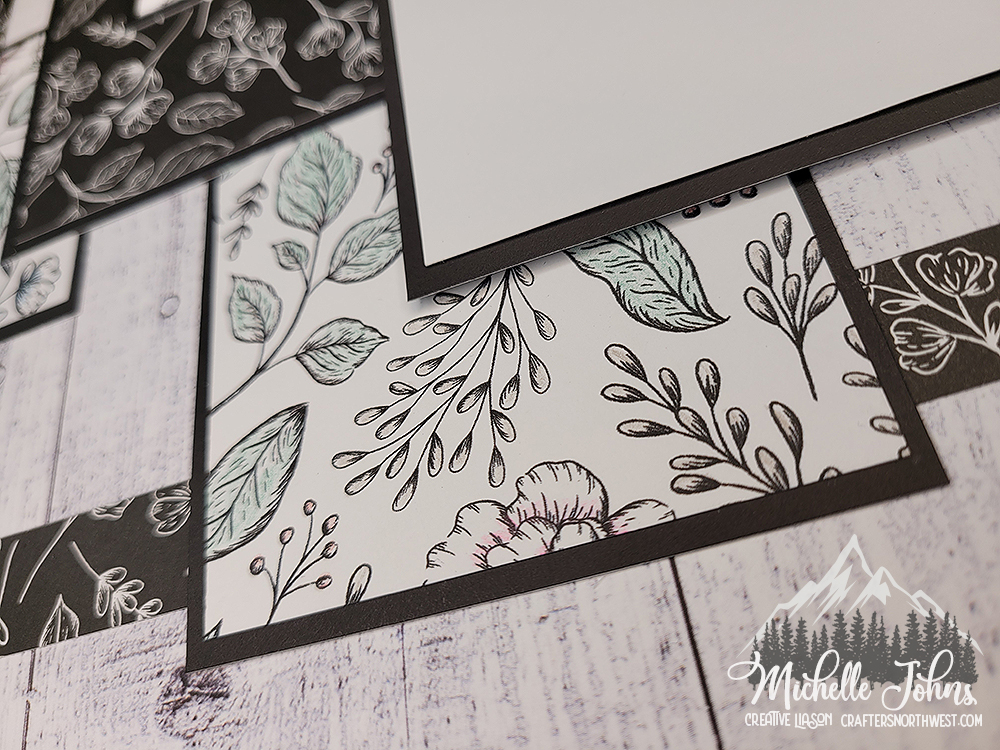
Today’s card is super fun, and super easy to do! In fact, when this post goes live, I should have started my FB live of putting it together!
I love how simple it is on the color combo! Ballerina, Espresso, and White Daisy!

The February Stamp of the Month is perfect to add to the inside of the cards, and to add the extra little something on the front! This set is not meant to be the front runner or show stopper, but to be the main supporting actor! LOL!
So, if you haven’t already see the FB live, go and check it out, and I will show you how I put it together!
Remember to continue hopping along the blog hop, and see even more great stuff! After you leave a comment below, make sure to go and see what fun stuff Wendy has to show you!
Hey there!
Today is another challenge week over at H2H! This week’s theme is Sunny Days! Man, that opens up so many different options! Cards, layouts, projects, you name it!

Today I am going to use the Fabulous Flamingo stamp and thin cut set. (Can you believe the pair are only $12.95?!?!) Super cute, super fun set!

The card is loosly based off the card in the current CTMH book. And it came together so very nicely!!
Here are the items that I used:
Fabulous Flamingo Stamp & Thin Cuts
Summer Vibes paper packet
Candy Apple Red Cardstock
White Daisy Cardstock
Value Cards & Envelopes
Fern Ink
Glacier Ink
Intense Black Ink
Stitched Rectangle Thin Cuts
Stitched Bracket Thin Cuts
White & Gold ribbon {On clearance right now!}
Watercolor pencils
Small Waterbrush
Microtip Scissors
Liquid Glass
Shaker Window Foam & Acetate
Welcome to the June SOTM blog hop! This month, the stamp set is all about tags! You get four beautiful tags, ready to be colored, an additional To and From, plus a little binding stamp (that goes around the hole, if you wanted) Today you should have arrived here from Jen’s blog. If not, that’s ok too, and you just keep clicking through, you will get back around to Jen’s blog!

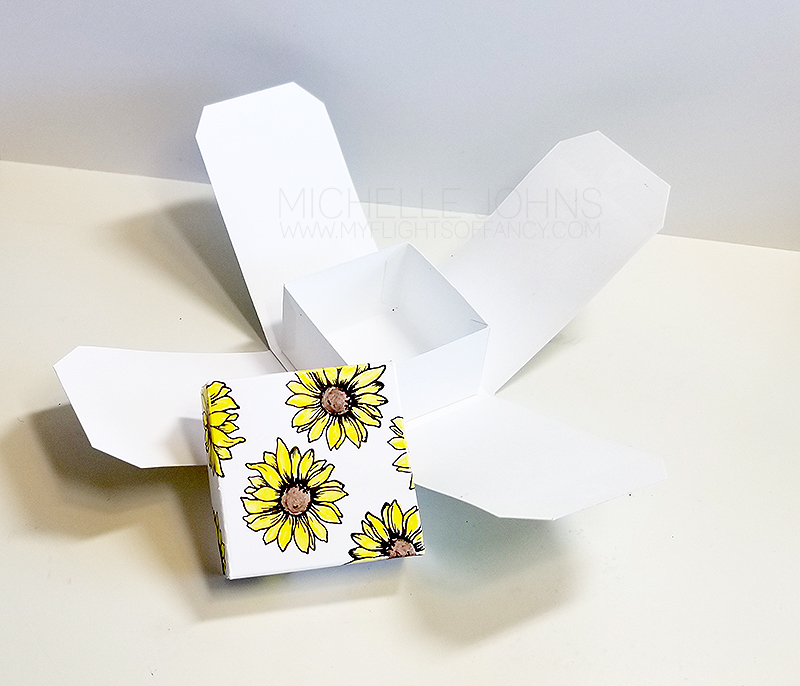
Today I wanted to do something just a little bit different, and went with a box that I created with the tags! Isn’t it adorable? I stamped with Intense Black Ink and colored using our watercolor pencils. Add some micro-tip scissors and a bit of liquid glass, and you are all set!
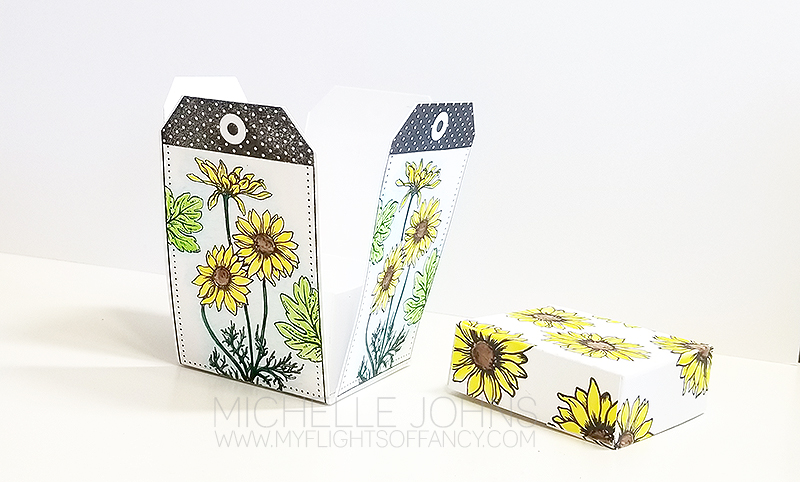
It turned out so cute! I am just in love with it! I will be doing a video on how to do it in my Let’s Flock Together FB group later this week!
Hopefully you know by now, that the SOTM is yours for just $5 with a qualifying purchase from me/my store! I would love to answer any questions that you may have on how to do that! Just let me know!
Now, I know you want to keep hopping and gathering ideas for how to use this fantastic stamp set! So, I will send you off to Becca’s blog!
Thanks for stopping by! I will see you again real soon!
~ Michelle
Hey there, Crafty Friends!
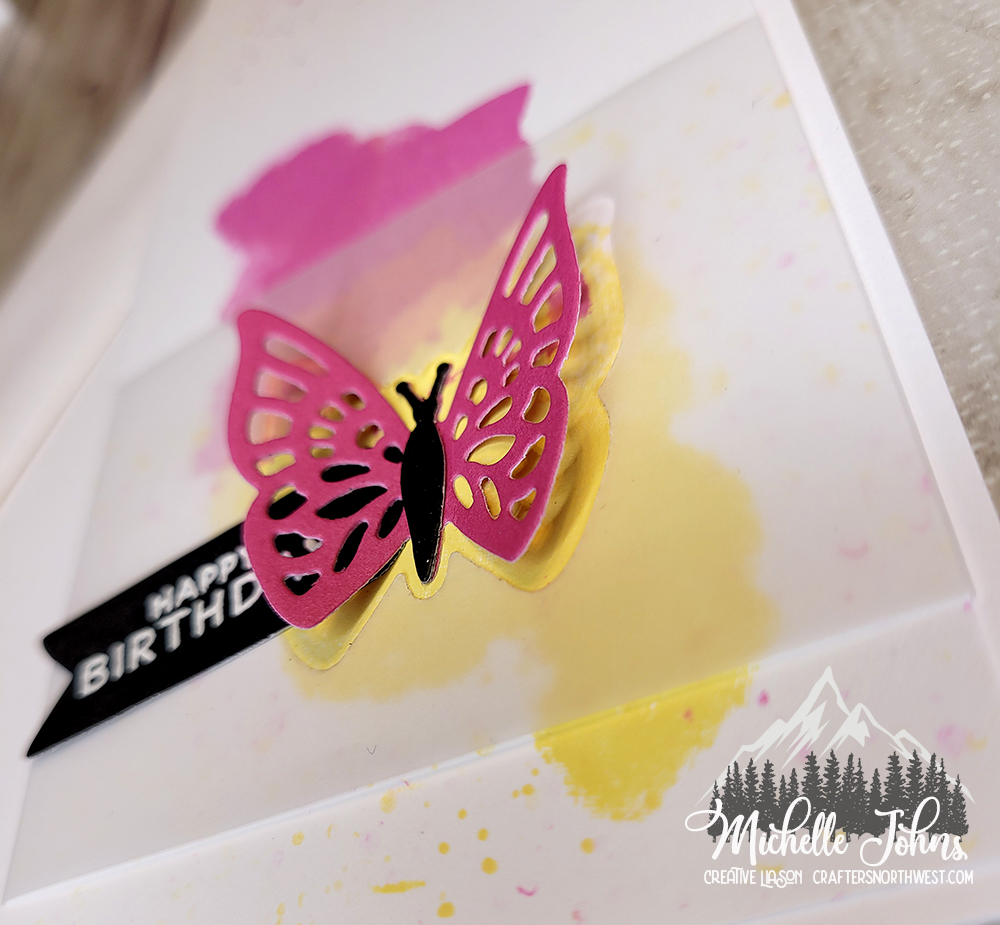
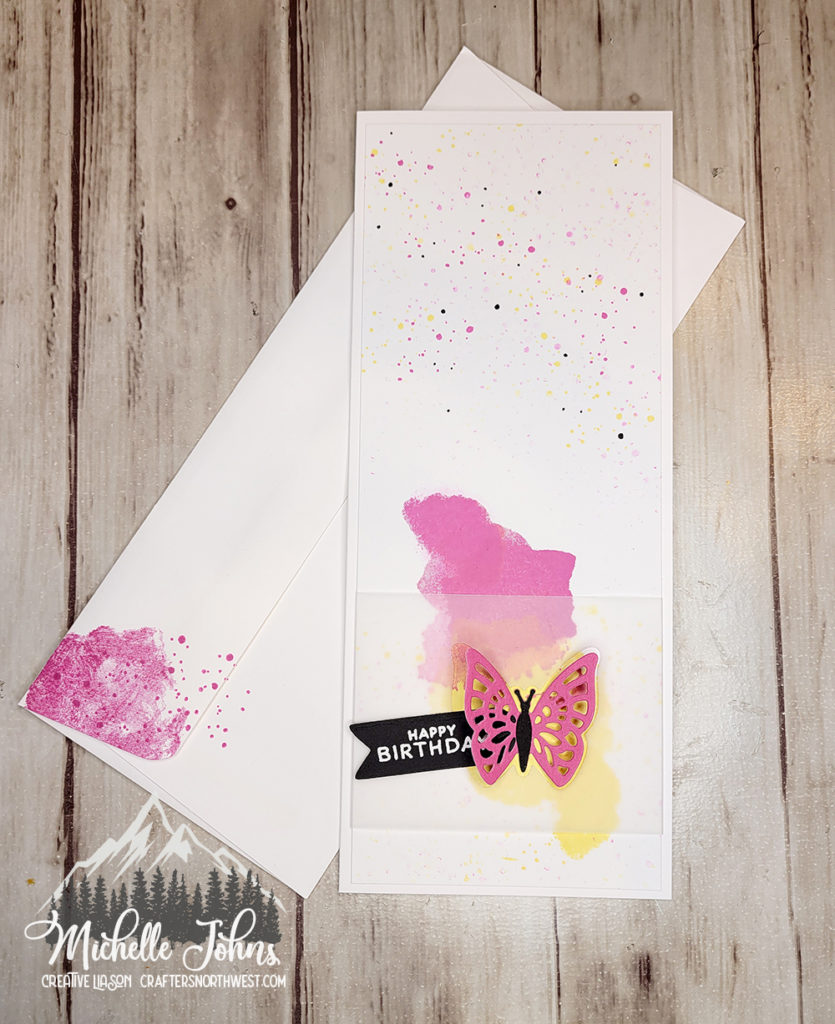
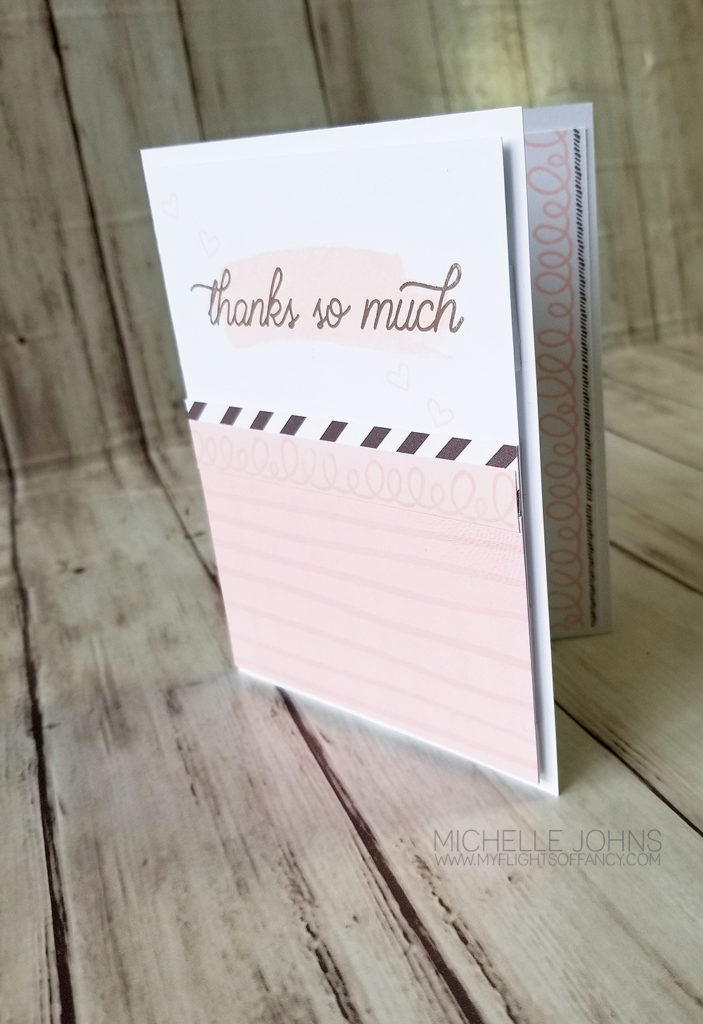
Danielle and I are back with another fun project! Today’s project is a card, but not just any card! Today we are using this card as our inspiration. We wanted to be inspired by the design, the water coloring, and the vellum!
Originally I was going to do a BUNCH of different cards to show off different water color techniques, but I left most of the products for those other techniques at home! ACK! So, I went with the “easy” option! Also called faux watercoloring! To do this, you use your ink pad, a slick surface (I used the All Purpose mat), a brush (I used the medium flat waterbrush, and some water.

Now, the papers on the left side of my cards are both retired. I used a zip strip from Craft On, on the pink card, and the cardboard piece of B&T from Hawthorne on the brown card. My ink colors today were raspberry and toffee.
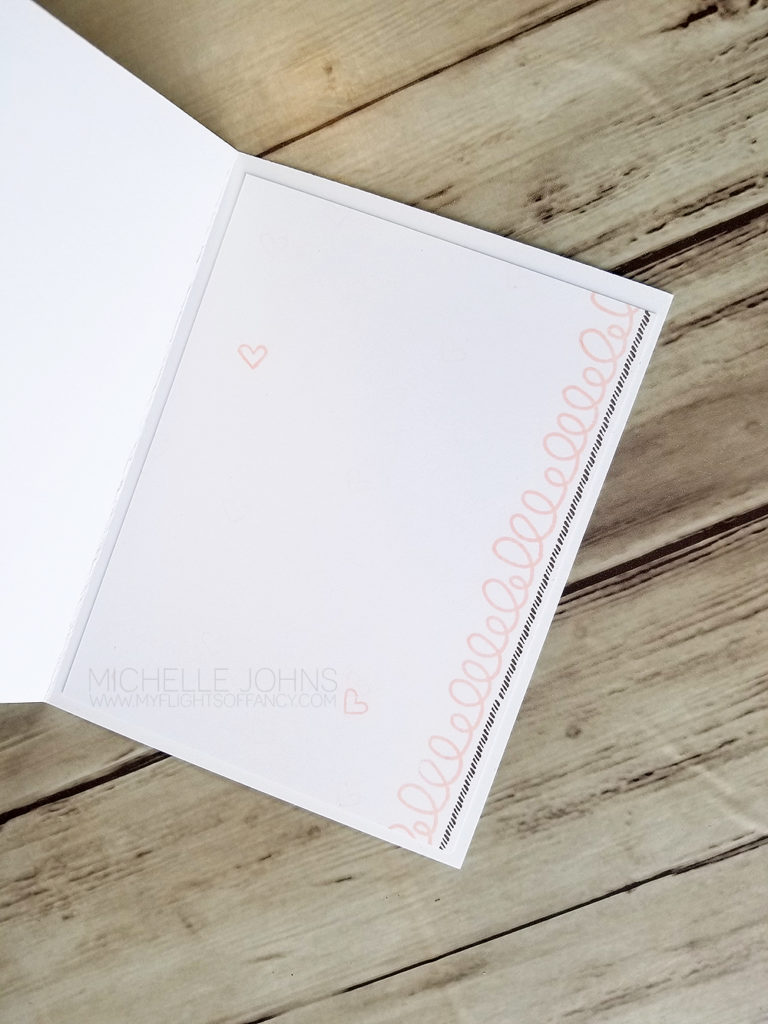
Ideally you would do this on watercolor paper, however, I also didn’t have any of that with me! (Yes, I forgot a whole bag of items when I left for my crop!) So, I just used some white daisy cardstock. While it did warp some, it didn’t warp too much!) I used the Shaker window and confetti thin cuts to die cut my circle from vellum paper. Then I used two different (retired) embossing folders to emboss the circles. I created two (actually four, but I only used two) versions of “thanks” and cut them with my cricut machine. I used a bit of gold embellishing thread and gold glitter paper on the pink card, to help it pop some more. I added a few black dots from the Black & White dots. and decided I needed a bit more black. So, I grabbed the black watercolor pencil, scribbled a bit on a scrap of paper, added a bit of water with the small round water brush, and smacked it on my scissors to get some splashes of color on the rest of the card front.
I think they look pretty fantastic, even if they don’t look like the one that inspired us! I would love to see the cards you make! So, make some, snap a photo, and share with Danielle and I!
Thanks so much for stopping by! Make sure to hop over to Danielle’s blog to see her card too!