Tag Archives: Glitter

Old & New, the next H2H Challenge!

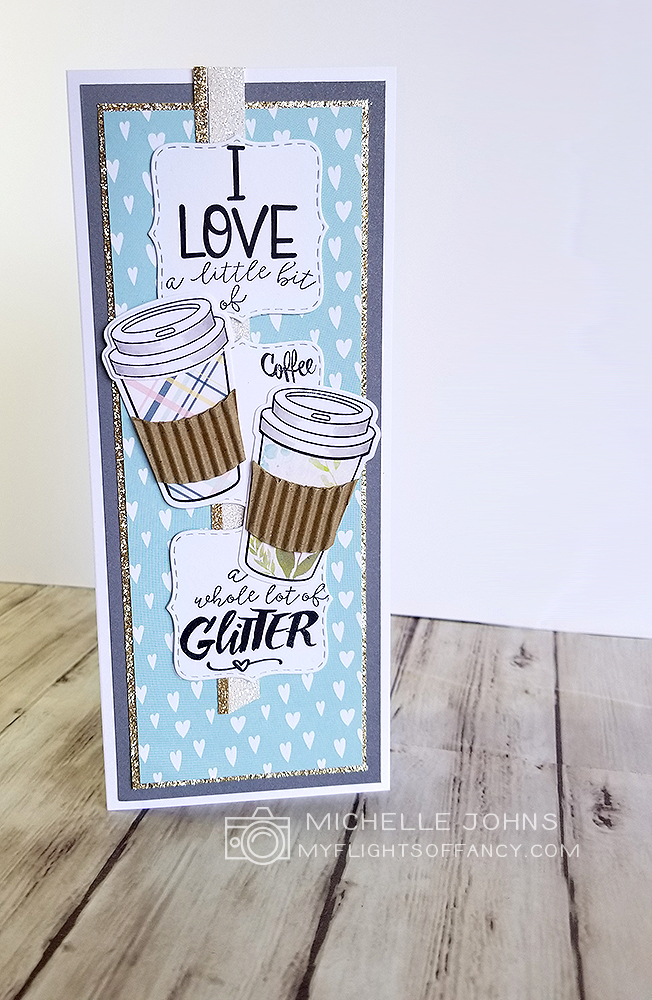
Hey guys!  It’s time for another challenge!  This one was super fun to do!  It was one of those cards that changed about 15 million times from concept to finish!  Have you had that happen before?  I’ve had cards that evolve as I am making them, but not many that change as many times as this one did!

So, Old and New.  Well, I have a bunch of new(er) products on this card.  I’ll name them at the bottom, but can you find them all before you see the list?


I decided that I wanted to go with a slimline card.  I grabbed one of the old CTMH books to get a sketch to use.  Then I just went to town!  I did a bunch of stamp surgery and even more masking, and I don’t know about you, but I just LOVE LOVE LOVE how this card turned out!


I even added a sentiment on the inside of the card!  (which, I don’t normally do, but I just didn’t have enough room on the outside!  LOL!!)
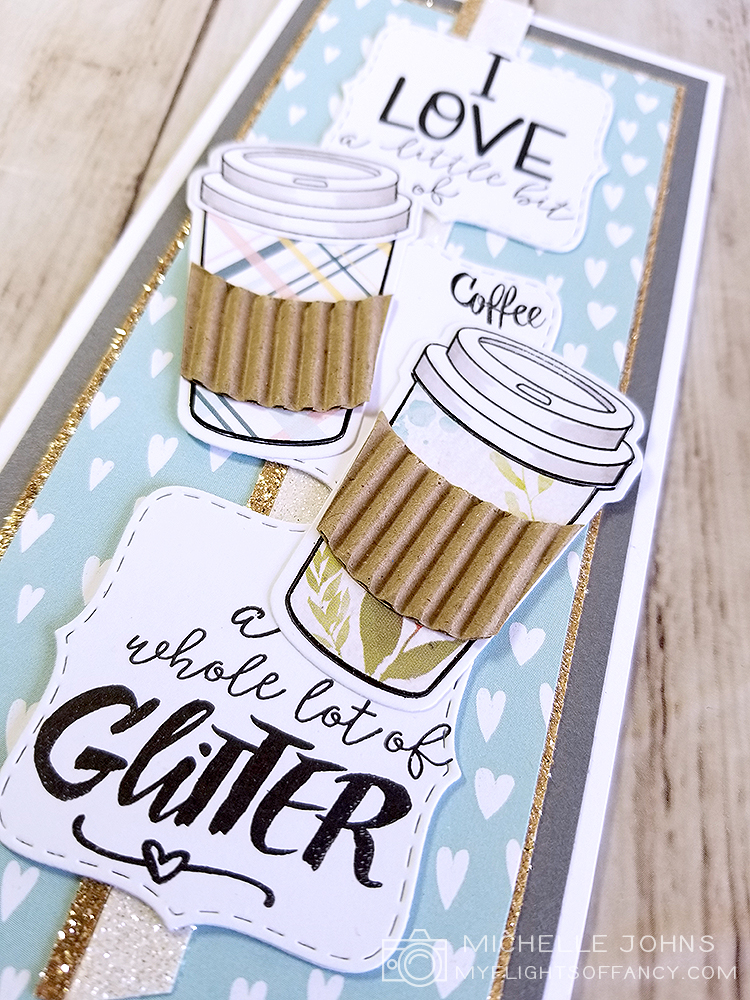


This card just makes me so happy!  It’s kind of ridiculous how much so!!  LOL!  Oh! I might need to grab a pen and add a comma after coffee and glitter…. hmmmm . . . what do you think?


Oh, and the “old”  It is both the older CTMH book (retired) and the packing material that I had, to use for the coffee cup sleeves!


Thanks so much for stopping by!  I hope my card has inspired you!  If so, come on over to the H2H challenge blog and play along!  Plus, you can see all of the other designers’ creations!

~ Michelle


CTMH Items Used:

[linkdeli uuid="ef642b30-eaba-4be1-a639-540d590c7ecd"]


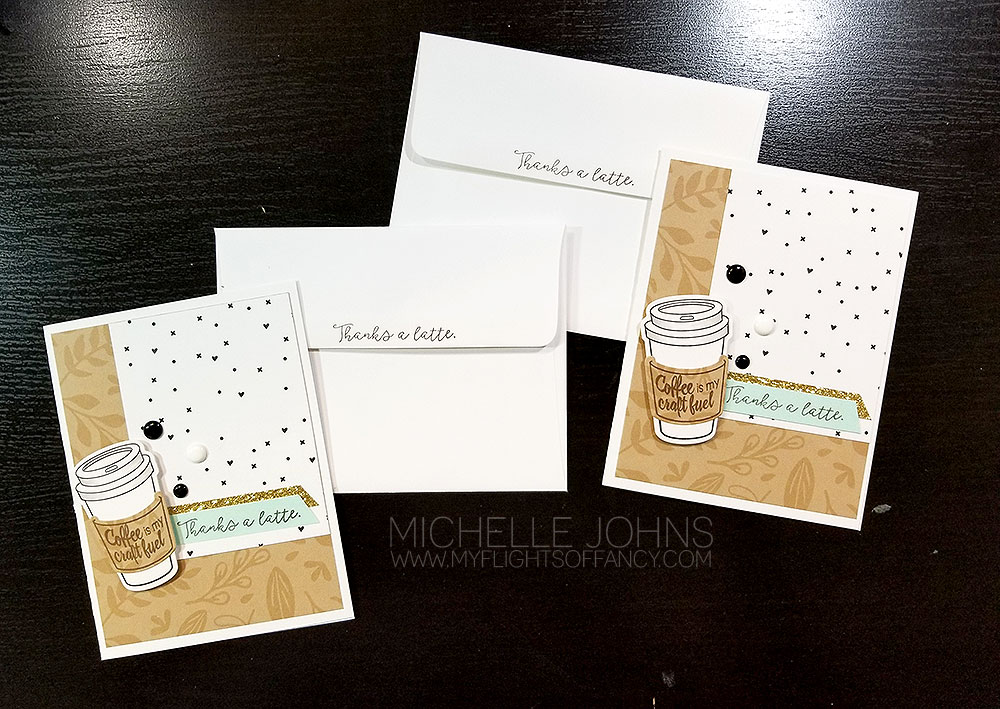
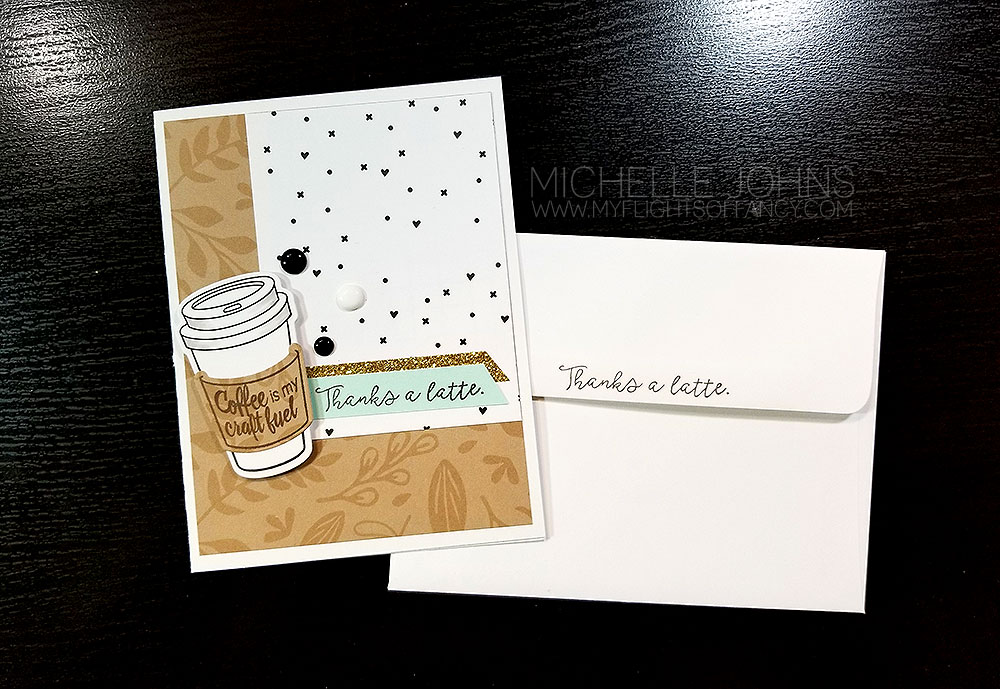
Thanks a latte!

I do love these mix in papers and when you pair them with the coffee cups, they just turn out so nicely!

These cards went together so very quickly!  The pieces are nice easy sizes!  I got the sketch from Paper Players, and worked just perfectly!


The brown paper is 5 1/4 x 4 and the white paper is 3 x 4.  The mint piece is 3 x 1/2.  The coffee cozy is cut out of the brown paper, under where the white piece goes.  I put them together on my weekly FB live class, and we were done in 15 minutes!  Make sure to go and check that out!

I can’t wait to see what card you do with the pattern!  


CTMH Items Used

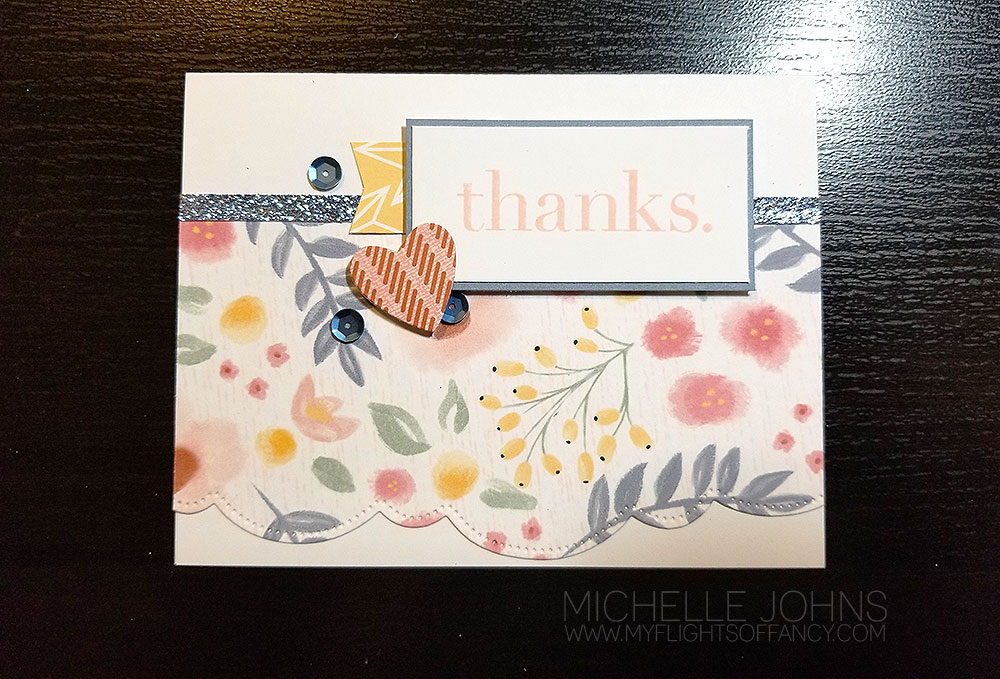
Thanks.

Happy Friday!  Each Friday I am going to have a project for you with the Stamp of the month, and the paper pack of that week!  Fun, right?

I grabbed my trusty Make it from your Heart book and the stamp of the month set, and found a great card.  I think it turned out super cute!


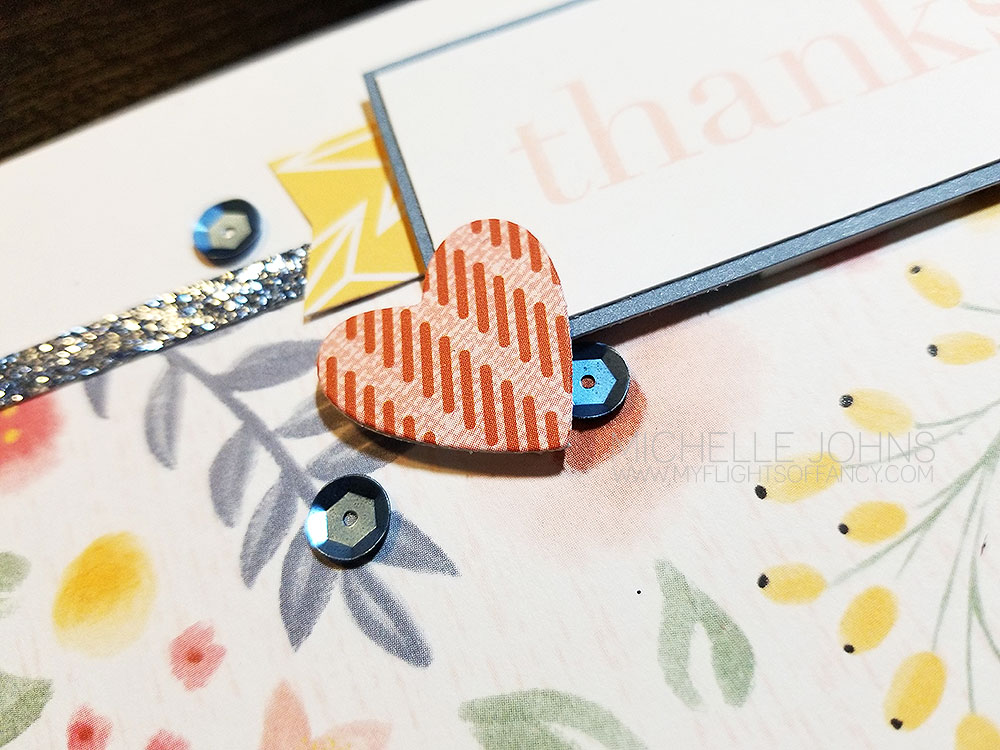
I thought this little cluster was super fun!  Remember, when you are adding your bling, it doesn’t have to be on top, you can partially tuck it under a layer!


I love having products that make it so easy to put together something quick, don’t you?


CTMH Products Used:


10 things mini

So, Danielle and I decided to do a 10 things layout. And, we both . . . kind of . . . have pockets on our pages. . . sort of. . . LOL!! I designed mine in design space, and then ended up not using that at all, but I wanted to keep some of the feel of it! We went off of this page as our inspiration.

I went ‘old school’ and every stamp on this page is retired. (sorry, not sorry!) I started with some sapphire cardstock, and stamped my NYC in Rustic Alphabet with versamark so that I could use the gold glitter embossing powder! It really does shimmer when it moves! Then I used Jennifer’s Hand with the versamark and white embossing powder. The little heart came from the Share the Love set, and I used the versamark and white embossing powder on it too. (The camera image comes from that same set)

To add some “stars” to the background, I used the Ink Blot set and the versamark ink with the gold glitter embossing powder.

I used one flip flap that was 3×4 and 5 that were the 2×2 size. I cut my cardstock to the right sizes and added the numbers. I haven’t decided if I am going to stick with just words for the numbers, or try to do some photos too!

Now, hop on over to Danielle‘s blog and see what fun stuff she has come up with! (I know she has a video for you too!)

Beautiful, easy Watercoloring!

Hey there, Crafty Friends!

Danielle and I are back with another fun project! Today’s project is a card, but not just any card! Today we are using this card as our inspiration. We wanted to be inspired by the design, the water coloring, and the vellum!

Originally I was going to do a BUNCH of different cards to show off different water color techniques, but I left most of the products for those other techniques at home! ACK! So, I went with the “easy” option! Also called faux watercoloring! To do this, you use your ink pad, a slick surface (I used the All Purpose mat), a brush (I used the medium flat waterbrush, and some water.

Now, the papers on the left side of my cards are both retired. I used a zip strip from Craft On, on the pink card, and the cardboard piece of B&T from Hawthorne on the brown card. My ink colors today were raspberry and toffee.

Ideally you would do this on watercolor paper, however, I also didn’t have any of that with me! (Yes, I forgot a whole bag of items when I left for my crop!) So, I just used some white daisy cardstock. While it did warp some, it didn’t warp too much!) I used the Shaker window and confetti thin cuts to die cut my circle from vellum paper. Then I used two different (retired) embossing folders to emboss the circles. I created two (actually four, but I only used two) versions of “thanks” and cut them with my cricut machine. I used a bit of gold embellishing thread and gold glitter paper on the pink card, to help it pop some more. I added a few black dots from the Black & White dots. and decided I needed a bit more black. So, I grabbed the black watercolor pencil, scribbled a bit on a scrap of paper, added a bit of water with the small round water brush, and smacked it on my scissors to get some splashes of color on the rest of the card front.

I think they look pretty fantastic, even if they don’t look like the one that inspired us! I would love to see the cards you make! So, make some, snap a photo, and share with Danielle and I!

Thanks so much for stopping by! Make sure to hop over to Danielle’s blog to see her card too!