Tag Archives: Layout

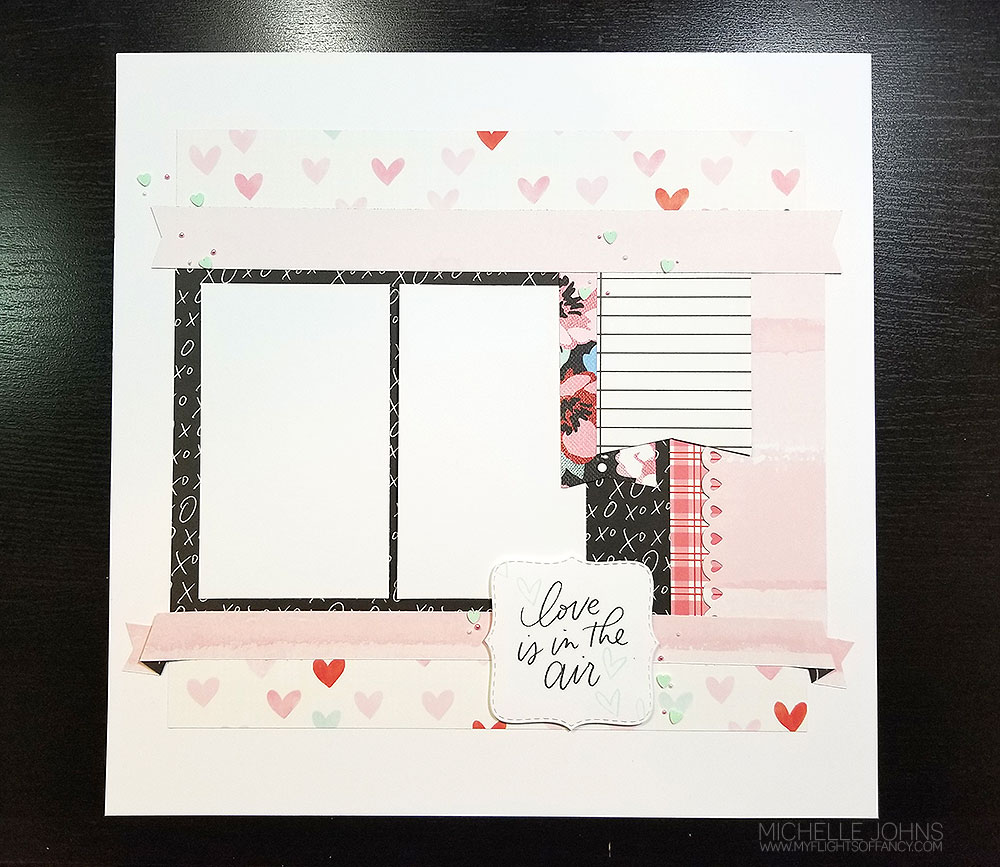
Love is in the Air
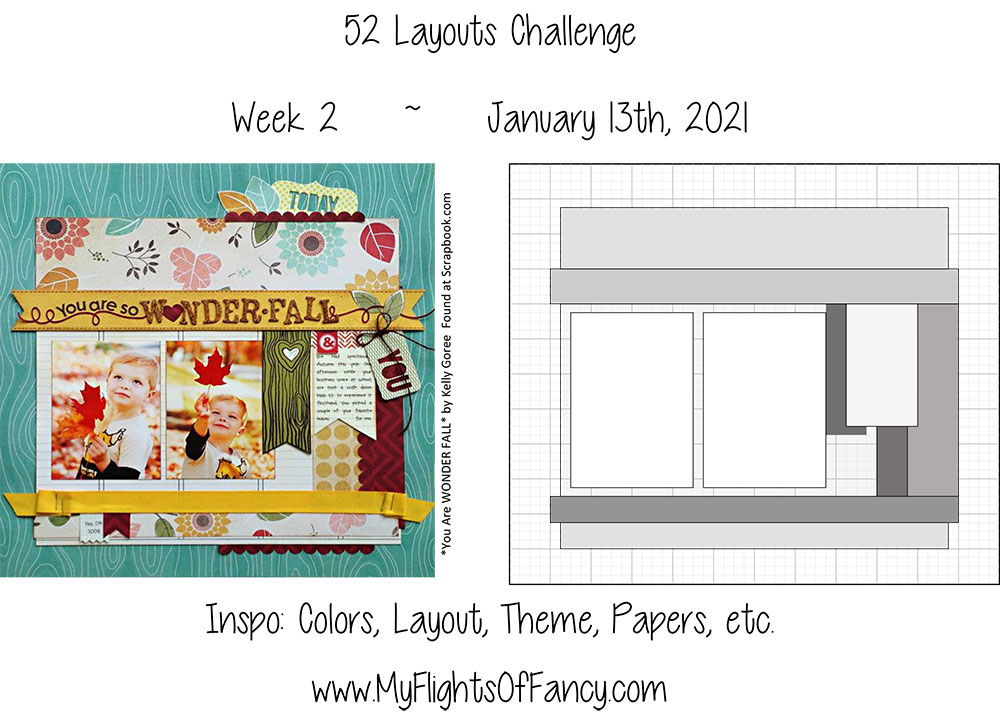
Welcome to week 2 of the 52 week Layout challenge! I hope you have gotten a chance to play along with week 1!
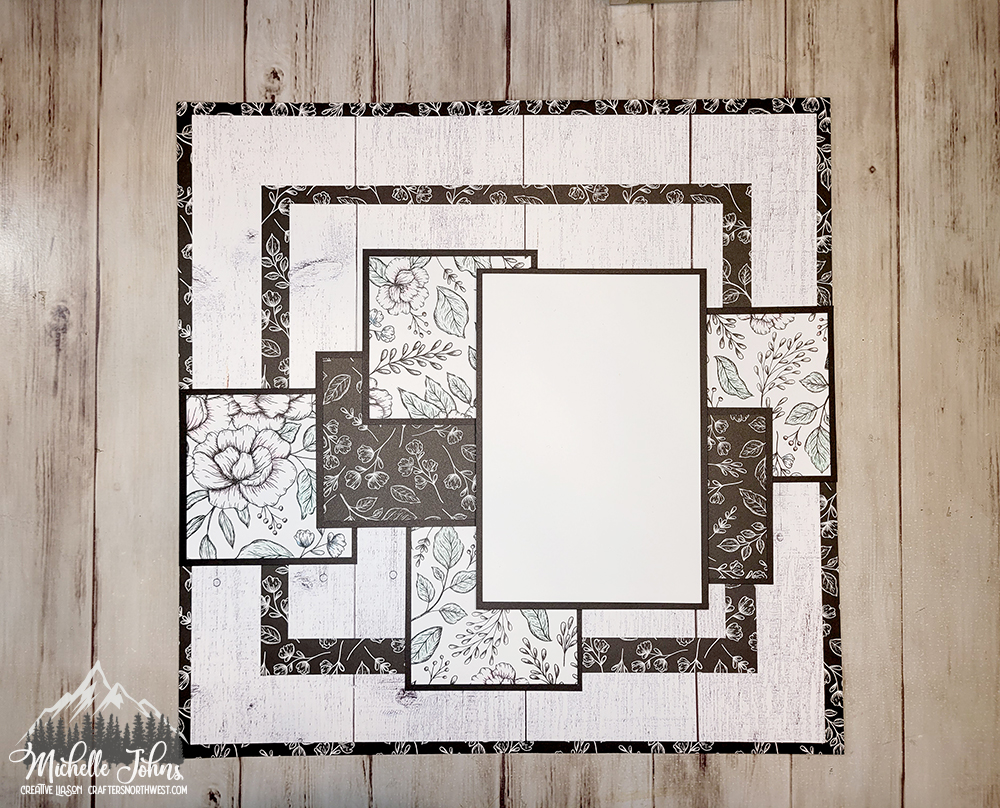
I have been having fun doing these! I do still need photos for them, but I will find something! 🙂

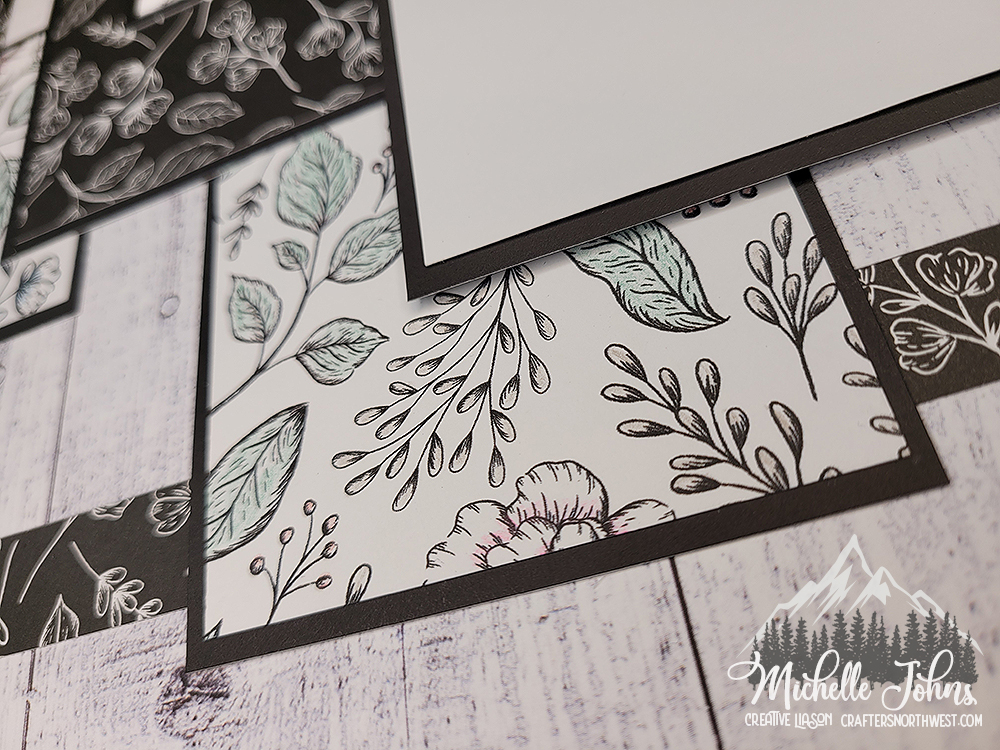
Here are just a few close up shots for you!

I hope you play along with me for these challenges! It will be a great way to get your scrapbook filled in!
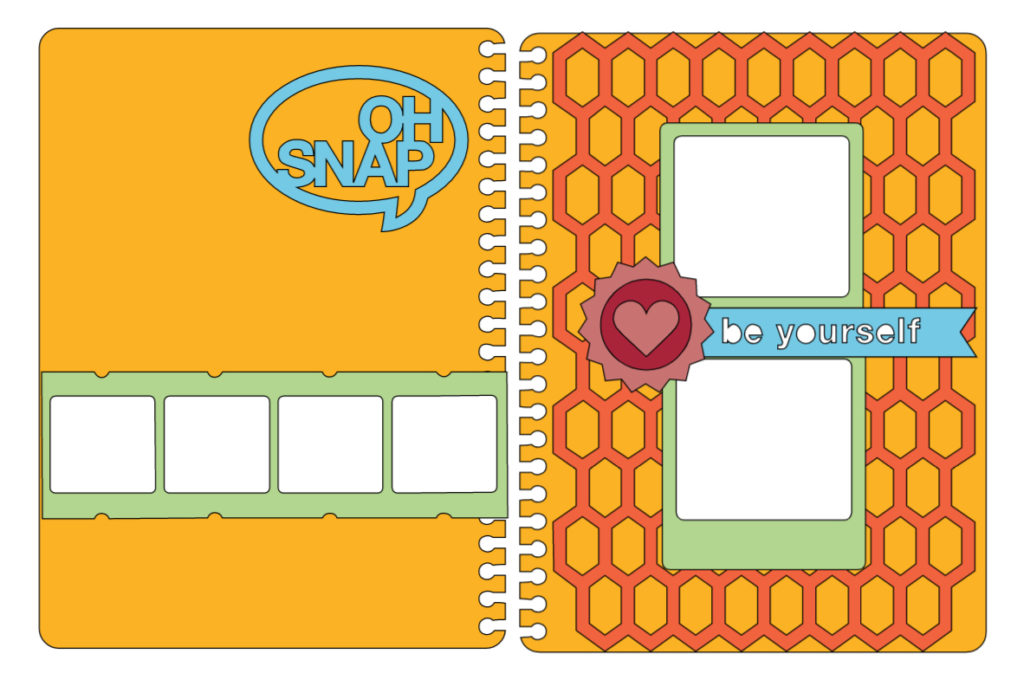
Here is the inspiration image for you!
Find the videos on my FB page or on Youtube! I would love for you to leave a comment and share the videos! It helps so very much!
Thank you so very much!

CTMH Products Used:
Perfect Match
Welcome back to another weekly paper show! This week we are working with Perfect Match! This is a fun paper that has many reds and pinks and blacks. While it is a valentine paper pack, it isn’t JUST for Valentine’s day!
This paper pack has a couple of bundles available! There are just a few more items in the 2nd bundle, and the PDF of the projects that CTMH has created will be posted later in the month, and a live FB event will happen, where they will walk you through the cutting and creating of the projects! I will include their artwork photo at the bottom of the post, so make sure to check that out as well!
So, let’s take a look and see what we have, shall we?
Paper Pack
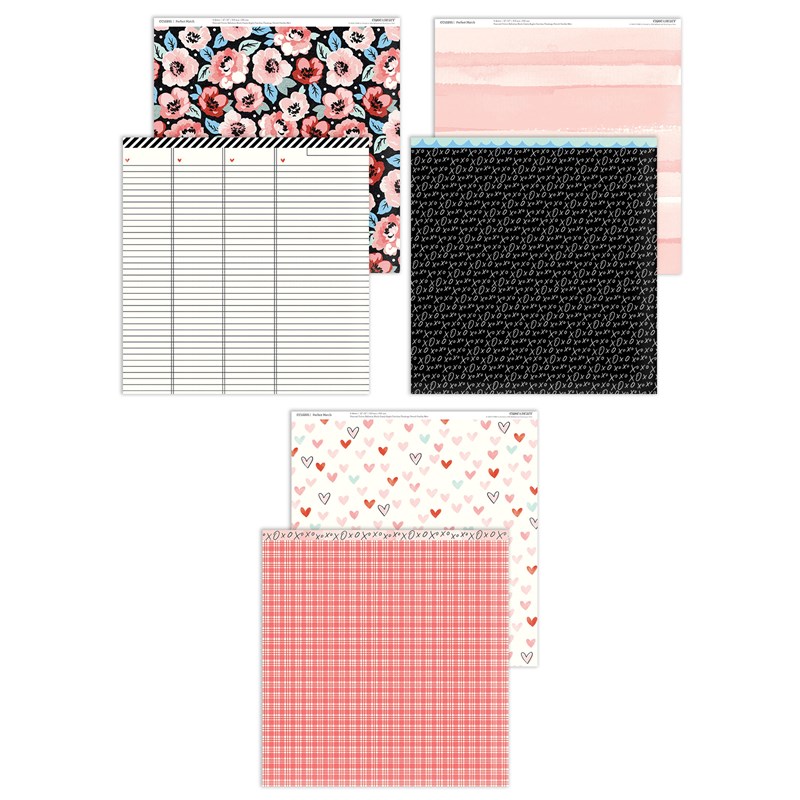
Paper Pack with Sticker Sheet

Coordinating Cardstock

Pressed Foam Hearts

Coordinating Stamp Set
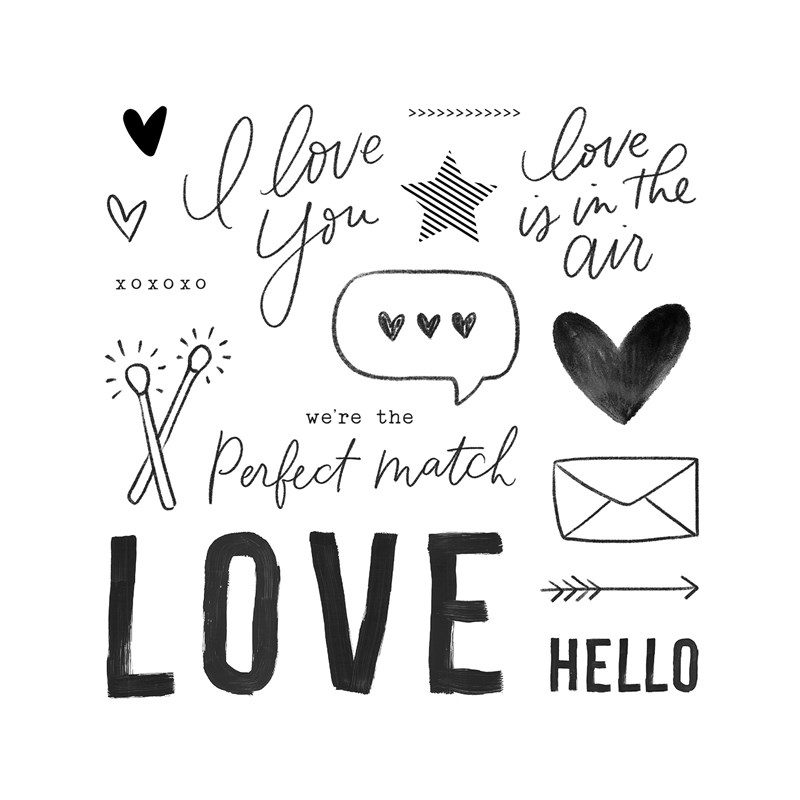
Product Bundle #1
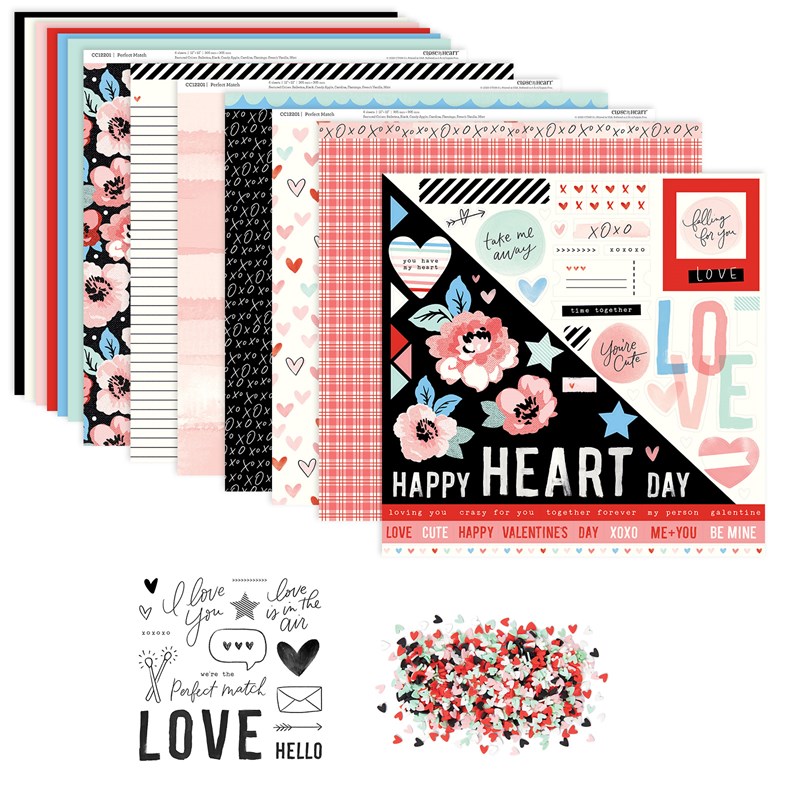
Includes:
1 – My Acrylix® Perfect Match Stamp Set (CC12204)
1 – Perfect Match Paper Packet + Sticker Sheet (CC12202)
1 – Perfect Match Coordinating Cardstock (CC12203)
1 – Perfect Match Mini Hearts (CC12206)
Product Bundle #2
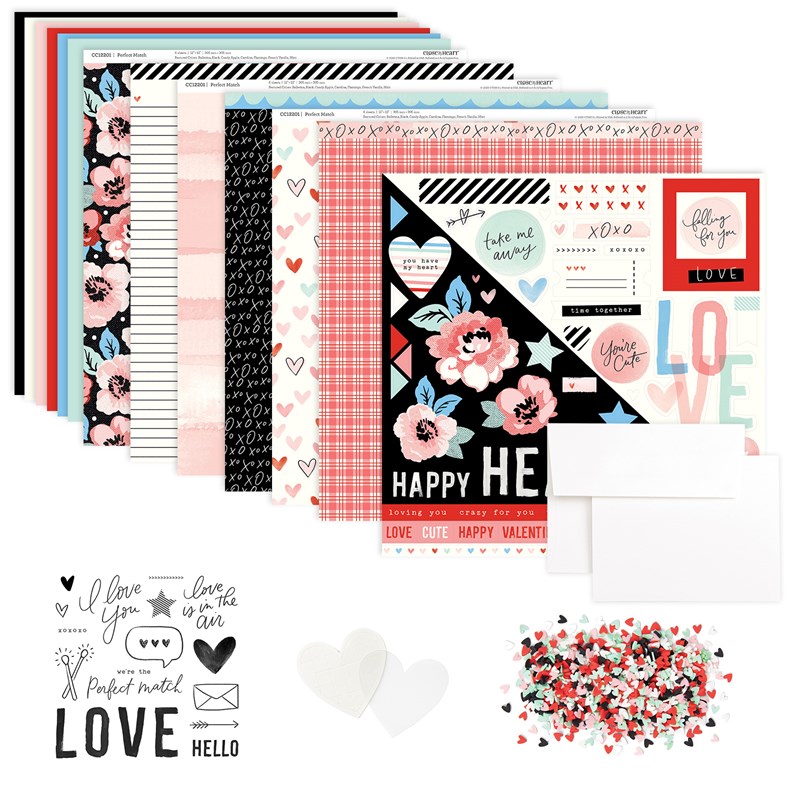
Includes:
1 – My Acrylix® Perfect Match Stamp Set (CC12204)
1 – Perfect Match Paper Packet + Sticker Sheet (CC12202)
1 – Perfect Match Coordinating Cardstock (CC12203)
1 – Perfect Match Mini Hearts (CC12206)
1 – Heart Shaker Window Foam + Acetate (Z4312)
6 – white card bases & envelopes
photo placeholders
To create the artwork from CTMH, you will need these additional supplies.
Archival Black Exclusive Inks™ Stamp Pad (Z3271)
Candy Apple Exclusive Inks™ Stamp Pad (Z6509)
Flamingo Exclusive Inks™ Stamp Pad (Z6520)
Heart Shaker Window Thin Cuts (Z3870)
Black Journaling Pen (.01) (Z3515)
Thin 3-D Foam Tape (Z2060)
Non-stick Mircro-tip Scissors (Z1836)
1″ × 1″ My Acrylix® Block (Y1000)
1″ × 3½” My Acrylix® Block (Y1002)
2″ × 2″ My Acrylix® Block (Y1003)
3″ × 3″ My Acrylix® Block (Y1006)
2″ × 3½” My Acrylix® Block (Y1009)
Die-cutting & Embossing Machine
Paper Trimmer
Scoring Tool or Bone Folder
Adhesive
Clear Tape
Ruler
Pencil
Hole Punch
Twine
Flat Lollipops (qty. 30)
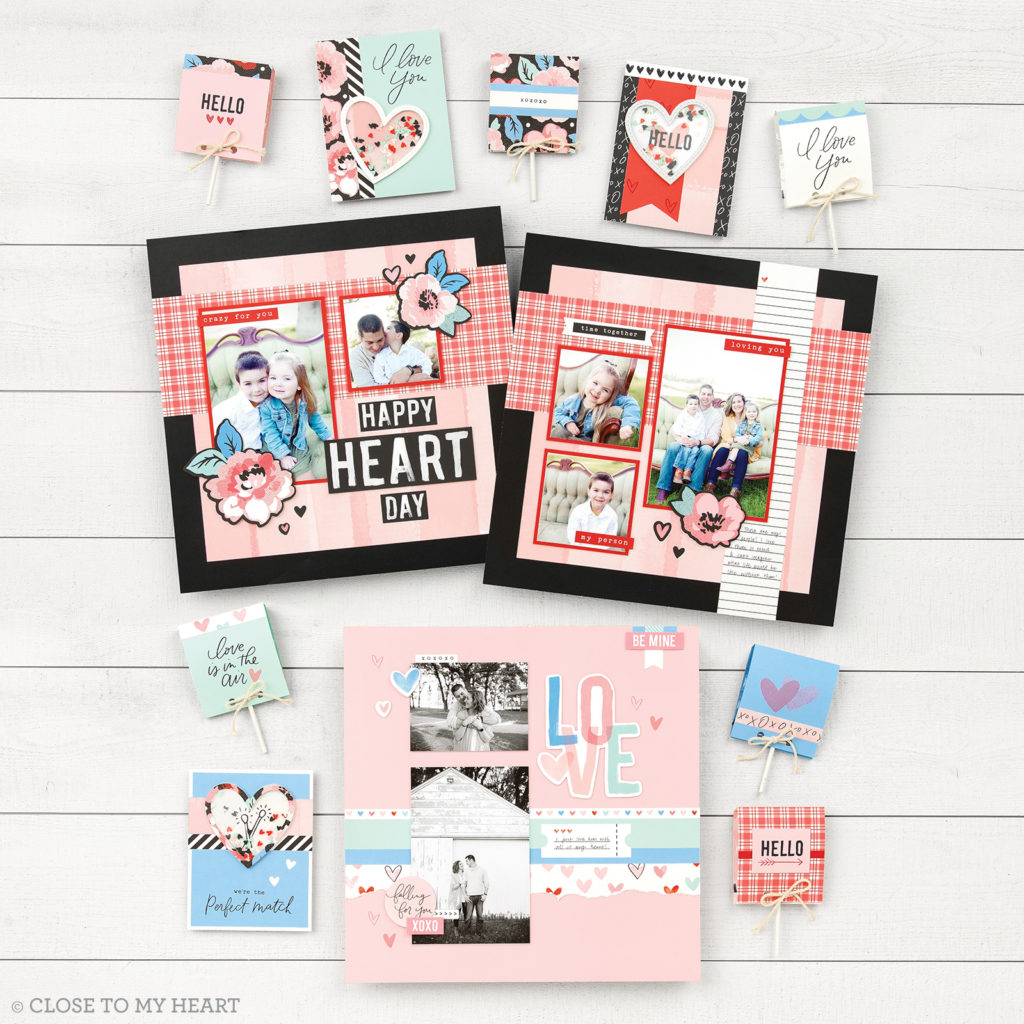
And Close to my Heart also did a quick video walk through of it all! Check this out!
I can’t wait to show you some fun things with this gorgeous paper packet! Stay tuned!

Mini Layout ~ Our Story
Welcome back to Mini Wednesdays! Danielle and I both had life ‘get in the way’, I’m sure you can understand, we don’t always get to do all the things we want to do! Today we have an easy layout sketch for you, and it’s so versatile!

Super simple, right? The sizes may not be perfectly aligned in the sketch, but it is simple enough! We have a 4×6 photo in the center, matted, and the 6×8 page, matted. Everything else is just ‘extra’! This could be the perfect cover/title page for a book, or even works well paired with another page (which is what Danielle did!)
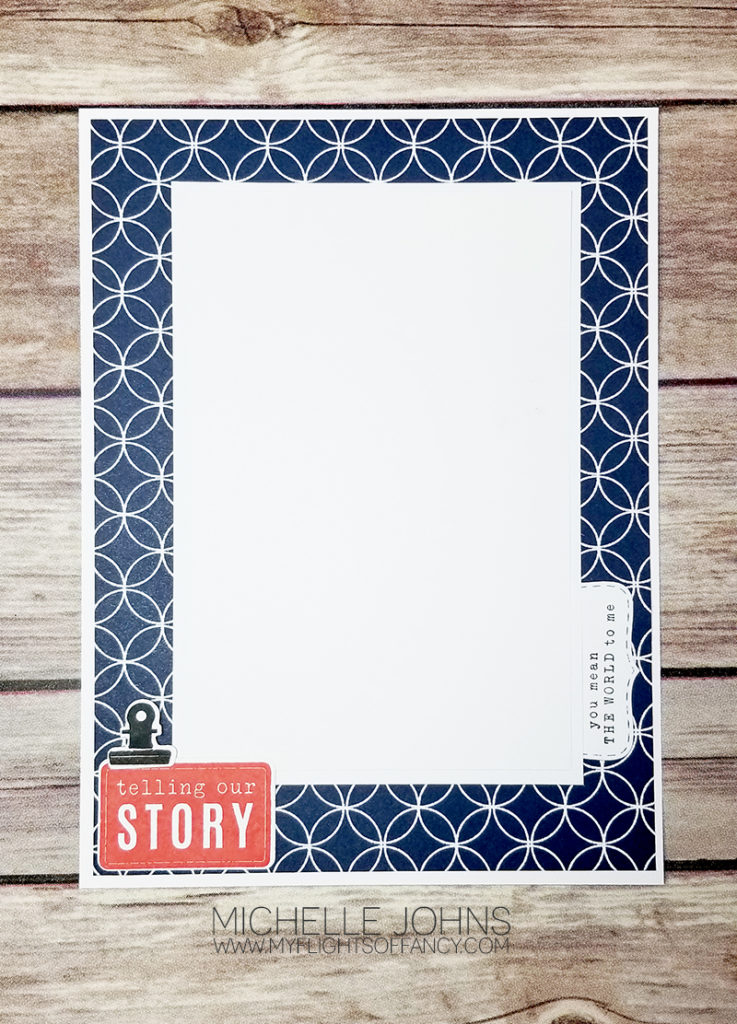
I stuck with the sketch pretty closely! Now, I may (and probably will) add a 4×6 flip flap to the page when I get it into a page protector. Then I can add another 2 photos and not take up another whole page.
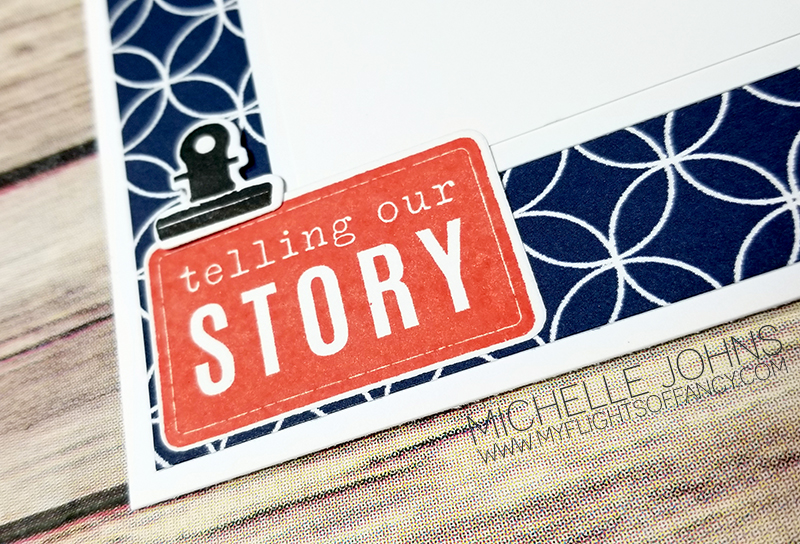
I used two different stamp sets here, and they work so wonderfully together! I just *LOVE* that little clip! The clip and the sentiment on the right (in the next photo) are from the Yesterday & Today cardmaking workshop! SO STINKIN’ CUTE! The “Telling our story” comes from the New Beginnings stamp and die set. Both of those sets have thin cuts with them, so no fussy cutting that silly little adorable clip!

Now, this little sentiment is in the cardmaking workshop as well, but it works perfectly for this page, because I am going to use it to scrap the trip that I surprised my hubby with to New York a few years ago. I don’t know what photo I will use for the front just yet, but it will include him, at least! (since it was HIS birthday!) I stamped it on the middle sized bracket from the Stitched Bracket thin cut set.
The fun blue paper comes from the current Mix In paper packet. It is the perfect “Giants blue”, which is why I went with the candy apple red for the sentiment. I used a tiny bit of thin foam tape under the clip to add a bit of dimension.
I hope you like my page! And I hope you play along! I know that Danielle and I would love to see what you do! So, hop on over to Danielle’s blog and see her project, and then play along with us!
Wednesday is Mini Day!
Hey everyone! Welcome back to another Mini Wednesday! As you have seen the last few weeks, on Wednesday, Danielle and I are challenging each other (and all of you) to participate in a sketch challenge! Well, today, we went a slightly different route! Danielle chose a mini album page straight off the Artbooking cartridge! Perfect! I love using my cricut!
And then, my computer and design space decided they weren’t going to play nice together! Whaaaaaa?!?!?! Sooo, she suggested that I go with using it more as a sketch, and not use my cricut. So, that’s exactly what I did!

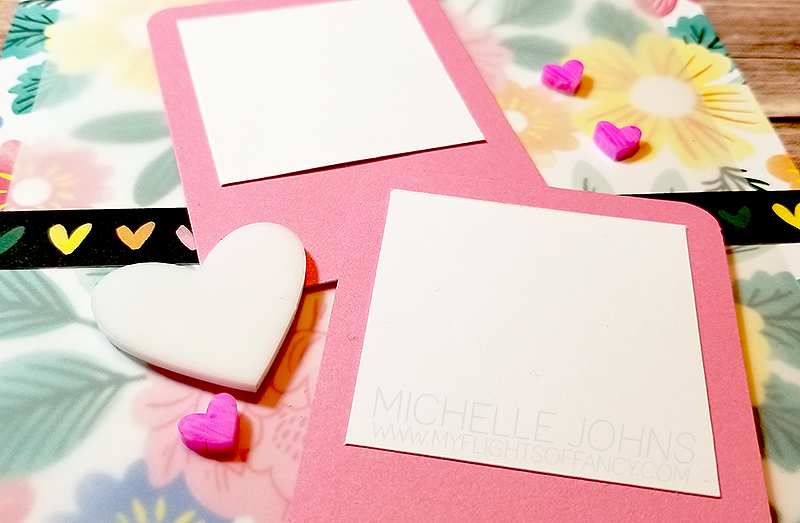
In place of the honeycomb, I used some vellum to tone down the floral paper from the Celebrate Today paper packet, just a smidge. I used pixie cardstock for some ‘Polaroid’ frames. Those acrylic hearts . . . don’t you just love them? I used the bright pink marker to give them a pop of color against the background.
On the left page, I again used some vellum, but ran it horizontal, and the backside of the flower paper is a pink wash, and I used that to help the photos pop against the background. A quick heart from the stitched hearts die, and this page is done!
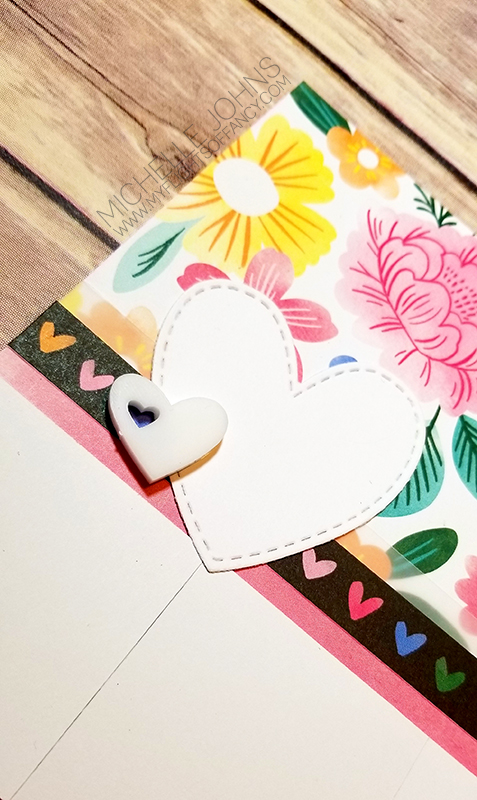
These pages went together in less than an hour, even with the coloring! It was so awesome! I love it when things are easy and fast! Especially when they turn out this good!
I would love to see what you come up with for this week’s sketch! I do hope you will share with us! If you didn’t yet, hop on over to Danielle’s blog to see what she came up with! It is super cute!
I look forward to seeing what you guys do with this one!
Until next week!
Stay Crafty my friend!
Adventure Awaits with H2H
Are you ready for another Adventure? I know I sure am! At the beginning of the summer, Audrey went on a trip with one of her good friends, and they camped for a couple of nights at Crater Lake. It’s a beautiful spot in Oregon, with a gorgeous lake, and a hike around the bowl, and so many beautiful sights to see!
When they got back into cell range, she sent me a few photos, and I knew I needed to scrap them! So, I went back to the mini album idea, I’m thinking she will like it, at least, I hope she will! The Cricut You Are Here bundle have some GREAT stamps for travel! (not to mention some great cuts, too!)
I started with a New England Ivy cardstock base, and realized that it was too heavy. So, I added a bit of the wood grain paper from the Into the Wild paper packet at the top of the page. I left the green at the bottom because A. it was a bit heavier, and B. it would work well with the trees that are in the photo.

I stamped 4 of the images on white daisy in archival black ink, and then decided that the road sign needed to be green instead. So, I restamped it in Fern ink. I wanted to put a little something over the photo (once I get it printed), so I used a bit of vellum and stamped on it with the archival black ink. I used two different stamps to get the sentiment that I wanted.
I wanted the wifi stamp on there since there was zero cell service up there for her. So I stamped it in second generation charcoal ink, right onto the wood piece. I haven’t printed the photo yet, but this is the photo that will be going onto this page!

This will be an awesome page, won’t it? She sent me a few photos, so I might add a few flip flaps to put other photos and a journaling spot for her. I did stamp the little ‘you are here’ markers from the Escape to Paradise stamp set and thin cuts in sapphire, lagoon, and candy apple red to put a marker on the photo, but since I don’t have it printed yet, I don’t know which would look best. So, I have them attached to the back of the page with a bit of washi tape!
Thanks so much for stopping by! If you had this page, what photo would YOU put on it? Leave a comment and let me know!
All products used are CTMH unless otherwise noted:
You Are Here Cricut Bundle
Into the Wild Paper Packet
White Daisy Cardstock
New England Ivy Cardstock
Archival Black Ink
Charcoal Ink
Fern Ink
Vellum
3-D Foam Tape
Liquid Glass
2 x 3 1/2 Clear Acrylix Block
1 x 3 1/2 Clear Acrylix Block
Fiskars Paper Trimmer
National Scrapbook Month with H2H!
Welcome to May and National Scrapbook Month! Every May, it is National Scrapbooking Month. So many companies and people and groups do all sorts of celebrations! Close to my Heart has a special for May, however that is not what I am showing you today! Today I am using the Sweet Girl Workshop Your Way to show you this super fun layout page.
I host a crafting retreat every year, and this year we happened to be at the beach on National Scrapbooking Day! It’s fantastic! I have always loved the beach, and totally wanted to incorporate the beach into my page. While I could have added sand to the page with my liquid glass, I didn’t . . . this time!
Most of the time, I plan plan plan before I cut anything. This time, I saw a layout on Pinterest, and fell in love! I just HAD to create it with the papers that I had! SO this fun, one page layout was created! I cut 3/4 x 1 1/2 inch strips from the center of the wood grain paper in the Sweet girl, then inked the edges with Almond ink and a sponge dauber. The SUPER fun part was the silver pieces! These look JUST like the inside of a seashell that you can find here on the Pacific Coast.
To do it, I started with the technique that I shared earlier this summer. (you can see that one here) So, you start with silver foil paper, then cover the whole thing with Black Shin Han Alcohol marker. Then you take an alcohol prep pad, and lightly go over it, removing some of the ink. It will look very grungy at this point. Then, you go back over it and dot the whole thing with the black marker, then the Warm Grey 7 marker, and then the Warm Grey 4 marker. Just dotting all over the place! (I used the chisel end for all of the dotting process) Then I went over with the Turquoise Blue marker, dotting here and there again, but sparingly this time. (I made sure to scribble off all of the color that it picked up, before I put it away again.
I let it dry for a bit, and then cut out the letters for BEACH out with the Block Letters Alphabet Thin Cuts, and paired it with the White Alphabet Foam Stickers and a banner that was stamped with the Modern Typewriter Alphabet stamp set. I know you can’t tell so much in the first picture, but I am hoping you can see how much shine comes through in the second picture. It turned out SO GREAT!!
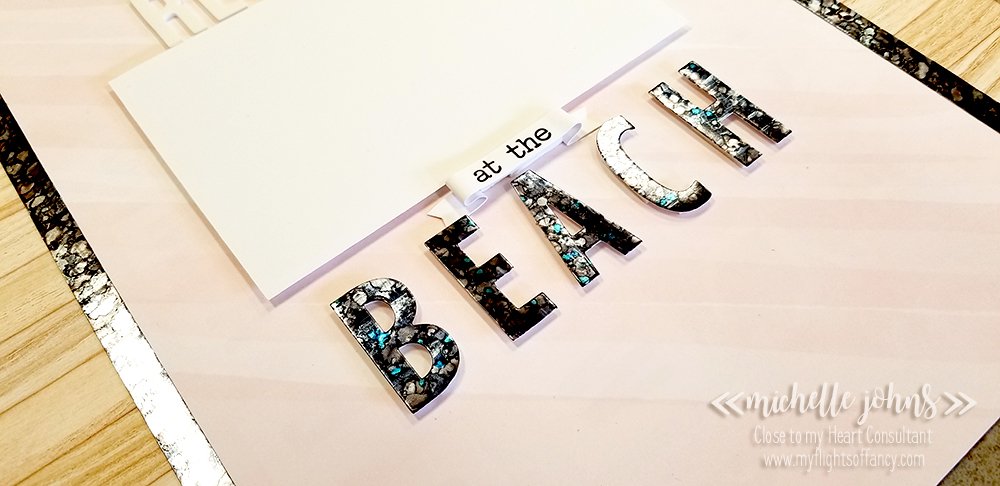
I am going to put the group photo on this page for our retreat, and start an album for just those pages (which I have a few to get caught up on!). I am so please with this whole thing!
Thanks so much for stopping by! I do hope you liked my page! I would love it if you left a comment for me below, letting me know what you think! After that, head on over to the Heart 2 Heart Challenge blog, and play along with their challenge! The scrapbooking challenge is up until the end of the month, so you will have a lot of time to join us on this one!
Lovely Layers – CTMH Technique Blog Hop
Welcome to the CTMH Technique Blog Hop! This month we are all about Layers, layers, and more layers! Check out how many layers of hopping we have for you this month! Today you should have arrived from Marciava’s blog , but if not, that’s ok, it’s a big circle, and you will get back around to her!

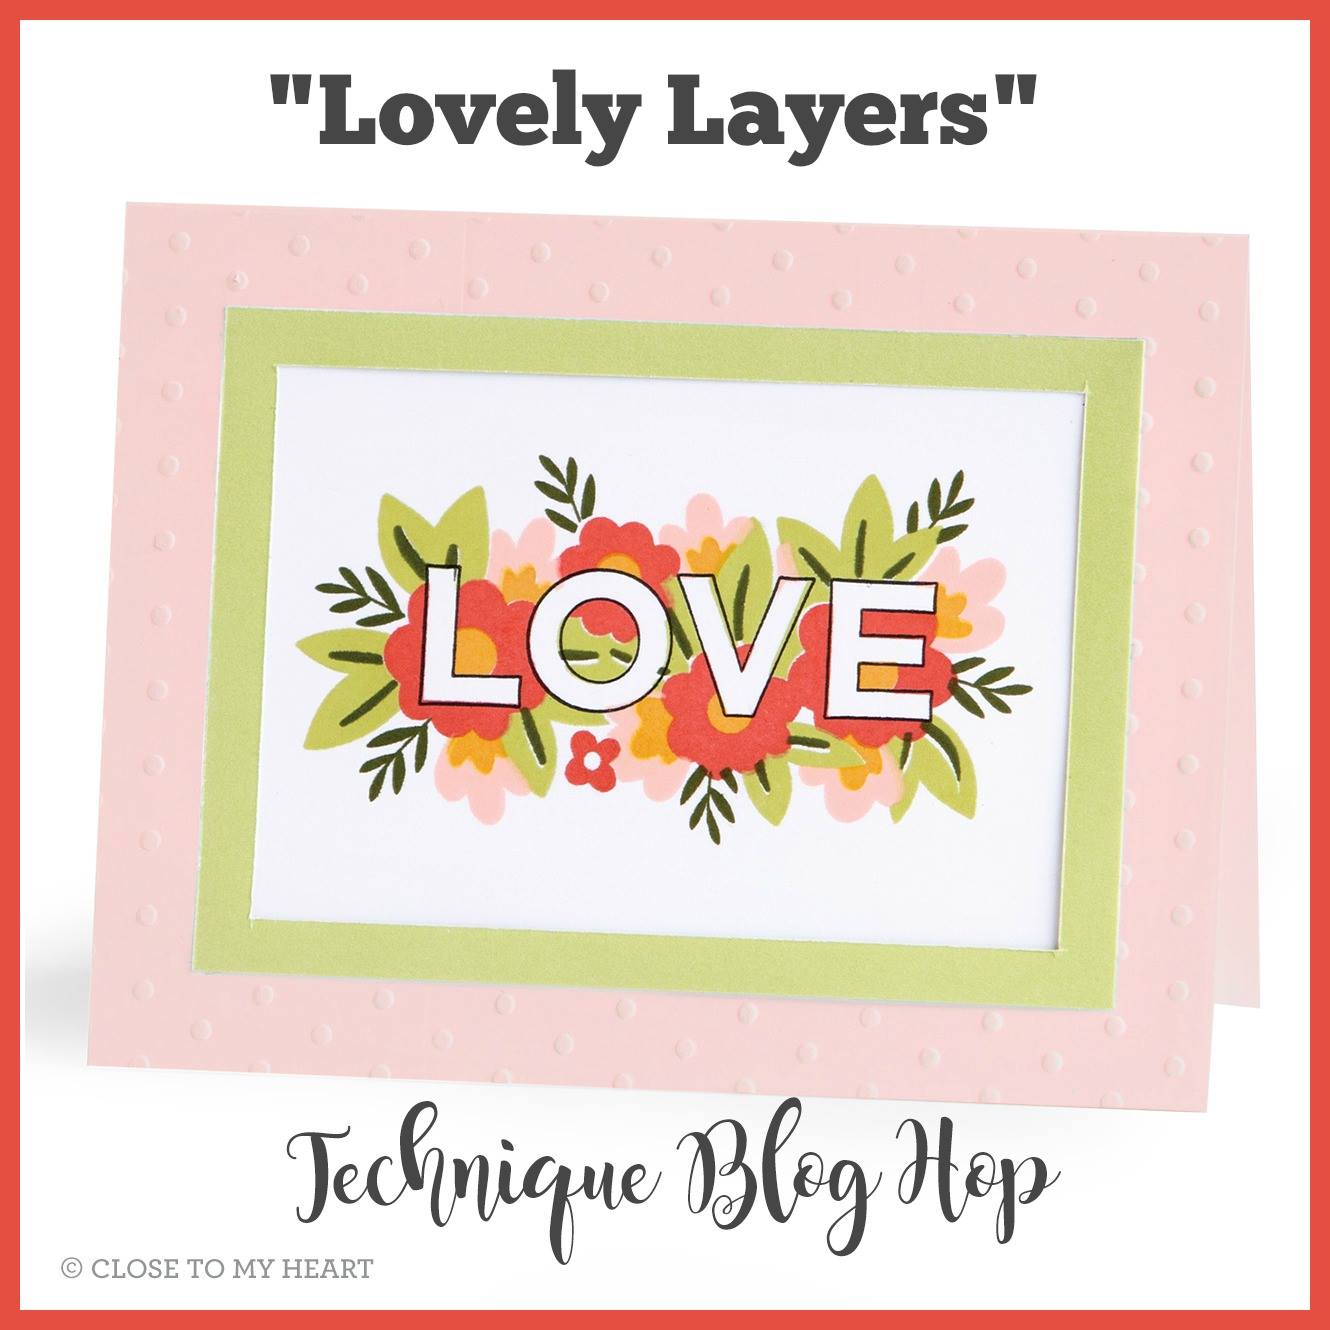
Isn’t this just the cutest layout? It is my favorite layout in the whole workshop that I have coming out on Monday! There are So Many Layers! But, it’s so easy to put together!

This great title bit is combined from the cut apart page and the compliments for the Something Fierce paper pack. They are strung together with some fun Mink Twine. The banners that hang over the photo spots aren’t glued down, so that you can still get your photos in there! However, if you are putting this together with your photos already on it, you don’t have to worry about that part!

This adorable pink dino is another part of the cut apart page. I popped him (her?) up on some foam tape to give it a bit more dimension. The sentiment is part of the compliments pack. Add a few sparkles and you are ready for all the happenings!

This dino, like it’s dark pink companion, is part of the cut apart sheet, again, popped up on some foam tape. The little flag and hearts are all part of the compliments pack.

This little spray of hearts and sparkles continue the line from the lower left corner, and are all part of the compliments pack. Below it you see some of the fun papers and even some of the compliment borders! Adding a few more sparkles to the whole spray of hearts finishes off this fun page!
What do you think of this page? Like I said at the beginning, I am LOVING this page! It is just so fun and bright! Even if the dinos are pink, this page could easily be used for both boys and girls! I think the only thing that I might do differently, is maybe add some pewter sponging on the edges of all of the pieces. What do you think? Would you leave them as is, or add some ink on the edges?
Leave me a comment below, and let me know what you think! Do you have photos that would be perfect for this layout? I would LOVE to see them! Share them with me over on my facebook page! After you leave a comment, hop on over to Haley’s blog to see what fun she has come up to!
Thanks so much for stopping by! I really appreciate it!
~ Michelle
I Love Us
This week’s challenge over at Heart 2 Heart Challenges is “I Heart Us”. Now, you can take that, as always, in whatever fashion that you want. You can use the paper pack with the same name, or the photos that move your heart.
Today I have a fun two page spread for you, but it isn’t your traditional size that you see me make, they are 6×8 pages perfect for the Everyday Life albums!

I took the pattern 6 from the Make it from your Heart volume 1 book. Those patterns are for 12×12 pages, so I had to do some figuring, but I did, and made it work for the 6×8 pages!
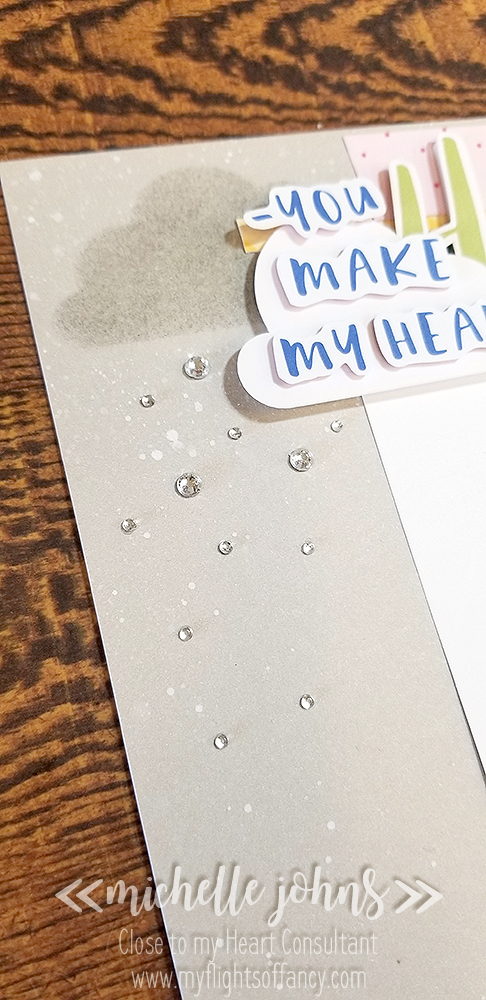
First I started with some mink cardstock cut to 6×8, then I made some masks with a couple of clouds, and did some white ink splatter around the edges of the pages with my water brush. Next I used the negative of those clouds to be able to sponge some pebble and charcoal inks onto the cardstock to create the darker clouds. I cut the title from the cut apart page from the I heart us paper pack, as well as the strips of paper.
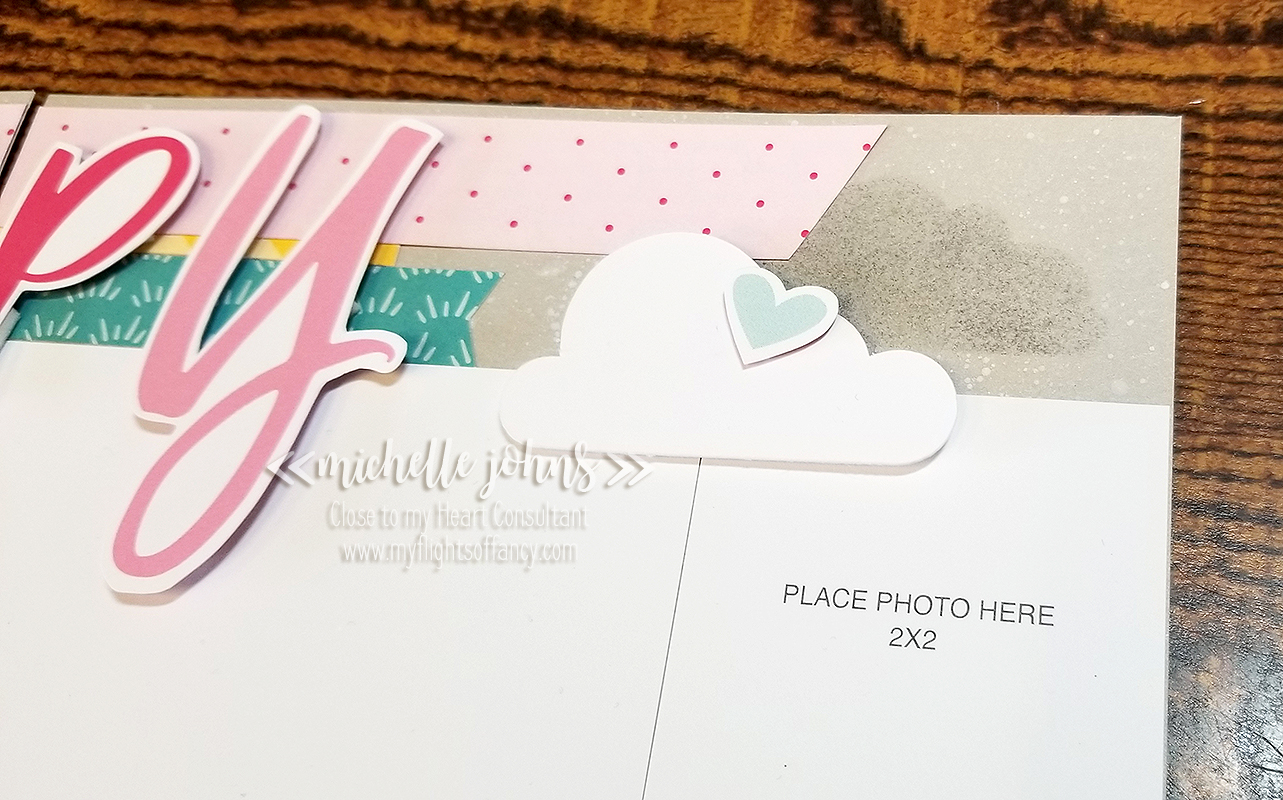
I used some foam tape to pop up the title and the clouds. Sparkles and Bitty Sparkles make some fun ‘rain’ on the left side of the left page.
I created a cut file for you to use, if you have the Artistry cartridge, you will be able to recreate this page in no time!
You can find the file here.
CTMH Picture My Life Hop
Welcome to another blog hop! Today we are sharing more about Picture My Life Cards! Today you should have come from Darlys’ Blog. If not, that’s ok, it’s a big circle, and you will get back around to her!
If you were around earlier this week, I shared a layout using a PML card from the Stargazer papers. You can see that here. Today I am showing another layout with PML cards! I LOVE to stretch my papers as much as I can, and I know that my crafty ladies love it too! (in fact, they have teased me if I use a 12″ strip that is covered by multiple things!)
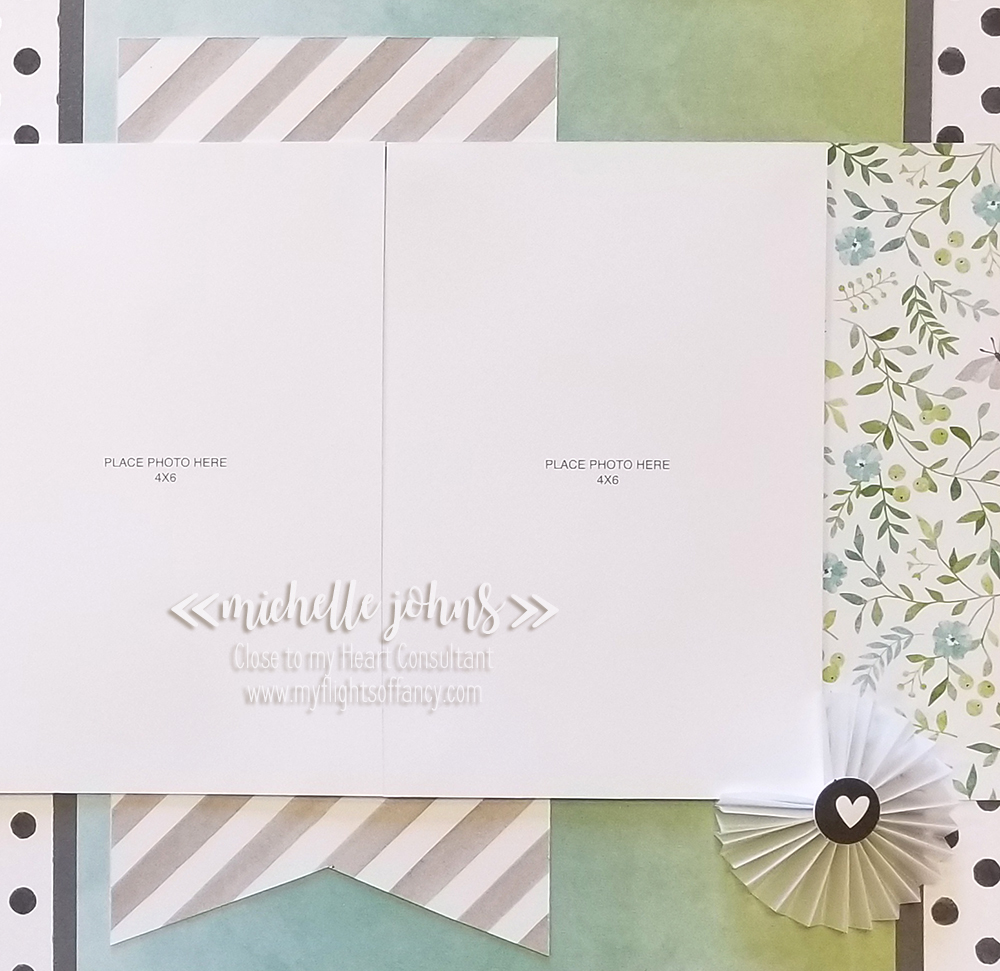
See this fun striped banner? It is one of the PML cards that are printed and with the Chelsea Gardens paper pack! I LOVE this striped paper! When you tuck the pieces in under other pieces, you can totally make it look like a bigger piece of paper than it is!
The next couple of photos aren’t of PML cards, but I really LOVE how they turned out, so I had to add a close up of them for you!

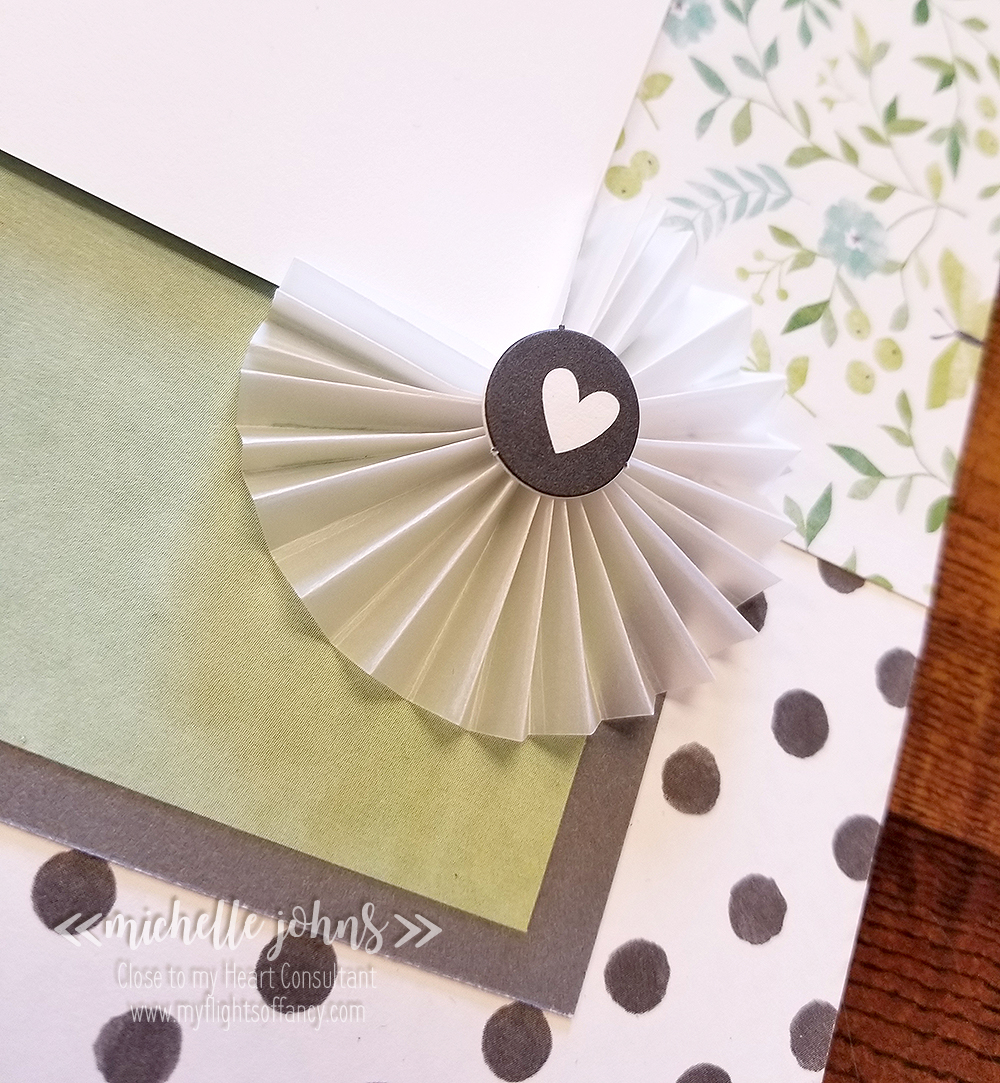
This last one uses our vellum paper! It is such a soft look, but it stands out so much at the same time!
I hope you have liked my page! I would LOVE to see what YOU have done with your PML cards! Come over and join my FB group, and share your PML card creations!
Now, hop on over to Kathy’s blog and see what fun stuff she has for you!
I look forward to seeing you again soon!!
~Michelle

