Tag Archives: Gift

A Lovely Box of Chocolate!

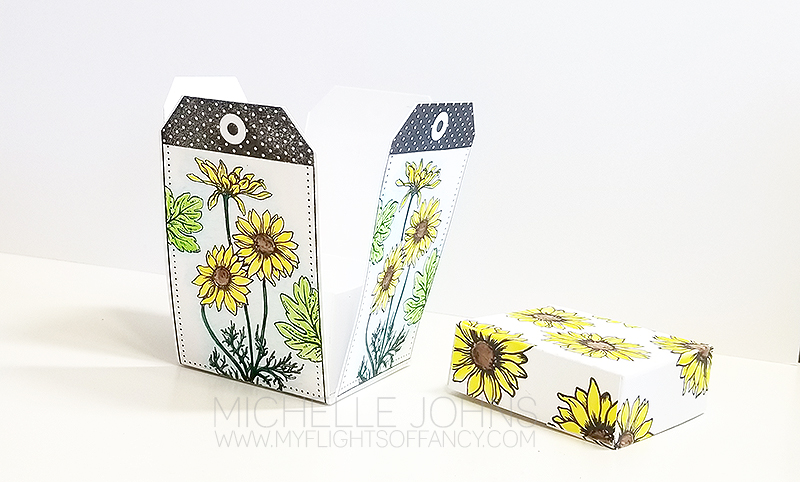
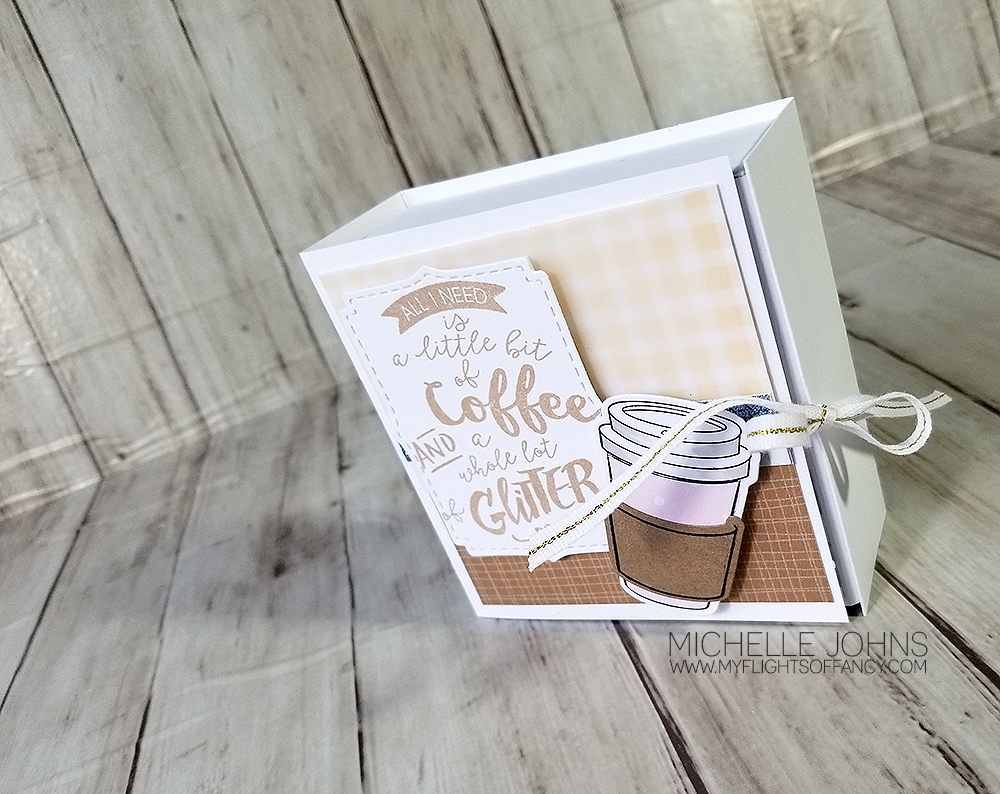
Todays Naught a Card Nor a Layout project is a little-ish box for chocolate!  (or some other goody!)  I found this idea some time back, and decided to make a bit of a change.  (If this is the second time you are seeing this, I apologize!  But this time, it has the photos!)

I love the idea of it opening like a book, so that’s how I started!  My cardstock isn’t as long as her’s is, apparently, so I had to make a few changes.  The ribbon I used is no longer available, but it worked so well with this project!

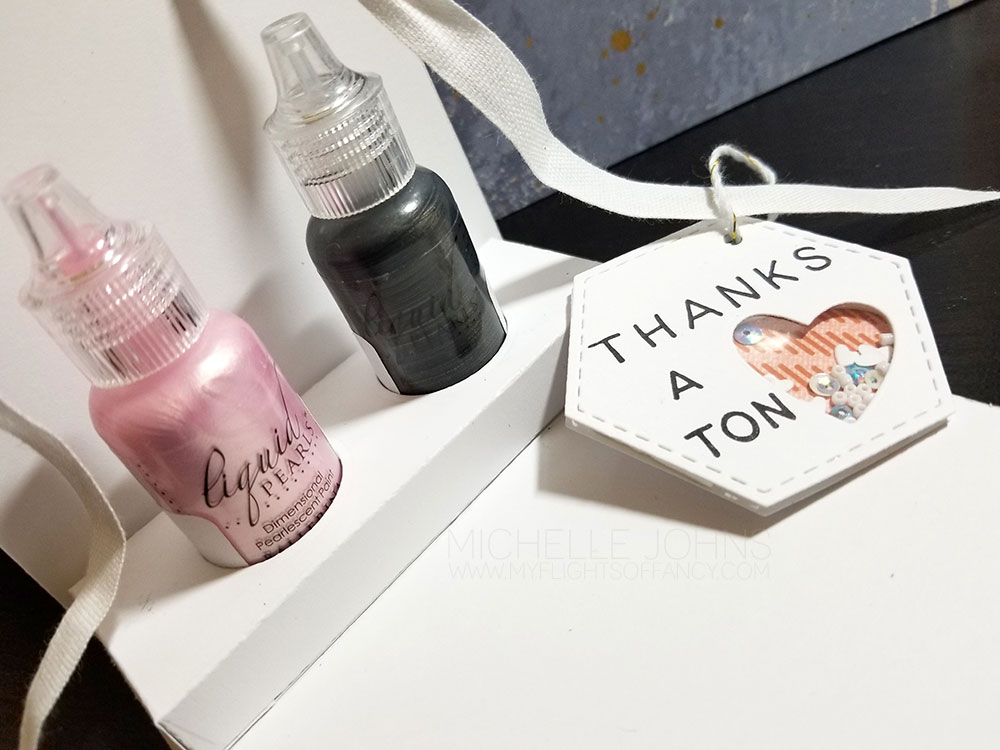
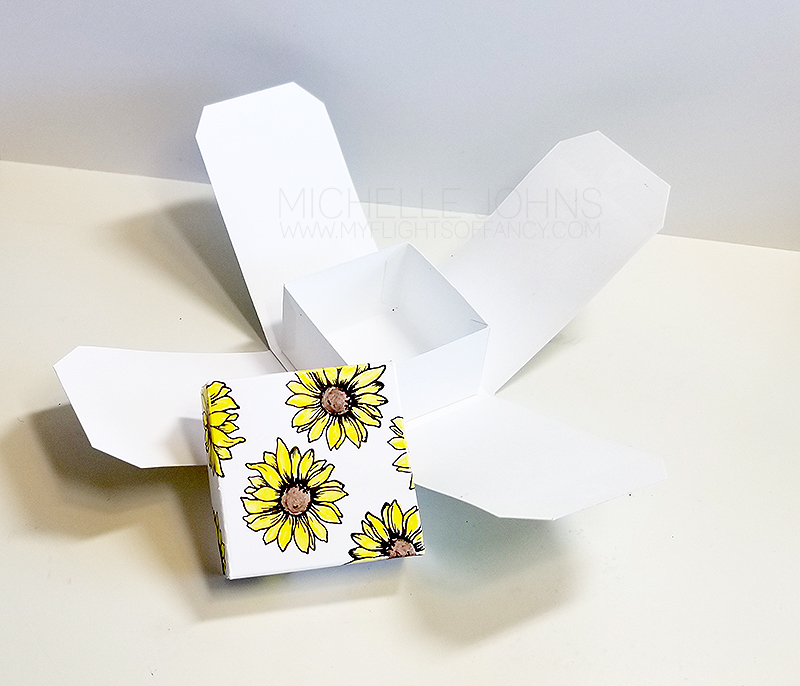
Once you open the ‘book’, you have a spot to the left that you can add a note.  Then there is a box to open that you can fill with chocolate or candies or whatever you little heart desires!

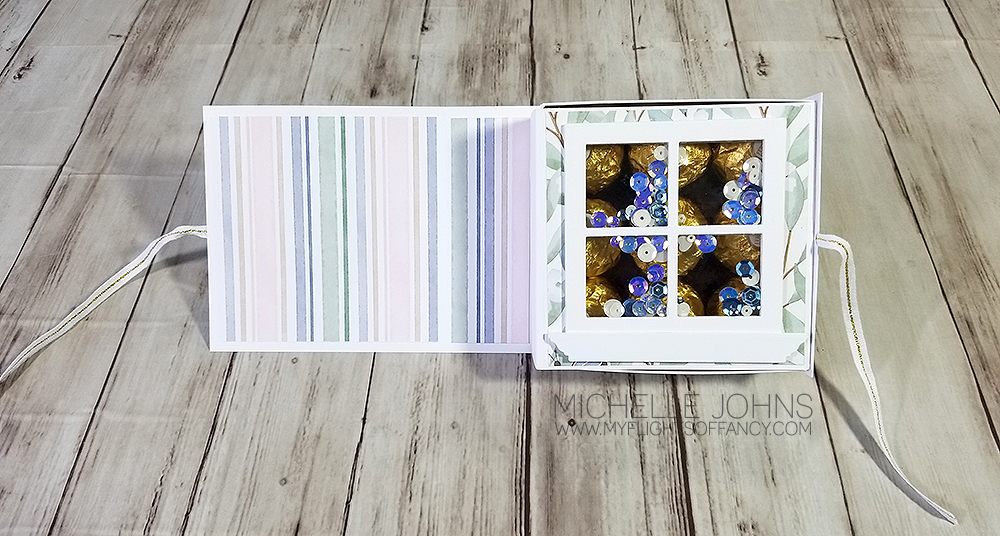
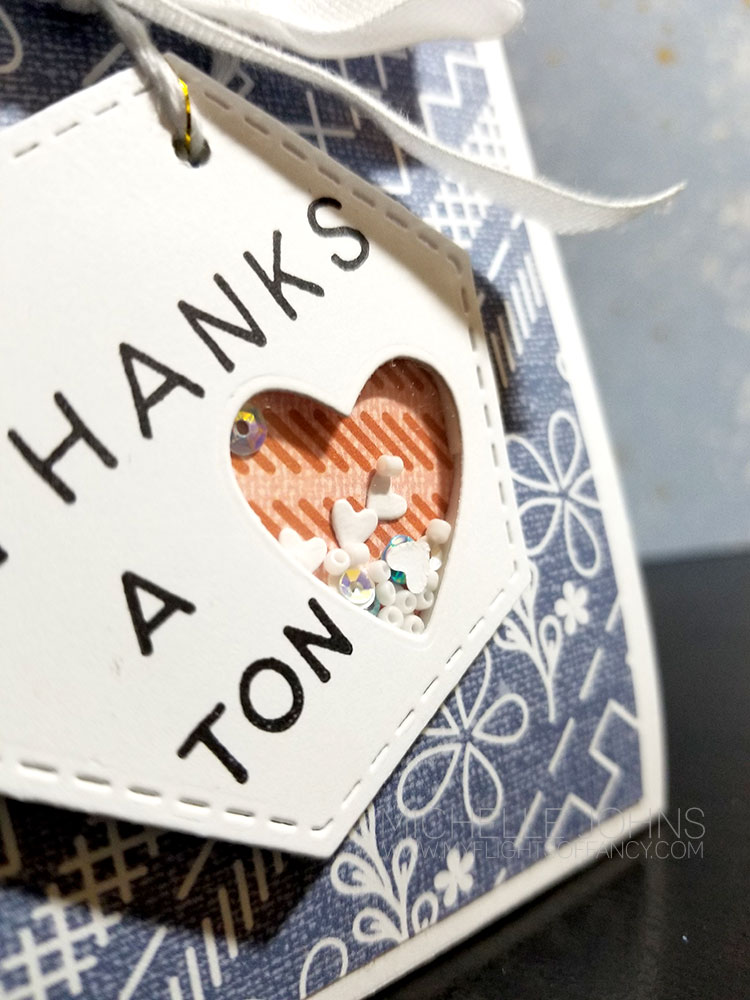
I had so much fun making this little window scene!!  Instead of foam, I did multiple cuts of the window die cut, and glued them together.  

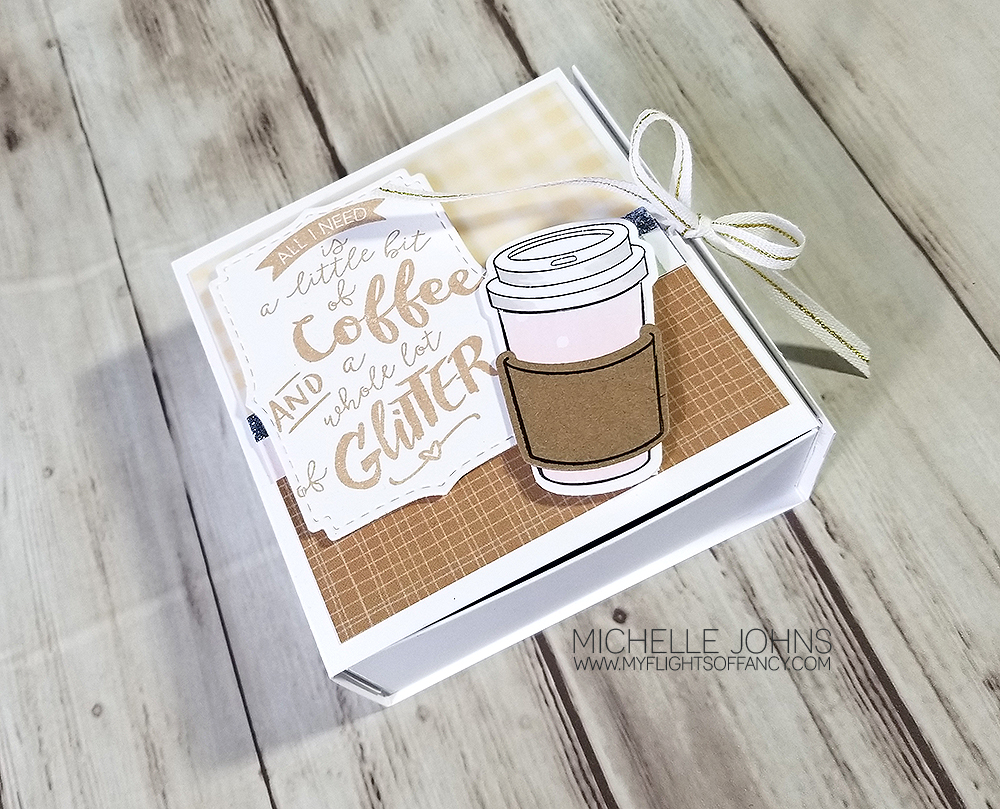
I do love my little coffee set, so I went with that for the front.  Maybe I will include some yummy coffee packs inside!

I hope you love my little project!!  It makes me smile every time I look at it!  (I might have to keep it around for a little bit, just because it makes me so happy!)

If you didn’t already know, I make custom orders for people.  Items like these, cards, frames, and so many more things!  If you have something that you are wanting, please reach out!  I would love to help you!

Thank you so much for supporting me and my small business!  I truly appreciate it!


CTMH Items Used:

Mix in a little Ferrero Rocher

Happy Thursday!  Are you ready for the day?  Today I have this little box, that I have had pinned for a while, and thought this would be the perfect little gift to make to show you for this fun Naught a Card nor Layout Thursday!

She has some great instructions and even a video as well.  (I did have to make a few corrections/decisions along the way).  

Wouldn’t it be so much more fun to give this little box of chocolate than just a package of candy?

I actually know who I am going to be giving this to!  A friend has had a rough few weeks, and just sold her house this last weekend!  So, I bet she will love this!  (I hope she likes Ferrero Rocher!)

If you make this little box, I would LOVE to see!  Make sure to join my FB group, and share your creations with other creatives as well!


CTMH Items Used:


Thanks a Ton

Welcome back!  Today I am starting a series called ‘Naught a Card nor page’!  Fun, right?  So, Thursdays here on my little corner of the world, I will have a project for you that is something other than a card or a layout!  It will be something a bit different each week, and will follow along with our paper of the week.  Keep in mind, though, that these things can be made with any papers you might have!

I was able to gift a friend some fun product this week.  It was quite the surprise for her!  Now, if we lived anywhere close to each other, I could have done this fun little bag for her, but she will just have to enjoy it digitally!  However, this would be something that YOU could easily re-create to gift for someone!

I used the Happiness Lives Here paper packet and a few other products!  (I’ve listed them all below, to make them super easy to find!)  The little hearts from the die cut, I couldn’t let them just go to waste!  So, I created a little shaker tag with them!

Thanks so much for stopping by today!  I hope I inspire you to create something that’s Naught a card nor page!


CTMH Products Used


Christmas Comes Early

Sometimes . . . right? If you are a crafter, it’s time to start thinking about what you are going to be doing for Christmas this year! If you aren’t going to be able to be around your family, you will want to get it in the mail a bit earlier than in years past!

This project started out as a simple little project, and got to be so much more by the time I was done! Do you ever have that happen??

So, today’s fun project is a paper bag that is filled with some fun things! A super cute card hides in the very back pocket, and in front, there are two cocoa packets, two instant coffee packets, and two little spoons!

I literally just used scraps of paper for this project! I bet NONE of you have ANY of those! 😉

The card was super fun, and so easy to put together as well! I did have to cut some pieces for it (a few extra to give it the chipboard embellishment feel), but it was soooo easy! Except for the card base itself, every bit of this card came from scraps as well! It was a project that was just meant to be!

And, of course, I couldn’t NOT do the inside as well! Yup, you guessed it, more scraps!

I hope you love my little project! Take a peek over at the H2H challenge this week (Christmas comes early), and play along!

Products used to create this project:
Comfort & Joy Paper Packet
Comfort & Joy Cardmaking stamps and thin cuts
New England Ivy Cardstock
Black Cardstock
Card base & Envelope
Foam tape
Liquid Glass
Versamark Ink
White Embossing Powder
Twine (from stash)

Tools used:
Fiskars Paper Trimmer
Micro tip Non Stick scissors
Heat Tool
Mini Stapler

June Stamp of the Month Blog Hop – Garden Tags

Welcome to the June SOTM blog hop! This month, the stamp set is all about tags! You get four beautiful tags, ready to be colored, an additional To and From, plus a little binding stamp (that goes around the hole, if you wanted) Today you should have arrived here from Jen’s blog. If not, that’s ok too, and you just keep clicking through, you will get back around to Jen’s blog!

Today I wanted to do something just a little bit different, and went with a box that I created with the tags! Isn’t it adorable? I stamped with Intense Black Ink and colored using our watercolor pencils. Add some micro-tip scissors and a bit of liquid glass, and you are all set!

It turned out so cute! I am just in love with it! I will be doing a video on how to do it in my Let’s Flock Together FB group later this week!

Hopefully you know by now, that the SOTM is yours for just $5 with a qualifying purchase from me/my store! I would love to answer any questions that you may have on how to do that! Just let me know!

Now, I know you want to keep hopping and gathering ideas for how to use this fantastic stamp set! So, I will send you off to Becca’s blog!

Thanks for stopping by! I will see you again real soon!

~ Michelle

From Me to You

Welcome to another challenge from H2H Challenge blog! This is the last challenge of the month, and next week/month, you will be seeing new products available with CTMH, and I can’t wait to show you! This week is all about “From me to you” . . . which screams gift giving, right?

So, for this, I thought it would be perfect to create a card box to gift a set of cards to someone. I decided to go with the True Love Paper Packet, as I do love the colors in it! One of the ladies that I watch on Youtube quite frequently, is Sam Pootles, and she has a knack for making boxes. So, she was the first place I went! She has MANY boxes (many!) along with the tutorials for them. I found a couple of boxes for some smaller cards, but I wanted to make something to fit standard A2 sized cards (that means 4 1/4 x 5 1/2). So, I used her plan, figured out what sizes I needed, cut a test one, made some adjustments, and then came up with this fantastic little box!

This box holds 5 cards and envelopes perfectly. It is just one inch deep, so it wouldn’t hold a ton of cards, but you could easily make it deeper to hold more, should you want.

I did use a magnet to hold the box closed (since we no longer have our hook and loop dots!), and I couldn’t be more happy with it! I tied some white ribbon around the front flap, and it was just what it needed! I could add a sentiment onto the front of this box as well, however, I think it is just perfect like it is!

I do have the front, back, top, and insides covered with B&T paper, however chose to leave the side edges and inside top without the extra paper. Doing it that way allowed for the cardstock of the box to show through a bit more, which I really liked.

I hope you like the box, and the cards that I have inside! Let me know what you think!

Would you like to make one for yourself? I did a FB live Sunday video on how to do it! You could go and take a look, and make your own box!

Thanks for stopping by! Why don’t you come join us over at H2H with one of the weekly challenges? They are great fun, and give great inspiration!

All items used are CTMH unless otherwise noted.

True Love Paper Packet
Ballerina Cardstock
White Ribbon
Liquid Glass
Paper Trimmer
Corner Rounder
Micro tip Scissors
Bone Folder
Magnets

Pages & Projects: 1 Year Thanks Bags

Hey everyone! My friend Danielle and I are doing a number of things this month, to help challenge each other to be better, and one of the things that we are doing is a series of videos on Thursdays that will be Pages & Projects. We will alternate each week what we do, so you should make sure to come and check out the videos each week! You can find her project here.

That being said, this week I am starting off with a thank you project for some of the doctors and nurses we had when Audrey was in the hospital last year. This weekend is her One Year anniversary of getting to come home! So, we will be delivering some of these fun little bags on Sunday!


{Can’t see the video in email? Click here to watch!}

I hope you enjoy the video, even my oops, and my fix for it! I left that all in for you, so you can see that EVERYONE does the oops, and generally it is fixable with a bit of thinking!

I would love to know what papers you would use, and who you would give a little bag like this to!

Project sizes:
White Daisy:
4 x 12 scored at 5 1/2 & 11
4 x 10 scored at 5 1/2 & 7
5 1/4 x 4 1/4 scored at 1 3/4 on all sides

B&T Pieces
3 3/4 x 5 1/4 (qty 3)
3 3/4 x 2 3/4

Charcoal Cardstock
2 x 5 1/4

Shaker Thin Cuts:
Largest circle in White Daisy
Stictched Frame in Charcoal

Products used:
Into the Wild paper packet
White Daisy Cardstock
Charcoal Cardstock
Charcoal Ink
Simply Said Stamp Set
Shaker Window Thin Cuts
White Ribbon
Micro Tip Scissors
3-D Foam Tape
Liquid Glass