Tag Archives: CTMH

Technique Hop – “Striped Borders”

Welcome to the Technique Blog Hop!  This month is all about striped borders!  Today you should have arrived here from Alyson’s blog.  If not, and you started here, that’s perfect too!  It’s a circle, and you will get back to Alyson’s blog, I promise!  If you get lost along the way, you can find the whole list on Melissa’s blog.

Now . . . . I kinda shied away from the theme . . . well, more took it in a really artistic direction. . . . or something like that!  LOL!!

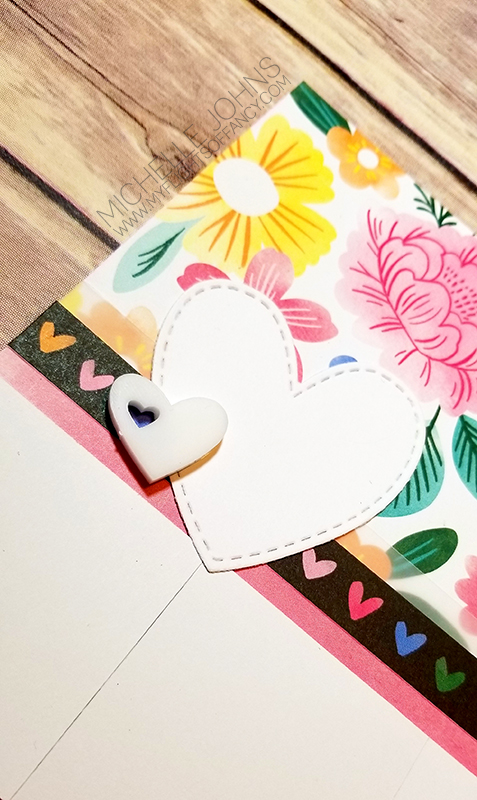
So, the Perfect Match Stamp set has a couple of stamps that can be used as a border, including this XOXOXO stamp.  As I inked it up, to create a nice straight line down the left side, my brain screamed at me (quite literally, I might add) to do a messy side.  So, there are first, second, third, and even fourth generation stamping images here!  Now, you won’t generally find me doing messy stuff like this.  (usually my brain fights against it, really really hard!)  But it was just the ‘right thing’ to do!  LOL!

I even repeated the look on the inside.  I used a thin strip of black cardstock to give it a nice finished look, and to give it a bit of definition.

I used a few different die sets for this card, because they are so easy and handy!  I used the Stitched Simple Brackets as well as the {retired} stitched circle and basic circle thin cuts.  The tiny little hearts are from the layout that I did on my FB live on Thursday!  So cute!

Thanks so much for stopping by on the hop!  I hope you like my little card!  Next, you are off to Haley’s blog!  Make sure to leave everyone a little love along the hop!


CTMH Product Used:

National Papercrafting Month : Home Sweet Home

Did you know that January is National Papercrafting Month?  Isn’t that awesome!  CTMH has come out with a fantastic kit for you to enjoy the whole year through!  This fun frame kit will allow you to customize it for your own wants and is just absolutely adorable!


During the month of January, I will be doing some videos on my FB page, where I will put all the circles together and offering tips and tricks for some of the circles.  I will also have a few extra surprises for you!  I can’t wait to show you!

If you missed it, I did a walk through of what you would get in your kit on my FB page earlier today.  Head over there to catch it, and if you haven’t yet, please like my page, and comment on the video!

Click here to check out the Home Sweet Home Kit!

This will be so much fun!

Until next time!

Gifts from the Heart with H2H

Have you been watching the Crafting with Santa series?  It happens every Wednesday on my FB page.  Santa joins me and we craft a little something, that is a surprise to him until right then!

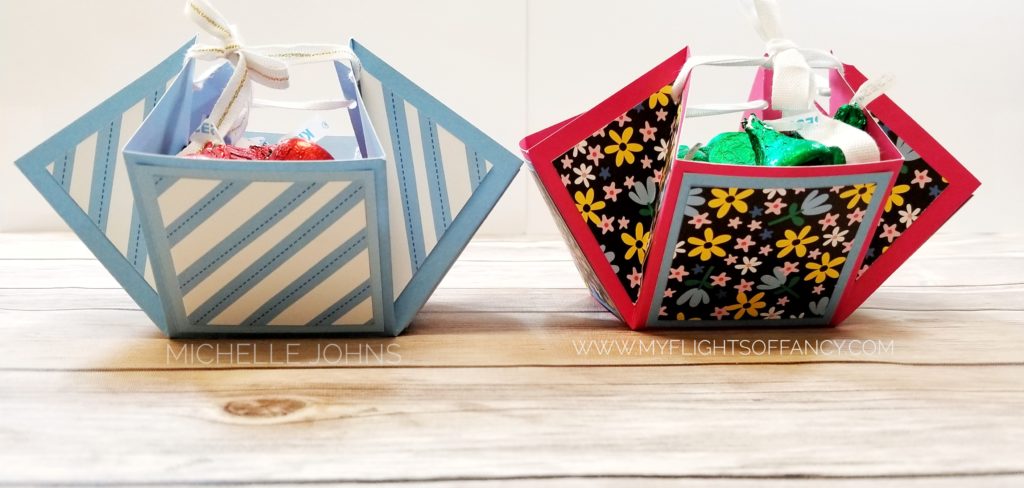
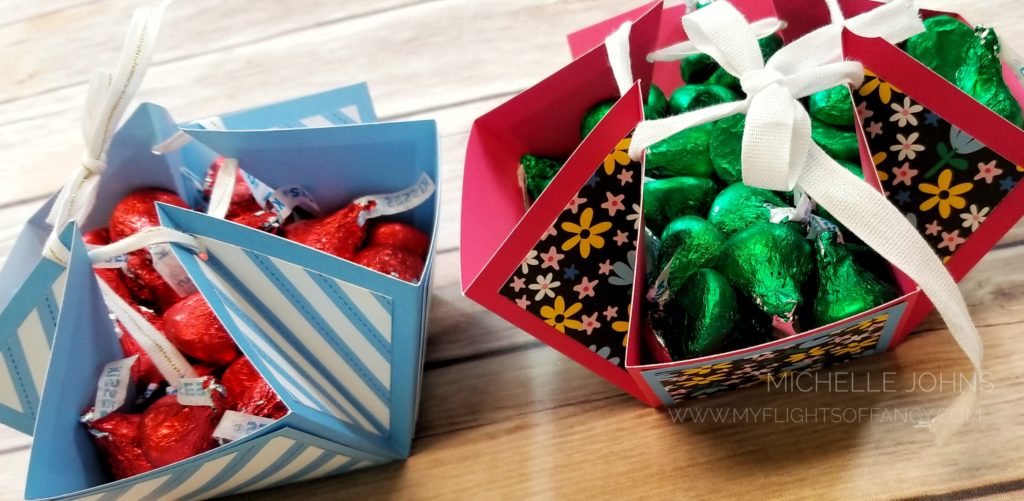
This last week we made these adorable little treat holders!  I even shared the design space file for it!  Makes it even easier!


The red and pink ones were the samples, and we made the green ones in the video!  I love how well they turned out!  Head over and watch the video and join in on the crafting with Santa!

It’s time for another Color Challenge over at H2H!

Welcome to another week’s challenge from H2H! The challenges are so fun! And, sometimes, will take you outside of your normal realm! This week, the challenge is to use Saffron, Peacock, Sage, and Glacier! They do go together, quite well, it’s just not a combination that I would normally use!

That being said, I think I came up with something that is fabulous!! Don’t you just love it when things turn out better than you expected? I know I sure do!

So, today’s card uses two different stamp sets, Can’t Get Enough and Born to Bloom. Not things that you would just look at and say ‘oh, these two will work well together” . . . but, Can’t get enough has been one of my SUPER favorite sets! There is a little bit of everything in this E sized set! You should definitely add it to your collection before it sells out! (It’s technically retired, but available while supplies last for online orders!)

This card was surprisingly simple to put together! Come join me on my FB page on Monday at 5pm Pacific, and we will make it together!

So, I already told you what stamps I used. I also used the Peacock, Glacier, Saffron, and Sage inks to color this card. I used a small snippet of B&T from the Summer Vibes paper packet (it fits perfectly with the glacier color!).

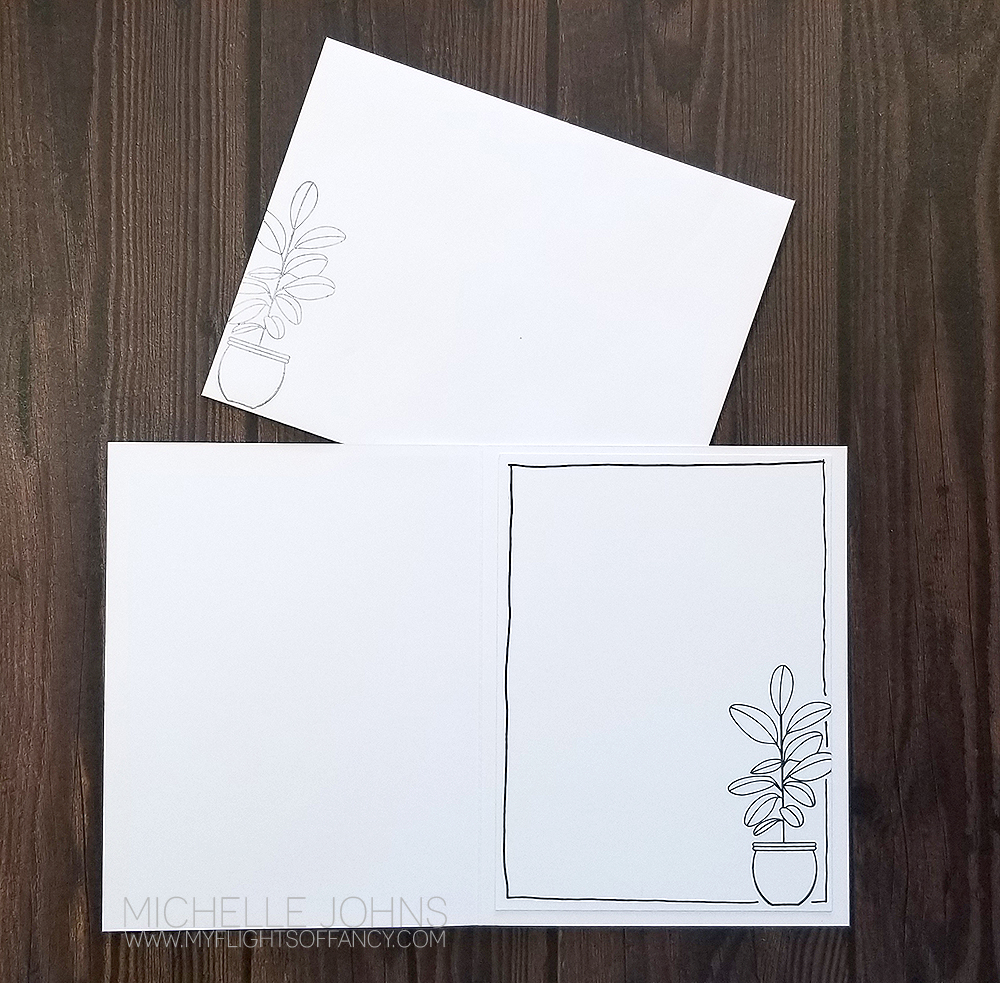
Of course, if you know me, I LOVE to add another layer (or two) on the inside of my cards! And it doesn’t have to be hard! I just stuck with the black and white stamping of this fun image!

I love that the set has a thin cuts die set with it! Then I can have those pretty leaves and pots popped up off the page! It just adds a little bit more!

Like I said before, this card turned out so much better than I thought it might! Join me Monday night at 5pm Pacific to make this card! You only need a few supplies! (and that background paper could TOTALLY be something different!)

Thanks for stopping by! Make sure to check out the other design team ladies’ projects over at H2H! Then make your own, and link it up over there!

I can’t wait to make this card with you! See you Monday Night!

Supplies used for this card:
White Daisy Card base & Envelope
Summer Vibes Paper Packet
Peacock Cardstock
White Daisy Cardstock
Inks:
Peacock
Saffron
Glacier
Sage
Intense Black
Can’t Get Enough
Born to Bloom
Foam Tape
Waterbrush
Shammy
1 x 1 Block
3 1/2 x 2 Block
1 x 3 1/2 block

Just add water, you say?

At least I’m not Gizmo! That would be bad! (though, it would fit right in with how 2020 is going, right?)

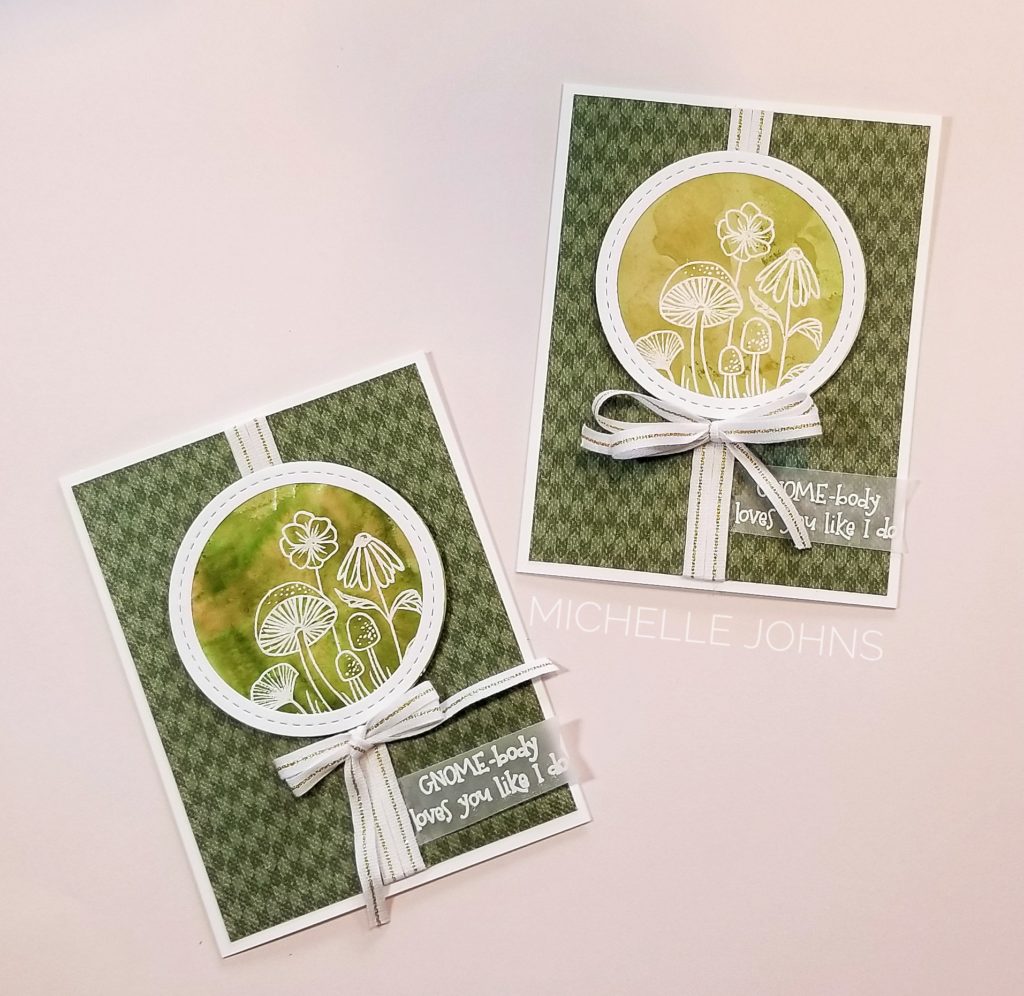
So, I decided I was going to add some water to my ink! So I grabbed a piece of acetate and picked a paper, and then chose an ink. Believe it or not, both of these cards were done with the same ink color, and that was fern!

So, let’s walk through the steps, shall we?

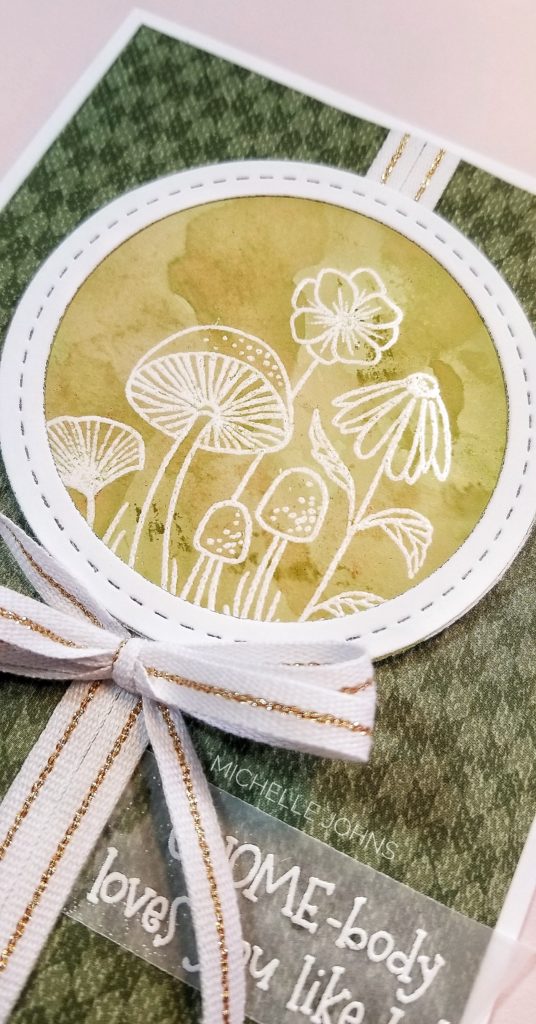
So, first I grabbed a couple of pieces of white daisy cardstock, and used some versamark ink and stamped the little mushroom scene from the Gnome Matter stamp set. (LOVE that set!) and embossed with some white powder. Then I put some fern ink directly onto some acetate and grabbed a water brush, added some water, and then swirled it around. I then smooshed the ink and water mix onto the paper with the embossing. I dabbed it a few times, then did some heat setting. Then, a bit more ink and a smidge more water, mixed, and smooshed again some more! Then a bit more drying and the first one was done.

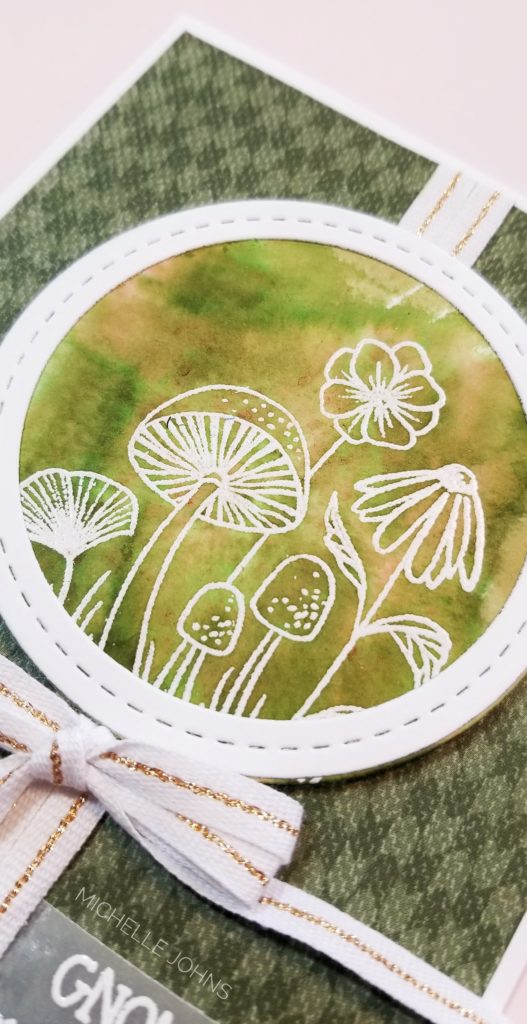
I decided to see what would happen if I put some ink on the back side of the paper, directly, and then added some water from behind. It gave a completely different result! But, still so fun!

I ended up getting more browns from my inks than I expected! A bit of red, too!

So, to finish the card, I cut the circle out with the solid circle from the shaker window and confetti die set. I cut the frame from that set from white daisy cardstock. I used the B&T from the Mix In paper pack. I stamped a sentiment from the set on vellum with the versamark and white embossing powder. I lined the B&T with two rows of the white and gold ribbon (retired and sold out!), then popped up the circle with some foam tape. Then I tied a double bow, and attached it with a mini glue dot.

The cards were so simple and easy to do! Super fun, and no two cards will be the same!!

Now, make sure to hop over to the H2H blog and see the other inspiration and link up your project too!

See you again soon!!

It’s time to smile

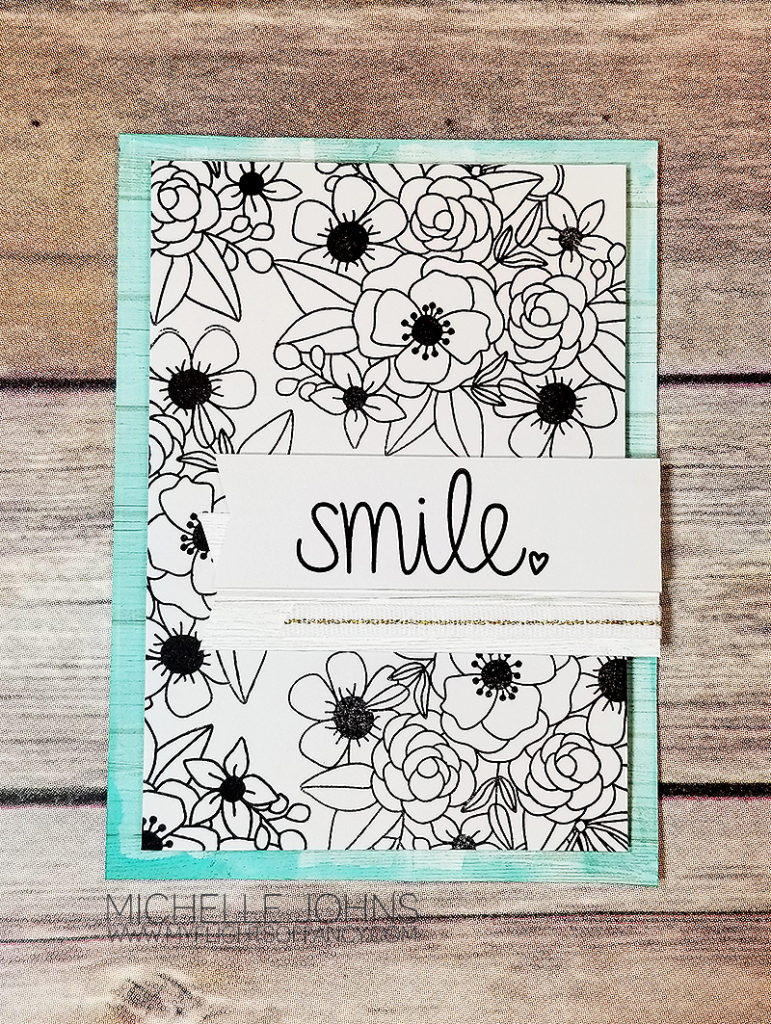
It’s time for another card from both Danielle and I! Today’s theme is the February SOTM. This stamp set has a bouquet of flowers, some script and some typewriter type sentiments on it. This set is perfect for cards for some ladies in your life! (add an alphabet stamp set, and it would be perfect for ANYONE in your life!)

I found a beautiful card that I wanted to create with this set. The Spruced Up paper pack has a fantastic paper that is a wood grain paper, so I grabbed my lagoon reinker and the medium flat waterbrush along with the All Purpose Mat, and colored the wood grain paper! It turned out great!! Exactly as I wanted it!

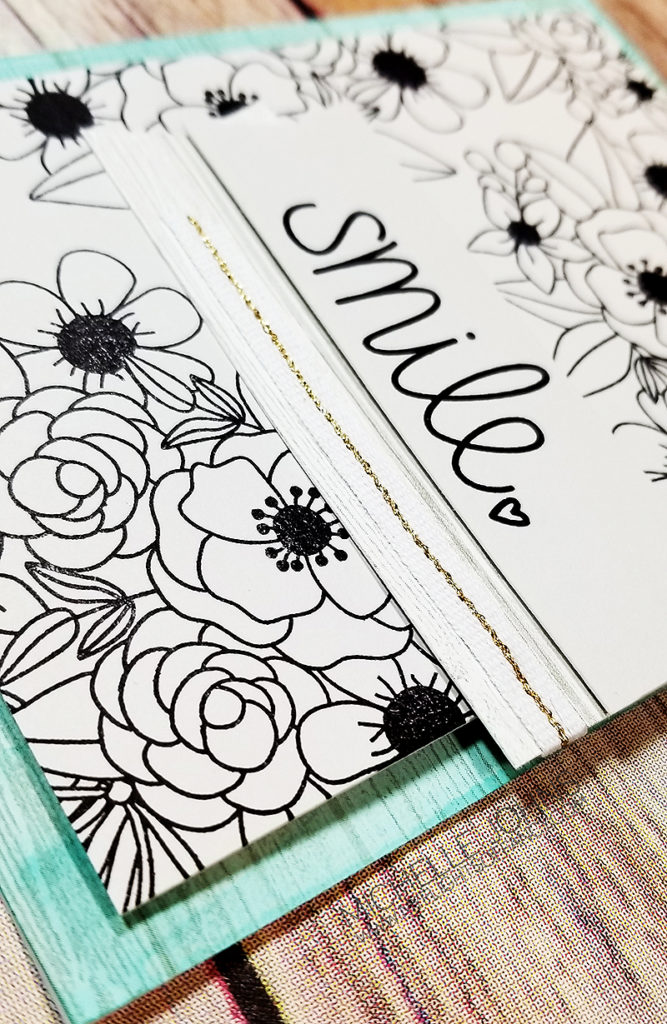
I used some of the mink cardstock from the coordinating cardstock pack for the front of the card. I stamped the bouquet with archival black ink three separate times (well, 5, counting the two little bits in the corners). I did some stamp surgery to be able to stamp the “smile” sentiment without the top part. I used a little bit of the wood grain that was the original color as one of the banners. Add a bit of the white and gold ribbon, and this card is finished!

I am in LOVE with how it turned out! I would love to know what you think! After you leave a comment, head over to see what beauty Danielle has for you!

Beautiful, easy Watercoloring!

Hey there, Crafty Friends!

Danielle and I are back with another fun project! Today’s project is a card, but not just any card! Today we are using this card as our inspiration. We wanted to be inspired by the design, the water coloring, and the vellum!

Originally I was going to do a BUNCH of different cards to show off different water color techniques, but I left most of the products for those other techniques at home! ACK! So, I went with the “easy” option! Also called faux watercoloring! To do this, you use your ink pad, a slick surface (I used the All Purpose mat), a brush (I used the medium flat waterbrush, and some water.

Now, the papers on the left side of my cards are both retired. I used a zip strip from Craft On, on the pink card, and the cardboard piece of B&T from Hawthorne on the brown card. My ink colors today were raspberry and toffee.

Ideally you would do this on watercolor paper, however, I also didn’t have any of that with me! (Yes, I forgot a whole bag of items when I left for my crop!) So, I just used some white daisy cardstock. While it did warp some, it didn’t warp too much!) I used the Shaker window and confetti thin cuts to die cut my circle from vellum paper. Then I used two different (retired) embossing folders to emboss the circles. I created two (actually four, but I only used two) versions of “thanks” and cut them with my cricut machine. I used a bit of gold embellishing thread and gold glitter paper on the pink card, to help it pop some more. I added a few black dots from the Black & White dots. and decided I needed a bit more black. So, I grabbed the black watercolor pencil, scribbled a bit on a scrap of paper, added a bit of water with the small round water brush, and smacked it on my scissors to get some splashes of color on the rest of the card front.

I think they look pretty fantastic, even if they don’t look like the one that inspired us! I would love to see the cards you make! So, make some, snap a photo, and share with Danielle and I!

Thanks so much for stopping by! Make sure to hop over to Danielle’s blog to see her card too!

Wednesday is Mini Day!

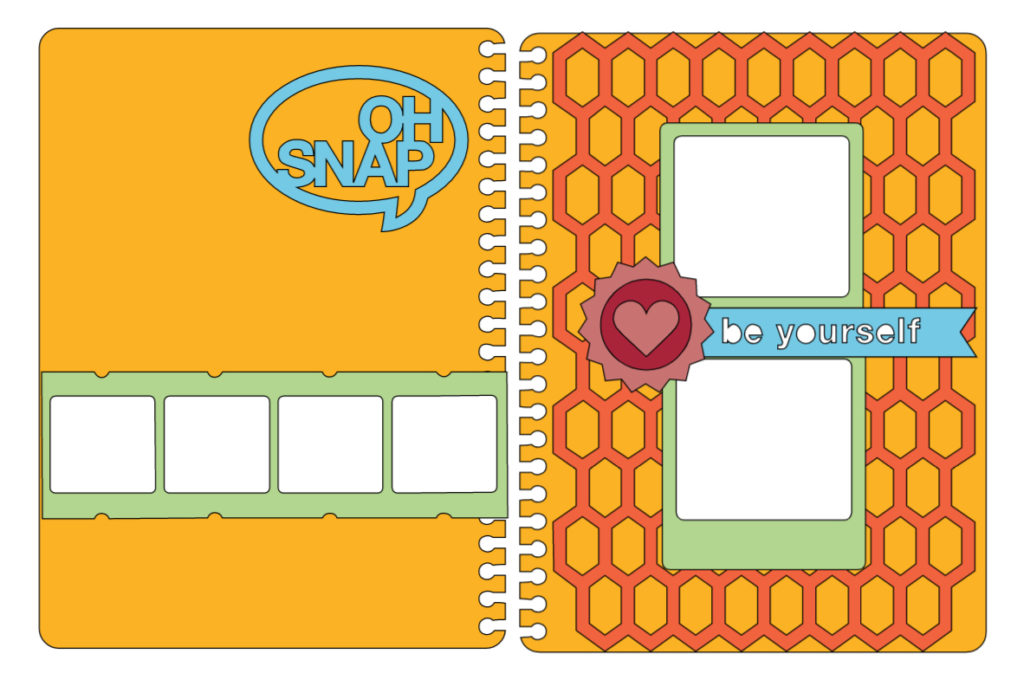
Hey everyone! Welcome back to another Mini Wednesday! As you have seen the last few weeks, on Wednesday, Danielle and I are challenging each other (and all of you) to participate in a sketch challenge! Well, today, we went a slightly different route! Danielle chose a mini album page straight off the Artbooking cartridge! Perfect! I love using my cricut!

And then, my computer and design space decided they weren’t going to play nice together! Whaaaaaa?!?!?! Sooo, she suggested that I go with using it more as a sketch, and not use my cricut. So, that’s exactly what I did!

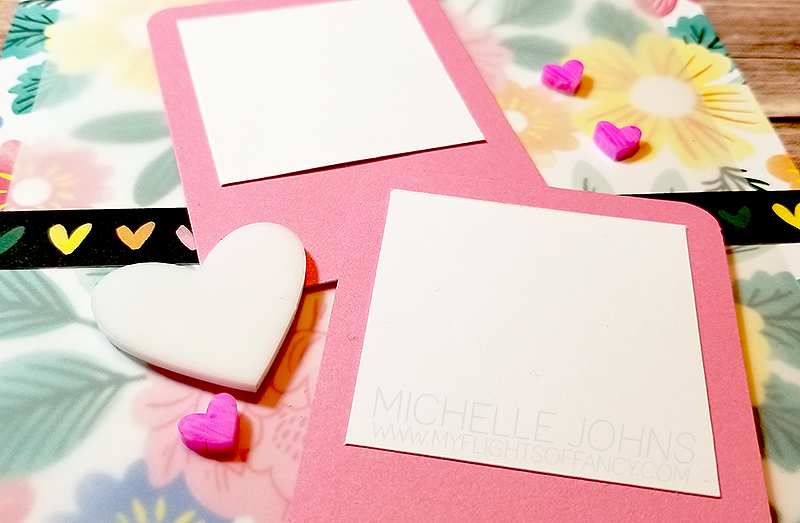
In place of the honeycomb, I used some vellum to tone down the floral paper from the Celebrate Today paper packet, just a smidge. I used pixie cardstock for some ‘Polaroid’ frames. Those acrylic hearts . . . don’t you just love them? I used the bright pink marker to give them a pop of color against the background.

On the left page, I again used some vellum, but ran it horizontal, and the backside of the flower paper is a pink wash, and I used that to help the photos pop against the background. A quick heart from the stitched hearts die, and this page is done!

These pages went together in less than an hour, even with the coloring! It was so awesome! I love it when things are easy and fast! Especially when they turn out this good!

I would love to see what you come up with for this week’s sketch! I do hope you will share with us! If you didn’t yet, hop on over to Danielle’s blog to see what she came up with! It is super cute!

I look forward to seeing what you guys do with this one!

Until next week!

Stay Crafty my friend!

The easiest lay flat box ever!

Welcome back to another box tutorial! Danielle and I have made this same box, and it is the easiest box ever! Seriously, SO EASY!!

So, you will need a piece of cardstock that is 7 1/2 x 7 1/2, and 8 pieces of B&T paper that are 2 x 2. (I also had 4 pieces of coordinating cardstock that were 2 1/4 x 2 1/4.)

Score your large piece of cardstock at 2 1/2 inches on all 4 sides.. Attach all of your pieces (with or without mats) and then hole punch. Thread your ribbon through, and viola! You have a box!

I even have a quick video for you!


{If you can’t see the video, click through to the blog post!}

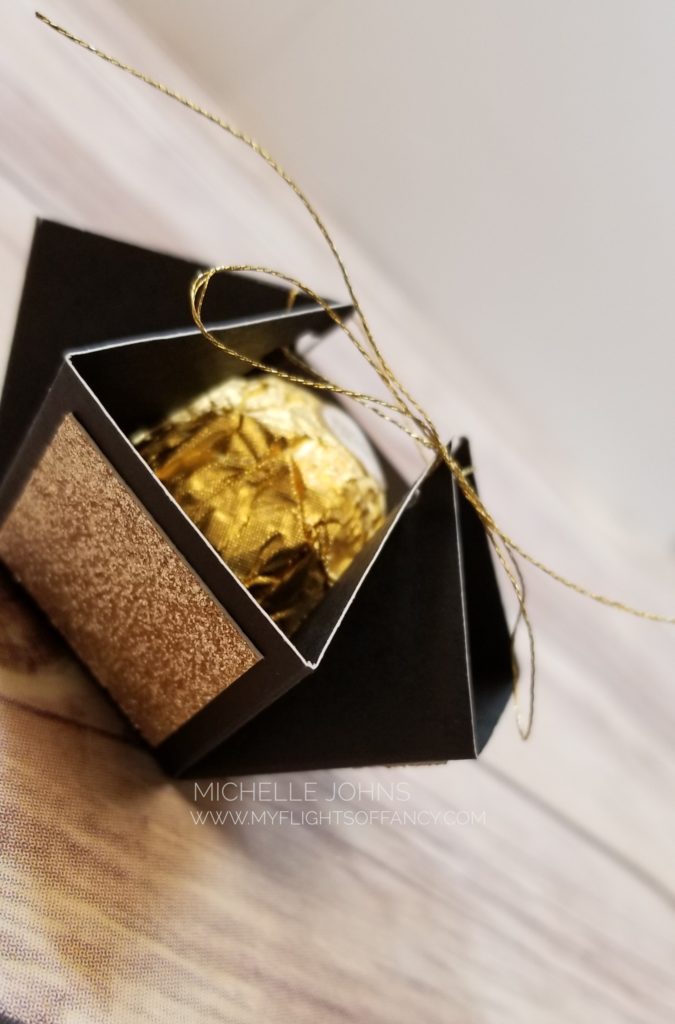
I even made this teeny one! Look at how cute it is! This one is 3 3/4 x 3 3/4, scored at 1 1/4 each side, and the gold glitter paper is just one inch square! Perfect for just one Ferrero Rocher!

I do hope that you make one of these boxes! They are super simple to make! And the best part is they lay flat until you need it! So, make sure you go and check out her post as well!

New Product Blog Hop!

Have you seen the new stuff? Oh My Goodness!! All the holiday stuff you could want! (ok, well, I guess that depends on the holiday that you celebrate, but so much fun stuff!!) We will have 22 ladies participating in this fun hop, you may have started at Alyson’s blog, or you may have started here, either way, you will have plenty to go see! If you get lost along the way, Melinda has the whole list over on her blog.

Let’s get started, shall we?

Today I have this fun card that mixes the new Cedar & Pine paper packet and the continuing Holiday Cheer special.

I stamped the truck image by sponging the stamp with Candy Apple Red and Evergreen inks onto one of the tags from the Holiday Cheer special. Then I added the sequins and the foam and acetate from the window foam and acetate. I used the Shaker window thin cuts to cut the gold glitter paper that also comes in the Holiday Cheer special.

I used a pattern for the card from the old Wishes how to book. This card measures 3 1/2 x 8 inches. I used a bit of the white and gold ribbon to hang the ornament from. I just taped the ribbon to the back, to make it easily removable from the card once the recipient gets it.

Thanks so much for stopping by! I hope you will leave me a comment to let me know what you think! After to take a few moments to do that, hop on over to Krista’s blog!