Tag Archives: Thank You

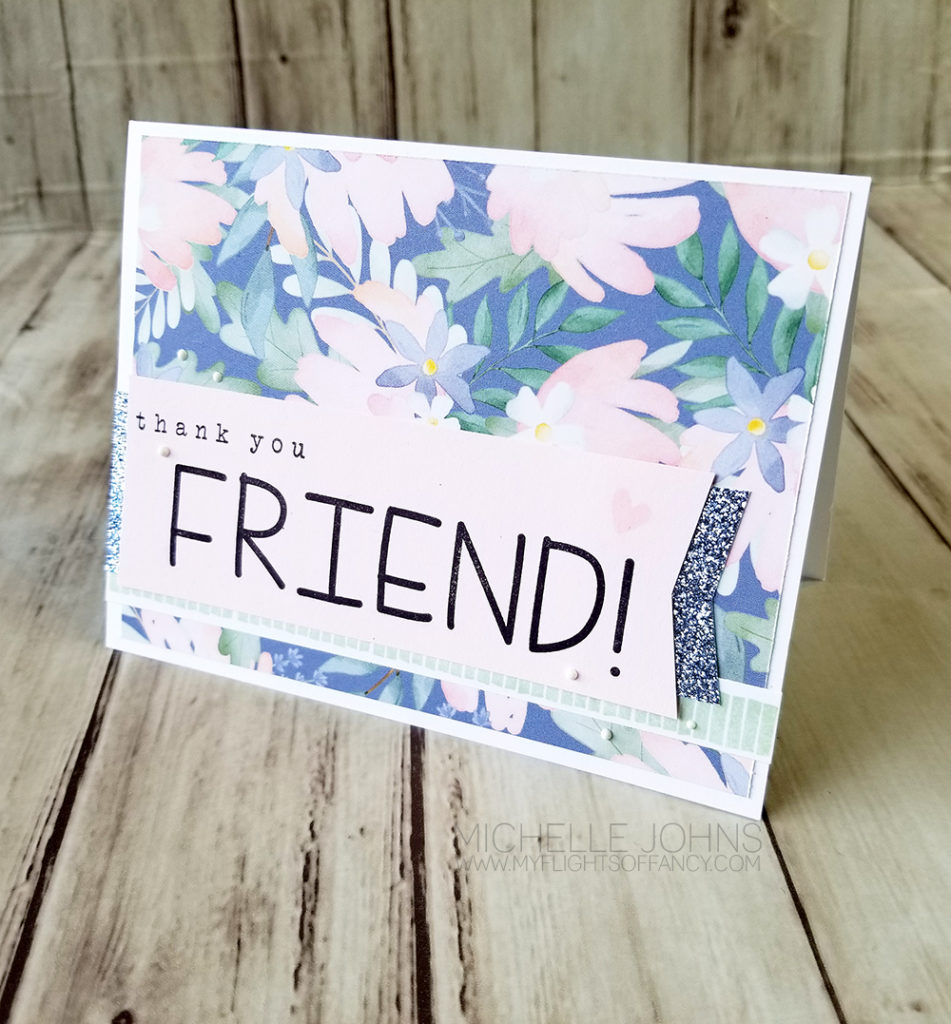
Thank you, Friend!

Happy Monday, friends!  This week we are focusing on the Hello Lovely paper packet, as I’m sure you have seen!  This paper packet is in the core book, available for an entire year!  You have a few months left to be able to get it!  The paper packs in the core book have more sheets of paper in them!  

This is the card that we will put together in the FB live event, today!  I know you will love it, too!  


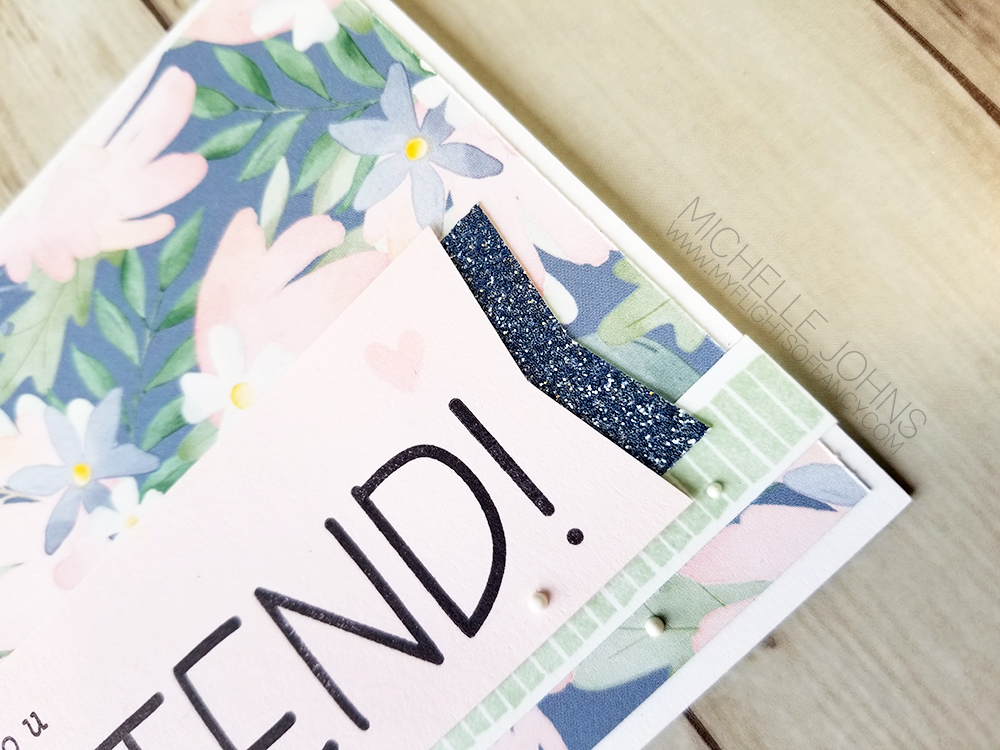
I used some fantastic Blue Belle glitter paper on here, and it shines so much!  Add a few liquid pearls, and voila!  The card is finished!


If you are seeing this before the FB live, hop over to my FB page and have a quick watch!

I can’t wait to see how this inspires you!

CTMH Items Used:


February SOTM Blog Hop – Doodled Borders

Welcome back to another post for me today!  It happens sometimes!  This post is all about the Stamp of the Month blog hop!  You will see a large handful of ladies share their work with this fun set!  Today, you could have arrived from Megan’s blog, or you could have started here.  Either way, it’s a big circle, so you should be able to hop along until you get back to your starting point!  If you happen to get lost along the way, you can find the whole list on Melissa’s blog.

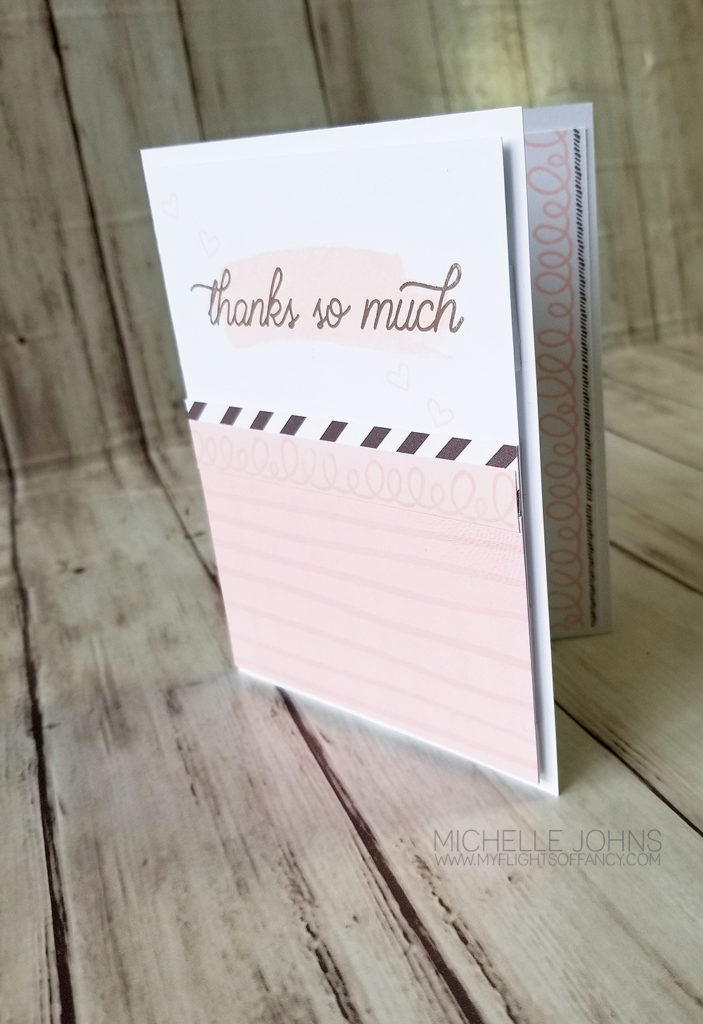
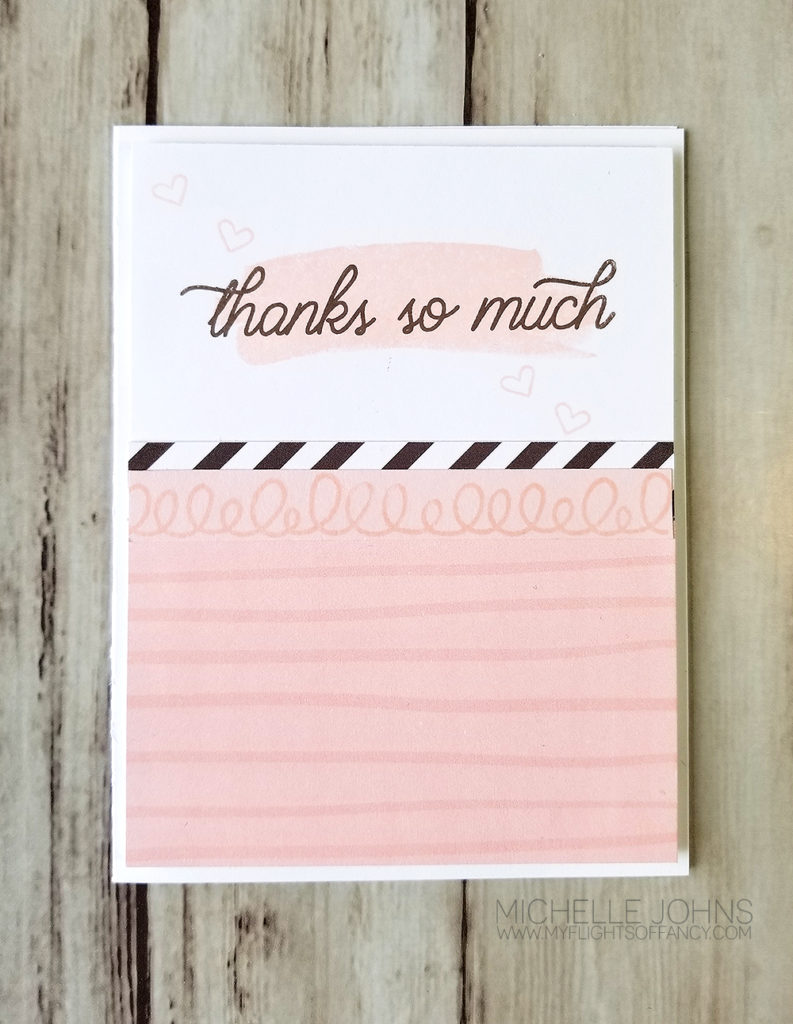
Today’s card is super fun, and super easy to do!  In fact, when this post goes live, I should have started my FB live of putting it together!

I love how simple it is on the color combo!  Ballerina, Espresso, and White Daisy!

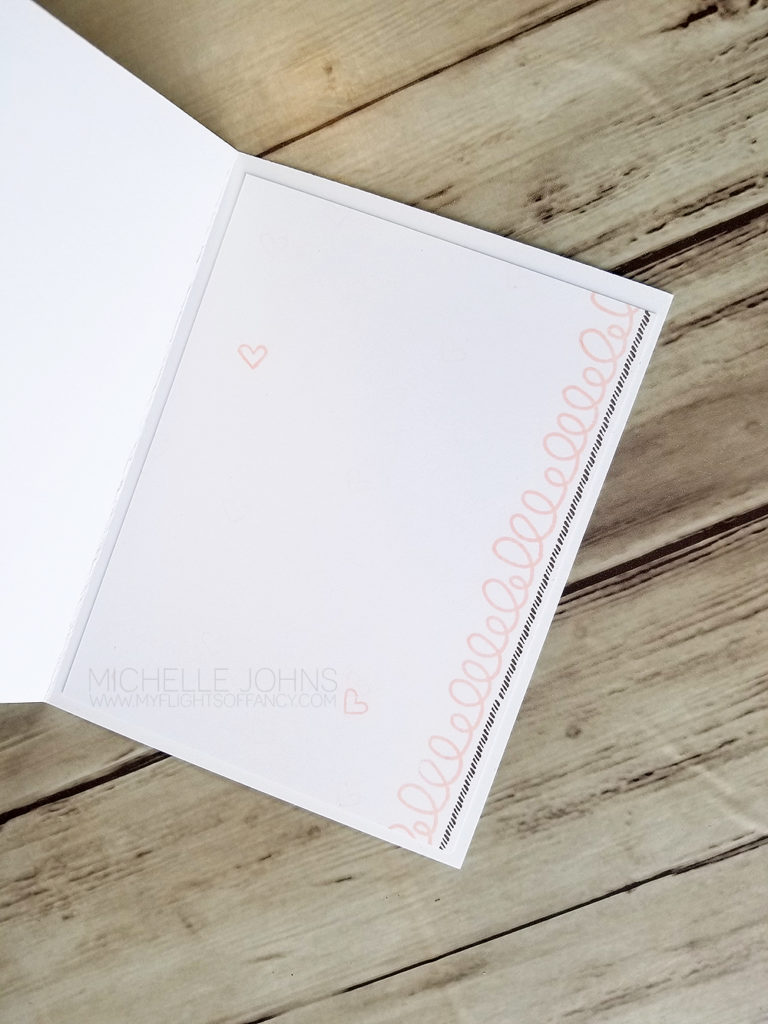
The February Stamp of the Month is perfect to add to the inside of the cards, and to add the extra little something on the front!  This set is not meant to be the front runner or show stopper, but to be the main supporting actor!  LOL!

So, if you haven’t already see the FB live, go and check it out, and I will show you how I put it together!

Remember to continue hopping along the blog hop, and see even more great stuff!  After you leave a comment below, make sure to go and see what fun stuff Wendy has to show you!


Perfect Match Blog Hop

Welcome to the Perfect Match Blog Hop!  Today, you could have arrived here from Becca’s blog, or you could have started here.  Either way, you will get a chance to see everyone’s work, since it’s a big circle!  Should you get lost along the way, Melissa has the whole hop linked on her blog as well.  

Now, if you have been following my blog this last month, you will know that today I should have  a card with the STOM and the Sweet Safari paper packet.  Well, good news for you, you get a two-fer!  Same card design, with a couple of tweaks, one with Perfect Match, and one with Sweet Safari!  It’s a Win Win for you!

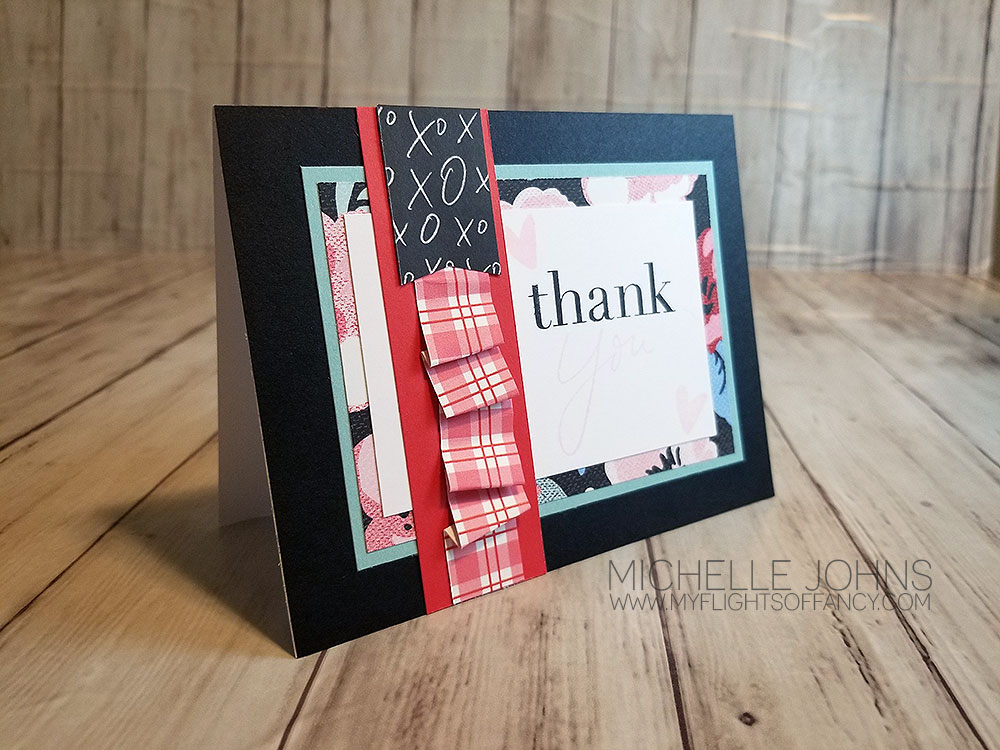
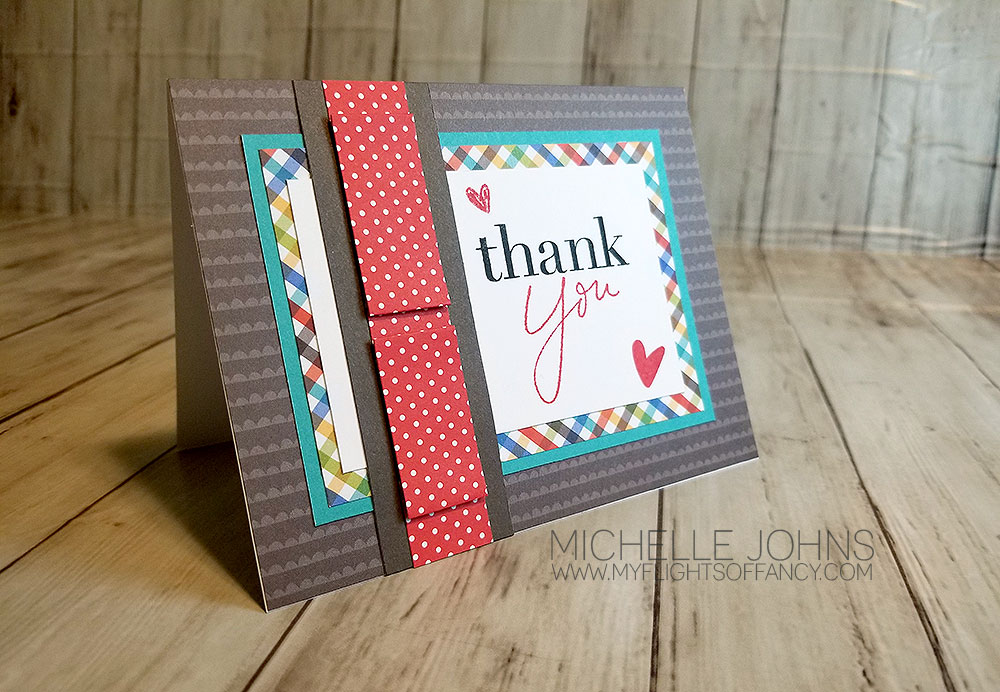
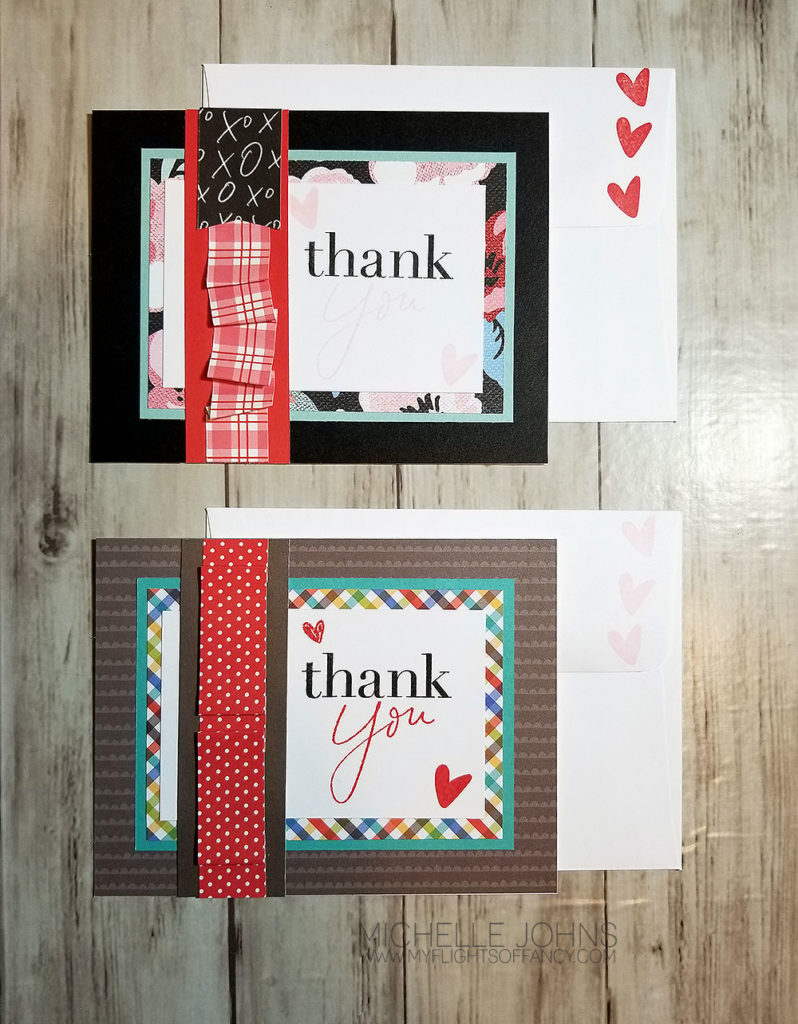
This card is so adorable!  You can’t see the “you” nor the hearts very well.  (one of the downsides of a light ink in a not quite bright enough photo spot!)  The Thank is from the SOTM set and the you and hearts are from the Perfect Match stamp set.  Both of these cards are inspired by pattern 22 in the Make it from your Heart Volume 2 book.


Same card, slightly different take on the paper ‘ruffling’ on this one.  You can definitely see the “you” and hearts better on this one!  Just know that it’s essentially the same on the first one!


These cards turned out super cute!  They went together super fast!  And even if I did photograph them with the wrong envelopes in this last photo, they are still pretty fun!

Thanks for stopping by!  I would love it if you left some love before you hop off to Stefani’s blog!


See you later!

CMTH Products used:


January Stamp of the month meets Whole Latte Love

It’s a new month, which means another new Stamp of the Month!  This one is one that everyone could use!  We all should be sending thank you cards, right?  This set gives you so many ways to say thanks!  And!  It’s free for VIP customers with a qualifying order! 

This card was so fun and easy to make!  I loved being able to use so many different products with it!  (and you could use ANY paper that you have in your stash, or any of the new papers available today!

I did a quick video, that I then sped up for you to watch how I made it!  I was inspired by pattern 25 in the Make it from your Heart volume 2 for this card set up!

I hope you enjoy it!

I can’t wait for all the craftiness that will happen this year!  Watch over the next week for different challenges and such that I will be adding to my blog!


CTMH Items used:

Lovely Thank You

It’s time for another challenge over at H2H!  This week’s challenge is “Thankful”.  You can take that to mean whatever you would like.  I decided to go with a Thank you card.

I had a ton of fun using the card guide for the new Serenity cardmaking workshop with the Lovely Paper Packet!  I LOOOOOVE that the guides are perfect not only for the paper that they are shown with, but also with other papers as well!  This uses the pattern for card 3.  Isn’t it so pretty with the Lovely paper??

I used the Thanks thin cuts for the sentiment.  Vellum was the perfect shadow background!  Then I used two layers of white daisy and topped it all off with the White Opal Liquid Pearls!  I’m not quite as good at using them for that as some other big named people out there, but the card turned out SOOOOO fun!!


This card went together really fairly quickly!  The patterned papers are the front and back of one sheet!  I could easily get 4 cards out of it!  If you haven’t yet, pull out an older card-making workshop’s instructions, and use them for a different paper pack!  I bet you will LOVE how they turn out!


Items used today:

 Thanks so much for stopping by!  I hope you go and play along with the H2H challenge this week!  You have a whole month to play along!

Until next time, keep crafty my friends!

MCM: Thank You

Today is an easy project, and could be used with any color combination that you might have or want to use! I used Sapphire cardstock and ink today, however, use what works best for whomever you are giving your card to!


{If you cannot see/watch this video, click here to watch it.}

You could even make up a whole set of these with different sentiments on there!

I hope that you liked today’s card!

The items needed for today’s card are listed below.

White Daisy Cardstock: 3 x 4 (qty 2)
Sapphire Cardstock: 3 1/4 x 4 1/4 (qty 2)
White Value Card Base & Envelope
Sapphire Ink
Clear Embossing Powder
Into the Wild Scrapbooking Stamp set
Thank You Badge Stamp set

Pages & Projects: 1 Year Thanks Bags

Hey everyone! My friend Danielle and I are doing a number of things this month, to help challenge each other to be better, and one of the things that we are doing is a series of videos on Thursdays that will be Pages & Projects. We will alternate each week what we do, so you should make sure to come and check out the videos each week! You can find her project here.

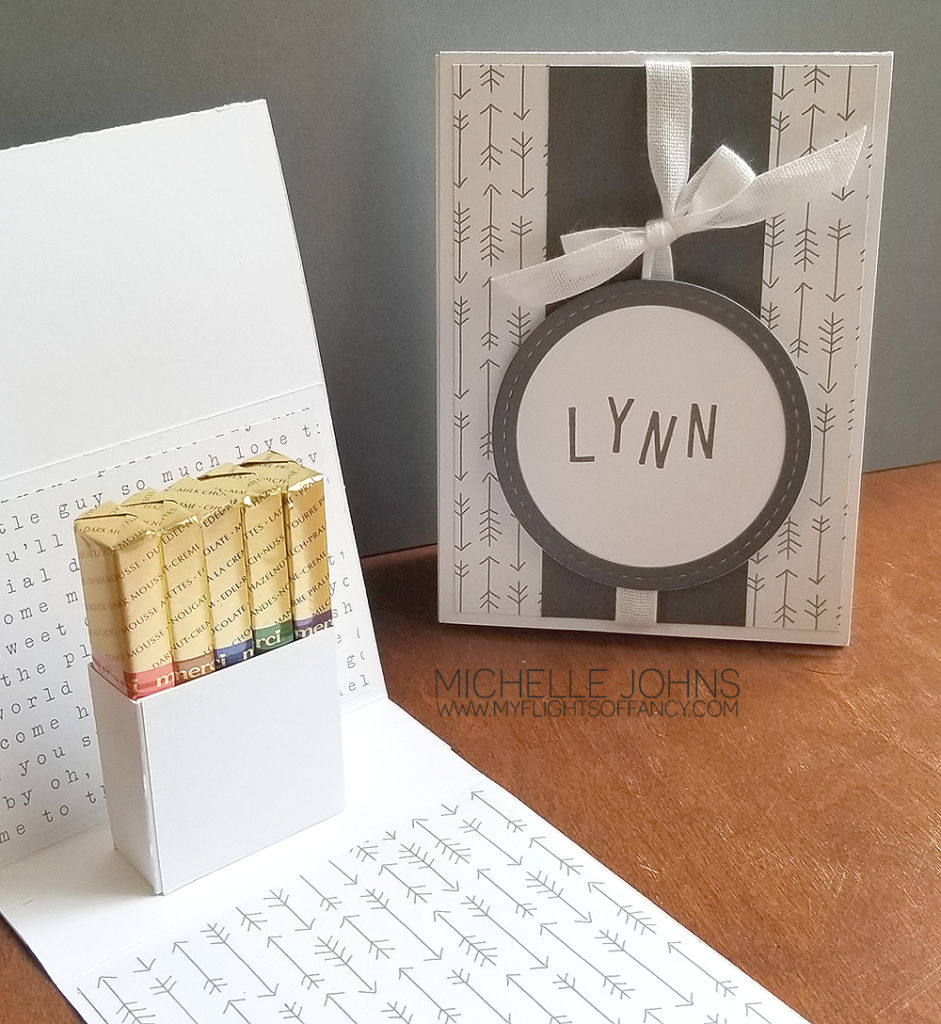
That being said, this week I am starting off with a thank you project for some of the doctors and nurses we had when Audrey was in the hospital last year. This weekend is her One Year anniversary of getting to come home! So, we will be delivering some of these fun little bags on Sunday!


{Can’t see the video in email? Click here to watch!}

I hope you enjoy the video, even my oops, and my fix for it! I left that all in for you, so you can see that EVERYONE does the oops, and generally it is fixable with a bit of thinking!

I would love to know what papers you would use, and who you would give a little bag like this to!

Project sizes:
White Daisy:
4 x 12 scored at 5 1/2 & 11
4 x 10 scored at 5 1/2 & 7
5 1/4 x 4 1/4 scored at 1 3/4 on all sides

B&T Pieces
3 3/4 x 5 1/4 (qty 3)
3 3/4 x 2 3/4

Charcoal Cardstock
2 x 5 1/4

Shaker Thin Cuts:
Largest circle in White Daisy
Stictched Frame in Charcoal

Products used:
Into the Wild paper packet
White Daisy Cardstock
Charcoal Cardstock
Charcoal Ink
Simply Said Stamp Set
Shaker Window Thin Cuts
White Ribbon
Micro Tip Scissors
3-D Foam Tape
Liquid Glass

Seeing Stars!

Do you know that I do a Facebook live every Sunday evening? It is at 5pm pacific time, and I do all sorts of crafty things! I have always had great intentions of putting the photos and dimensions up on my blog after the video, and, well, life seems to always get in the way! So, now I am going to turn over a new leaf, and get them up on the blog on the Tuesday following! So, welcome to the first Tuesday repost of the Sunday live! LOL!!

Click here for the FB Live video!

Sunday we were playing with stencils and different things that you can do with them! I have a few examples to show you, and we made a card with one as well! If you want to play along, here is the star stencil that I used. It is on the Artbooking cartridge, so you will need to have that cartridge to cut this stencil. It is slightly different than that image, as I wanted to add a few more stars. So, at the end of the post are the steps that I did to get this stencil, in case you want to try it with one of yours!
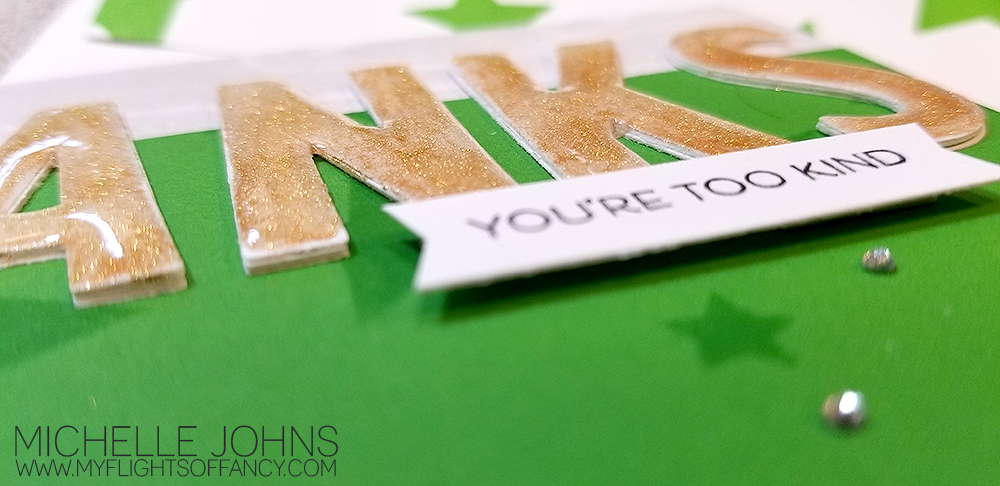
We used a variety of mediums in the video, including dye ink, pigment ink, texture paste, & embossing powder. Different things will give you different looks, so you should try them all out!
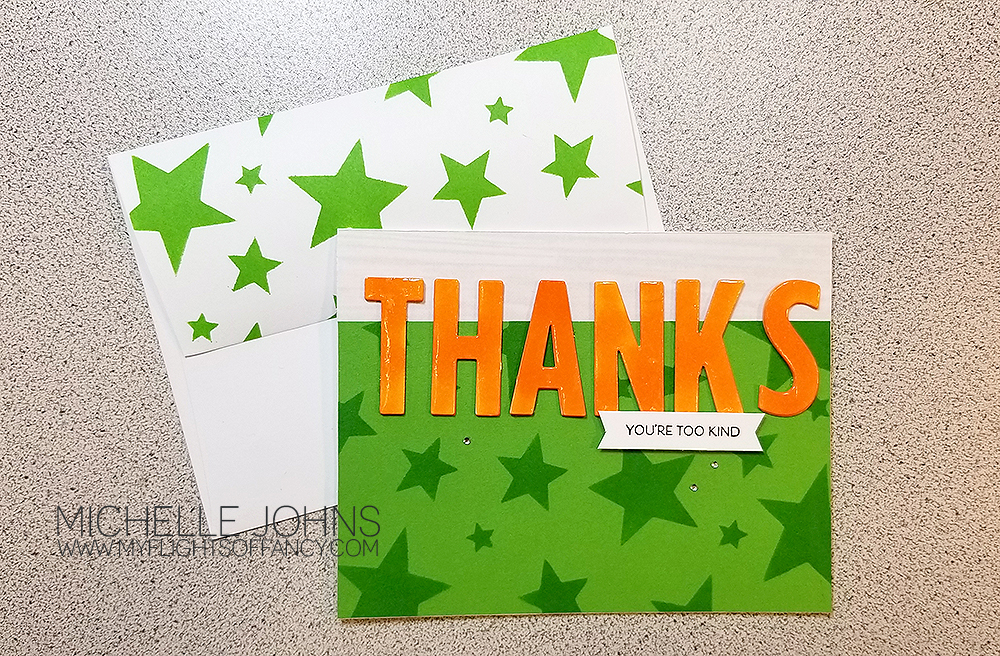
This card was so fun to put together! And super easy, as well! Maybe a smidge time consuming, but not too bad, overall! I hope that you make one too! Please show me what you make, I love knowing that my tutorials are helpful to you!

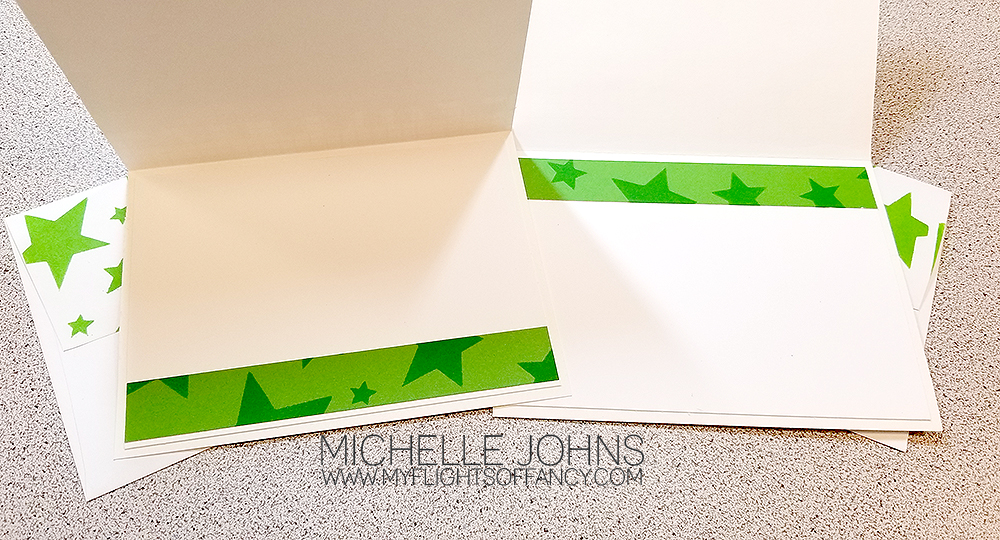
Click here for the FB Live video! While you are there, make sure to click ‘like’ on my fb page!

Paper size info:
Willow: 6 x 4 {Trimmed after stenciling to 5 1/2 x 3 1/4 & 5 1/4 x 3/4}
Into the Wild, Wood Grain B&T: 5 1/2 x 1 1/4
White Daisy: 2 x 3/8 & 5 1/2 x 4 & scraps for “thanks” letters

Step by step how to make your own stencil:

1. Open Image: #M3D15D Stars overlay from Artbooking cartridge and make it be 6×6
2. Add Shape>Square to your mat
3. Click and drag square to be slightly larger than your star overlay
4. Select both images and slice
5. Select the grey image that looks like your stencil, and delete.
6. Move the grey stars & outline to the side of your overlay
7. Add Shape>Circle & duplicate it
8. Shrink one circle to fit over just one star in the grey overlay
9. Select that circle and the grey overlay and slice
10. Step 9 will give you 2 grey stars separate from everything.
11. Delete the circle with a start cut from it.
12. Repeat steps 8 & 9 & 11 with the 2nd circle.
13. Select all 4 grey stars, and like with the grey square, click and drag, but make smaller instead of larger
14. Place the individual stars on the original overlay (mine is a lagoon color) in the solid portions of the overlay
15. Select ONE grey star and the overlay, and slice. (you can ONLY slice 2 layers at one time)
16. Delete (or move) both the grey and the lagoon stars. (move if you might want to cut more stars from the overlay)
17. Repeat steps 15 & 16 for the other 3 stars.
18. You are now ready to cut your stencil!

If you don’t want to do all of those steps (looks harder in writing than it really actually is!!), here is the link to my stencil that I am using in the video!

Star Stencil Design Space Link

Products used in the video:
Willow cardstock
Sapphire Cardstock
White Daisy Cardstock
Into the Wild Paper Packet
White Daisy Pigment Ink
Willow Dye Ink
Texture Paste Trio (Transparent Gloss)
Gold Tinsel Embossing Powder
Gold Shimmer Brush
Marigold Shinhan Touch Twin Marker
Liquid Glass
Archival Black Ink
Bitty Sparkles
Block Alphabet Thin Cut Die

I really do love seeing the creations that you guys and gals come up with! Leave me a comment and let me know what you think, and show me what YOU come up with!
Rad Dad – Masculine Themed Optional Hop

Another hop! You betcha! This month we have a special called Dad is Rad, and it’s only available until the end of June! I know you will want to get this set, and we are here to show you some ideas other than what you get with the kit itself! They will all be masculine themed, so they are perfect for the Dads (or guys) in your life! Today you should have arrived from Darlys’ blog. If not, that’s ok, it’s a circle, so you will get back there. So, let’s get started, shall we??

First, let’s start with what you get in the Dad is Rad kit. Check this out!

This kit contents:
1 – My Acrylix® Rad Dad Stamp Set (D1811)
11 – cardstock sheets (1 Almond, 1 Crystal Blue, 1 Juniper, 1 Sapphire, 2 Toffee, 4 White Daisy, 1 gold glitter)
1 – White Burlap Ribbon (Z3323)
1 – Gold Bows (Z3380)
4 – white cards & envelopes

You will also have access (even without purchase) to a pdf guide on how to create a two page layout and 5 cards with the supplies in this kit. It really is a great deal!

Now, shall I show you what I came up with? I must tell you, I totally CASEd this card I found on Pinterest. I changed the colors so that it would use what came in the kit, and I LOVE love love how it turned out!

I stamped the solid argyle image in Almond Ink and the dotted argyle in Sapphire Ink. The “Thank you” was cut with my explore, I used the font Lobster Two. I cut it four times and layered them together with liquid glass, and attached them to the card with it as well.

I used the Almond cardstock for the background and the Sapphire cardstock to tie in the ink and sentiment.

I even brought the design into the inside of the card. I just couldn’t stop stamping it!

I am LOVING how this card looks! Super classy and very masculine! Tell me what you think!! What color combos would you use??

Now, after you comment, hop on over to Alayne’s blog and see what she has for you!

Thanks so much for stopping by!