Welcome to another weekly challenge with H2H! This week we have partnered up with Double Trouble Challenges!
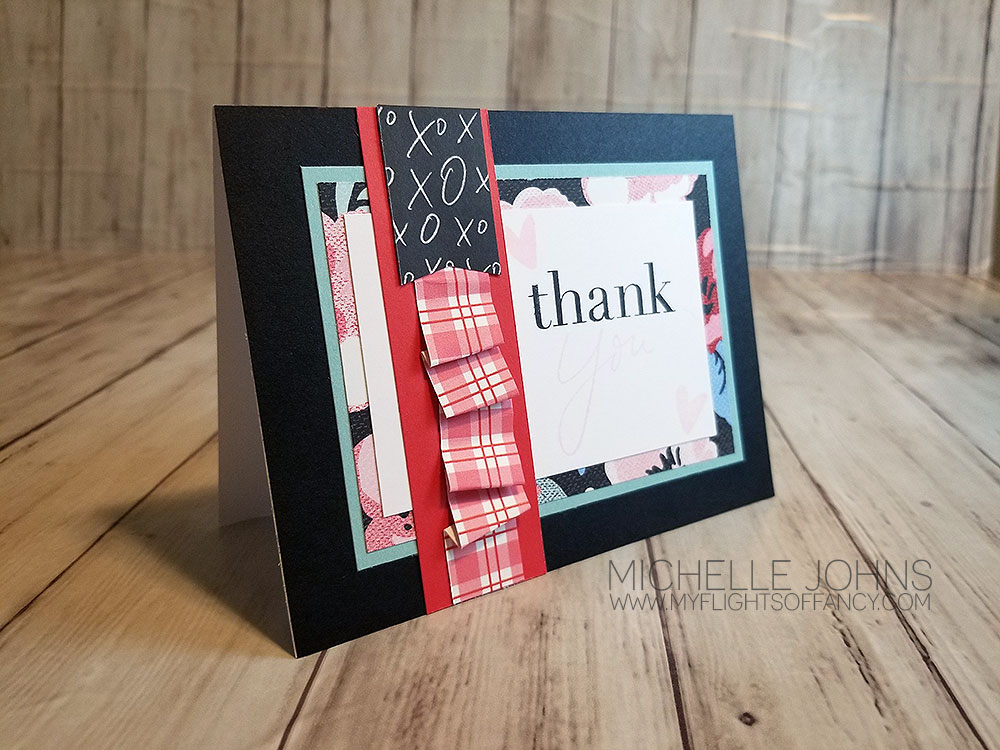
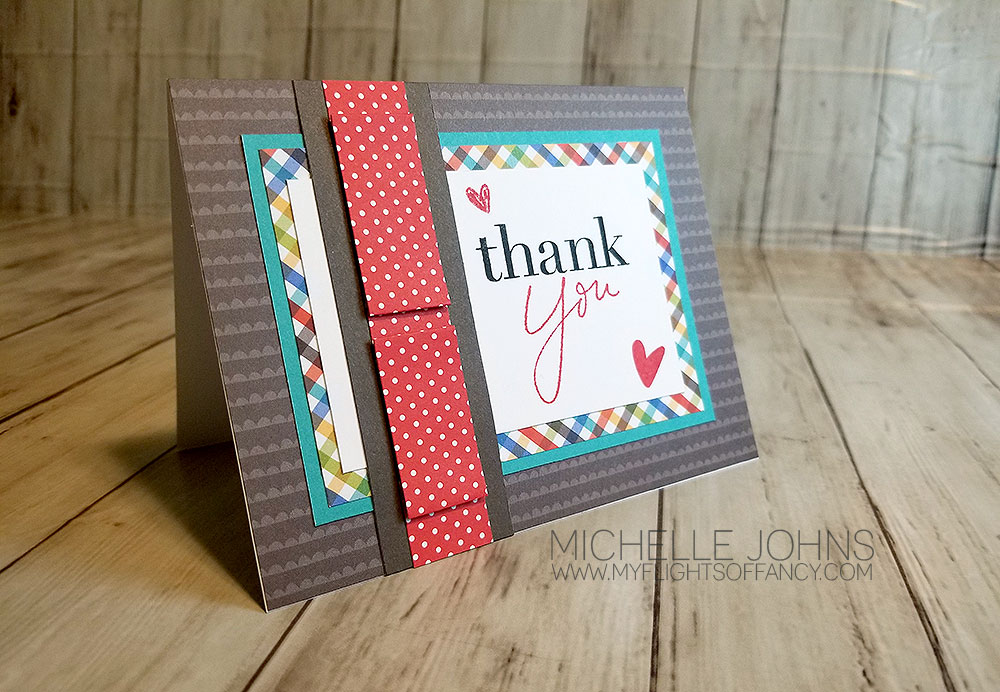
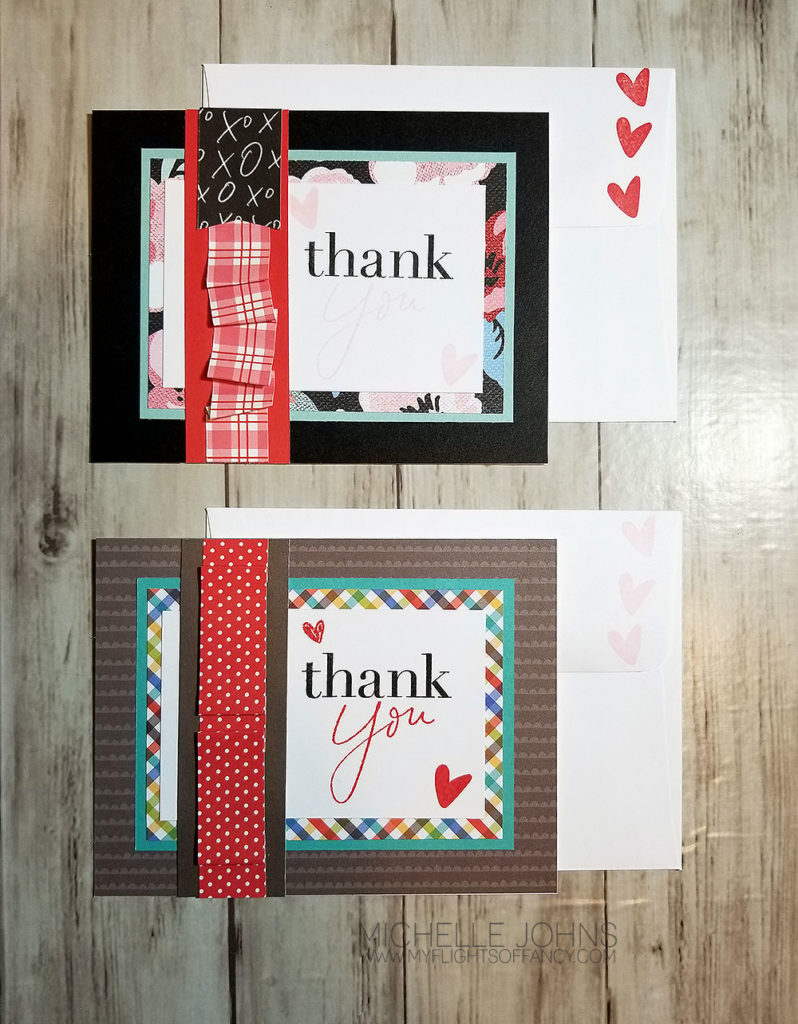
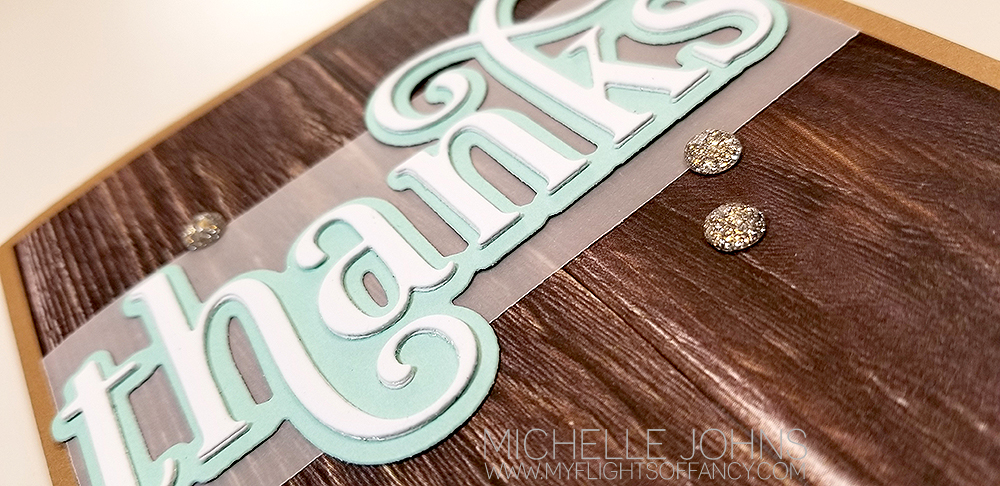
The card that I have for you today, was super fun and easy to put together!

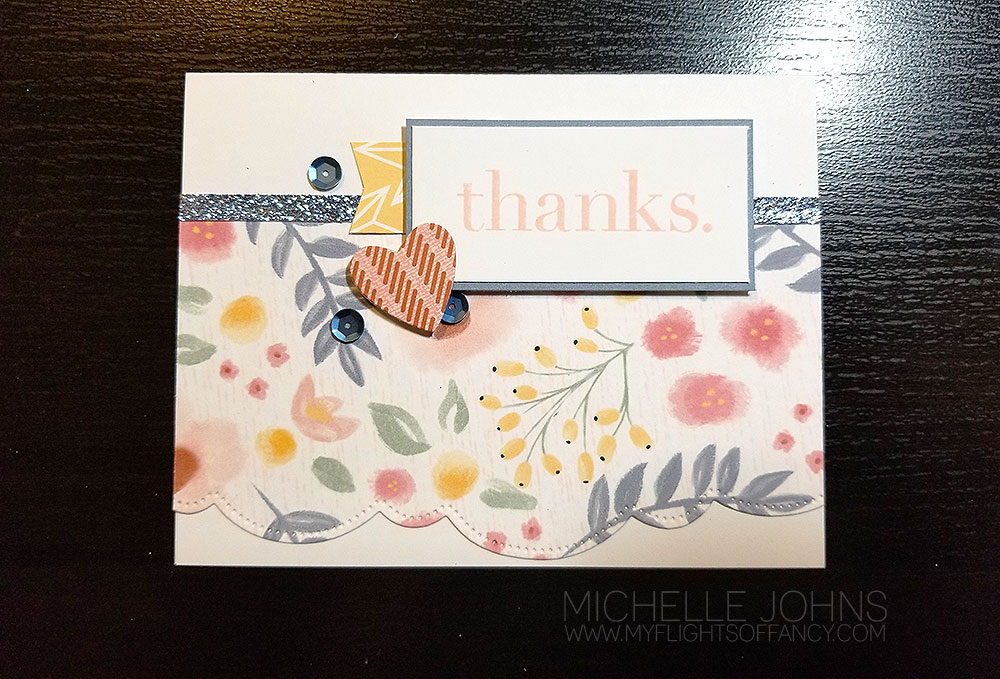
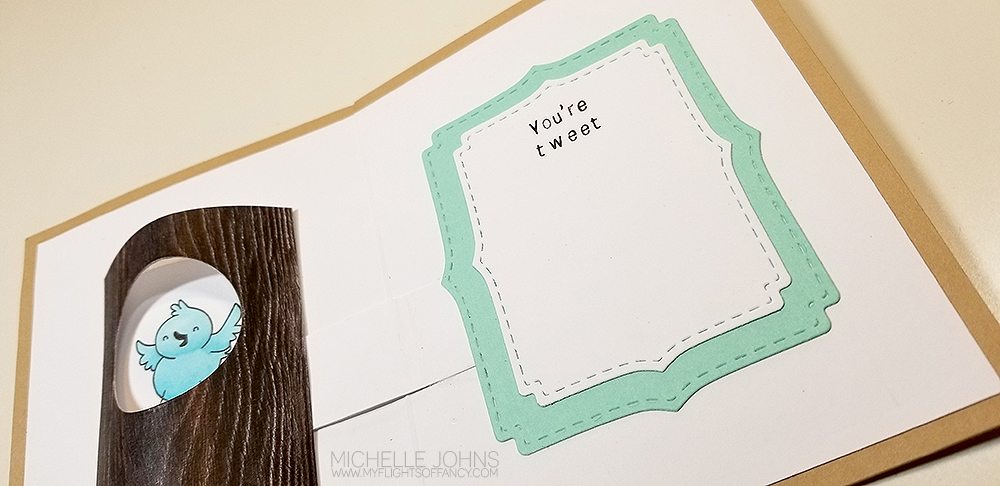
I had fun incorporating the February Stamp of the month in with this design! It makes adding a bit of fun to the inside of the card, SUPER easy!
I used a bit of canary and espresso inks, and the card was done!
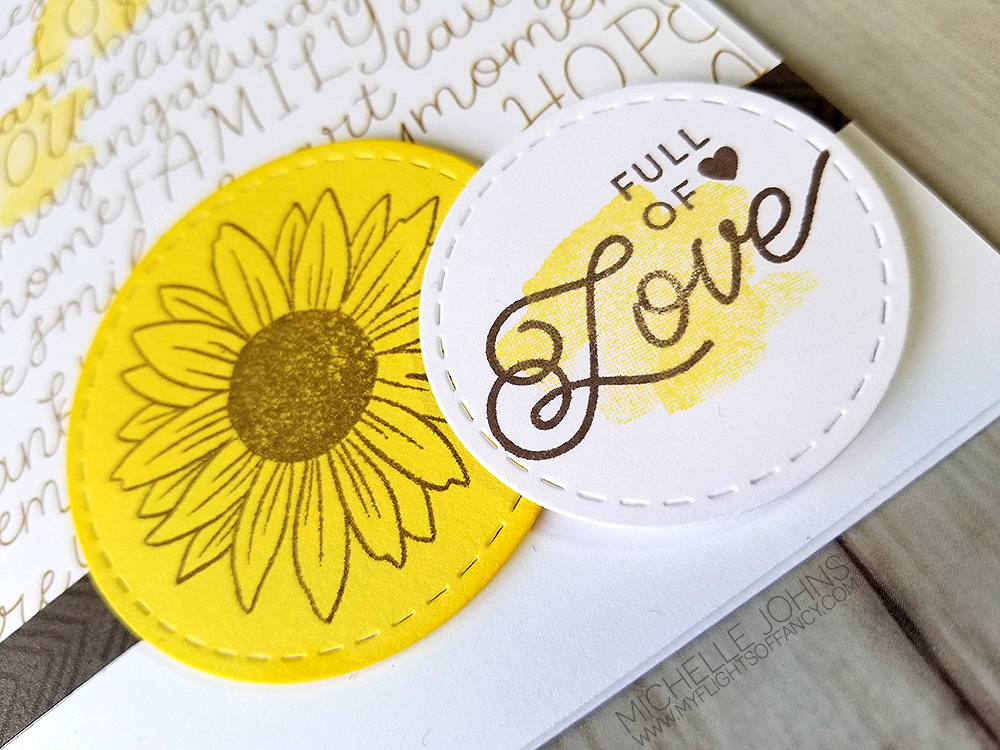
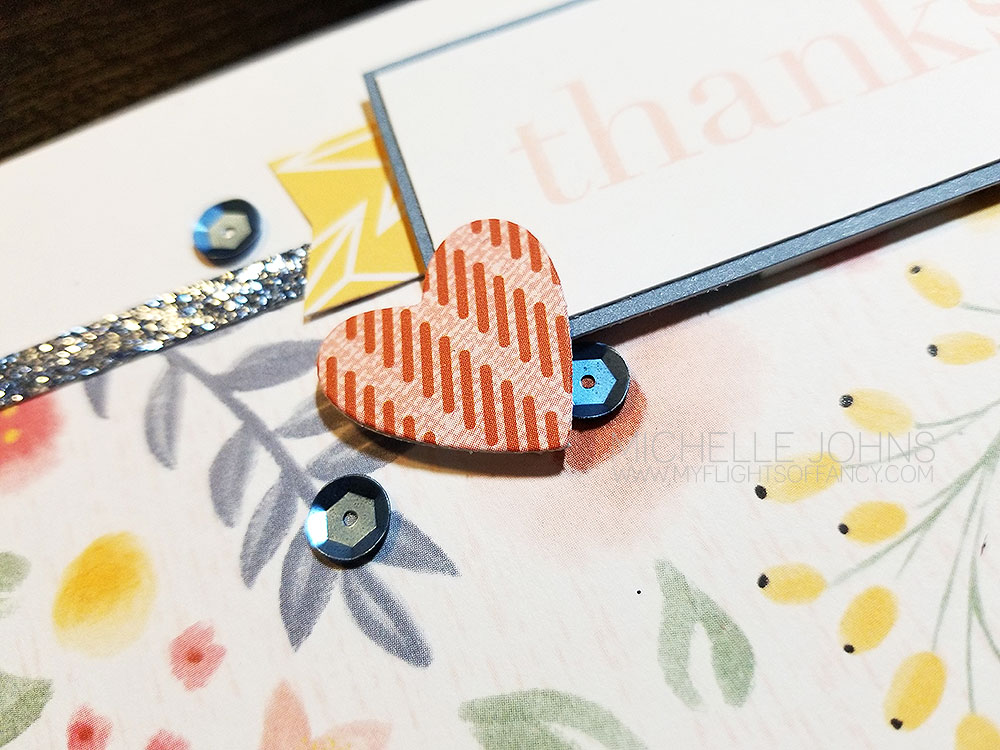
I added the sunflower from the Bloom with Grace Scrapbooking stamp set (which is still available!) and a sentiment from the current Card Subscription!
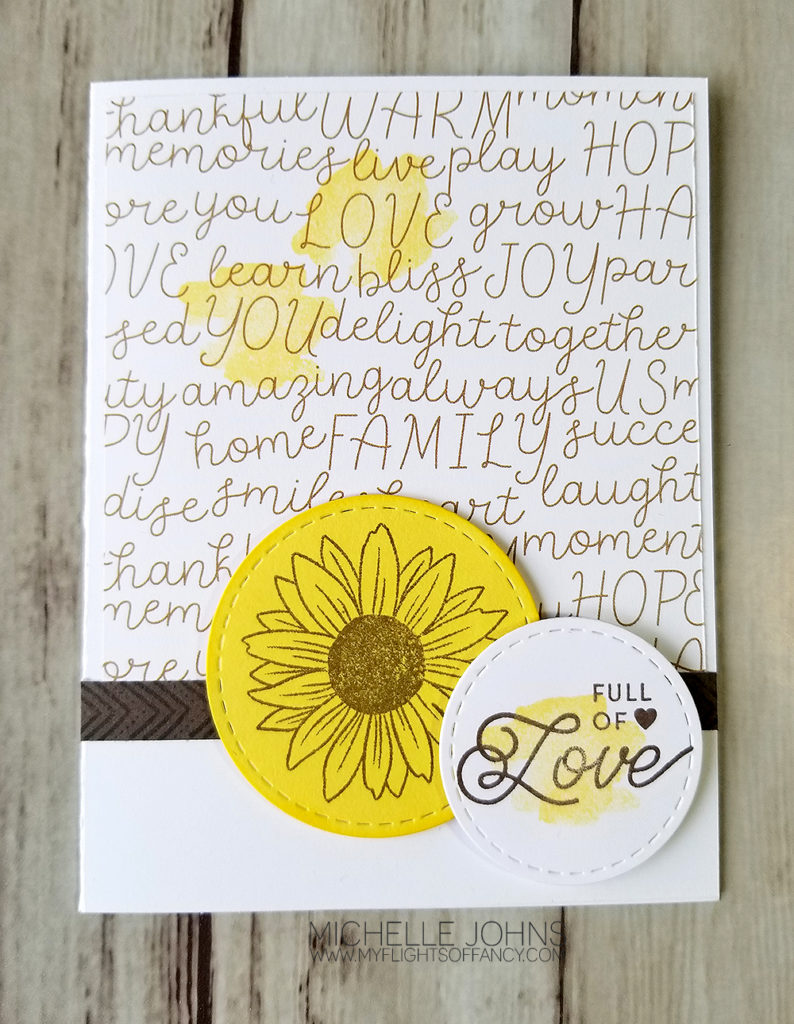
I used the same watercolor splash stamp to highlight two of the words on the background paper. I thought it fit the them pretty perfectly!
I hope you like my card today! You should hop over to play along with the H2H challenge, or at least get some inspiration!
Let me know what you think of this fun little card before you go!

CMTH Items used:
- Mix-in Paper Packet (Jan–Feb)
- Doodled Borders—February Stamp of the Month
- Can’t Get Enough
- Bloom with Grace—Scrapbooking
- Canary Exclusive Inks™ Stamp Pad
- Espresso Exclusive Inks™ Stamp Pad
- Canary Cardstock
- Espresso Cardstock
- White Daisy Cardstock
- stitched circle thin cuts (retired)
- Make It from Your Heart™ Volume 4
- White Cards & Envelopes Value Pack
- Thin 3-D Foam Tape
- 3-D Foam Tape
- Card Subscription Stamp Set