Category Archives: CTMH Cards

Cards made with CTMH Products

Bunny loves Coffee

This week’s challenge over at Heart 2 Heart is Out with the old and in with the new.  So, I thought, why not pair the two together!  As crafters, we don’t use up our stuff often enough!  (I can see you over there, hoarding your favorite paper!)  So, I grabbed a few new things and a few old things, and made this absolutely adorable card!  Then, I did it again, on a FB live!  That means that you will get a chance to play along and make the same thing!

The Happiness Lives Here paper packet is perfect happy colors for this card!  I have listed all of the supplies below, and made them clickable, so that they are that much easier to plop into your cart!

Go ahead and hop over to my FB page to watch the Live video!

And, remember, join in on the weekly card challenge!

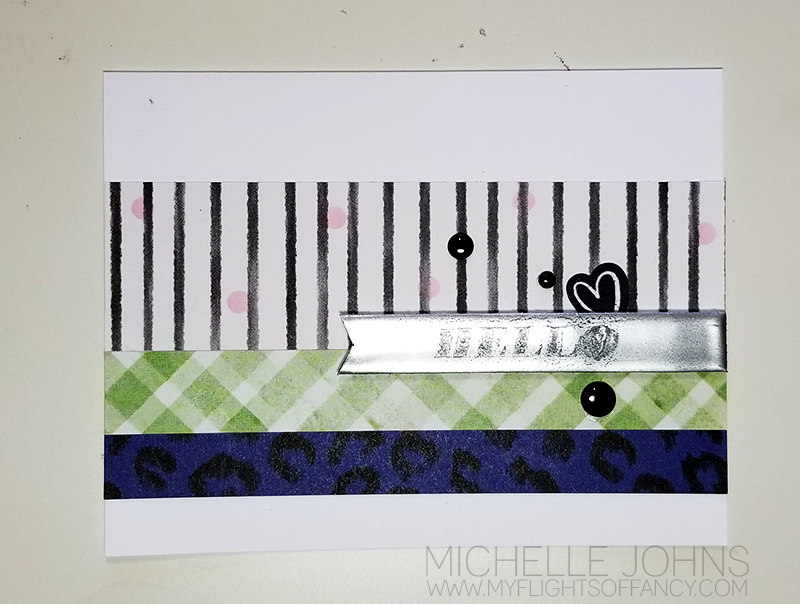
This week, along with the H2H challenge I participated in the JUGS challenge, this week, their challenge is to use the word HELLO.  

Each week, I will give you two different challenges or prompts to help you create some cards.  Make at least 2 cards and share them on my FB page, with the photo from this card!  I cannot wait to see what you come up with!


CTMH Products Used:


H2H’s Peace on Earth

This week’s challenge over at the H2H blog is “Peace on Earth”.  This was a hard one for me, at first, because I don’t have any nativity type stamp sets.  So, I had to do some thinking as to how to make that work.  I think I succeeded!  🙂

I grabbed a piece of the watercolor paper, and decided to do a slimline card.  I cut my piece down to 3.5 x 9, and then started ink blending.  I used mostly our water based inks on here, however did not add any extra water.  I used: Glacier, Bluebird, Peacock, Sapphire inks, and then completed the blending with some black soot distress oxide.

Once I finished with the blending, I grabbed my clear shimmer brush and created some splatters, and then added some white dots with a white gel pen.  Next up was some snow banks, made easy with the fancy borders thin cuts and some white daisy cardstock!  I used some thin foam tape behind the top of the hills, and glued the bottom of the hills flat.  It gives it such a unique look!

Once I was done with that, I decided I needed something else for the card.  I couldn’t find a sentiment that was small enough, and understated enough for the card.  The first star I was going to go with, wasn’t quite big enough.  It got lost with some of those larger spots of shimmer brush.  But, I started thinking outside of the box, I mean, that IS how the whole thing got started, right?  I found this fairly perfect ‘star’!  It is actually the asterisk from the Brushed Letters Alphabet!  Stamped it with versa mark ink, and heat embossed it with some silver embossing powder.

I really love how this card turned out!  I hope you like it as well!  I would love to hear your thoughts, should I have stuck with the silver, or should I have gone with gold for the star?  

CTMH Items used:


I look forward to hearing from you all!  Thanks for checking out my card!  

Until next time!

Lovely Thank You

It’s time for another challenge over at H2H!  This week’s challenge is “Thankful”.  You can take that to mean whatever you would like.  I decided to go with a Thank you card.

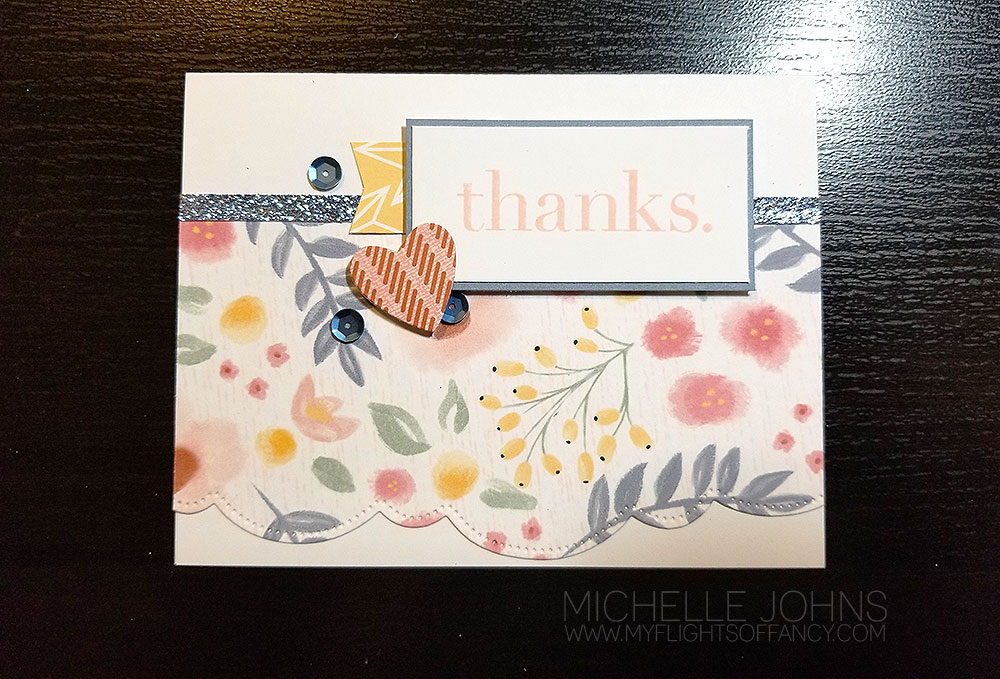
I had a ton of fun using the card guide for the new Serenity cardmaking workshop with the Lovely Paper Packet!  I LOOOOOVE that the guides are perfect not only for the paper that they are shown with, but also with other papers as well!  This uses the pattern for card 3.  Isn’t it so pretty with the Lovely paper??

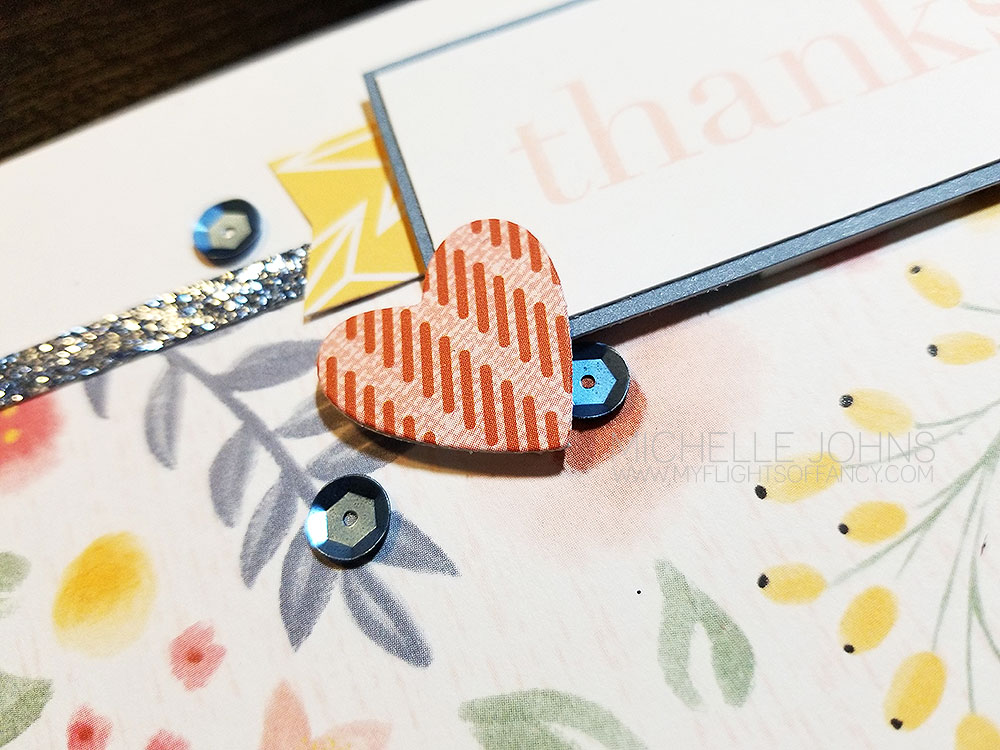
I used the Thanks thin cuts for the sentiment.  Vellum was the perfect shadow background!  Then I used two layers of white daisy and topped it all off with the White Opal Liquid Pearls!  I’m not quite as good at using them for that as some other big named people out there, but the card turned out SOOOOO fun!!


This card went together really fairly quickly!  The patterned papers are the front and back of one sheet!  I could easily get 4 cards out of it!  If you haven’t yet, pull out an older card-making workshop’s instructions, and use them for a different paper pack!  I bet you will LOVE how they turn out!


Items used today:

 Thanks so much for stopping by!  I hope you go and play along with the H2H challenge this week!  You have a whole month to play along!

Until next time, keep crafty my friends!

November SOTM Blog Hop – You Warm My Heart

Welcome to the November Stamp of the Month Blog Hop!  If you’ve been around for a while, you see that I participate in these sometimes.  It is fun to see all the different card creations that people come up with (and layouts too!!).  This month, the stamp is SUPER adorable!  (It has to do with coffee and tea, so, of course I would love it!)  Today you should have arrived from Haley’s blog.  But, if you started here, no worries, you will make it back around to her blog!


This card turned out suuuuper cute!  I thank Andrea Sherman for doing a Youtube tutorial for this card!  Mine is different, mostly because I didn’t have all of the supplies that she did.  But, I wanted to show you that that’s ok!  You can still take inspiration from something and make it your own!  I even did a FB live with it today, giving you some tips with the liquid pearls and stickles!  You will want to watch that!

Here you can see the stickles and the different pearls!  I am seriously IN LOVE with these pearls!  You guys, they are AMAZING!


When I was doing the video, I had an idea to add some of the pearls to the poinsettias at the bottom.  What do you think?  With or without the red pearls?

~:~:~:~:~:~:~:~:~:~:~:~:~:~:~:~:~:~:~:~:~:~:~:~:~:~:~:~:~:~:~:~:~:~:~:~:~:~:~:~:~::~:~:~:~:~:~:~:~:~:~:~:~:~:~:~:~:~:~:~:~:~:~:~:~:~:~:~:~:~:~:~:~:~:~:~:~:~:~:~:

So, what did I use for these fabulous cards?  Well, most of the supplies are pretty basic!  I used some of the paper from the Wood Grain paper pack, I used White Daisy Cardstock and some Espresso cardstock.  The rest is ink and ‘fun’ stuffs!

So, let’s start with the measurements, shall we?

Now the inks that I used:

Other tools I used:

And the Fun Stuff!

Stamps:

With this wood paper and espresso cardstock combination, you could make the cups be any color you wanted!  And the sentiment could be anything as well!  I love love love this set!  

Now, before you hop along and see what Brandi has to offer you, I would LOVE it if you would leave a quick comment!  I am POSITIVE you will get a TON of ideas with this hop!

Thanks so much for stopping by!  Remember, VIP customers can earn this stamp set for free!  If you don’t have a consultant already, I would love to help you!


Wood You Rather?

Welcome to another H2H challenge! This week’s challenge is all about “Wood”! I know we have some great examples for you this week!

Today, I have some Timber paper that has moved to the Online Only portion of our websites, but I do love the wood paper on it so much! (I was going to use a new product, but it hasn’t arrived yet!)

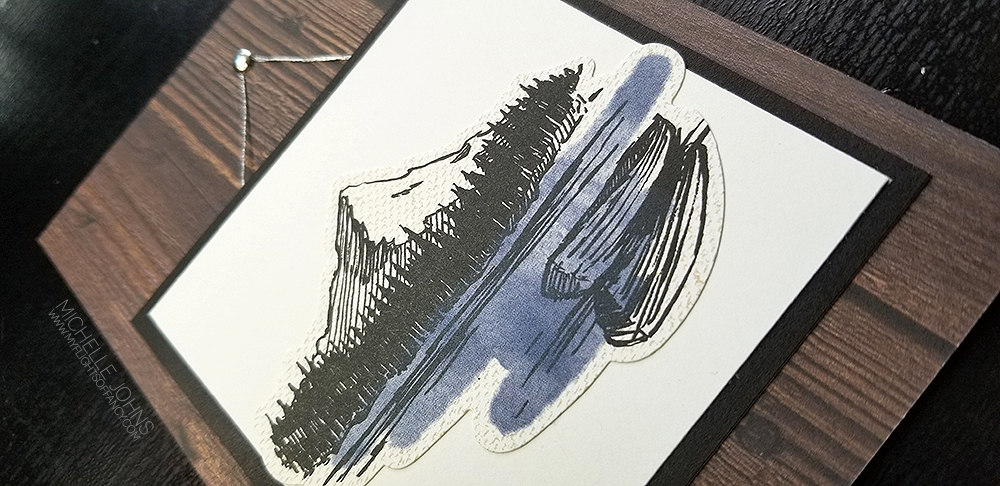
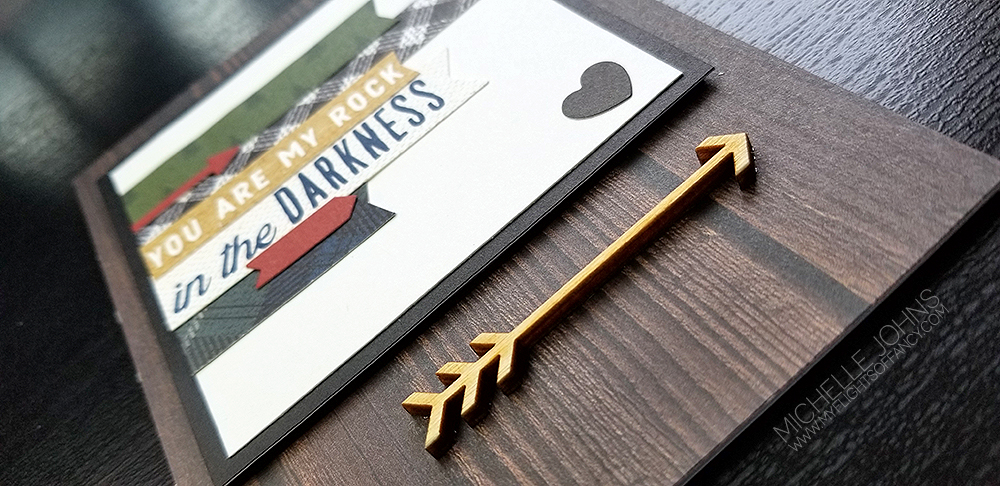
These cards come from my Cards for Guys class (with NO stamping!)! They are SUPER fun! I loved putting them together! In this class you have two cards per basic design, however each card is just a bit different. And, did you see, NO STAMPING! Incredible, right??

Now, after you see these cards, you will have to let me know which is YOUR favorite!

As you can see, these cards have the same basic set up, however are very different in looks! I used one brad and a bit of silver embellishing thread for the left one, and some extra foam tape and a wood arrow from the Wooden Arrows Assortment.

I did cut the mountain sticker a bit, so that it would fit in the ‘photo frame’, but I don’t think it’s terribly noticeable, do you?

Look at that wood paper! It totally looks like it has dimension, itself! (it doesn’t, but it looks like it does!)

So, tell me, which “Wood you rather?” 😉

I would love it if you left me a comment! Then, play along with the challenge! You have the whole month to do so!

More info on the class coming shortly, so make sure to watch for it!

It’s time for another Color Challenge over at H2H!

Welcome to another week’s challenge from H2H! The challenges are so fun! And, sometimes, will take you outside of your normal realm! This week, the challenge is to use Saffron, Peacock, Sage, and Glacier! They do go together, quite well, it’s just not a combination that I would normally use!

That being said, I think I came up with something that is fabulous!! Don’t you just love it when things turn out better than you expected? I know I sure do!

So, today’s card uses two different stamp sets, Can’t Get Enough and Born to Bloom. Not things that you would just look at and say ‘oh, these two will work well together” . . . but, Can’t get enough has been one of my SUPER favorite sets! There is a little bit of everything in this E sized set! You should definitely add it to your collection before it sells out! (It’s technically retired, but available while supplies last for online orders!)

This card was surprisingly simple to put together! Come join me on my FB page on Monday at 5pm Pacific, and we will make it together!

So, I already told you what stamps I used. I also used the Peacock, Glacier, Saffron, and Sage inks to color this card. I used a small snippet of B&T from the Summer Vibes paper packet (it fits perfectly with the glacier color!).

Of course, if you know me, I LOVE to add another layer (or two) on the inside of my cards! And it doesn’t have to be hard! I just stuck with the black and white stamping of this fun image!
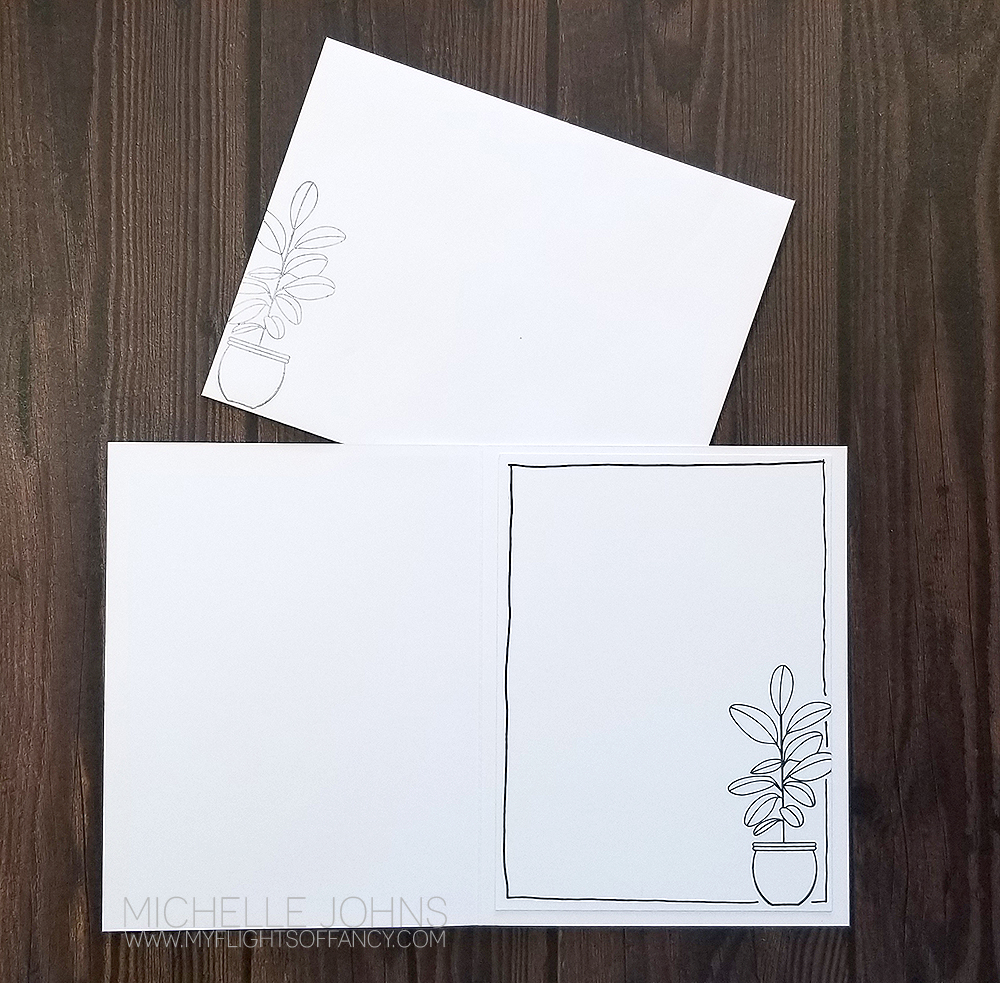
I love that the set has a thin cuts die set with it! Then I can have those pretty leaves and pots popped up off the page! It just adds a little bit more!

Like I said before, this card turned out so much better than I thought it might! Join me Monday night at 5pm Pacific to make this card! You only need a few supplies! (and that background paper could TOTALLY be something different!)

Thanks for stopping by! Make sure to check out the other design team ladies’ projects over at H2H! Then make your own, and link it up over there!

I can’t wait to make this card with you! See you Monday Night!

Supplies used for this card:
White Daisy Card base & Envelope
Summer Vibes Paper Packet
Peacock Cardstock
White Daisy Cardstock
Inks:
Peacock
Saffron
Glacier
Sage
Intense Black
Can’t Get Enough
Born to Bloom
Foam Tape
Waterbrush
Shammy
1 x 1 Block
3 1/2 x 2 Block
1 x 3 1/2 block
Sunny Days with H2H

Hey there!

Today is another challenge week over at H2H! This week’s theme is Sunny Days! Man, that opens up so many different options! Cards, layouts, projects, you name it!

Today I am going to use the Fabulous Flamingo stamp and thin cut set. (Can you believe the pair are only $12.95?!?!) Super cute, super fun set!

The card is loosly based off the card in the current CTMH book. And it came together so very nicely!!

Here are the items that I used:

Fabulous Flamingo Stamp & Thin Cuts
Summer Vibes paper packet
Candy Apple Red Cardstock
White Daisy Cardstock
Value Cards & Envelopes
Fern Ink
Glacier Ink
Intense Black Ink
Stitched Rectangle Thin Cuts
Stitched Bracket Thin Cuts
White & Gold ribbon {On clearance right now!}
Watercolor pencils
Small Waterbrush
Microtip Scissors
Liquid Glass
Shaker Window Foam & Acetate

April 15, 2020 Technique Hop – “Heat It Up!”

Welcome to the technique log pop! Today you should have arrived from Lauren’s blog, however if you started here no worries, it’s a big circle and you will make it back there.

Today in the Let’s Flock Together Facebook group, we played with heat embossing. I have a number of samples that I show you how to do on video, and it was a lot of fun!

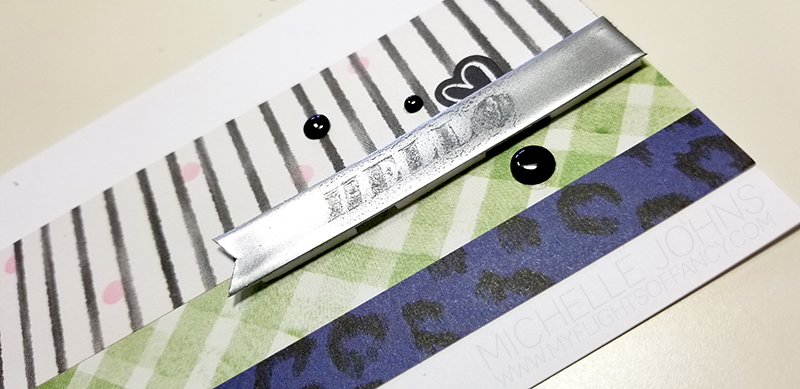
Today’s card uses just one of the examples of how you can use heat embossing in different ways. And this one was a crafting oops! (But I LOVE how it turned out!)

I used the silver embossing powder and did 3 layers, and tried stamping the hello, to press it into the heated powder, however, it wasn’t thick enough yet. So, I added a few more layers, and it half worked. I had more pressure on the O than I did the H, so I heated it up, and was going to stamp it again, and when I did that, the powder became smooth, and the stamped Hello turned black! I LOVE LOVE LOVE how this turned out! Crafting oopses are fun sometimes, right?

I used pattern 20 from the MIFYH Volume 4 book, and this card came together in no time at all! (It’s taken longer to type the blog post than it did to make the card! LOVE that!)

I hope you like my little discovery! I would love it if you left a note below, before you hopped along to Miss Carrie’s blog!

Oh, and by the way, this is what it was SUPPOSED to look like! LOL!!

Thanks so much for stopping by!

~Michelle

Have you torn any paper recently?

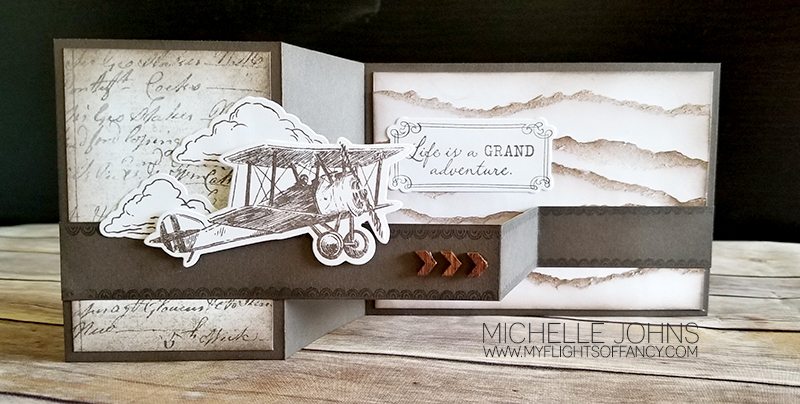
So, last week, when I was looking for inspiration for the Vintage Vibe challenge over at H2H, and I came across this Pin, and I KNEW that I wanted to use it as inspiration for this week’s challenge, Tearing Paper!

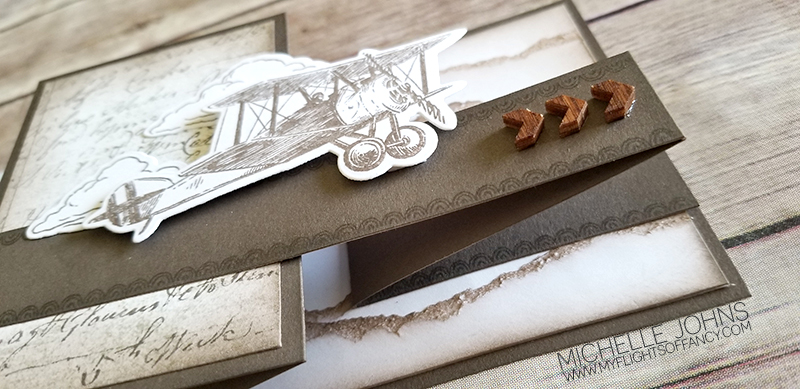
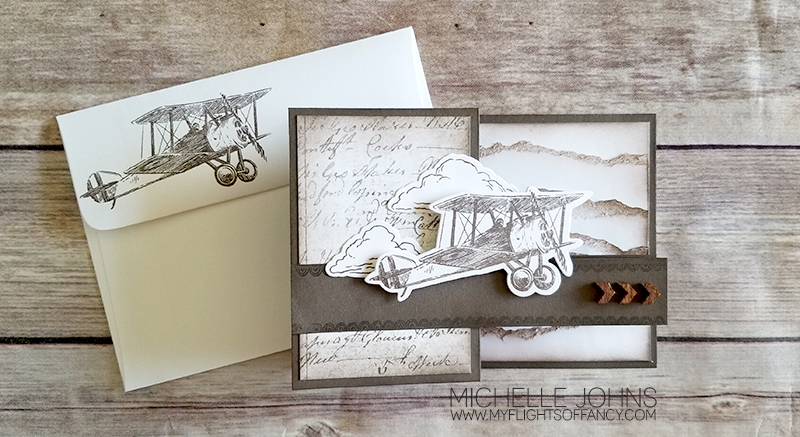
So, I am again using the Yesterday & Today Paper packet and the Dreams Take Flight stamp and die set for this card. I cut some white daisy cardstock to be 5 1/4″ long, and tore it to pieces, well, strips! Then I inked the sides and top of each piece with Espresso Ink. I cut a piece of printer paper to 3 3/4 x 5 1/4 (so that my card base would be 4 x 5 1/2 once closed, saving some cardstock for later!) I glued each piece to the printer paper, creating my background piece. I used Espresso cardstock as my card base today, because I wanted this slightly different fold.

I used foam tape to pop the plane off of the band, and glued the clouds directly to the card base, making sure that the cloud that hung off the edge did not have any glue on that part. I used the frame and sentiment from the same set, and glued that inside. I decided last second to add those little wooden arrows that I colored with the Earth Brown Blend Marker.

I really like how this card turned out! Hopefully you do as well! I would love to hear what you think! Please leave me a comment below, and let me know!

Until next time, make sure you go and play along with some of the challenges over at H2H!

CTMH Items used:

Yesterday & Today Paper packet
Dreams Take Flight stamp and die set
Into the Wild Scrapbooking & Die set
Shaker Window & Confetti Thin Cuts
Card Front Spinner Thin Cuts
White Daisy Cardstock
Espresso Cardstock
Toffee Ink
Espresso Ink
Earth Brown Blend
wooden arrows

Ever get that Vintage Vibe?

This week’s challenge over at H2H is Vintage Vibe, and we have a boatload of products that fall into that! Check out what I made for it!

I started with the Yesterday and Today paper packet, paired it with the Dreams Take Flight stamp and die set, and then added a few more elements! Let’s take a look!

Now, let me say that I was inspired by this card I found on Pinterest. It doesn’t fit the ‘vibe’ of this challenge, but I knew that I could use the plane from the Dreams take Flight set, and make it mine. And I don’t know about you, but I think I totally rocked this one!

I used three different patterns from the Yesterday & Today Paper packet. I used the large spinner die cut from the Card Front Spinner Thin Cuts and the large circle from the Shaker Window & Confetti Thin Cuts. The banner? That came from the Into the Wild Scrapbooking & Die set (which is only available online!)

The plane and banner are stamped in Espresso ink, I stamped and inked the clouds with toffee ink. Now, if only we still had the waxy flax still, that would have been perfect! Alas, we do not. So, I grabbed my mink twine and my Earth brown blend marker, and colored a tiny piece of the twine, and attached it with some mini glue dots!

The circle and banner are popped up with foam tape. The plane is then popped up with some thin foam tape. The clouds being tucked in various places in various depths on the card I think give it an added extra pop!

Now, of course I couldn’t leave the envelope blank! So, I stamped the large cloud on a bit of post it note and cut it out, then stamped the clouds with a slight overlap on the flap of the envelope.

I’ve already said that I really like how this card turned out, and I hope that you do as well! You should totally come over and join in on the challenges! We have a new one each week, and they last until the end of the month, so you have plenty of time to get your entry in!

CTMH Items used:

Yesterday & Today Paper packet
Dreams Take Flight stamp and die set
Into the Wild Scrapbooking & Die set
Shaker Window & Confetti Thin Cuts
Card Front Spinner Thin Cuts
Toffee Ink
Espresso Ink