Lovely Thank You

It’s time for another challenge over at H2H!  This week’s challenge is “Thankful”.  You can take that to mean whatever you would like.  I decided to go with a Thank you card.

I had a ton of fun using the card guide for the new Serenity cardmaking workshop with the Lovely Paper Packet!  I LOOOOOVE that the guides are perfect not only for the paper that they are shown with, but also with other papers as well!  This uses the pattern for card 3.  Isn’t it so pretty with the Lovely paper??

I used the Thanks thin cuts for the sentiment.  Vellum was the perfect shadow background!  Then I used two layers of white daisy and topped it all off with the White Opal Liquid Pearls!  I’m not quite as good at using them for that as some other big named people out there, but the card turned out SOOOOO fun!!


This card went together really fairly quickly!  The patterned papers are the front and back of one sheet!  I could easily get 4 cards out of it!  If you haven’t yet, pull out an older card-making workshop’s instructions, and use them for a different paper pack!  I bet you will LOVE how they turn out!


Items used today:

 Thanks so much for stopping by!  I hope you go and play along with the H2H challenge this week!  You have a whole month to play along!

Until next time, keep crafty my friends!

November SOTM Blog Hop – You Warm My Heart

Welcome to the November Stamp of the Month Blog Hop!  If you’ve been around for a while, you see that I participate in these sometimes.  It is fun to see all the different card creations that people come up with (and layouts too!!).  This month, the stamp is SUPER adorable!  (It has to do with coffee and tea, so, of course I would love it!)  Today you should have arrived from Haley’s blog.  But, if you started here, no worries, you will make it back around to her blog!


This card turned out suuuuper cute!  I thank Andrea Sherman for doing a Youtube tutorial for this card!  Mine is different, mostly because I didn’t have all of the supplies that she did.  But, I wanted to show you that that’s ok!  You can still take inspiration from something and make it your own!  I even did a FB live with it today, giving you some tips with the liquid pearls and stickles!  You will want to watch that!

Here you can see the stickles and the different pearls!  I am seriously IN LOVE with these pearls!  You guys, they are AMAZING!


When I was doing the video, I had an idea to add some of the pearls to the poinsettias at the bottom.  What do you think?  With or without the red pearls?

~:~:~:~:~:~:~:~:~:~:~:~:~:~:~:~:~:~:~:~:~:~:~:~:~:~:~:~:~:~:~:~:~:~:~:~:~:~:~:~:~::~:~:~:~:~:~:~:~:~:~:~:~:~:~:~:~:~:~:~:~:~:~:~:~:~:~:~:~:~:~:~:~:~:~:~:~:~:~:~:

So, what did I use for these fabulous cards?  Well, most of the supplies are pretty basic!  I used some of the paper from the Wood Grain paper pack, I used White Daisy Cardstock and some Espresso cardstock.  The rest is ink and ‘fun’ stuffs!

So, let’s start with the measurements, shall we?

Now the inks that I used:

Other tools I used:

And the Fun Stuff!

Stamps:

With this wood paper and espresso cardstock combination, you could make the cups be any color you wanted!  And the sentiment could be anything as well!  I love love love this set!  

Now, before you hop along and see what Brandi has to offer you, I would LOVE it if you would leave a quick comment!  I am POSITIVE you will get a TON of ideas with this hop!

Thanks so much for stopping by!  Remember, VIP customers can earn this stamp set for free!  If you don’t have a consultant already, I would love to help you!


Christmas Comes Early

Sometimes . . . right? If you are a crafter, it’s time to start thinking about what you are going to be doing for Christmas this year! If you aren’t going to be able to be around your family, you will want to get it in the mail a bit earlier than in years past!

This project started out as a simple little project, and got to be so much more by the time I was done! Do you ever have that happen??

So, today’s fun project is a paper bag that is filled with some fun things! A super cute card hides in the very back pocket, and in front, there are two cocoa packets, two instant coffee packets, and two little spoons!

I literally just used scraps of paper for this project! I bet NONE of you have ANY of those! 😉

The card was super fun, and so easy to put together as well! I did have to cut some pieces for it (a few extra to give it the chipboard embellishment feel), but it was soooo easy! Except for the card base itself, every bit of this card came from scraps as well! It was a project that was just meant to be!

And, of course, I couldn’t NOT do the inside as well! Yup, you guessed it, more scraps!

I hope you love my little project! Take a peek over at the H2H challenge this week (Christmas comes early), and play along!

Products used to create this project:
Comfort & Joy Paper Packet
Comfort & Joy Cardmaking stamps and thin cuts
New England Ivy Cardstock
Black Cardstock
Card base & Envelope
Foam tape
Liquid Glass
Versamark Ink
White Embossing Powder
Twine (from stash)

Tools used:
Fiskars Paper Trimmer
Micro tip Non Stick scissors
Heat Tool
Mini Stapler

H2H’s New To You

Welcome to another weekly challenge hosted over at the Heart 2 Heart blog! This week is all about what’s new to you! And the majority of this card is all NEW TO ME!

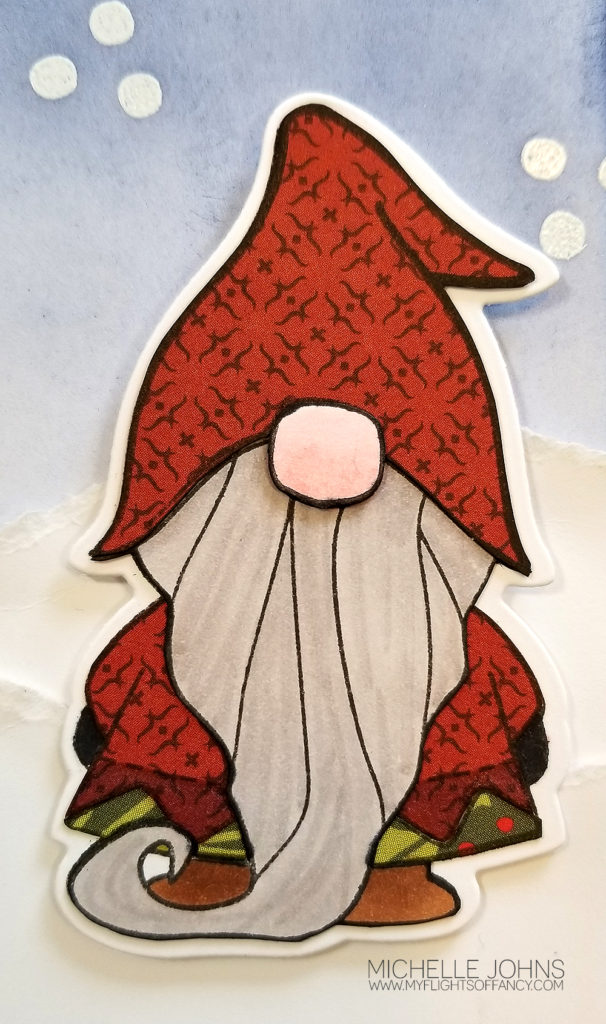
Isn’t this card just adorable? I LOVE this little guy! So, I started by die cutting the gnome (From Garden Gnomes) twice, and then stamping with intense black ink. I also stamped him on the red pattern paper from the Comfort and Joy, and on the mistletoe paper (for the bottom of his parka). I let those dry while I moved onto the next step.

Next I used chipped sapphire distress ink with the ink blending tool to create the background for this cute guy! Then I took my card base, and again used the chipped sapphire distress ink for the edges, and went lighter on the ink the further down I went on the card base. Then I used the black soot distress ink to start at the bottom of the card base and work up, blending the two colors together.

While those were drying, I grabbed a few tri-blend markers and colored in the beard, nose, gloves, and boots on one of the stamped die cuts. (I’ll list them below) I cut out those pieces. I then cut out the pieces stamped on the B&T papers (the pretty ones). I used my liquid glass and glued the pieces, layered, onto the other stamped gnome!

I used the three dots to simulate snow falling, and stamped with versa mark ink and covered that with white embossing powder. The heat gun made quick work of the heating of those, and they popped quite nicely against the distressed background! I popped that up over the card base with some 3-d Foam tape.

Next I used a piece of white daisy cardstock, and tore it twice to get the fun snow hills behind my gnome! Pop up Mr. Gnome with some thin and regular 3-D foam tape!

Viola! Our card is DONE! I love the little gnomie! I didn’t add a sentiment, but can do that inside, or add a flagged sentiment later when sending it.

What papers do YOU think would be fun to use for his hat and parka? I would LOVE to know!

Thanks for stopping by! I do hope you play along with the H2H challenge!

~ Michelle

CTMH Items used:

Comfort & Joy paper packet
White daisy cardstock
Intense Black Ink
Chipped Sapphire Distress Oxide Ink
Black Soot Distress Oxide Ink
Versamark Ink
White Embossing Powder
Black Marker
Earth Brown Blend
Pale Pink Blend
Yellow Green Blend
Brown Grey Blend
3-D Foam Tape
Thin 3-D Foam Tape
Liquid Glass
Non Stick Microtip Scissors
Mini Ink Blending Tool

With All My Love

Can you believe it’s October?! This year has taken forever and flown by at the same time!

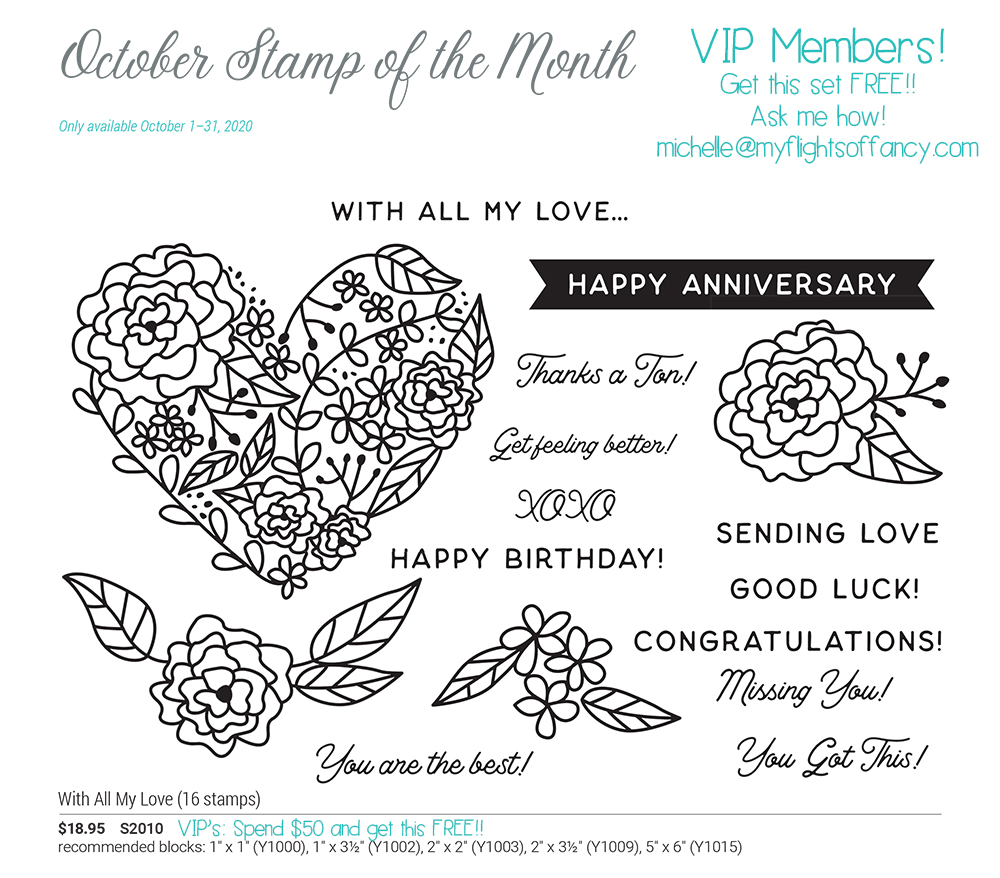
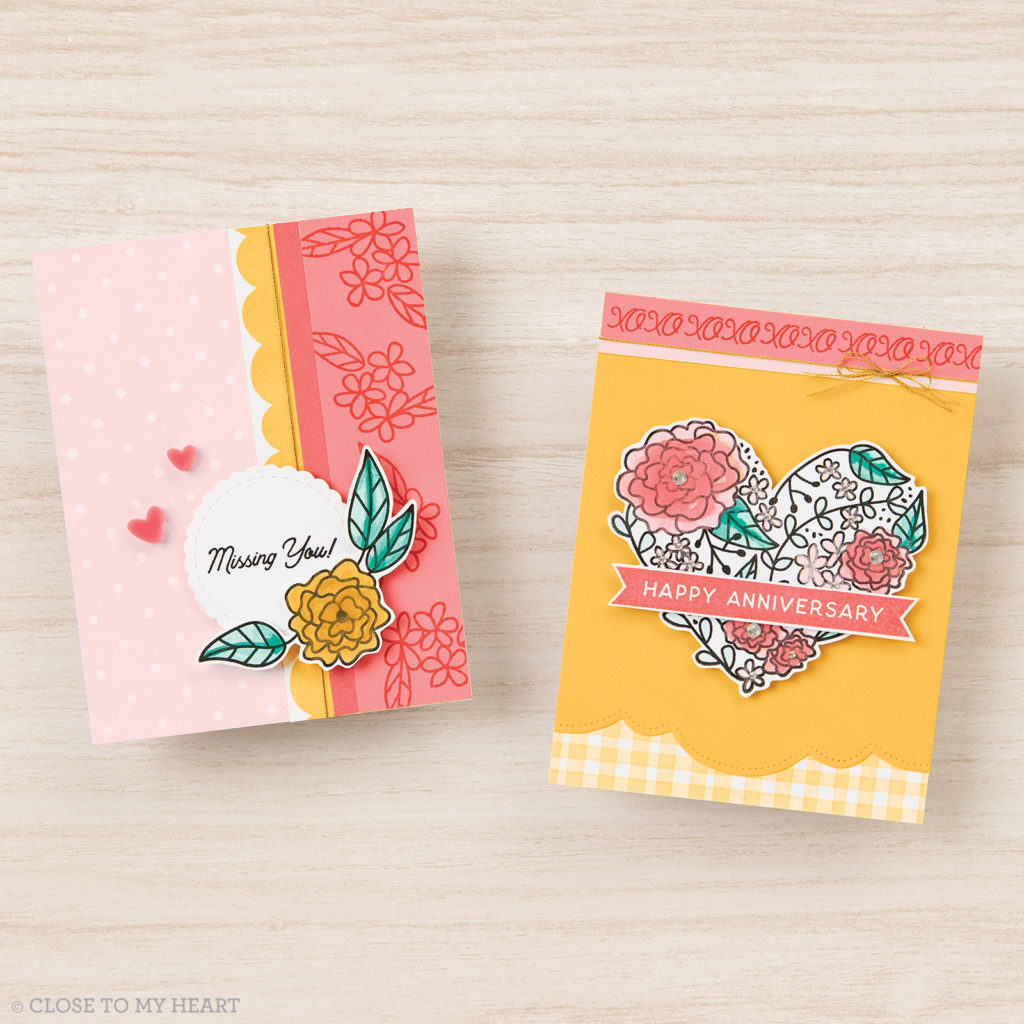
Well, with a new month is a new Stamp of the Month! This month’s stamp is called “With All My Love” and is a super cute set, that allows you to color if you want, but you DON’T have to! That’s my kind of stamp!

This set has some great sentiments on it too! I love that there is some variety in the fonts on there! (Plus, you can start planning for Valentine’s day, with the heart and the XOXO! 😉 )

Now, you see that I have mentioned a VIP membership, right? Well, that’s NEW starting today, too! This is a super great program, designed to give the customers the best rewards! Rewards, you say? That’s what you heard, right? How about some of these:

FREE SOTM!
Earn 15% back from every purchase
Special workshops/classes JUST for VIP members!

I’ll be doing a quick video later today to chat with you all about it! I hope you will join me over in my FB Group!

I hope you like the stamp set! I will be sharing more artwork with it throughout the month!

Until later, Have a fantastic day!!

~ Michelle

Teeny Tiny things are adorable!

Wouldn’t you agree? I do love some teeny tiny things!! This week’s challenge over at the H2H Challenge blog is all things Teeny Tiny!

Today I was inspired by the retired Originals Cards book to make these adorable little 3×3 cards.

I used half a sheet of nectarine cardstock for the card bases. I scored them at every half inch and sanded those lines to reveal the white core of the cardstock.

I used two stamp sets for this little card. First, the Bloom with Grace Cardmaking Stamp and Thin cuts. I stamped the pumpkin on some white daisy cardstock with the intense black ink, and then colored it with the Yellow Green TriBlend™ Marker, Tan Blend TriBlend™ Marker, Gold Yellow Blend TriBlend™ Marker, and the Orange Blend TriBlend™ Marker.

Next I used the Pennant Banner Alphabet & Thin Cuts for the sentiment on these cards. I used the grid stamp to stamp in Canary ink. Then I used the same set, and offset stamped it in mink ink. Then I stamped the letters in intense black ink.

I grabbed some string from my stash, and popped up the pumpkin and banners on some foam tape. Add some bows with some micro glue dots, and viola! You have these adorable Teeny Tiny cards!

I would love to know what you think about these cards!

“Peek-a-boo!”

Welcome to the September Technique Blog Hop! This month is all about a window of some sort! I know there will be LOTS of great ideas on this hop, so make sure to visit everyone! (and make sure to leave some love along the way! EVERYONE loves to hear how much their creation resonates with others!) Today, you may have come from Lauren’s blog, or you may have started here. Either way, it will be a big circle, so you will eventually end up back here!

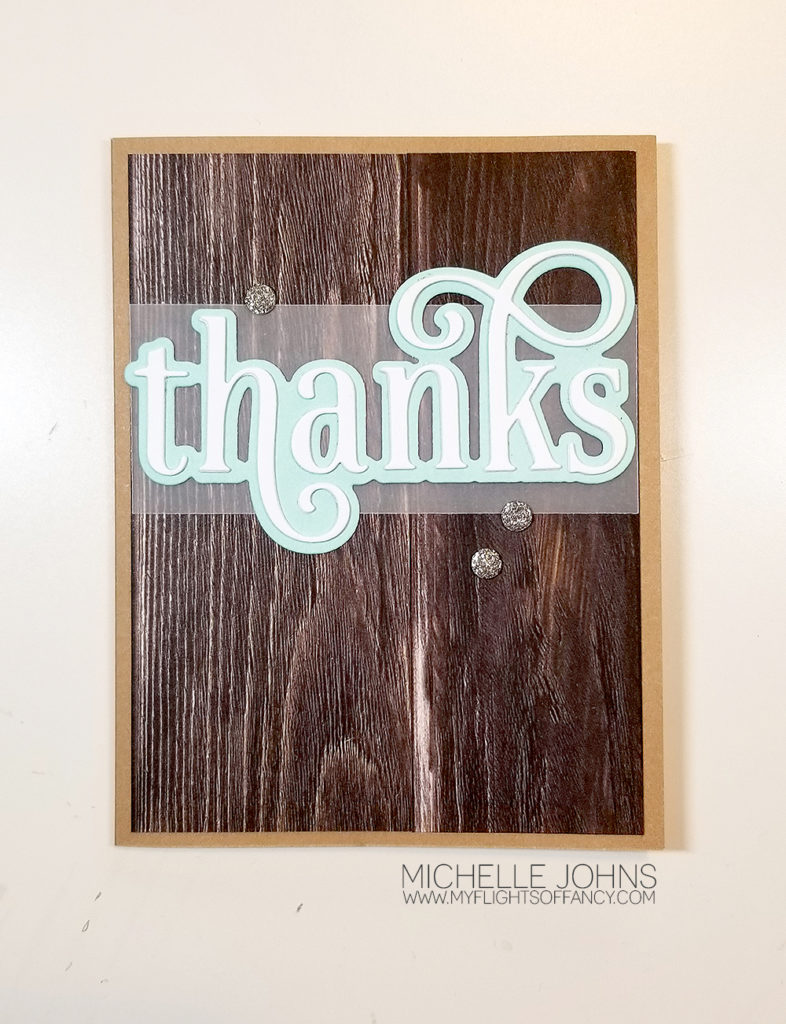
Today I did a fun peek a boo card, with a new technique that I hadn’t tried yet, and it was fun! Let’s take a look at the front, first, shall we?

I am IN LOVE with the wood paper packet! This is just one of the papers from the packet! It is actually a plank looking piece, so, I did some fussy cutting to be able to have it look like a solid piece (though, maybe not quite so much in person!)

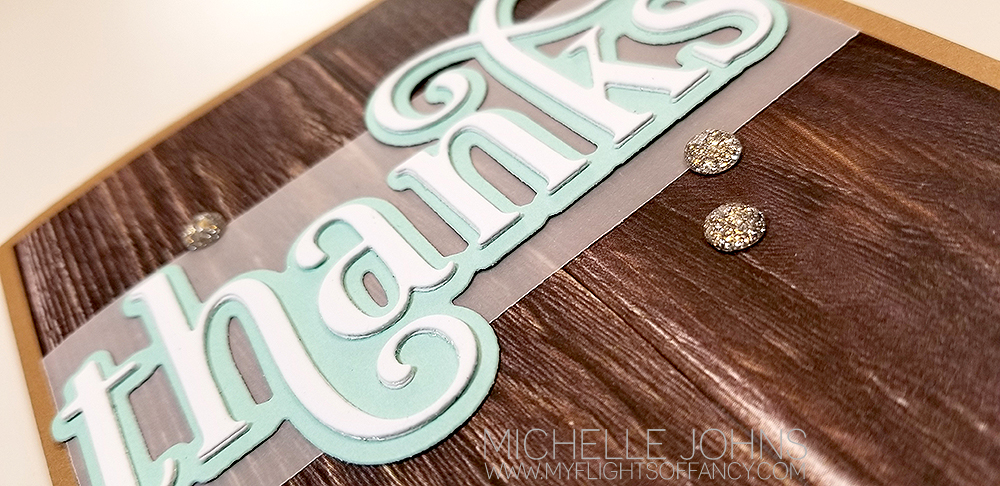
That Thanks die cut is fabulous, isn’t it? That is new too! I cut three layers from White Daisy Cardstock, and the shadow layer from Mint Cardstock. Then layered them with the liquid glass, that I LOVE so much! I attached them on top of a piece of vellum with some micro glue dots. I finished fancy-ing up the card with some gold glitter gems.

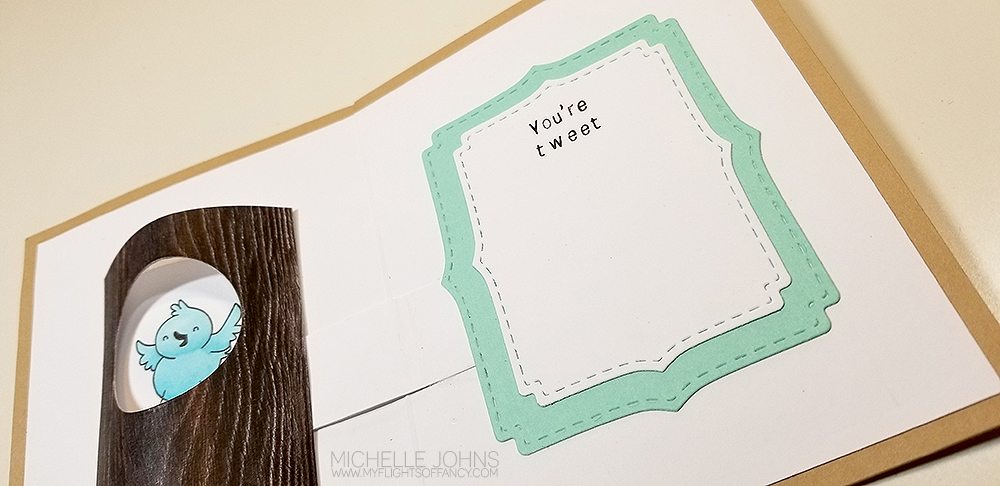
Now, let’s take a look at the inside, shall we?

Oh my goodness! Isn’t that fantastic?!?! SOOOOOOOO much fun!

I used the From the Funny Farm stamp set for the adorable little birdie! I stamped it in the intense black ink and then colored with the Ice Blue Blend Tri tip marker. I used the circle thin cut from the card spinner die set for the little cut out for the bird.

The sentiment side uses the Stitched Fancy Brackets dies, in both White Daisy and Mint Cardstocks. I stamped the sentiment with the Teeny Tiny Type alpha set.

I hope you leave a bit of love for me! Then, off to another Michelle’s blog! 😉

Thanks so much for stopping by!!

In case you get lost along the way, here are all of the blogs this hop!

Melissa
Cat
Maz
Lauren
Michelle J. You Are Here!
Michelle L.
Brandi
Katy
Alyson
Miss. Carrie’s Creations

Who wants to see some MORE new products?

We are having another blog hop, so that you can see more of the new products! We are focusing on the items in the smaller 2 month book with this hop, so grab something to drink, and let’s get hopping! Remember to leave a little love along the way! Your comments bring smiles to the faces of the consultants sharing their work with you! Today you may have started here, or come from ____________’s blog. Either way is great! The hop, as always, is a big circle, and you will end up back where you started!

So, what do I have for you today? Let’s take a look!

Wood You Rather?

Welcome to another H2H challenge! This week’s challenge is all about “Wood”! I know we have some great examples for you this week!

Today, I have some Timber paper that has moved to the Online Only portion of our websites, but I do love the wood paper on it so much! (I was going to use a new product, but it hasn’t arrived yet!)

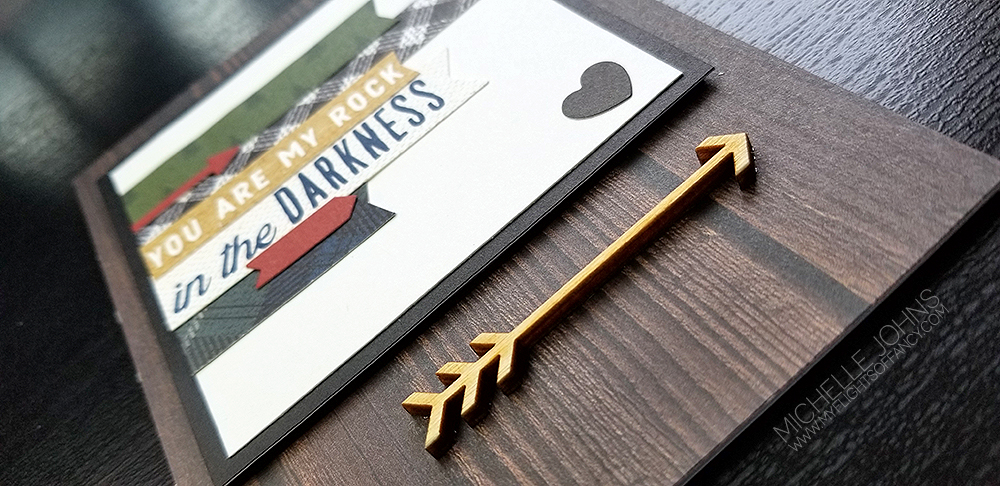
These cards come from my Cards for Guys class (with NO stamping!)! They are SUPER fun! I loved putting them together! In this class you have two cards per basic design, however each card is just a bit different. And, did you see, NO STAMPING! Incredible, right??

Now, after you see these cards, you will have to let me know which is YOUR favorite!

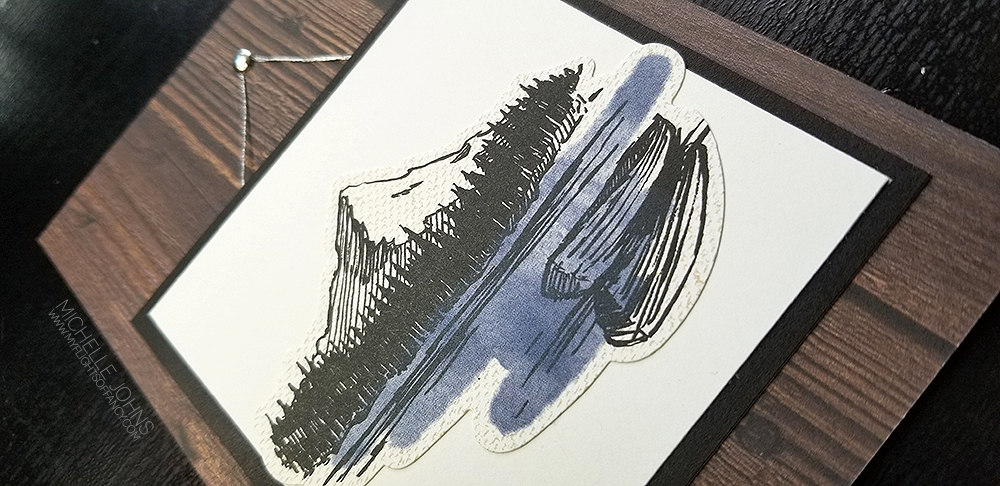
As you can see, these cards have the same basic set up, however are very different in looks! I used one brad and a bit of silver embellishing thread for the left one, and some extra foam tape and a wood arrow from the Wooden Arrows Assortment.

I did cut the mountain sticker a bit, so that it would fit in the ‘photo frame’, but I don’t think it’s terribly noticeable, do you?

Look at that wood paper! It totally looks like it has dimension, itself! (it doesn’t, but it looks like it does!)

So, tell me, which “Wood you rather?” 😉

I would love it if you left me a comment! Then, play along with the challenge! You have the whole month to do so!

More info on the class coming shortly, so make sure to watch for it!

H2H Challenge, Anything Goes!

That’s a great way to start (and end) the month, right? With a challenge that can be anything! That means it’s even EASIER to participate! So, make sure you hop on over to the H2H Challenge Blog, and play along! You have the whole month to join in on the fun!