Tag Archives: Clouds

Three on Thursday

Its a new year and with that comes a new Three on Thursday! This week’s class has some adorable cards, and many of the stamps you may already have in your stash! Each week I do a YouTube Live video, and I make three cards for you. This is what we did this week! Let’s take a look, shall we?
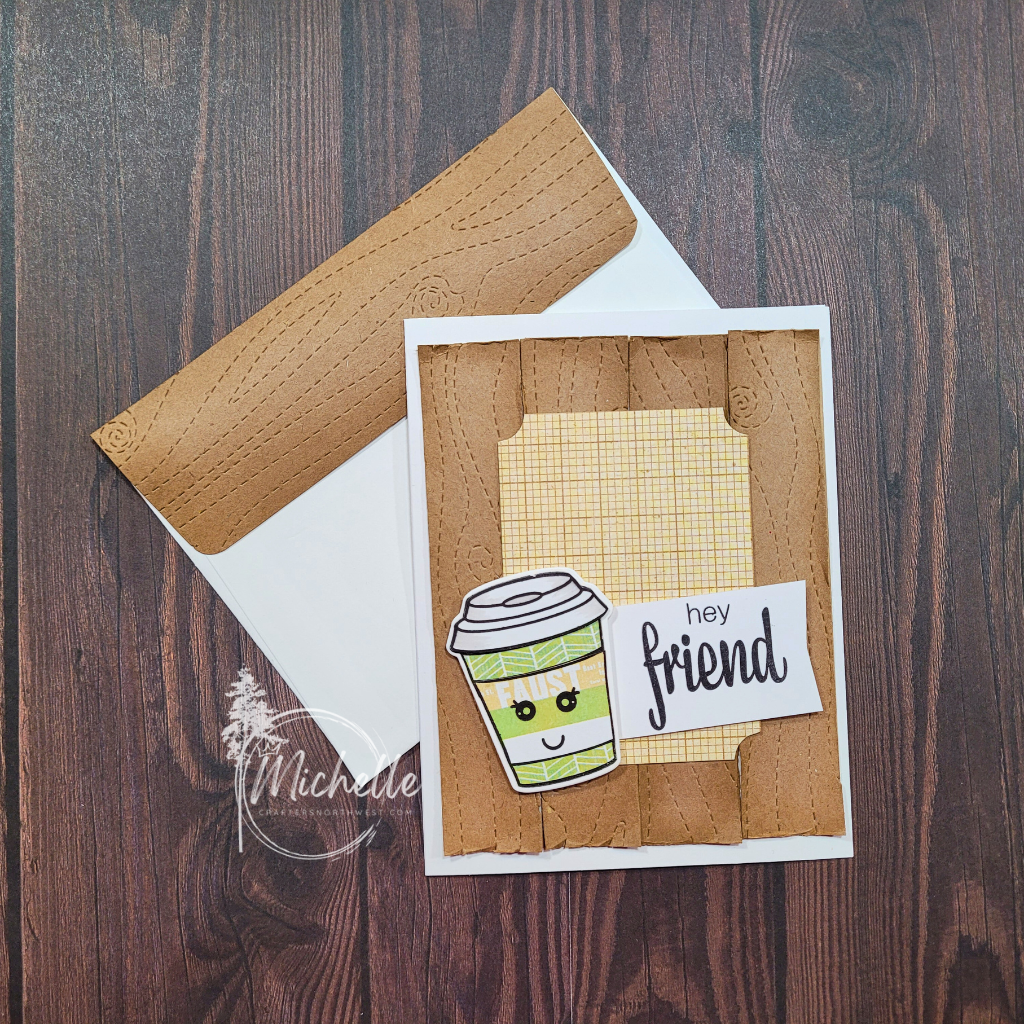
Isn’t this card just adorable? I have always loved the little faces, but never used them, because they were individual, and I was afraid that I would make them look wonky! This card was inspired by a card done by Jodi Collins, and of course, I had to put my own spin on it!
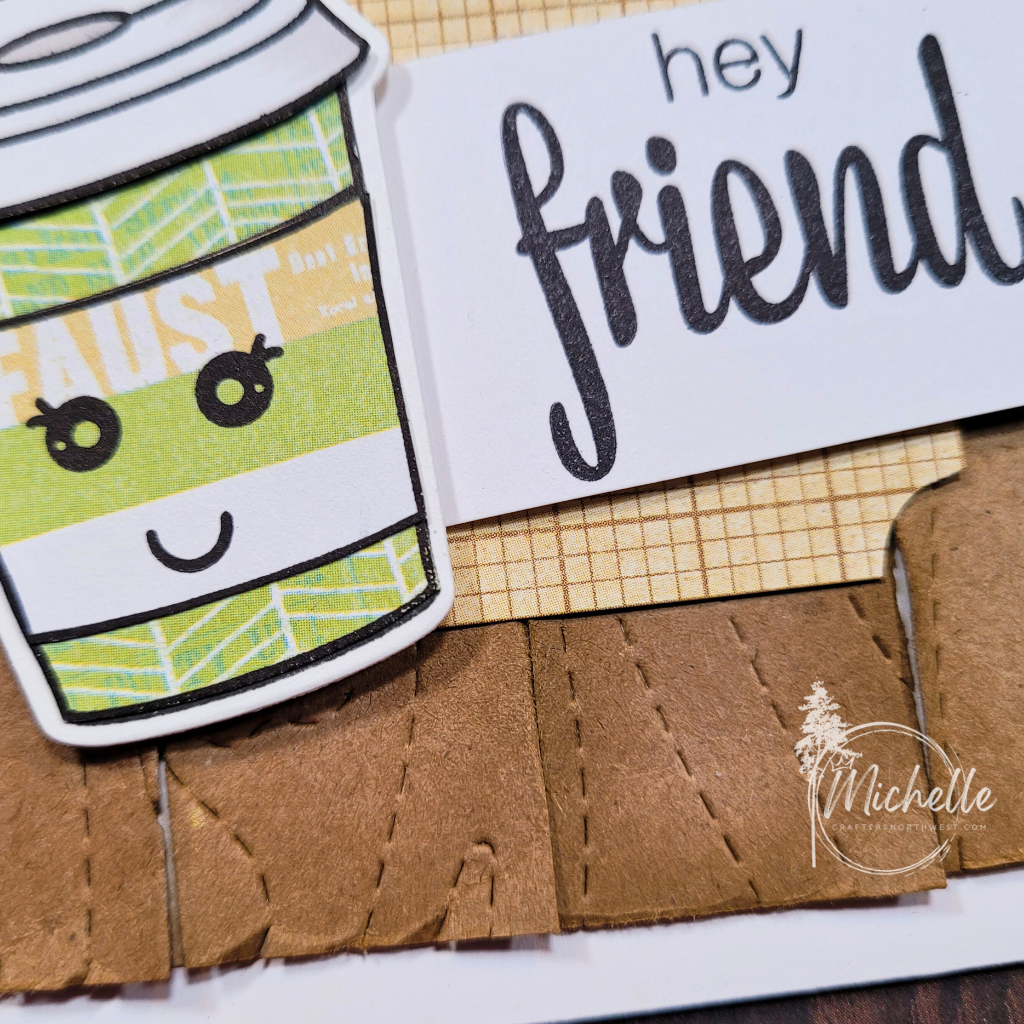
There is some paper piecing involved with the coffee cup, but it is super easy to do, and it just looks so cute! I love the detail on the wood planks!

And, of course, we can’t forget the inside! I don’t normally stamp a sentiment on the inside, but this card just screamed for something more! So, stamp I did! It’s fun to pair different stamp sets together, don’t you think?
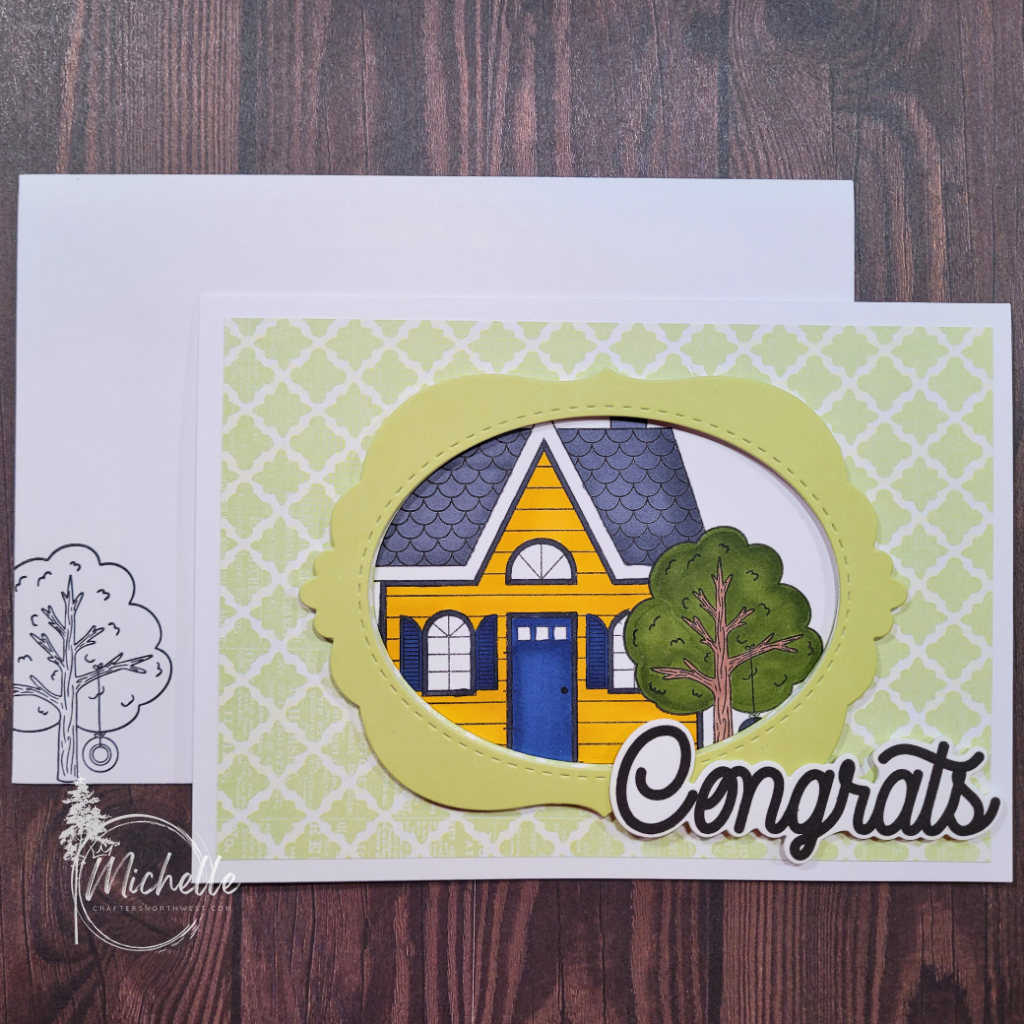
I have a realtor friend who shares houses all the time, and I love it when she shares the congrats pics and all the fun doorstep drops that she does! So, this card is dedicated to her! The design itself is inspired by a few different cards, by Janne KE, Brenda Rose, and Kelly Baxter. (I almost wonder if I should have put some string on it to make it look like an old fashioned hanging framed photo, what do you think?)

The coloring was super fast, as I didn’t do any shading. Just a few markers, and you are done! I love that even with this paper, you could totally make this house a different color!

Of course, you can’t forget the inside, nor the envelope! Just quick little bits and it just makes everything 100 times better! So simple!

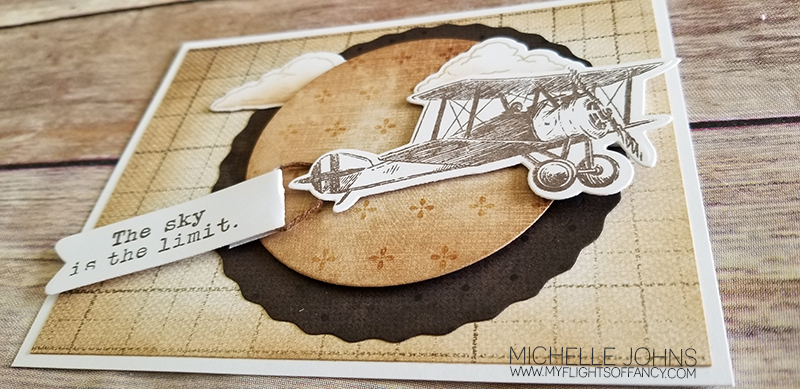
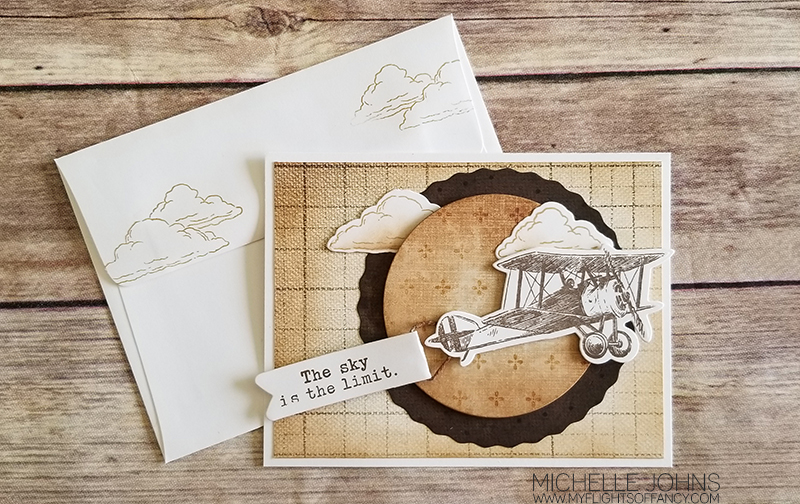
Last, but not least, we have this super fun card! This is definitely old paired with new! I really wanted to go for that flying banner look, and I think I nailed it!

Different layers of foam tape make the plane pop out between the clouds!

And, of course the inside and envelope!

I hope that you have enjoyed this week’s cards! I have listed all of the supplies below. If you have any questions that aren’t answered in the video or this post, please let me know, and I will be happy to answer them for you!
Michelle's Signature

Coffee Card:

Skylark Paper Pack

White Daisy Cardstock

A2 Card Bases & Envelopes

Desserts a la Whirl Z3957

Hey Friend B1845

Slimline Stitched Card Front & Background Z4651

Black Lepen

Brown Grey Blend TriBlend Marker

Blending Brush

Toffee Ink

Intense Black Ink

Tombow Mono Air Adhesive

Glue Dots

Foam Tape

Thin Foam Tape

2×2 Acrylic Block

1×3 Acrylic Block

House Card:

Skylark Paper Pack

White Daisy Cardstock

Limeade Cardstock

5×7 Card Base & Envelope

Memory Lane

Home Sweet Home Z3755

Howdy Neighbor Z3918

Oval Frame Thin Cuts Z4295

Intense Black Ink

Tombow Mono Air Adhesive

Shaker Window Foam & Acetate – Oval Z5031

Red Brown Blend Tri-Blend Marker

Gold Yellow Blend Tri-Blend Marker

True Blue Shades Tri-Blend Marker

Dull Green Blend Tri-Blend Marker

Ice Grey Shades Tri-Blend Marker

3×3 Acrylic Block

Misti Stamping Tool

Plane Card:

Skylark Paper Pack

White Daisy Cardstock

Slimline Card Base & Envelope

Dreams Take Flight Z3703

Looking Forward – January 2024 SOTM

Intense Black Ink

Tombow Mono Air Adhesive

Fancy Borders Thin Cuts Z3682

Foam Tape

Thin Foam Tape

2 x 3 Acrylic Block

1×3 Acrylic Block

I like to move it, move it!

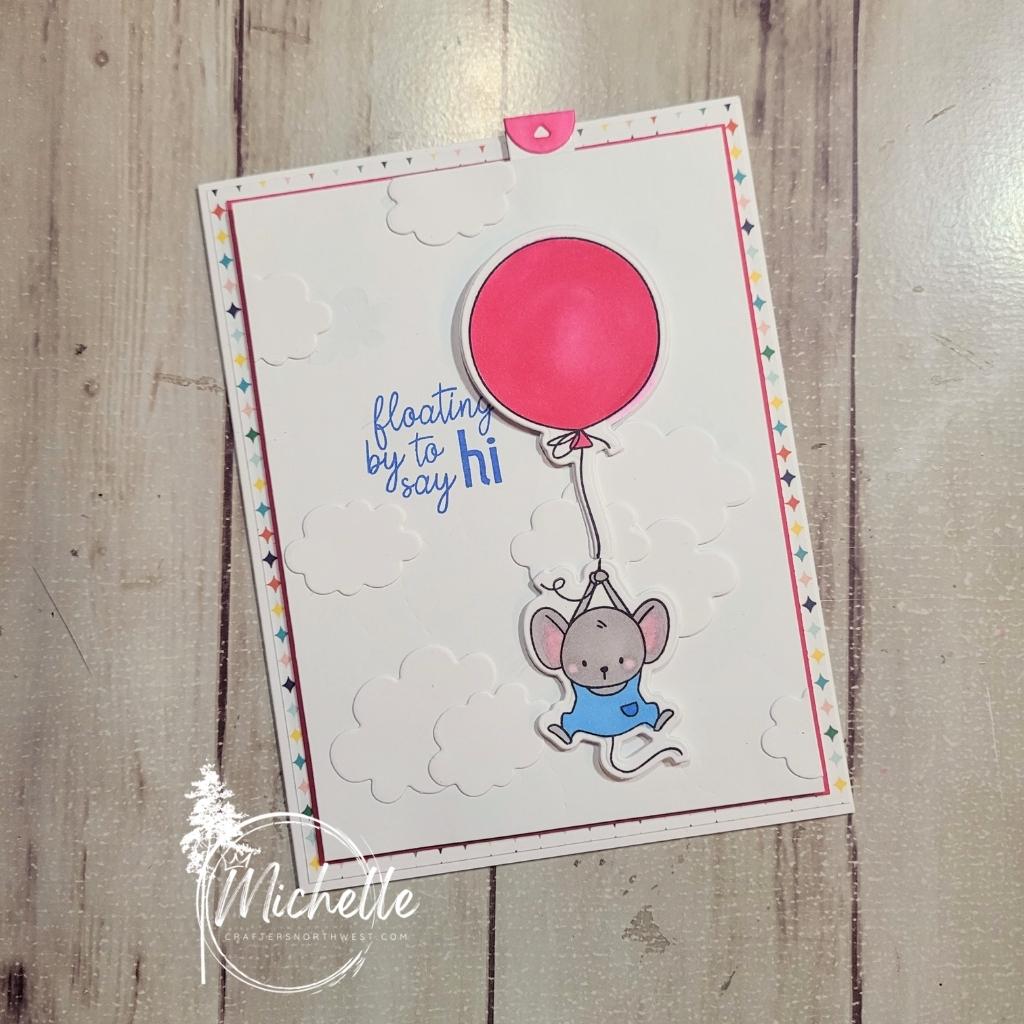
Hey Friends!  It’s the first Monday of the month, which means that there is a new challenge over at H2H!  This one is all about things that move!  Cards, scrapbooks, and any other crafty project!  I made this super fun and adorable card with a few new products!  Let’s take a look, shall we?


Floating Mouse

I used the Brights paper pack, that is available in the Flash sale happening until the end of the day, today.  I paired it with some white daisy cardstock (you can never go wrong with that!) and some Raspberry cardstock.  Add a few Triblend markers to the mix (True Blue Blend, Pale Pink Blend, Magenta Blend, Brown Grey Blend, Light Green Blend, and the clear Blender Pen) and you can’t go wrong!

I used a few of the new things with the National Stamping Special, and it turned out super cute!  I will list all the items below, so you can grab them too, if you would like!


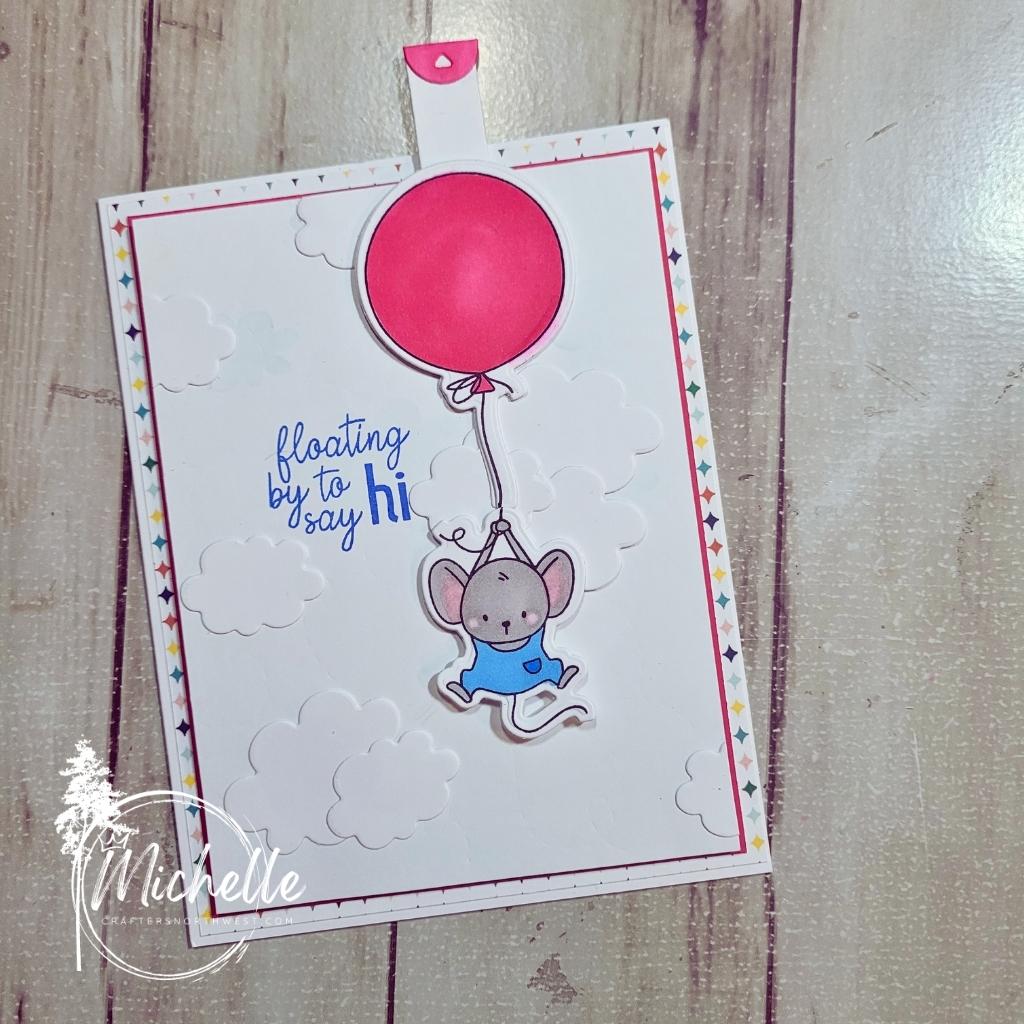
This new pull tab option is a thin cut that we now carry!  Isn’t it great?  It just makes this card so fun for the recipient!


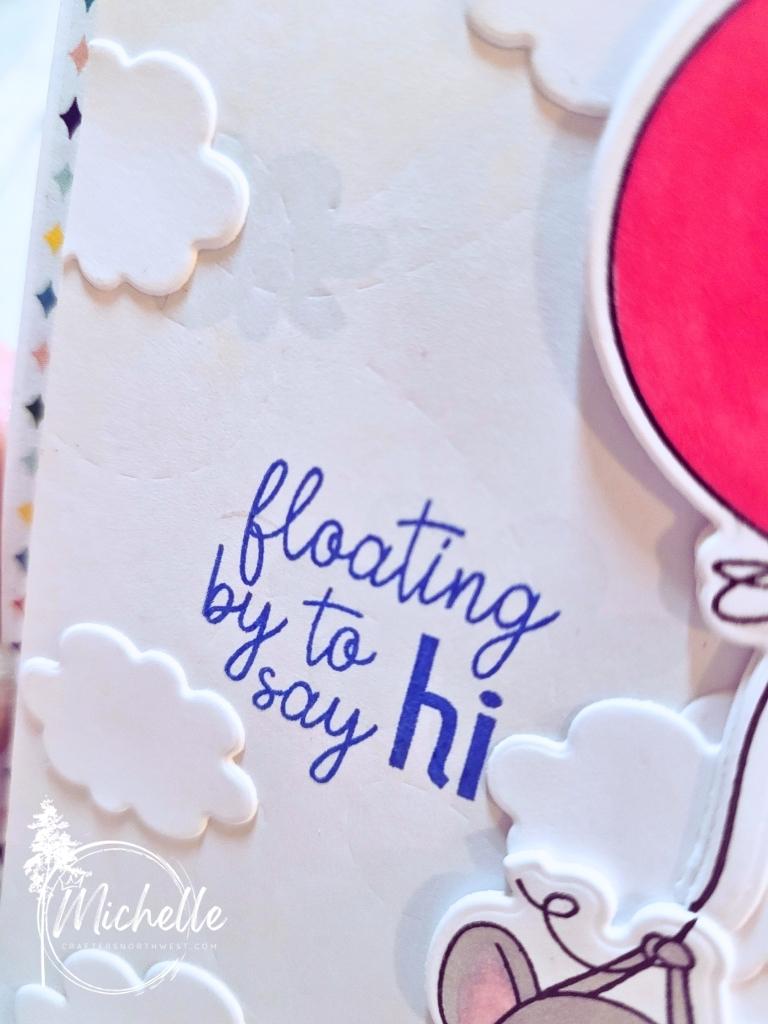
Here you can see a few different things.  The background die that I embossed instead of cut, the cloud stencil that is super light in the background, and the cloud die cuts that are from the cloud background die.  All of these, along with the mouse and balloon are part of the National Stamping Month special!  The pull tab thin cut is in the new core book!  I can’t wait to show you more things coming from it!  There are SO MANY THINGS!!


Thanks so much for stopping by!  I would love it if you left a little love before you left!


CTMH items used:

H2H Product Challenge: Slimline Cards

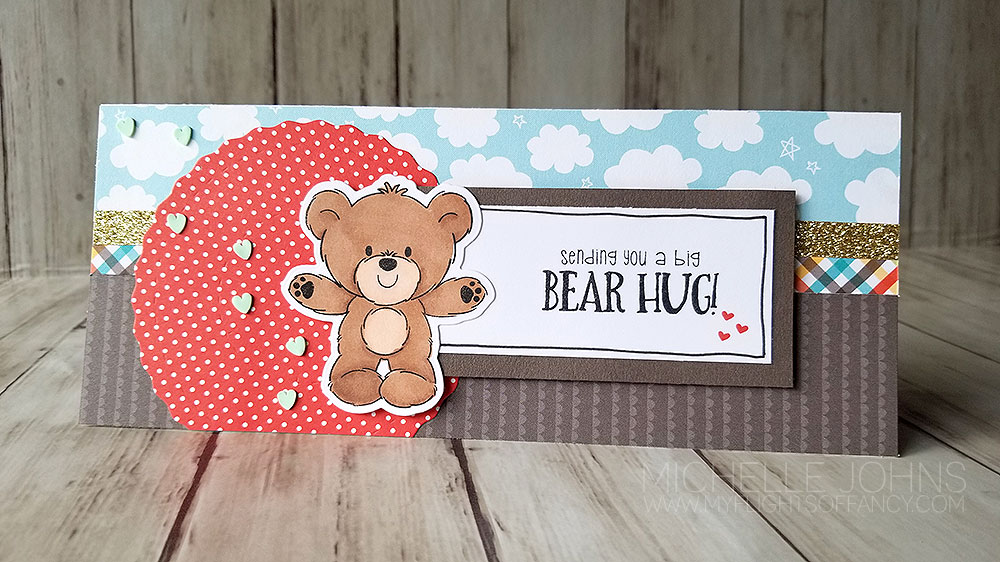
Hey everyone!  Happy Monday!  Today over at H2H, our challenge is to use one of the new products that CTMH carries, Slimline cards!  Now, this card style is not new, but it has come around again in popularity.  They are so fun to make!  You may remember the one that I did some time ago, with the boy and his balloons?  I thought it turned out super cute!

Anyway, while this doesn’t necessarily give you more card space, it totally changes how and what you can do with it!  If you wanted to send a paper gift certificate or cash, this is the perfect style card for that, you won’t have to fold it or anything!

This card was sooooo fun to put together!  It uses a variety of different stamps and dies!  Can you guess what they are?  (before scrolling down to see!)  I will be doing a FB live to put this same card together at 5pm Pacific time over on my FB page.  Come and join me, and put one together yourself!

CTMH Products Used:

Have you torn any paper recently?

So, last week, when I was looking for inspiration for the Vintage Vibe challenge over at H2H, and I came across this Pin, and I KNEW that I wanted to use it as inspiration for this week’s challenge, Tearing Paper!

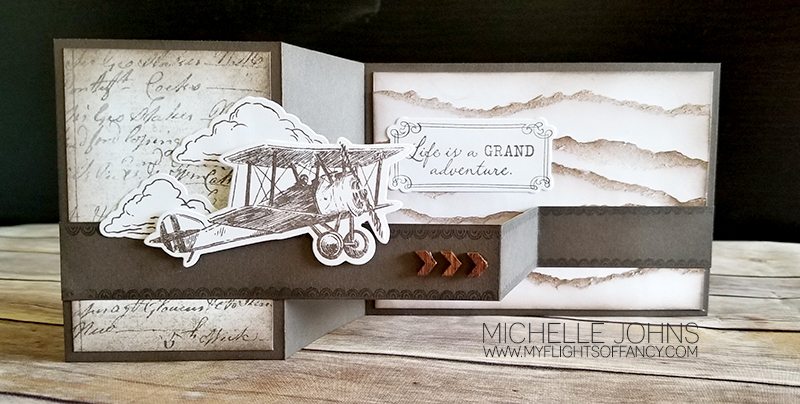
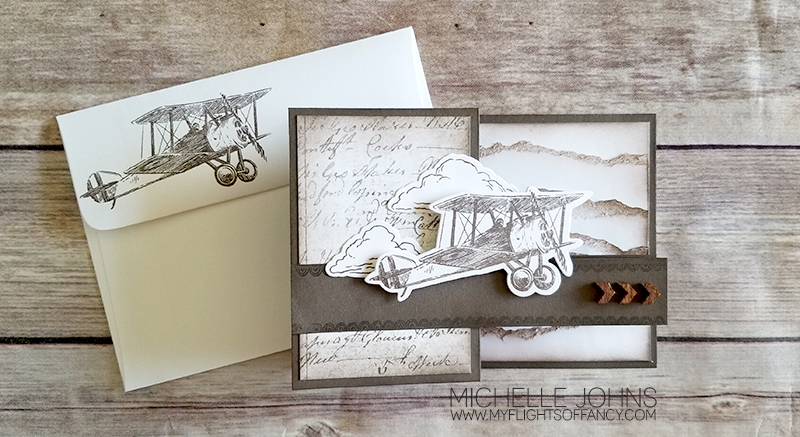
So, I am again using the Yesterday & Today Paper packet and the Dreams Take Flight stamp and die set for this card. I cut some white daisy cardstock to be 5 1/4″ long, and tore it to pieces, well, strips! Then I inked the sides and top of each piece with Espresso Ink. I cut a piece of printer paper to 3 3/4 x 5 1/4 (so that my card base would be 4 x 5 1/2 once closed, saving some cardstock for later!) I glued each piece to the printer paper, creating my background piece. I used Espresso cardstock as my card base today, because I wanted this slightly different fold.

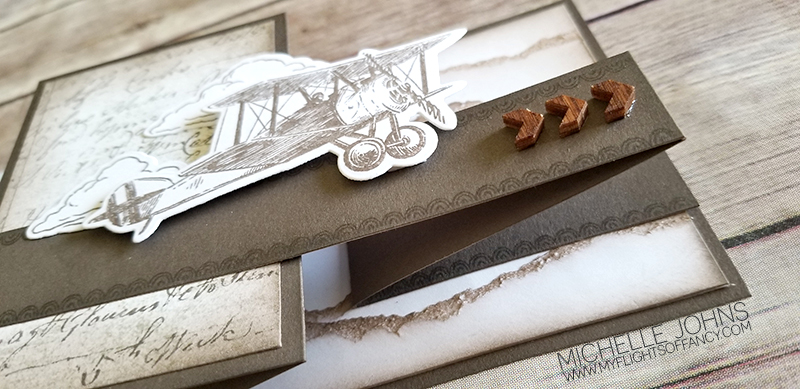
I used foam tape to pop the plane off of the band, and glued the clouds directly to the card base, making sure that the cloud that hung off the edge did not have any glue on that part. I used the frame and sentiment from the same set, and glued that inside. I decided last second to add those little wooden arrows that I colored with the Earth Brown Blend Marker.

I really like how this card turned out! Hopefully you do as well! I would love to hear what you think! Please leave me a comment below, and let me know!

Until next time, make sure you go and play along with some of the challenges over at H2H!

CTMH Items used:

Yesterday & Today Paper packet
Dreams Take Flight stamp and die set
Into the Wild Scrapbooking & Die set
Shaker Window & Confetti Thin Cuts
Card Front Spinner Thin Cuts
White Daisy Cardstock
Espresso Cardstock
Toffee Ink
Espresso Ink
Earth Brown Blend
wooden arrows

Ever get that Vintage Vibe?

This week’s challenge over at H2H is Vintage Vibe, and we have a boatload of products that fall into that! Check out what I made for it!

I started with the Yesterday and Today paper packet, paired it with the Dreams Take Flight stamp and die set, and then added a few more elements! Let’s take a look!

Now, let me say that I was inspired by this card I found on Pinterest. It doesn’t fit the ‘vibe’ of this challenge, but I knew that I could use the plane from the Dreams take Flight set, and make it mine. And I don’t know about you, but I think I totally rocked this one!

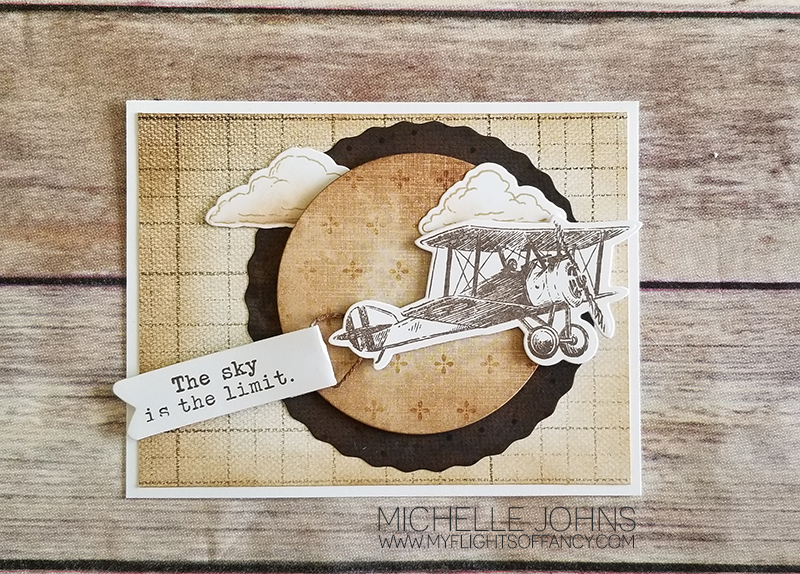
I used three different patterns from the Yesterday & Today Paper packet. I used the large spinner die cut from the Card Front Spinner Thin Cuts and the large circle from the Shaker Window & Confetti Thin Cuts. The banner? That came from the Into the Wild Scrapbooking & Die set (which is only available online!)

The plane and banner are stamped in Espresso ink, I stamped and inked the clouds with toffee ink. Now, if only we still had the waxy flax still, that would have been perfect! Alas, we do not. So, I grabbed my mink twine and my Earth brown blend marker, and colored a tiny piece of the twine, and attached it with some mini glue dots!

The circle and banner are popped up with foam tape. The plane is then popped up with some thin foam tape. The clouds being tucked in various places in various depths on the card I think give it an added extra pop!

Now, of course I couldn’t leave the envelope blank! So, I stamped the large cloud on a bit of post it note and cut it out, then stamped the clouds with a slight overlap on the flap of the envelope.

I’ve already said that I really like how this card turned out, and I hope that you do as well! You should totally come over and join in on the challenges! We have a new one each week, and they last until the end of the month, so you have plenty of time to get your entry in!

CTMH Items used:

Yesterday & Today Paper packet
Dreams Take Flight stamp and die set
Into the Wild Scrapbooking & Die set
Shaker Window & Confetti Thin Cuts
Card Front Spinner Thin Cuts
Toffee Ink
Espresso Ink