Category Archives: CTMH

15 years of Close to my Heart goodness!

Mini Layout ~ Our Story

Welcome back to Mini Wednesdays! Danielle and I both had life ‘get in the way’, I’m sure you can understand, we don’t always get to do all the things we want to do! Today we have an easy layout sketch for you, and it’s so versatile!

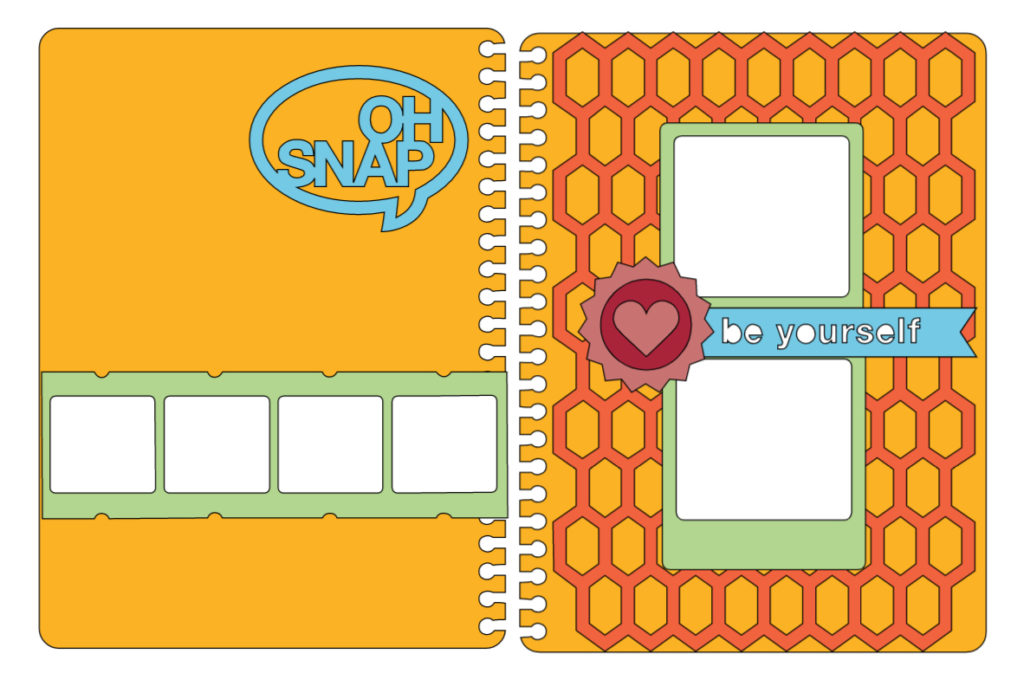
Super simple, right? The sizes may not be perfectly aligned in the sketch, but it is simple enough! We have a 4×6 photo in the center, matted, and the 6×8 page, matted. Everything else is just ‘extra’! This could be the perfect cover/title page for a book, or even works well paired with another page (which is what Danielle did!)

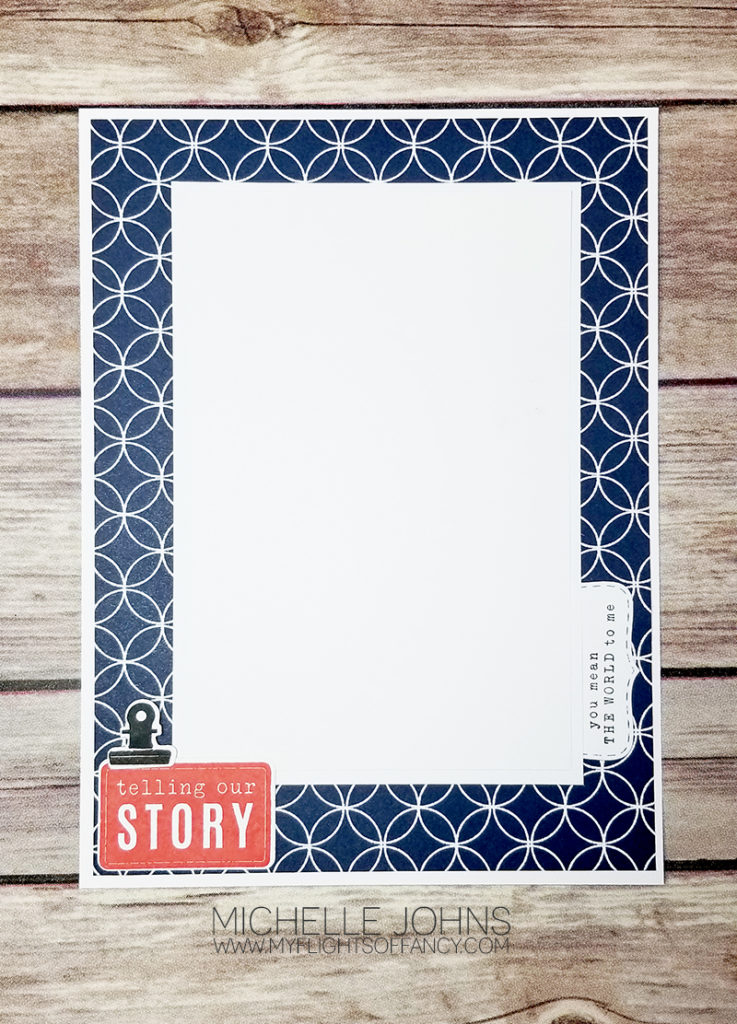
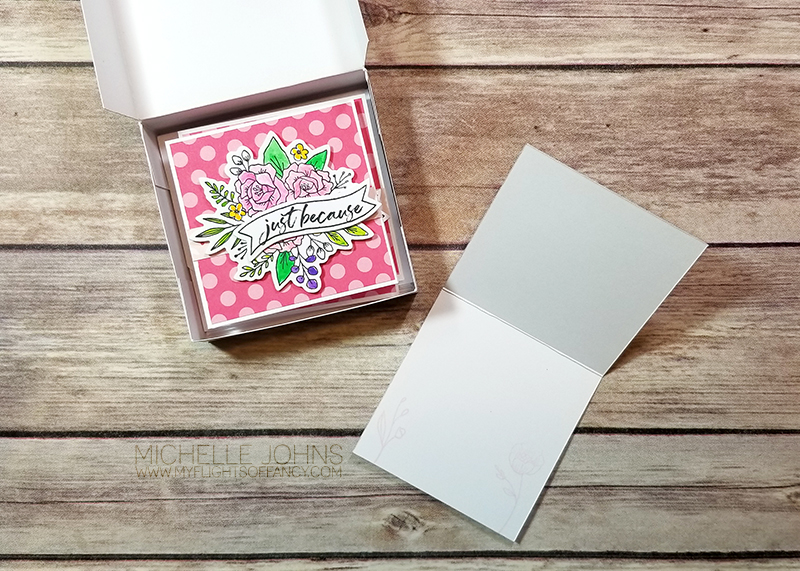
I stuck with the sketch pretty closely! Now, I may (and probably will) add a 4×6 flip flap to the page when I get it into a page protector. Then I can add another 2 photos and not take up another whole page.

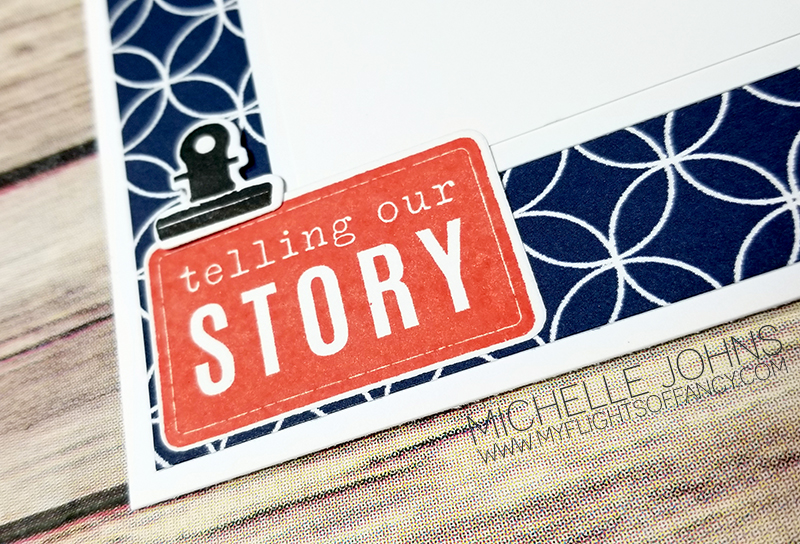
I used two different stamp sets here, and they work so wonderfully together! I just *LOVE* that little clip! The clip and the sentiment on the right (in the next photo) are from the Yesterday & Today cardmaking workshop! SO STINKIN’ CUTE! The “Telling our story” comes from the New Beginnings stamp and die set. Both of those sets have thin cuts with them, so no fussy cutting that silly little adorable clip!

Now, this little sentiment is in the cardmaking workshop as well, but it works perfectly for this page, because I am going to use it to scrap the trip that I surprised my hubby with to New York a few years ago. I don’t know what photo I will use for the front just yet, but it will include him, at least! (since it was HIS birthday!) I stamped it on the middle sized bracket from the Stitched Bracket thin cut set.

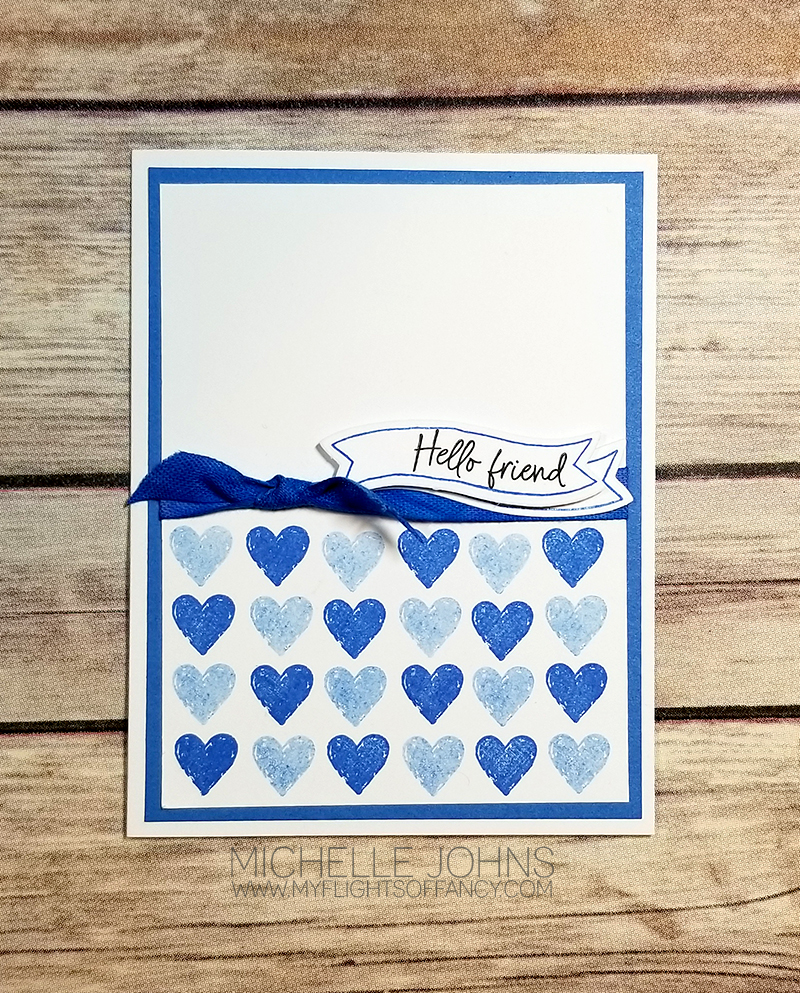
The fun blue paper comes from the current Mix In paper packet. It is the perfect “Giants blue”, which is why I went with the candy apple red for the sentiment. I used a tiny bit of thin foam tape under the clip to add a bit of dimension.

I hope you like my page! And I hope you play along! I know that Danielle and I would love to see what you do! So, hop on over to Danielle’s blog and see her project, and then play along with us!

Don’t you love pockets?

I know I love pockets, and it stresses me out when I don’t have pockets! (one of my new pairs of jeans don’t have front pockets! WHAT??) Anyway, Danielle found a super cute little pocket box that someone created with dies. We don’t have those dies, so she asked me to create a cricut file for it. So, I did! You can find that file here.

This cute little pocket box/bag thing is adorable! (Even if I do say so myself!) I decided to fit a set of 4 little cards in it! These cards are 3×4 and the envelopes are just slightly larger.

I left the front of the pocket box blank, so it could be reused after the cards are gone (if wanted). The cards themselves are all the same, with the exception of the paper on the front. I used the 2nd largest circle die cut for the vellum, and the banner from the Spruced Up Cardmaking Workshop kit. (I am LOVING all of the uses I have found for these stamps and dies!) I made sure to put a panel of white on the inside of the cards (not photographed), so that a special pen wouldn’t be needed for the notes. The “Way to Go” comes from the Say it in Style stamp set, and I slightly curved the sentiment to fit on the wavy banner.

These cards were SUPER fast to put together! The box is not quite perfect, but it’s close enough! 😉 If for some reason your machine doesn’t score well (like mine) The plain strip is scored in half, length wise. And the piece with the triangles cut out, if you just line up the points of the triangle, and score, you will be good! (You can score between the triangles, however, it will naturally fold at that point. Just make sure to do that before you start gluing things together!

I hope you like this fun project! I would love to see your little pocket box! Now, if you haven’t already been, hop over to Danielle’s blog and see her little pocket box!

Bright Mini Wednesday

Welcome back to another Mini Wednesday! Today Danielle and I have this fun page that we used for our inspiration that we found on instagram!

I have done a few torn pages in the past, like this one, but I don’t tend to do it, but I do LOVE the look when I see it on other pages. I thought it would be fun to do with this one, because it’s different, and if you play along, it’s not quite as intimidating, because it’s just a 6 x 8 page!

This page actually came together really quickly! I used papers from the Celebrate Today and Mix Ins paper packs. I cut the top piece to 3 inches and the bottom piece to 2 inches, and tore one edge off each. The grey pieces were just 2 inches each and torn. The photo spot is perfect for a 3 x 4 photo (and I can even add a flip flap when I put it into a page protector, if I wanted more photos or even to add some journaling!)

To create my photo cluster, I cut a piece of white daisy cardstock to be 4 x 4, tore some scrap pieces of paper, and adhered them down! So simple! Since there is so much white daisy in the tearing of the papers and the papers themselves, I used French Vanilla as my base page, to help the colors pop just a bit more!

I finished off the page with some Silver Loose Sequins, and I think that made the yellow pop even more! I LOVE how it turned out! Oh, and check out this quick bit to see the iridescence of the stars and sequins in this pack! I forgot to add my mink twine to the tag! I will have to go back and add that in! Oops!!

Hopefully you like my page! I would LOVE to know what you think, please leave me a comment to let me know! Then hop on over to Danielle’s blog to see her fantastic page!

It’s time to smile

It’s time for another card from both Danielle and I! Today’s theme is the February SOTM. This stamp set has a bouquet of flowers, some script and some typewriter type sentiments on it. This set is perfect for cards for some ladies in your life! (add an alphabet stamp set, and it would be perfect for ANYONE in your life!)

I found a beautiful card that I wanted to create with this set. The Spruced Up paper pack has a fantastic paper that is a wood grain paper, so I grabbed my lagoon reinker and the medium flat waterbrush along with the All Purpose Mat, and colored the wood grain paper! It turned out great!! Exactly as I wanted it!

I used some of the mink cardstock from the coordinating cardstock pack for the front of the card. I stamped the bouquet with archival black ink three separate times (well, 5, counting the two little bits in the corners). I did some stamp surgery to be able to stamp the “smile” sentiment without the top part. I used a little bit of the wood grain that was the original color as one of the banners. Add a bit of the white and gold ribbon, and this card is finished!

I am in LOVE with how it turned out! I would love to know what you think! After you leave a comment, head over to see what beauty Danielle has for you!

Have you seen a unicorn?

Its another 3-D Friday! Danielle and I are at it again! We thought it would be fun to use the file that Close to my Heart made for everyone, FREE! Just click here and you will be able to download the file and cut for yourself! It is designed to be an extra large decoration for your wall, so its a very large file!

We wanted to show that you can use the file for other things, too!

I decided to make a small bag. The bag itself is 5×8, so perfect for a party favor, or maybe you have a small gift for a friend!

Now, I did “cheat” a bit when putting this together. The video on the CTMH post shows how to put it together, and because of how small my pieces were, I wasn’t able to do it the same.

I think it went together really well! What do you think? You HAVE to go and check out her project! (I totally should have done that one!! Lol!!)

Thanks so much for stopping by!!

Beautiful, easy Watercoloring!

Hey there, Crafty Friends!

Danielle and I are back with another fun project! Today’s project is a card, but not just any card! Today we are using this card as our inspiration. We wanted to be inspired by the design, the water coloring, and the vellum!

Originally I was going to do a BUNCH of different cards to show off different water color techniques, but I left most of the products for those other techniques at home! ACK! So, I went with the “easy” option! Also called faux watercoloring! To do this, you use your ink pad, a slick surface (I used the All Purpose mat), a brush (I used the medium flat waterbrush, and some water.

Now, the papers on the left side of my cards are both retired. I used a zip strip from Craft On, on the pink card, and the cardboard piece of B&T from Hawthorne on the brown card. My ink colors today were raspberry and toffee.

Ideally you would do this on watercolor paper, however, I also didn’t have any of that with me! (Yes, I forgot a whole bag of items when I left for my crop!) So, I just used some white daisy cardstock. While it did warp some, it didn’t warp too much!) I used the Shaker window and confetti thin cuts to die cut my circle from vellum paper. Then I used two different (retired) embossing folders to emboss the circles. I created two (actually four, but I only used two) versions of “thanks” and cut them with my cricut machine. I used a bit of gold embellishing thread and gold glitter paper on the pink card, to help it pop some more. I added a few black dots from the Black & White dots. and decided I needed a bit more black. So, I grabbed the black watercolor pencil, scribbled a bit on a scrap of paper, added a bit of water with the small round water brush, and smacked it on my scissors to get some splashes of color on the rest of the card front.

I think they look pretty fantastic, even if they don’t look like the one that inspired us! I would love to see the cards you make! So, make some, snap a photo, and share with Danielle and I!

Thanks so much for stopping by! Make sure to hop over to Danielle’s blog to see her card too!

3-D Project Friday | Mini Pizza Box

It’s 3-D Friday! Danielle & I love having all these little projects for you! Today we have a little mini box for you! You can use it for treats or cards or even jewelry!

We used this pin for inspo.

Now, I went a bit differently on the box, so my measurements do not match the ones given in the inspo post, however, I do give my measurements in the video itself.

It was fun to make these little cards to go into the box. I had a specific person in mind for these (and I won’t say just yet, as I know she hasn’t gotten them yet!). I know that she will enjoy giving them to her co-workers on random just because reasons.

I think they turned out absolutely adorable!! And I love having a new use for the Spruced Up Cardmaking workshop stamp set and die!

Check out the video to make this box along with me!

Thanks so much for stopping by! If you haven’t already checked out Danielle’s box, make sure to go and do that now!

Mini Wednesday!

Welcome back to another Mini Wednesday! Danielle and I are at it again! (you knew we would be, right?)

Today I chose this page to do a “choose your own adventure” type of page! There are so so so many options! I went with two 4×6 pieces, that will go in a page protector that is made for that. (I photographed them outside of it, as it’s easier to photograph!)

For the top piece, I use a piece of the Spruced Up B&T. Aren’t those trees just adorable? I found a piece of scrap vellum and stamped “grateful”, from the Say It In Style stamp set, in espresso ink and used my hair dryer to help the ink dry faster. I just glued it to the back side of the B&T. It will lay flat when it’s in the protector, no need for any other glue! My photo will be 3 1/2 x 3 1/2.

The bottom piece is the same piece of B&T, but the back side! This will be for journaling, but another photo could easily be added!

Super fast, super simple, and I have another page done!

I would love for you to pick and choose some of your own adventures, and make sure to share them with us!

Make sure to check out Danielle’s page too!

It’s time for Bluebird!

It’s time for another challenge over at H2H! this week’s challenge is to use the color, Bluebird!

I found this fun card, that was a great inspiration!

I used two different stamp sets for this card, Colorful Texture from the Story by Stacy line, and the Spruced Up Cardmaking WYW stamp and die set.

The hearts are all stamped in first and second generation stamping. (and honestly, they are pretty straight and evenly spaced for just eyeballing it!)

I colored the white ribbon with the bluebird ink and dried it with my hair dryer! I think it looks awesome!

The banner was die cut and then stamped with archival black for the sentiment and bluebird for the outline. I wanted to have a bit more dimension, so I popped up the top banner with some foam tape.

This card was super simple to put together, took no time at all! And you could TOTALLY do this with ANY or EVERY color! Even if you don’t have the cardstock, you could use the ink to color the edges of a white daisy piecee so that you could have completely matching colors!

Anyway, I hope that you try it! I would love to see the card that you make with this!

Until next time, check out the H2H blog and play along with us!

Wednesday is Mini Day!

Hey everyone! Welcome back to another Mini Wednesday! As you have seen the last few weeks, on Wednesday, Danielle and I are challenging each other (and all of you) to participate in a sketch challenge! Well, today, we went a slightly different route! Danielle chose a mini album page straight off the Artbooking cartridge! Perfect! I love using my cricut!

And then, my computer and design space decided they weren’t going to play nice together! Whaaaaaa?!?!?! Sooo, she suggested that I go with using it more as a sketch, and not use my cricut. So, that’s exactly what I did!

In place of the honeycomb, I used some vellum to tone down the floral paper from the Celebrate Today paper packet, just a smidge. I used pixie cardstock for some ‘Polaroid’ frames. Those acrylic hearts . . . don’t you just love them? I used the bright pink marker to give them a pop of color against the background.

On the left page, I again used some vellum, but ran it horizontal, and the backside of the flower paper is a pink wash, and I used that to help the photos pop against the background. A quick heart from the stitched hearts die, and this page is done!

These pages went together in less than an hour, even with the coloring! It was so awesome! I love it when things are easy and fast! Especially when they turn out this good!

I would love to see what you come up with for this week’s sketch! I do hope you will share with us! If you didn’t yet, hop on over to Danielle’s blog to see what she came up with! It is super cute!

I look forward to seeing what you guys do with this one!

Until next week!

Stay Crafty my friend!