Tag Archives: Shaker

Sweet Safari Gift Box

Happy Thursday!  It is fun each week to show you something that isn’t a card or a layout.  Those are the ‘easy’ go to things to show off with paper, but you can do so much more with it!
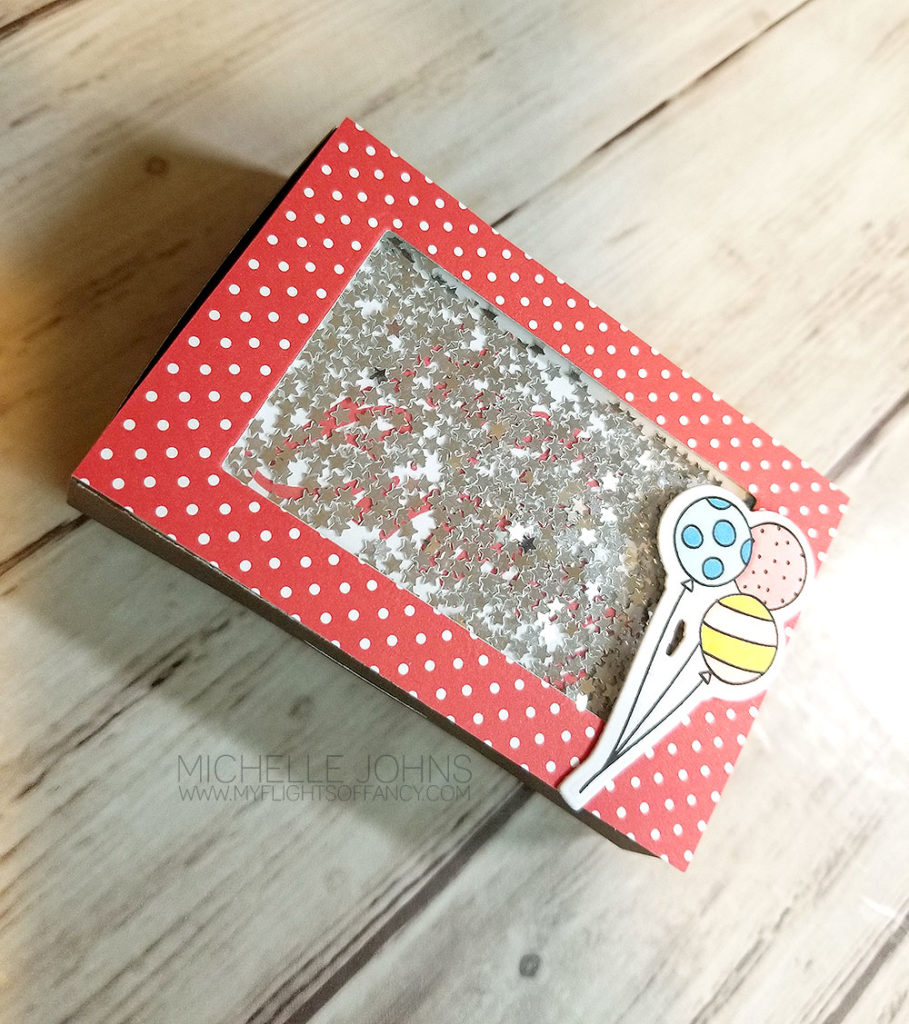
 

Today I have this adorable gift card box for you!

I used the silver star confetti shaker bits for the inside.  (I maybe used a bit too much)

When you stand the box on it’s side, you can clearly see the message inside the shaker window!  (see what I mean about maybe a bit too much?)  

One of the great things about this little box, is that it’s a die that you can run through your machine!  Makes things SUPER simple!!  It took longer to color the balloons than it did to put the rest of the box together!


CTMH Items used:


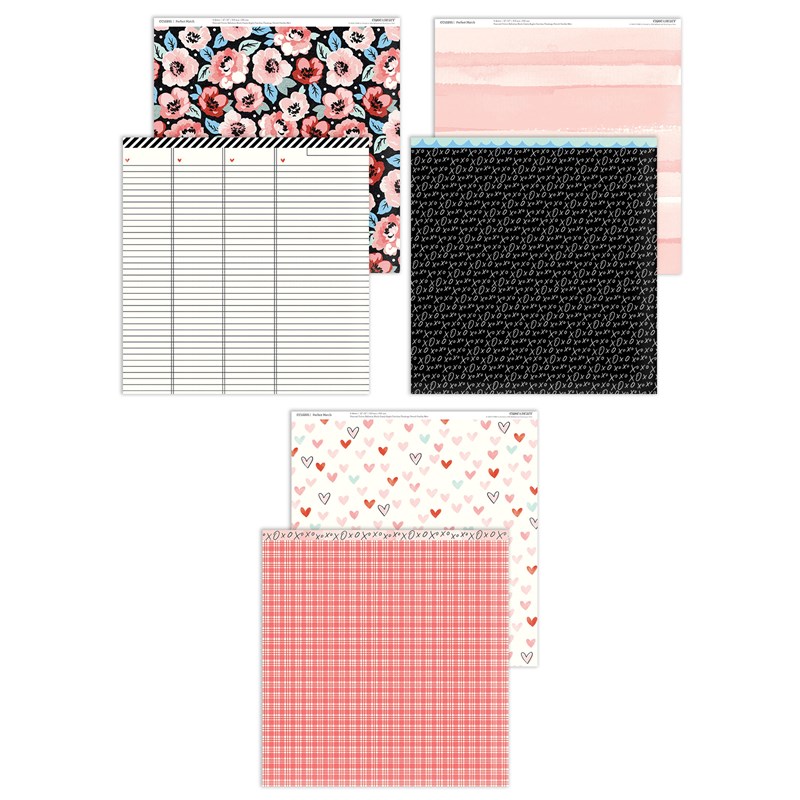
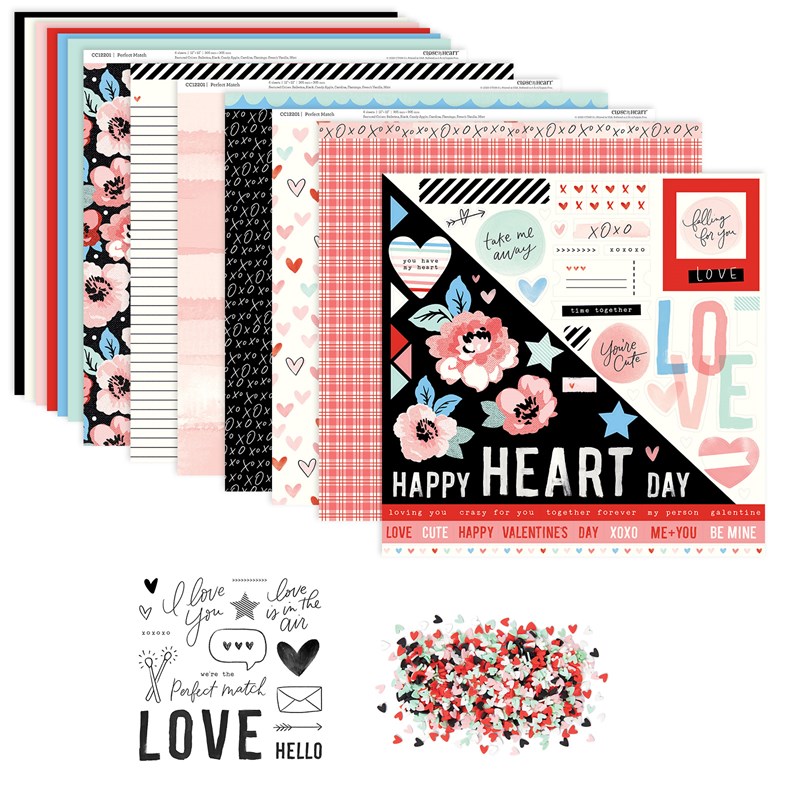
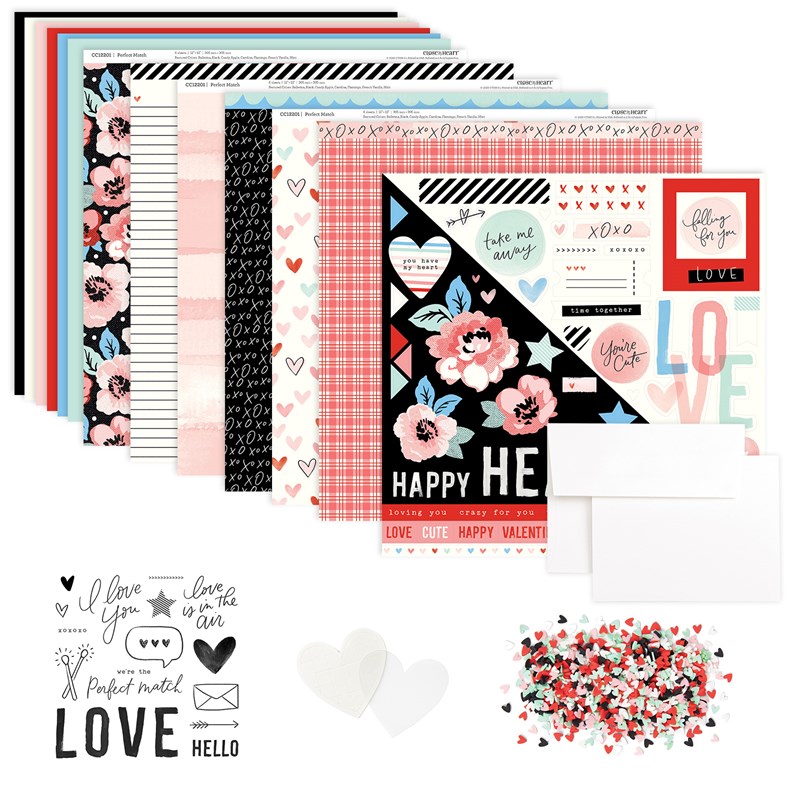
Perfect Match

Welcome back to another weekly paper show!  This week we are working with Perfect Match!  This is a fun paper that has many reds and pinks and blacks.  While it is a valentine paper pack, it isn’t JUST for Valentine’s day! 

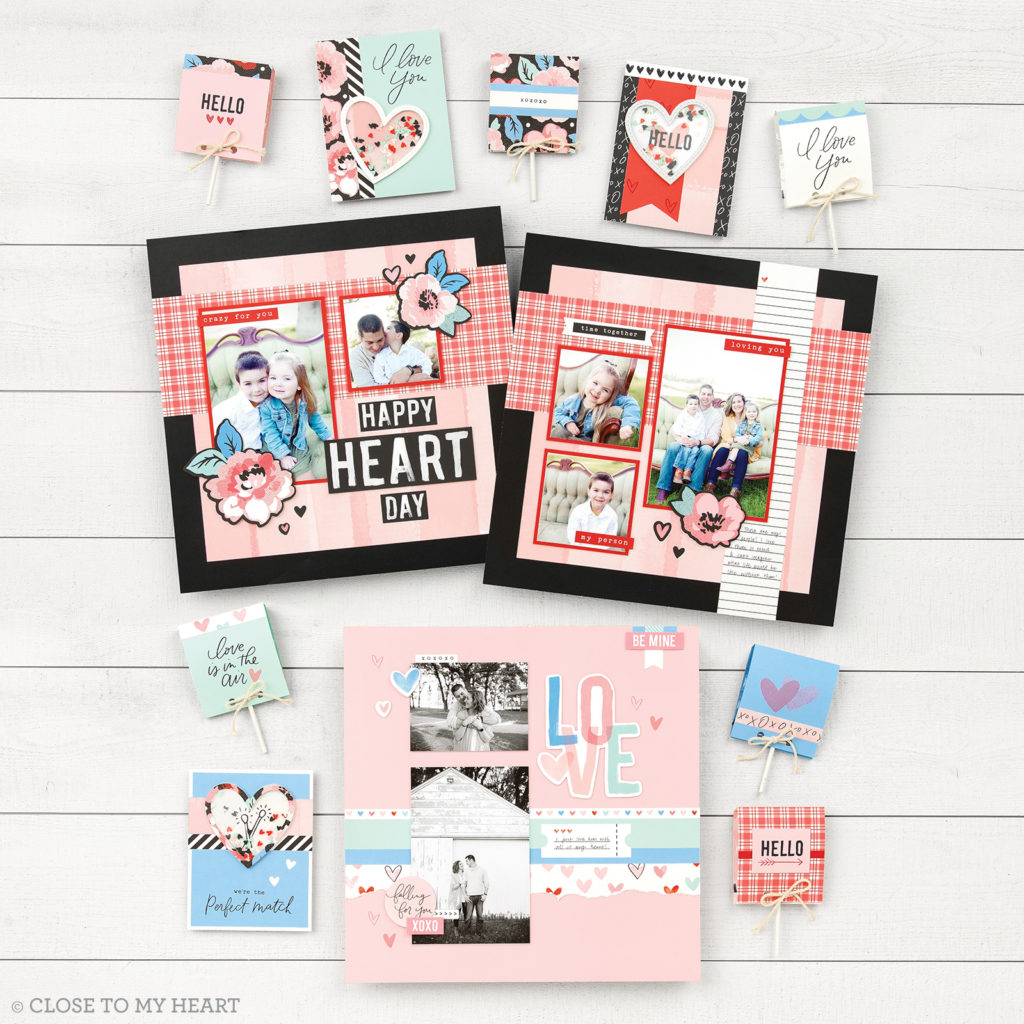
This paper pack has a couple of bundles available!  There are just a few more items in the 2nd bundle, and the PDF of the projects that CTMH has created will be posted later in the month, and a live FB event will happen, where they will walk you through the cutting and creating of the projects!  I will include their artwork photo at the bottom of the post, so make sure to check that out as well!

So, let’s take a look and see what we have, shall we?

Paper Pack

Paper Pack with Sticker Sheet


Coordinating Cardstock

Pressed Foam Hearts

Coordinating Stamp Set

Product Bundle #1

Includes:

1 – My Acrylix® Perfect Match Stamp Set (CC12204)
1 – Perfect Match Paper Packet + Sticker Sheet (CC12202)
1 – Perfect Match Coordinating Cardstock (CC12203)
1 – Perfect Match Mini Hearts (CC12206)


Product Bundle #2

Includes:

1 – My Acrylix® Perfect Match Stamp Set (CC12204)
1 – Perfect Match Paper Packet + Sticker Sheet (CC12202)
1 – Perfect Match Coordinating Cardstock (CC12203)
1 – Perfect Match Mini Hearts (CC12206)
1 – Heart Shaker Window Foam + Acetate (Z4312)
6 – white card bases & envelopes
photo placeholders

To create the artwork from CTMH, you will need these additional supplies.  

Archival Black Exclusive Inks™ Stamp Pad (Z3271)
Candy Apple Exclusive Inks™ Stamp Pad (Z6509)
Flamingo Exclusive Inks™ Stamp Pad (Z6520)
Heart Shaker Window Thin Cuts (Z3870)
Black Journaling Pen (.01) (Z3515)
Thin 3-D Foam Tape (Z2060)
Non-stick Mircro-tip Scissors (Z1836)
1″ × 1″ My Acrylix® Block (Y1000)
1″ × 3½” My Acrylix® Block (Y1002)
2″ × 2″ My Acrylix® Block (Y1003)
3″ × 3″ My Acrylix® Block (Y1006)
2″ × 3½” My Acrylix® Block (Y1009)
Die-cutting & Embossing Machine
Paper Trimmer
Scoring Tool or Bone Folder
Adhesive
Clear Tape
Ruler
Pencil
Hole Punch
Twine
Flat Lollipops (qty. 30)


And Close to my Heart also did a quick video walk through of it all!  Check this out!


I can’t wait to show you some fun things with this gorgeous paper packet!  Stay tuned!


Just add water, you say?

At least I’m not Gizmo! That would be bad! (though, it would fit right in with how 2020 is going, right?)

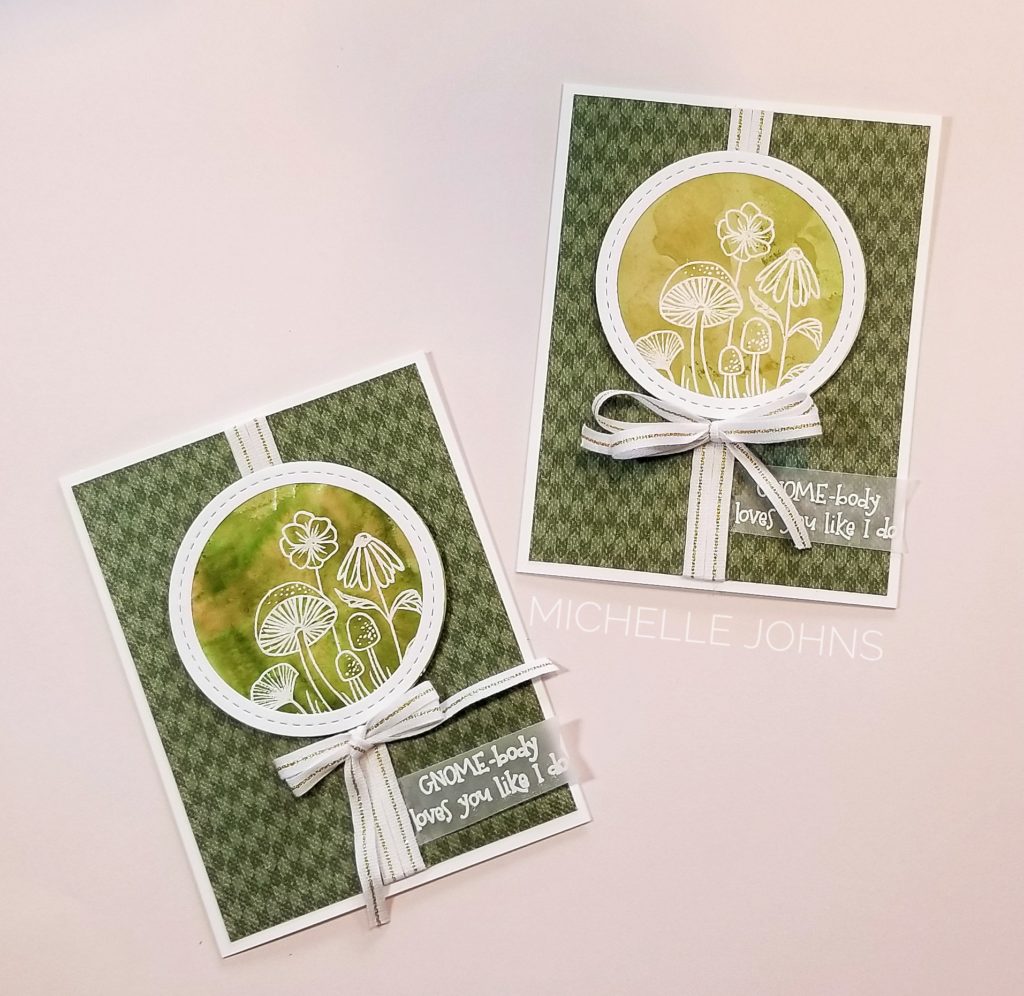
So, I decided I was going to add some water to my ink! So I grabbed a piece of acetate and picked a paper, and then chose an ink. Believe it or not, both of these cards were done with the same ink color, and that was fern!

So, let’s walk through the steps, shall we?

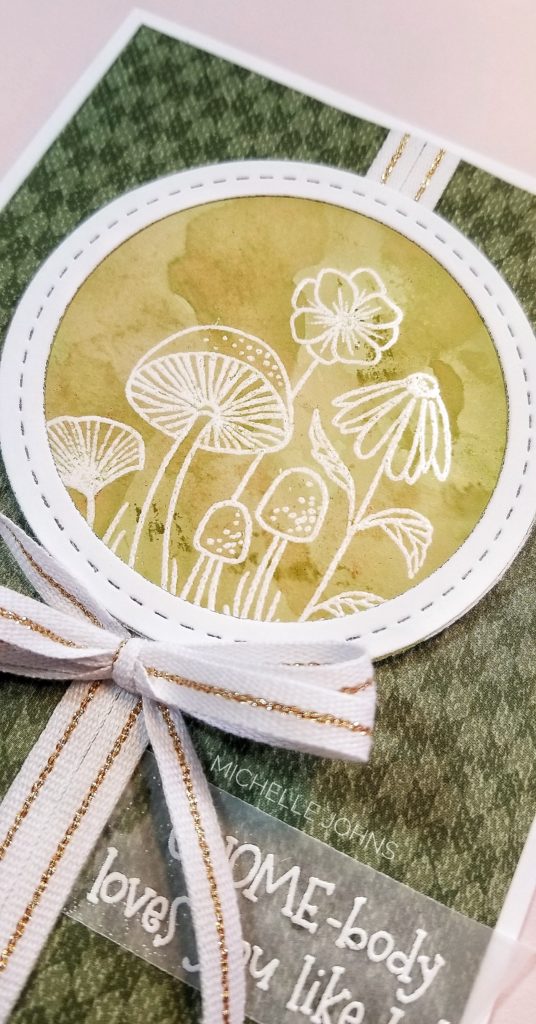
So, first I grabbed a couple of pieces of white daisy cardstock, and used some versamark ink and stamped the little mushroom scene from the Gnome Matter stamp set. (LOVE that set!) and embossed with some white powder. Then I put some fern ink directly onto some acetate and grabbed a water brush, added some water, and then swirled it around. I then smooshed the ink and water mix onto the paper with the embossing. I dabbed it a few times, then did some heat setting. Then, a bit more ink and a smidge more water, mixed, and smooshed again some more! Then a bit more drying and the first one was done.

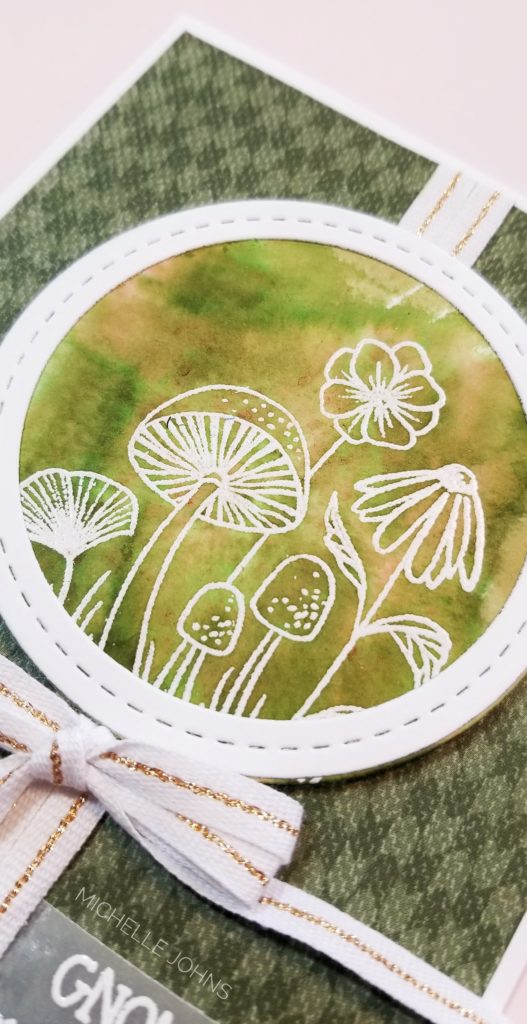
I decided to see what would happen if I put some ink on the back side of the paper, directly, and then added some water from behind. It gave a completely different result! But, still so fun!

I ended up getting more browns from my inks than I expected! A bit of red, too!

So, to finish the card, I cut the circle out with the solid circle from the shaker window and confetti die set. I cut the frame from that set from white daisy cardstock. I used the B&T from the Mix In paper pack. I stamped a sentiment from the set on vellum with the versamark and white embossing powder. I lined the B&T with two rows of the white and gold ribbon (retired and sold out!), then popped up the circle with some foam tape. Then I tied a double bow, and attached it with a mini glue dot.

The cards were so simple and easy to do! Super fun, and no two cards will be the same!!

Now, make sure to hop over to the H2H blog and see the other inspiration and link up your project too!

See you again soon!!

Happy Birthday with Craft On

If you watched my Facebook live on Sunday, you heard that I haven’t had a chance to do much crafting this last week! Well, I decided that I would participate in a few challenge blogs! So, I came up with this card fairly quickly, since I was using the sketch from Case This Sketch #330, and I went with the AAA Birthday challenge of ‘for the girls’. Their challenge blog is ALL about birthdays! It is such a great blog to go and check out! You will find ALL sorts of ideas for birthday cards! I decided to round it off with Time Out Challenge’s prompt this fortnight, which was a prose from Oscar Wilde. “With Freedom, Flowers, and the Moon, who could NOT be happy?” Hence the flowers from the Craft On paper pack! I was also going to play along with another challenge, but I missed part of it, but that’s ok, I still like how this card turned out!

I used the shaker thin cuts for both the circle and the frame, the shaker window foam and acetate for the shaker part, and I filled it with bits and pieces from the gold sequin mix, and a few of the smaller pearls. I used the happy birthday sentiment from the Hippo-Partymus stamp set stamped in Archival Black ink.

I hope you like my little card! It went together very quickly! Plus, I have found a few fun challenge blogs to play along with! I would love it if you left a little note to let me know what you think!

Thanks for stopping by!

All products used are CTMH unless otherwise noted:
Craft On Paper Packet
Window Shaker Thin Cuts
Window foam and acetate
Gold Sequin Mix
Pearls
Micro Glue Dots
White Daisy Cardstock
Archival Black Ink
Thin Foam Tape
Liquid Glass
Fiskars Aluminum Rail Paper Trimmer

Shake Things Up! – CTMH Technique Blog Hop

Are you ready to shake things up? Today’s blog hop is all about shakers! You can make just about anything a shaker these days! Cards, bags, layouts, key chains, you name it! Today you should have gotten here from Wendy’s blog. If not, that’s ok, its a big circle, so you will get back to her!

Today I have a fun card for you! It is super easy to do, especially with the new shaker card dies! So easy, in fact, that I had Audrey do it, with only verbal instructions on how to do it (I wasn’t around to point to things to say ‘use this’ or ‘color there’)! Today’s artwork is actually completely done by her! It was inspired by a card on Pinterest, however I can’t find that card, now.

She cut a Polaroid shape on the paper trimmer, stamped a sentiment from the My Type of Note stampset in intense black ink. Ran some tape along the back side, and used a sandwich baggie for the cover. She colored some white daisy cardstock with some Shanhan markers, and ran it with the heart shapes from the shaker die set.

Layered the whole thing with some foam tape, added a back to the shaker element, and then glued it onto a card base with some liquid glass. Super easy, super fun! And it wasn’t hard for her to do!

Next time, I think I would use a stronger baggie, part of a flip flap, or even part of a page protector, just to make the front a little stronger. But, sometimes you just have to use what you have!

Thanks for stopping by! Next you are off to Michelle’s blog!