Tag Archives: Close to my Heart

H2H Watercolor Close Up

The look of watercolor, the ease of stamping!

Don’t you just love the look of watercoloring?  I do love it, but sometimes am intimidated by it.  So, when Heart 2 Heart announced the watercolor challenge, I thought it was a perfect chance to give you all an idea on how to do it, without having to feel intimidated by actually watercoloring!
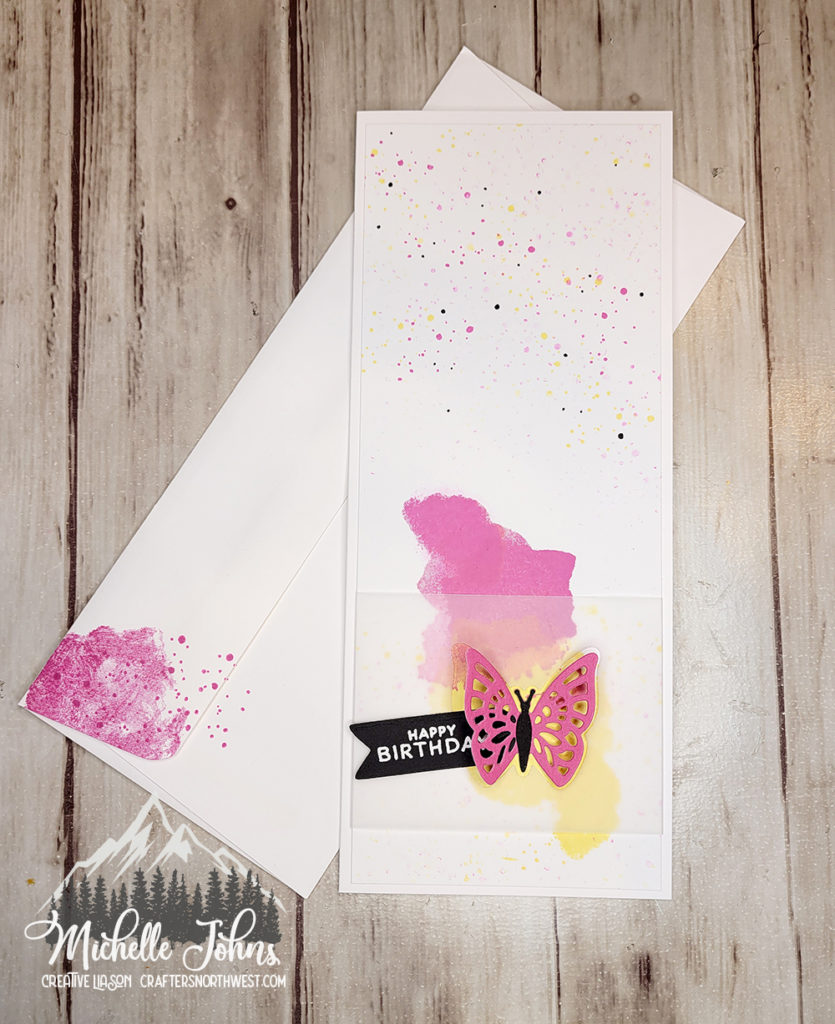
H2H Watercolor Slimline Card

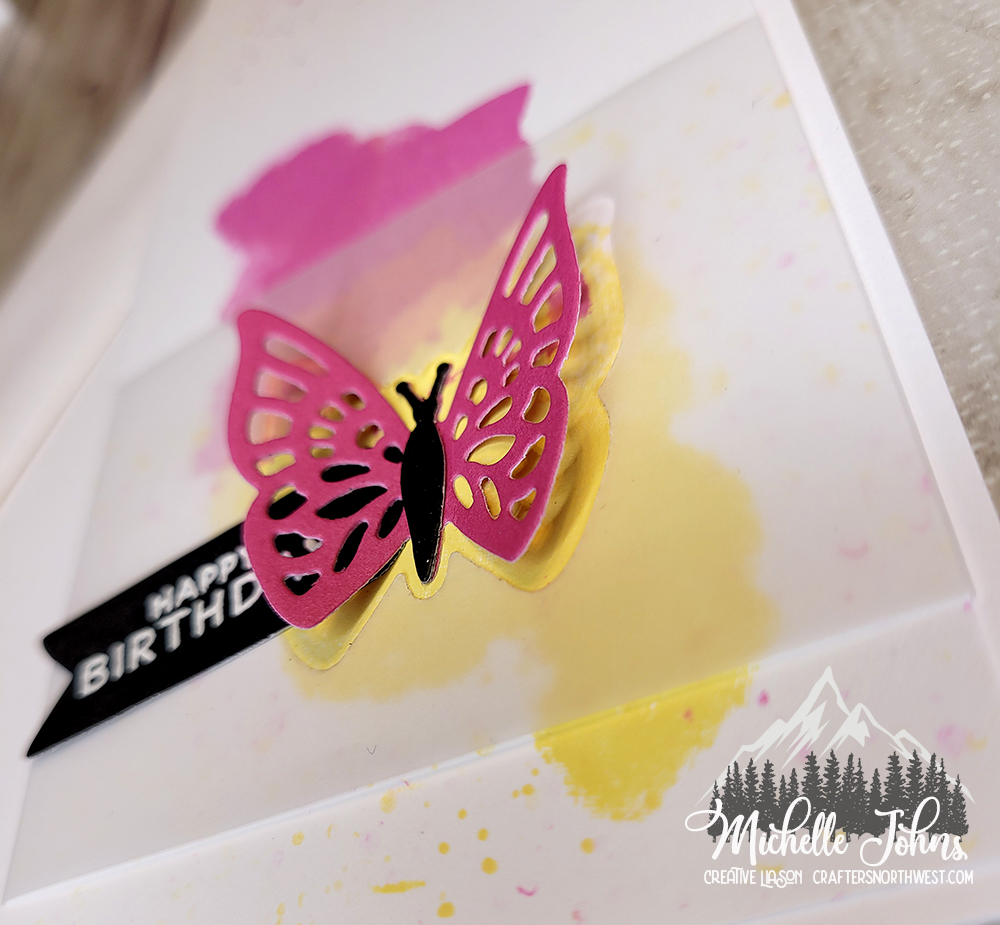
I grabbed the Perfectly Imperfect Patterns stamp set, that has 6 different watercolor type stamps and 2 stamps that are splattered dots, and got started!  I used the Wild Berry and Lemonade inks for my card, and just went for it!

The stamps are stamped a couple of times each, and I did overlap them, and got a light orange color in the middle.  I used the splatter dots all over the card, in first, second, third, fourth, fifth, and even sixth generation stamping!  I even added a few in Archival Black, to help tie in the banner and butterfly body.

I used the small butterfly outline and cut out of the vellum, and used the detailed small butterfly in Wild Berry to ‘pop’ off the card.

The banner and sentiment are both from the Thoughtful Critters Stamp and Thin Cut.  I stamped the sentiment on some black cardstock, used white embossing powder, and then cut with the banner thin cut.  (then trimmed off the hands with my scissors)

I used just a tiny scrap of Black cardstock to make the body.  I cut with the thin cut, then trimmed the body out with my non stick scissors.

I hope you have liked my little project!  I would love to see you participate with the H2H Challenge!  You have until the end of the month to upload your creation!  (you don’t have to be a consultant, the challenges are for anyone that likes to craft with CTMH goodies!)

I would really love it if you left a comment below!  I love to hear what you all think about my creations!

Supplies Used:

Thanks for stopping by!

~Michelle

Just add water, you say?

At least I’m not Gizmo! That would be bad! (though, it would fit right in with how 2020 is going, right?)

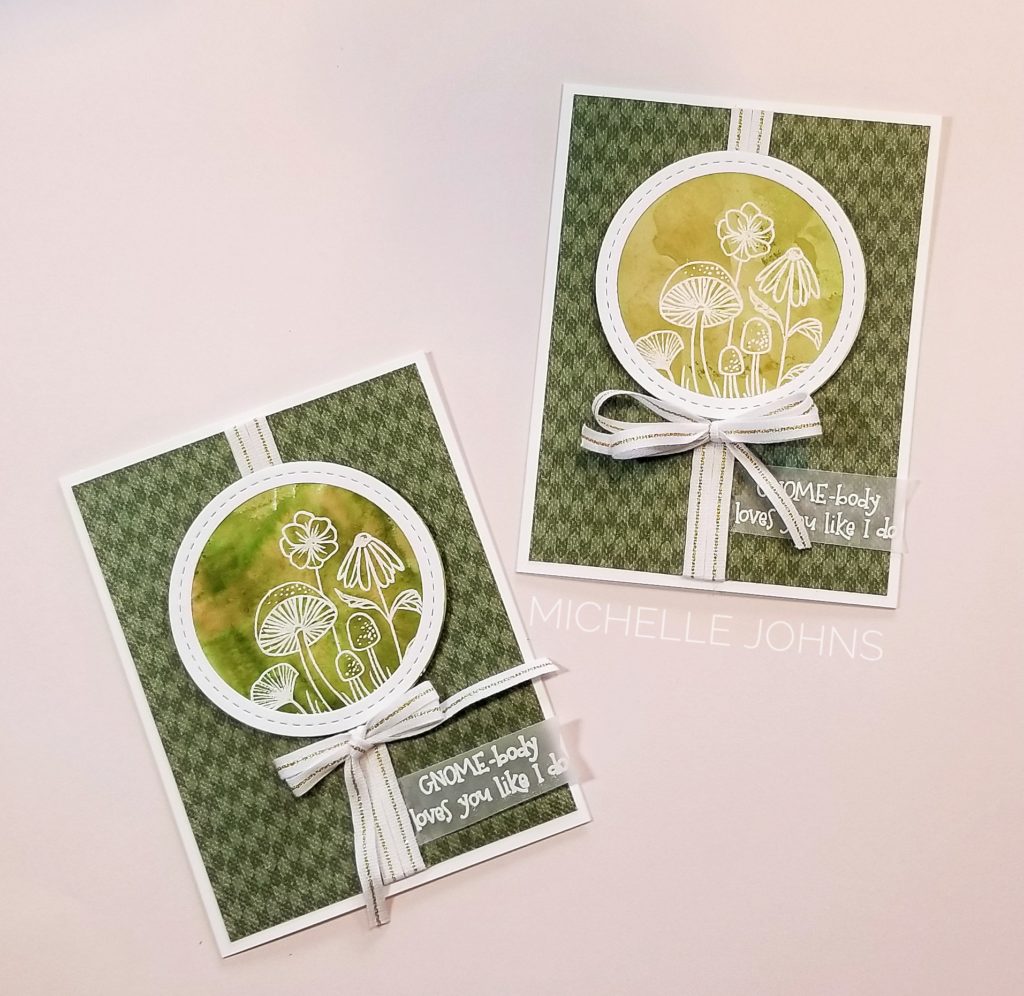
So, I decided I was going to add some water to my ink! So I grabbed a piece of acetate and picked a paper, and then chose an ink. Believe it or not, both of these cards were done with the same ink color, and that was fern!

So, let’s walk through the steps, shall we?

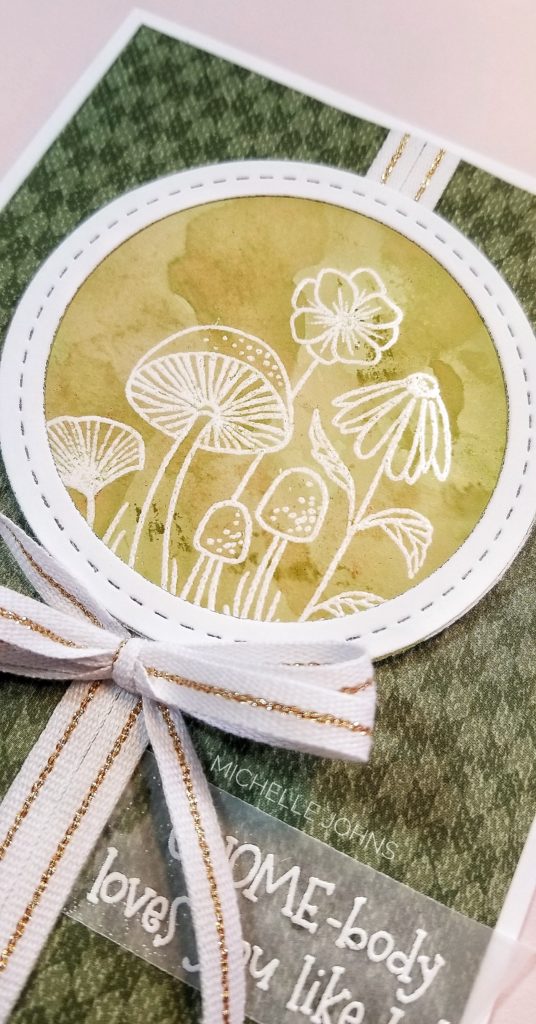
So, first I grabbed a couple of pieces of white daisy cardstock, and used some versamark ink and stamped the little mushroom scene from the Gnome Matter stamp set. (LOVE that set!) and embossed with some white powder. Then I put some fern ink directly onto some acetate and grabbed a water brush, added some water, and then swirled it around. I then smooshed the ink and water mix onto the paper with the embossing. I dabbed it a few times, then did some heat setting. Then, a bit more ink and a smidge more water, mixed, and smooshed again some more! Then a bit more drying and the first one was done.

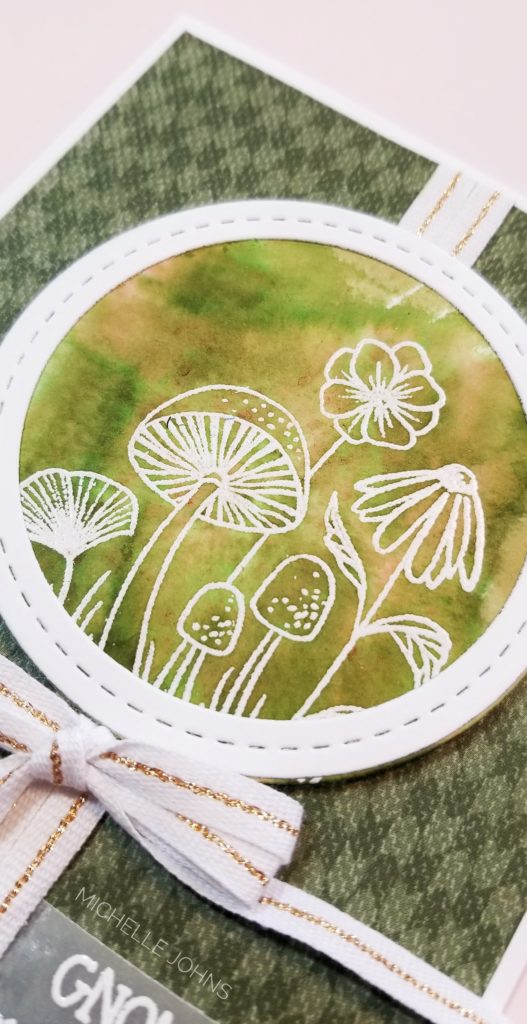
I decided to see what would happen if I put some ink on the back side of the paper, directly, and then added some water from behind. It gave a completely different result! But, still so fun!

I ended up getting more browns from my inks than I expected! A bit of red, too!

So, to finish the card, I cut the circle out with the solid circle from the shaker window and confetti die set. I cut the frame from that set from white daisy cardstock. I used the B&T from the Mix In paper pack. I stamped a sentiment from the set on vellum with the versamark and white embossing powder. I lined the B&T with two rows of the white and gold ribbon (retired and sold out!), then popped up the circle with some foam tape. Then I tied a double bow, and attached it with a mini glue dot.

The cards were so simple and easy to do! Super fun, and no two cards will be the same!!

Now, make sure to hop over to the H2H blog and see the other inspiration and link up your project too!

See you again soon!!

Thinking of You Gifts

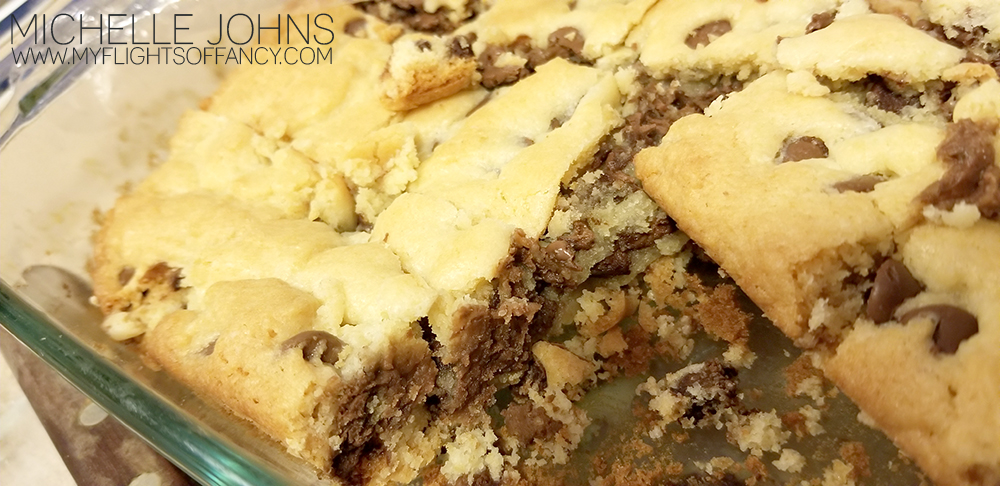
Sunday’s live video was all about giving some yummy treats to someone, just because. We decorated a mug and added some yummy cookie bars and come coffee packs, just because.

These little gifts were super fast to make. You will spend more time waiting for the cookie bars to bake than anything else! (and even that isn’t too long!)

So, click on over to the FB group and watch the live video (on replay) and make yourself some fun mugs!

Now that you have watched the fun video, let’s make some of these fantastically easy cookies, shall we?

I did NOT come up with this idea by myself, it was a fantastic pinterest find! (actually, we found a bunch of sites that copied the first one, but left some of the info out, so I went searching for the original, and luckily, I found it!)

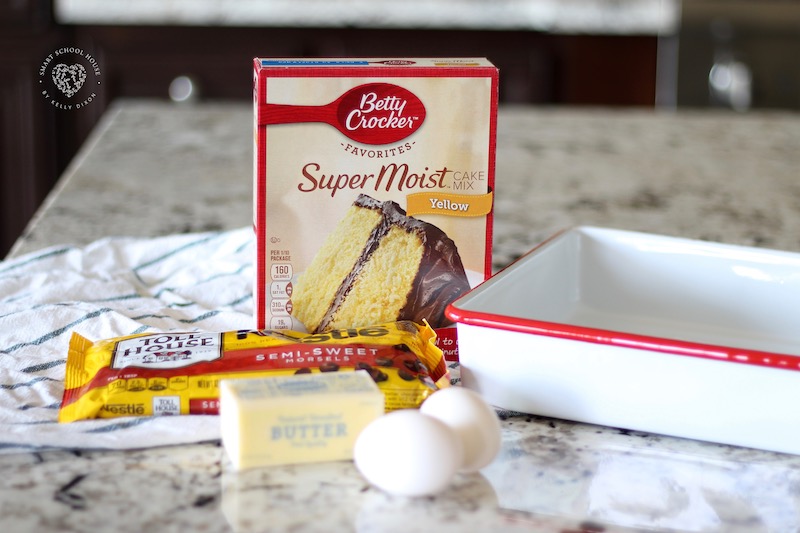
Look at this beautiful photo . . . . this is all that you will need to make these cookies!


(Image from smartschoolhouse.com)

And if you click here, you will find the recipe and instructions, and even a short video of her making them!

I am telling you, these are so easy to make, and they are sooooooooooo good! They puff up much more than you think they will! I don’t think there is a size of pan listed. I would stick close to an 8×8 sized pan!

You will add these to your go to treat list, I promise!

Thanks for stopping by! I hope you have a great day!

Let me know if you decide to make the treats (food or mugs) and share a photo! I would love to see!

See you next time!