Tag Archives: Box

A Lovely Box of Chocolate!

Todays Naught a Card Nor a Layout project is a little-ish box for chocolate!  (or some other goody!)  I found this idea some time back, and decided to make a bit of a change.  (If this is the second time you are seeing this, I apologize!  But this time, it has the photos!)
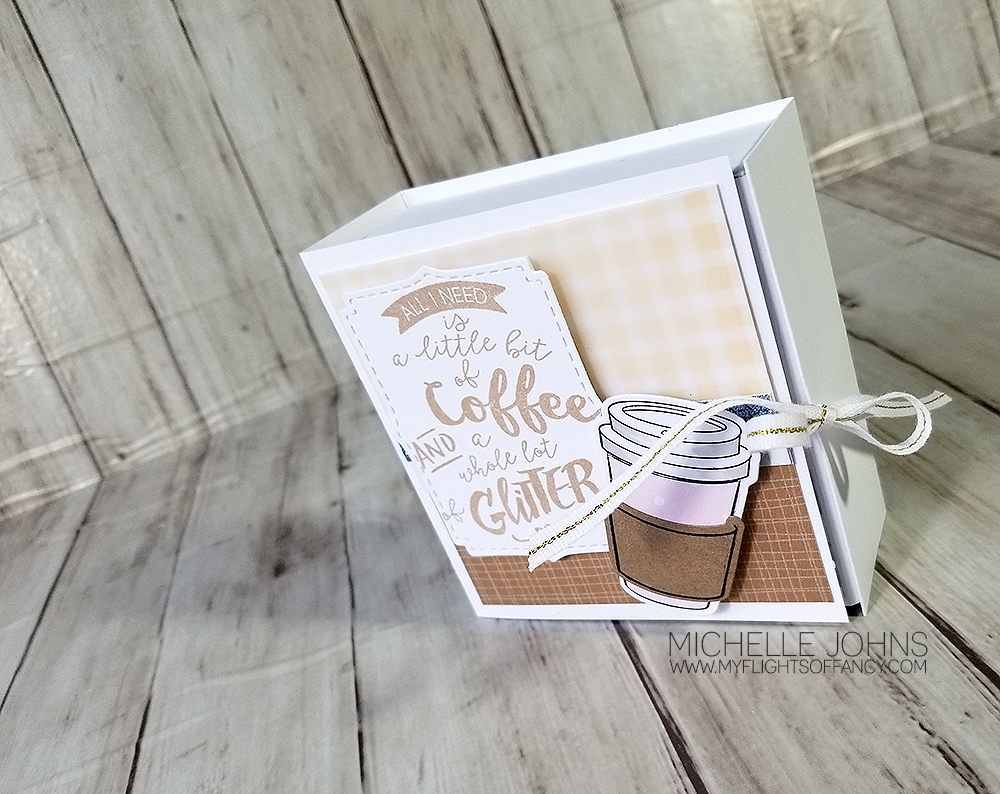
I love the idea of it opening like a book, so that’s how I started!  My cardstock isn’t as long as her’s is, apparently, so I had to make a few changes.  The ribbon I used is no longer available, but it worked so well with this project!
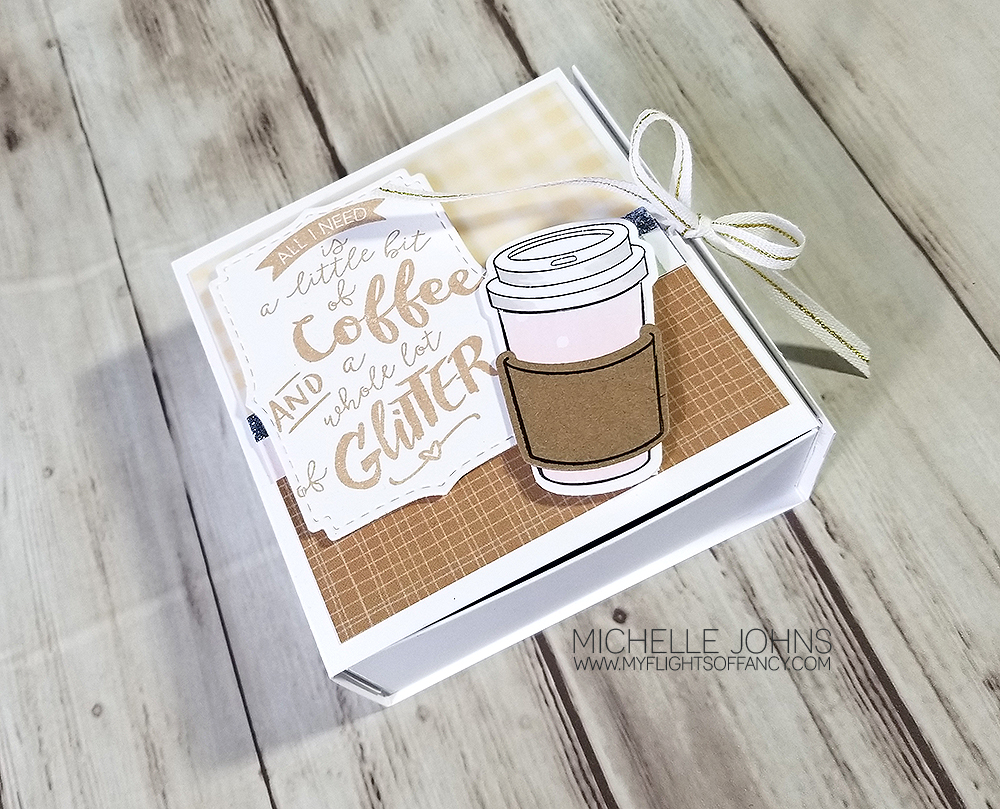
Once you open the ‘book’, you have a spot to the left that you can add a note.  Then there is a box to open that you can fill with chocolate or candies or whatever you little heart desires!
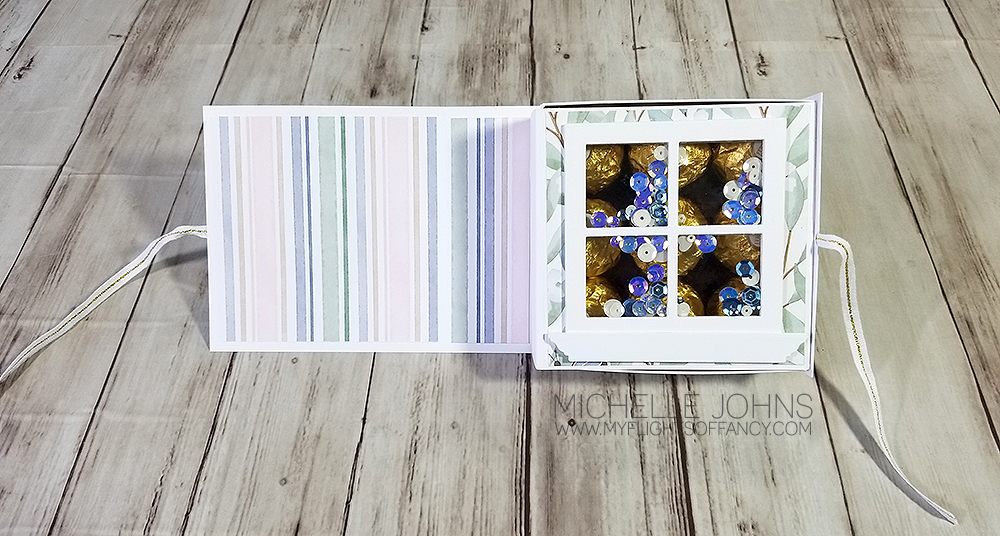
I had so much fun making this little window scene!!  Instead of foam, I did multiple cuts of the window die cut, and glued them together.  

I do love my little coffee set, so I went with that for the front.  Maybe I will include some yummy coffee packs inside!

I hope you love my little project!!  It makes me smile every time I look at it!  (I might have to keep it around for a little bit, just because it makes me so happy!)

If you didn’t already know, I make custom orders for people.  Items like these, cards, frames, and so many more things!  If you have something that you are wanting, please reach out!  I would love to help you!

Thank you so much for supporting me and my small business!  I truly appreciate it!


CTMH Items Used:

Mix in a little Ferrero Rocher

Happy Thursday!  Are you ready for the day?  Today I have this little box, that I have had pinned for a while, and thought this would be the perfect little gift to make to show you for this fun Naught a Card nor Layout Thursday!

She has some great instructions and even a video as well.  (I did have to make a few corrections/decisions along the way).  

Wouldn’t it be so much more fun to give this little box of chocolate than just a package of candy?

I actually know who I am going to be giving this to!  A friend has had a rough few weeks, and just sold her house this last weekend!  So, I bet she will love this!  (I hope she likes Ferrero Rocher!)

If you make this little box, I would LOVE to see!  Make sure to join my FB group, and share your creations with other creatives as well!


CTMH Items Used:


Sweet Safari Gift Box

Happy Thursday!  It is fun each week to show you something that isn’t a card or a layout.  Those are the ‘easy’ go to things to show off with paper, but you can do so much more with it!


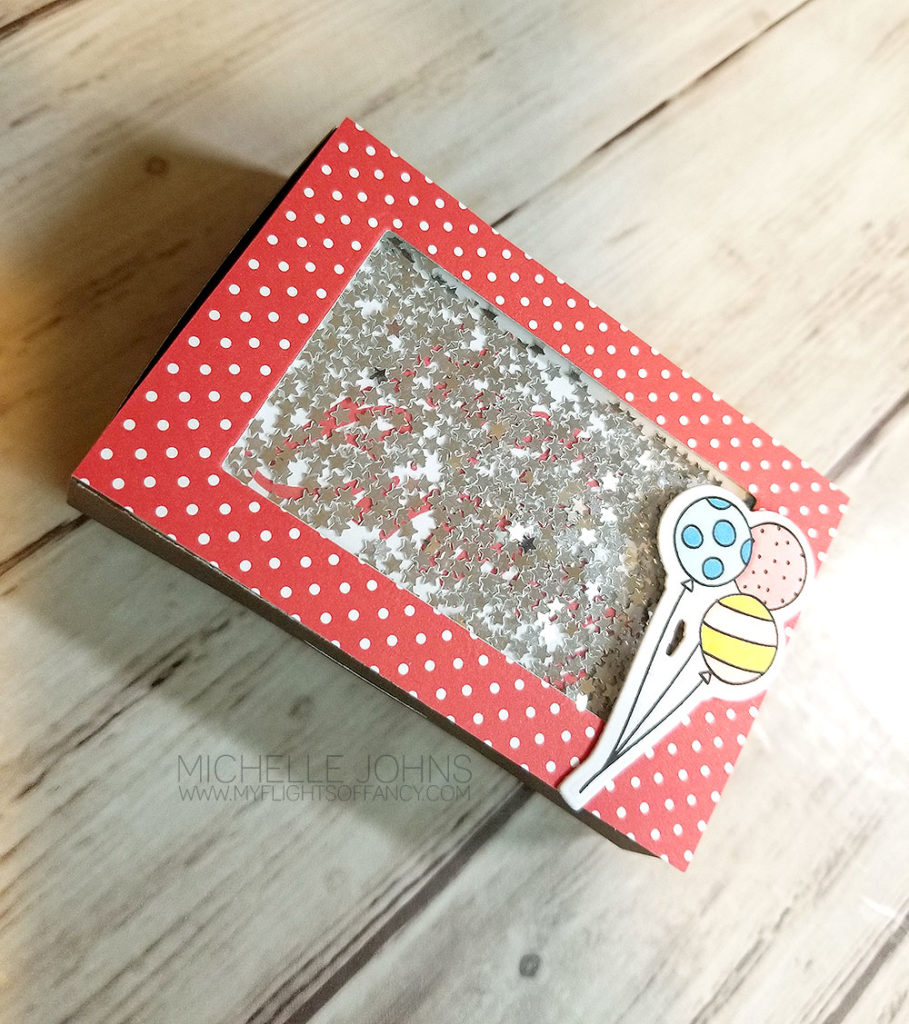
Today I have this adorable gift card box for you!

I used the silver star confetti shaker bits for the inside.  (I maybe used a bit too much)

When you stand the box on it’s side, you can clearly see the message inside the shaker window!  (see what I mean about maybe a bit too much?)  

One of the great things about this little box, is that it’s a die that you can run through your machine!  Makes things SUPER simple!!  It took longer to color the balloons than it did to put the rest of the box together!


CTMH Items used:


What’s in the box?!?

Ok, ok, I know, maybe not the best movie quote for the crafty scene, but, I’m weird like that!  hahaha!!

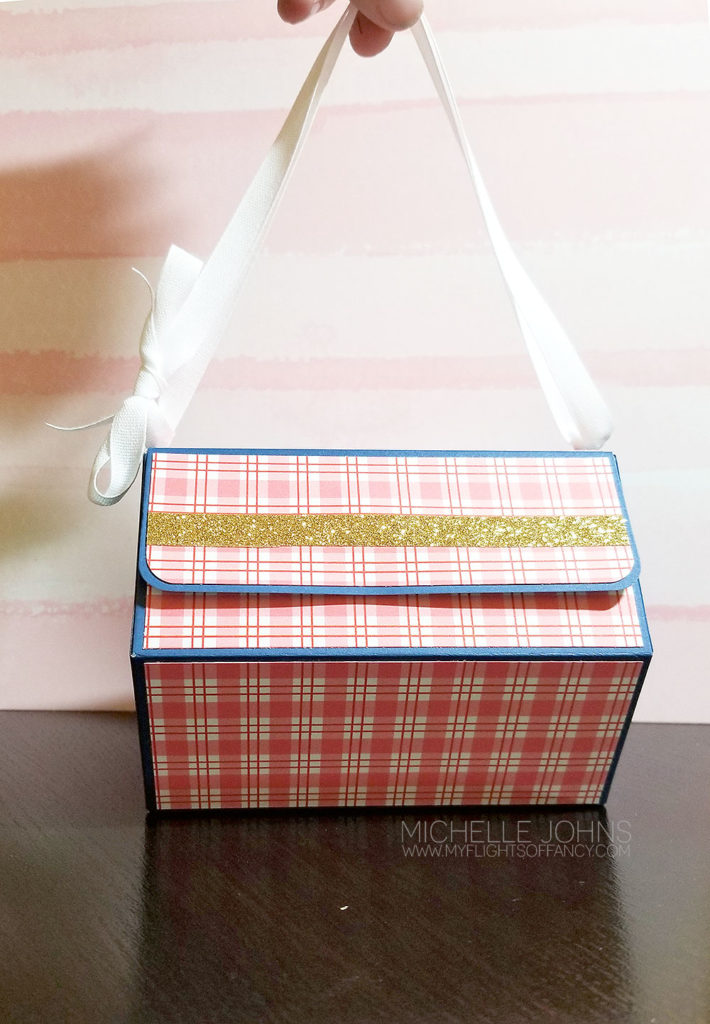
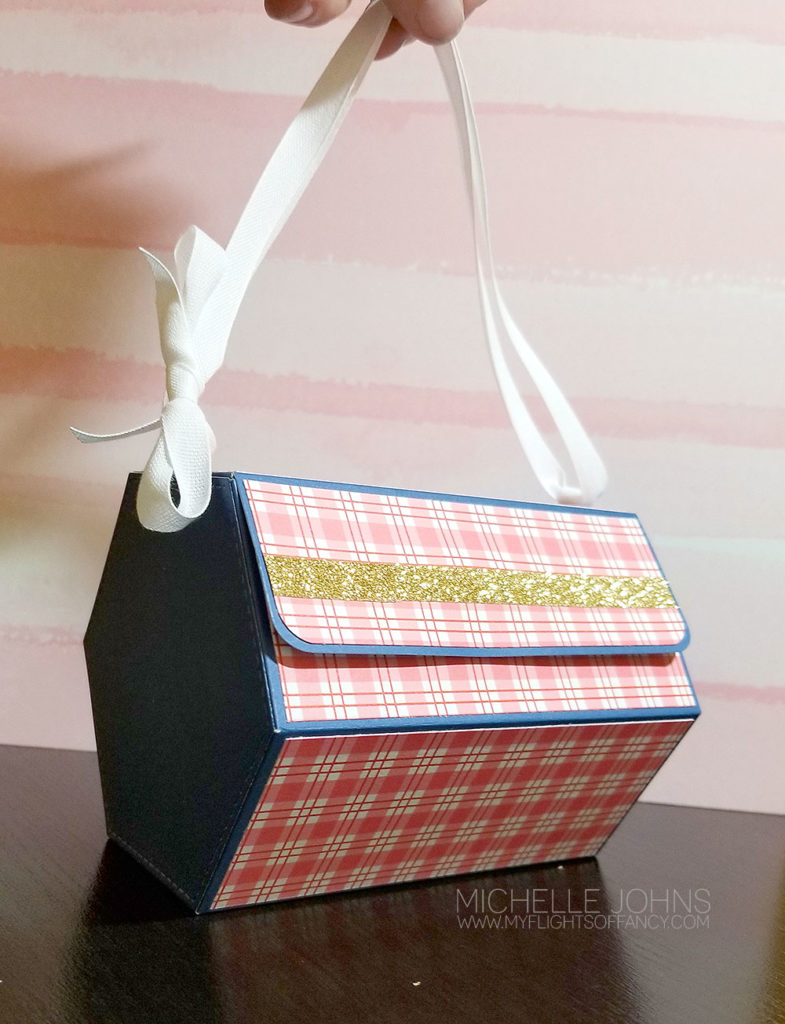
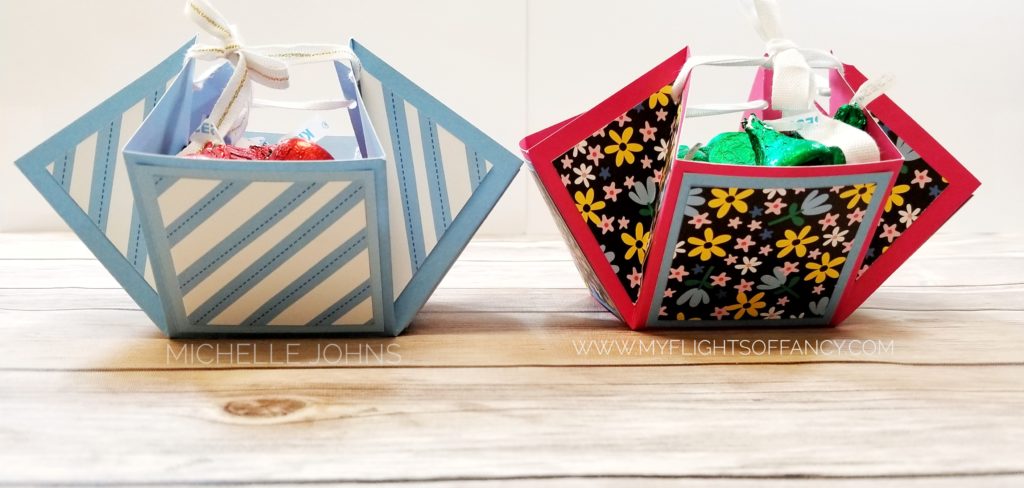
Thursday is Naught a card or layout day!  So, today I have another giftable bag for you!  I saw an adorable bag that Sam over at Mixed Up Craft made, and I thought it was super cute!  I thought that I could make it using the largest Hexagon dies, and it turned out SUPER cute!

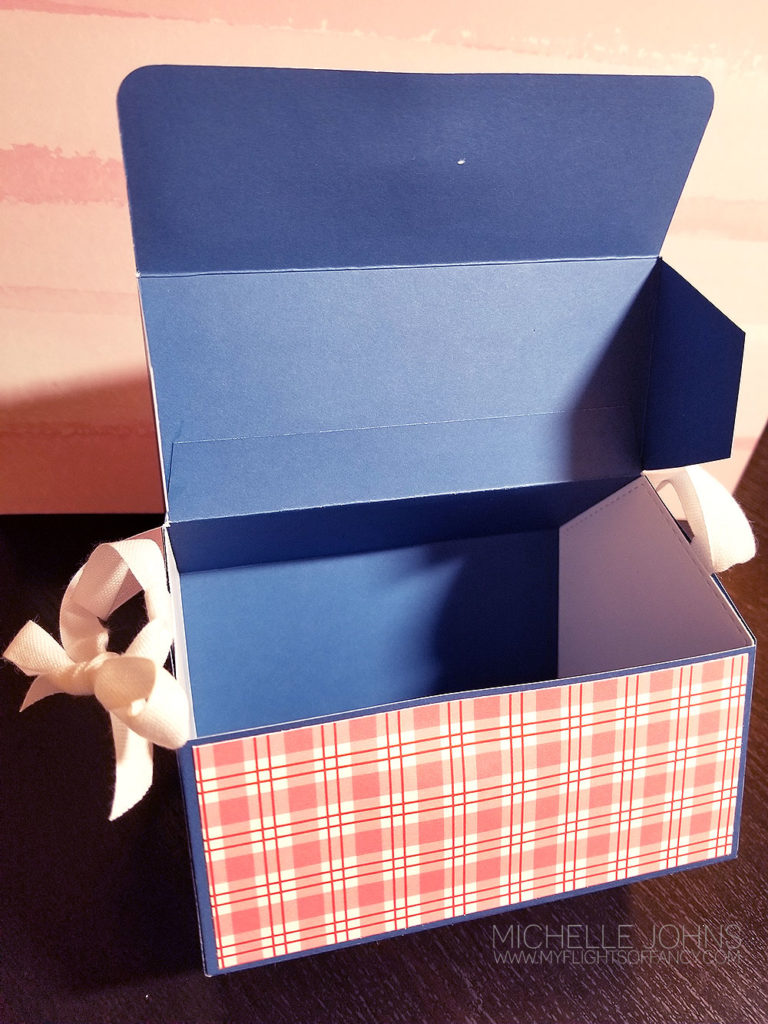
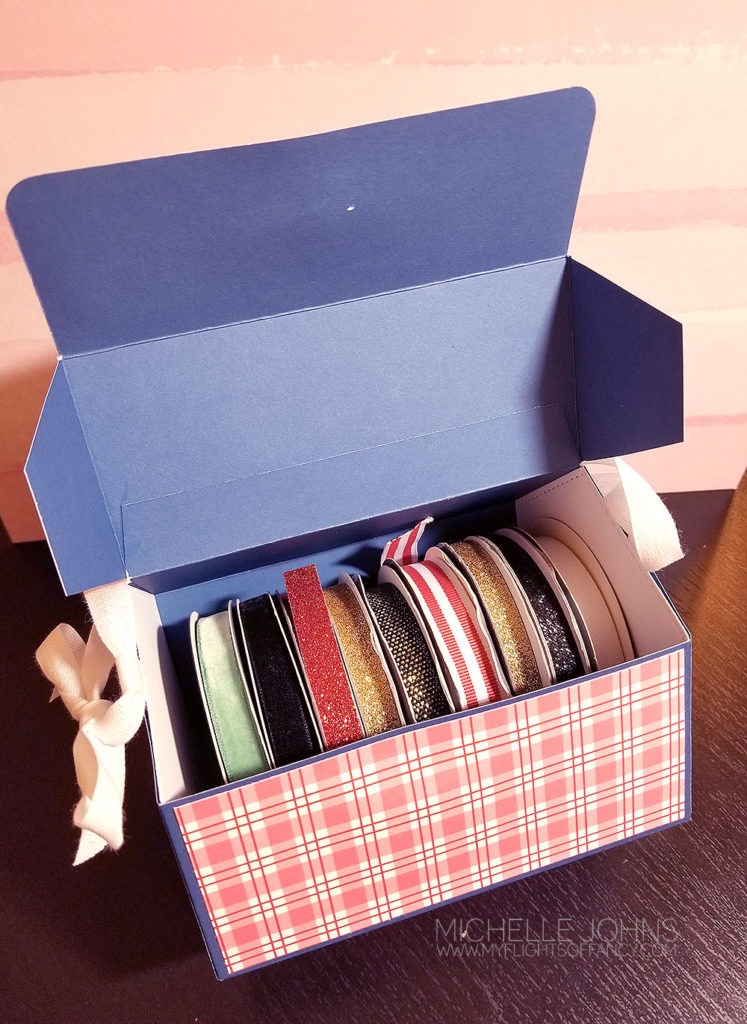
I made some adjustments for sizes, from what Sam did, but this little box/bag holds SOOOOO MUCH!!

Take a look at all that I can get into this box!  Oh my goodness!!  You guys HAVE to do this!!

I can fit NINE CTMH rolls of ribbon into this box, and it still has a bit of space in it!

Grab your Hexagon thin cuts, and play with them!  

CTMH Products used:


June Stamp of the Month Blog Hop – Garden Tags

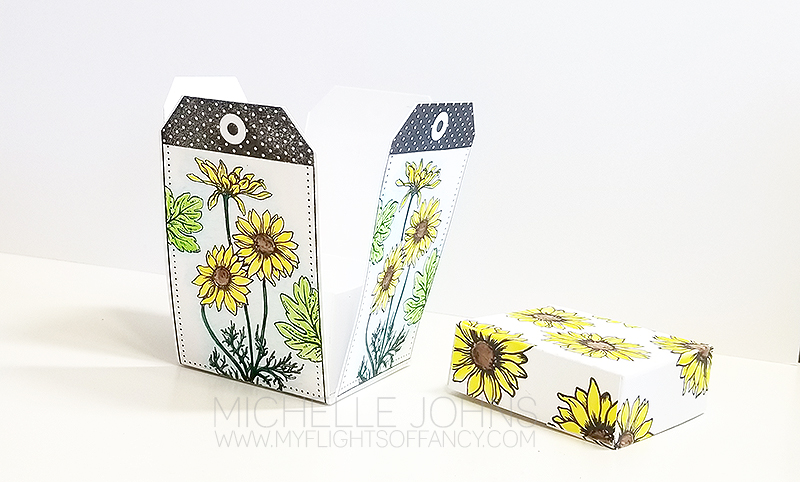
Welcome to the June SOTM blog hop! This month, the stamp set is all about tags! You get four beautiful tags, ready to be colored, an additional To and From, plus a little binding stamp (that goes around the hole, if you wanted) Today you should have arrived here from Jen’s blog. If not, that’s ok too, and you just keep clicking through, you will get back around to Jen’s blog!

Today I wanted to do something just a little bit different, and went with a box that I created with the tags! Isn’t it adorable? I stamped with Intense Black Ink and colored using our watercolor pencils. Add some micro-tip scissors and a bit of liquid glass, and you are all set!

It turned out so cute! I am just in love with it! I will be doing a video on how to do it in my Let’s Flock Together FB group later this week!

Hopefully you know by now, that the SOTM is yours for just $5 with a qualifying purchase from me/my store! I would love to answer any questions that you may have on how to do that! Just let me know!

Now, I know you want to keep hopping and gathering ideas for how to use this fantastic stamp set! So, I will send you off to Becca’s blog!

Thanks for stopping by! I will see you again real soon!

~ Michelle

Don’t you love pockets?

I know I love pockets, and it stresses me out when I don’t have pockets! (one of my new pairs of jeans don’t have front pockets! WHAT??) Anyway, Danielle found a super cute little pocket box that someone created with dies. We don’t have those dies, so she asked me to create a cricut file for it. So, I did! You can find that file here.

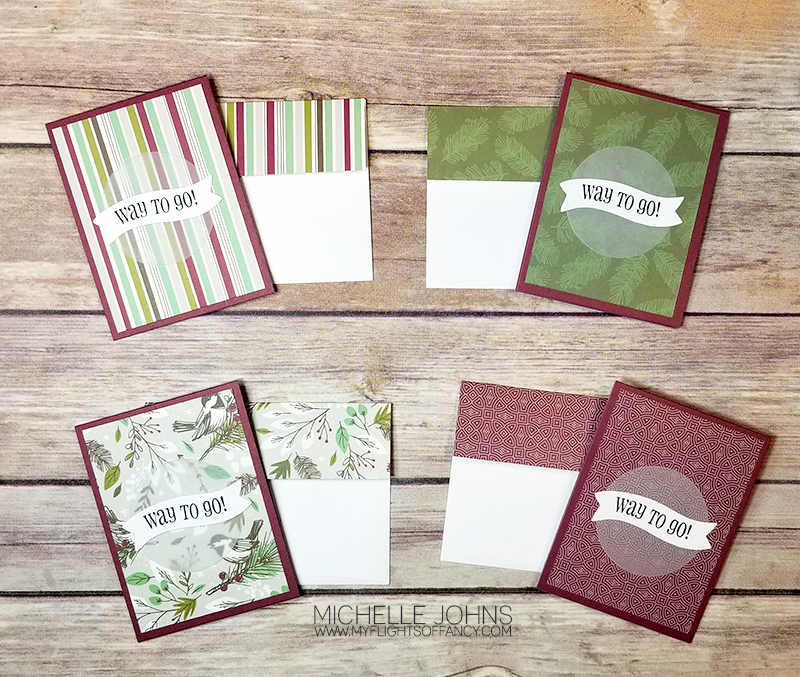
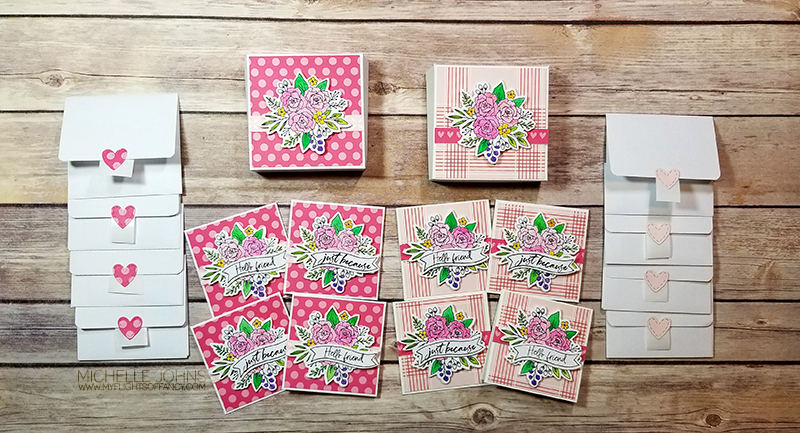
This cute little pocket box/bag thing is adorable! (Even if I do say so myself!) I decided to fit a set of 4 little cards in it! These cards are 3×4 and the envelopes are just slightly larger.

I left the front of the pocket box blank, so it could be reused after the cards are gone (if wanted). The cards themselves are all the same, with the exception of the paper on the front. I used the 2nd largest circle die cut for the vellum, and the banner from the Spruced Up Cardmaking Workshop kit. (I am LOVING all of the uses I have found for these stamps and dies!) I made sure to put a panel of white on the inside of the cards (not photographed), so that a special pen wouldn’t be needed for the notes. The “Way to Go” comes from the Say it in Style stamp set, and I slightly curved the sentiment to fit on the wavy banner.

These cards were SUPER fast to put together! The box is not quite perfect, but it’s close enough! 😉 If for some reason your machine doesn’t score well (like mine) The plain strip is scored in half, length wise. And the piece with the triangles cut out, if you just line up the points of the triangle, and score, you will be good! (You can score between the triangles, however, it will naturally fold at that point. Just make sure to do that before you start gluing things together!

I hope you like this fun project! I would love to see your little pocket box! Now, if you haven’t already been, hop over to Danielle’s blog and see her little pocket box!

3-D Project Friday | Mini Pizza Box

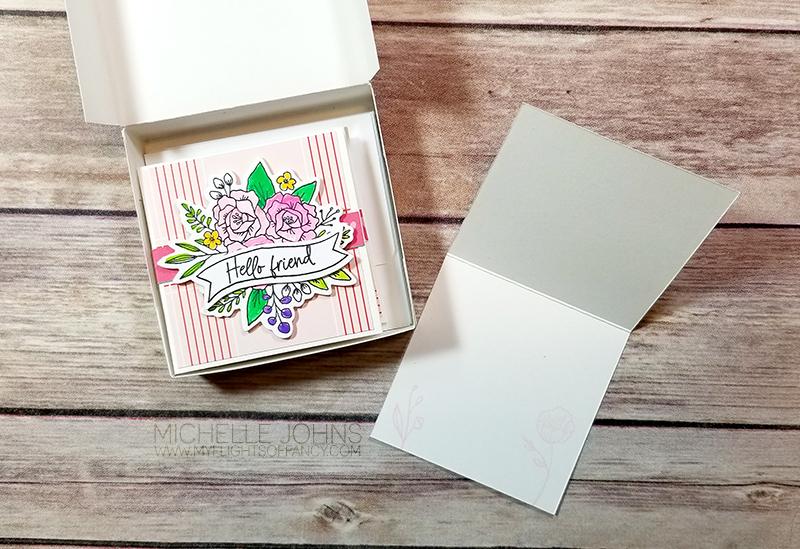
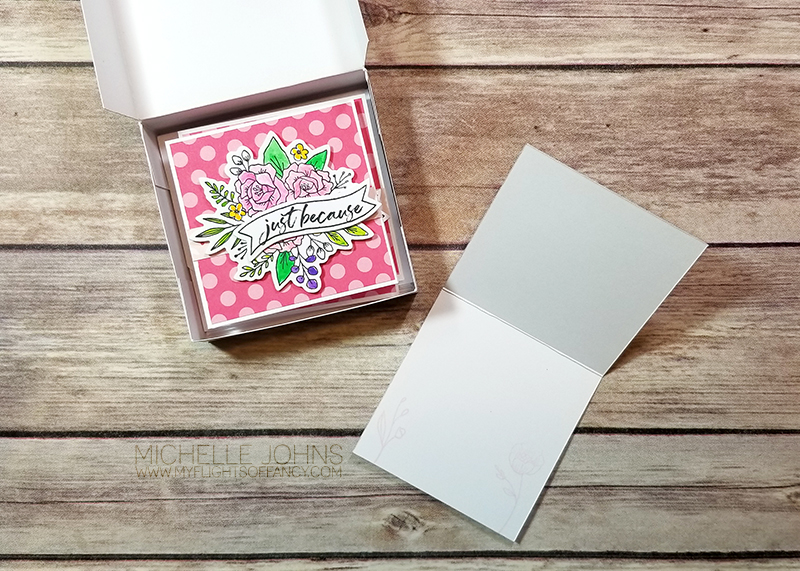
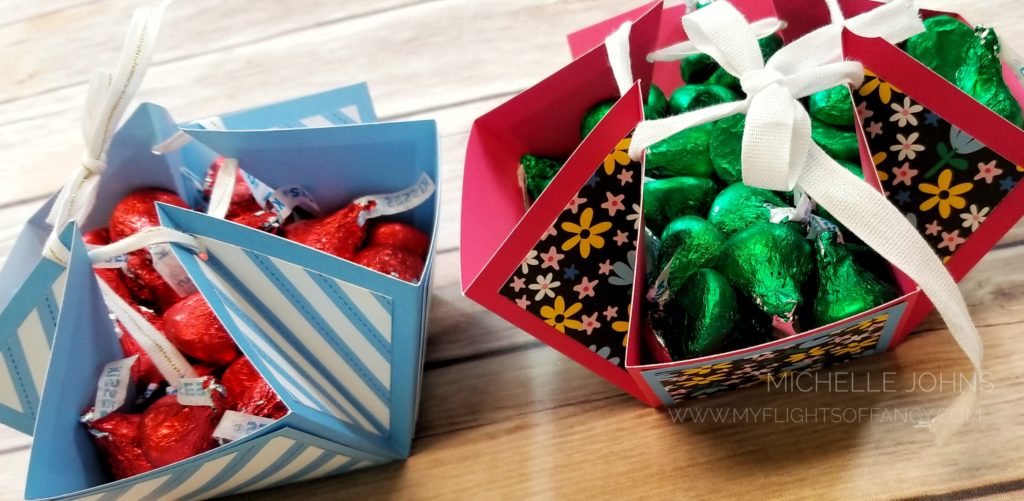
It’s 3-D Friday! Danielle & I love having all these little projects for you! Today we have a little mini box for you! You can use it for treats or cards or even jewelry!

We used this pin for inspo.

Now, I went a bit differently on the box, so my measurements do not match the ones given in the inspo post, however, I do give my measurements in the video itself.

It was fun to make these little cards to go into the box. I had a specific person in mind for these (and I won’t say just yet, as I know she hasn’t gotten them yet!). I know that she will enjoy giving them to her co-workers on random just because reasons.

I think they turned out absolutely adorable!! And I love having a new use for the Spruced Up Cardmaking workshop stamp set and die!

Check out the video to make this box along with me!

Thanks so much for stopping by! If you haven’t already checked out Danielle’s box, make sure to go and do that now!

The easiest lay flat box ever!

Welcome back to another box tutorial! Danielle and I have made this same box, and it is the easiest box ever! Seriously, SO EASY!!

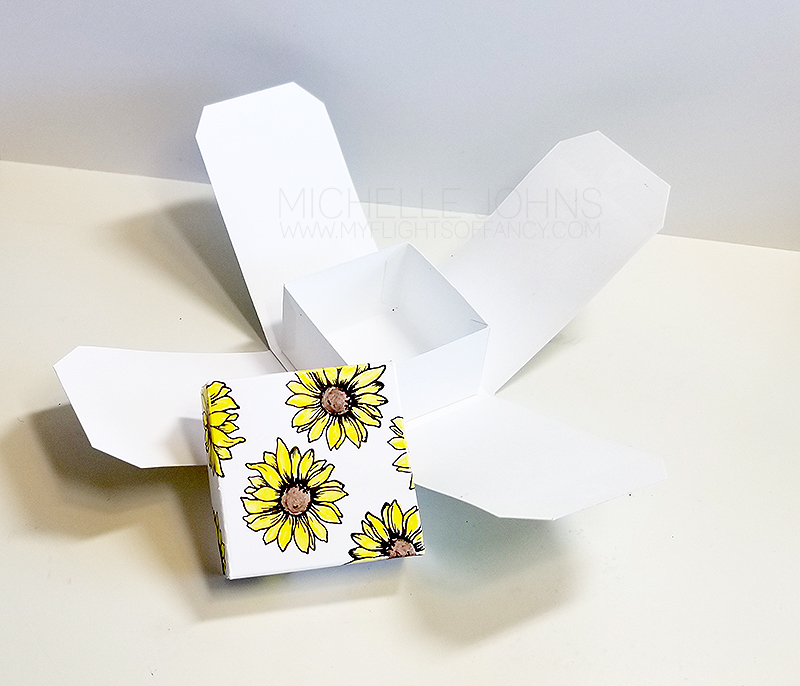
So, you will need a piece of cardstock that is 7 1/2 x 7 1/2, and 8 pieces of B&T paper that are 2 x 2. (I also had 4 pieces of coordinating cardstock that were 2 1/4 x 2 1/4.)

Score your large piece of cardstock at 2 1/2 inches on all 4 sides.. Attach all of your pieces (with or without mats) and then hole punch. Thread your ribbon through, and viola! You have a box!

I even have a quick video for you!


{If you can’t see the video, click through to the blog post!}

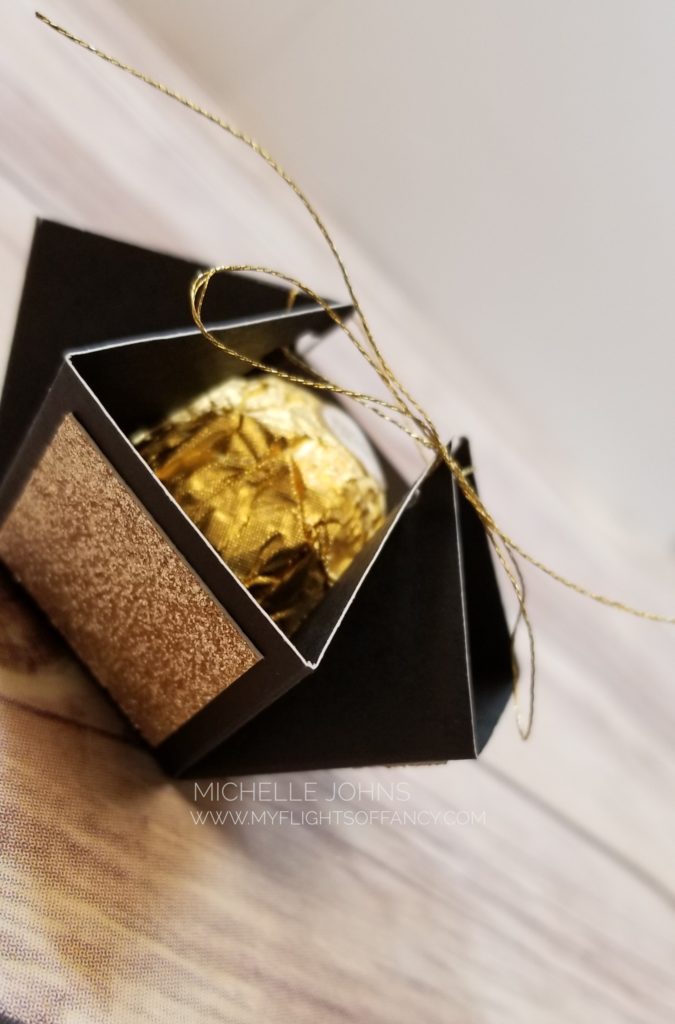
I even made this teeny one! Look at how cute it is! This one is 3 3/4 x 3 3/4, scored at 1 1/4 each side, and the gold glitter paper is just one inch square! Perfect for just one Ferrero Rocher!

I do hope that you make one of these boxes! They are super simple to make! And the best part is they lay flat until you need it! So, make sure you go and check out her post as well!

Let’s Make a Box!

Danielle and I are at it again! Today’s challenge is to make a box! We decided to go with the same tutorial, and see how it comes out! So, we are using this tutorial.

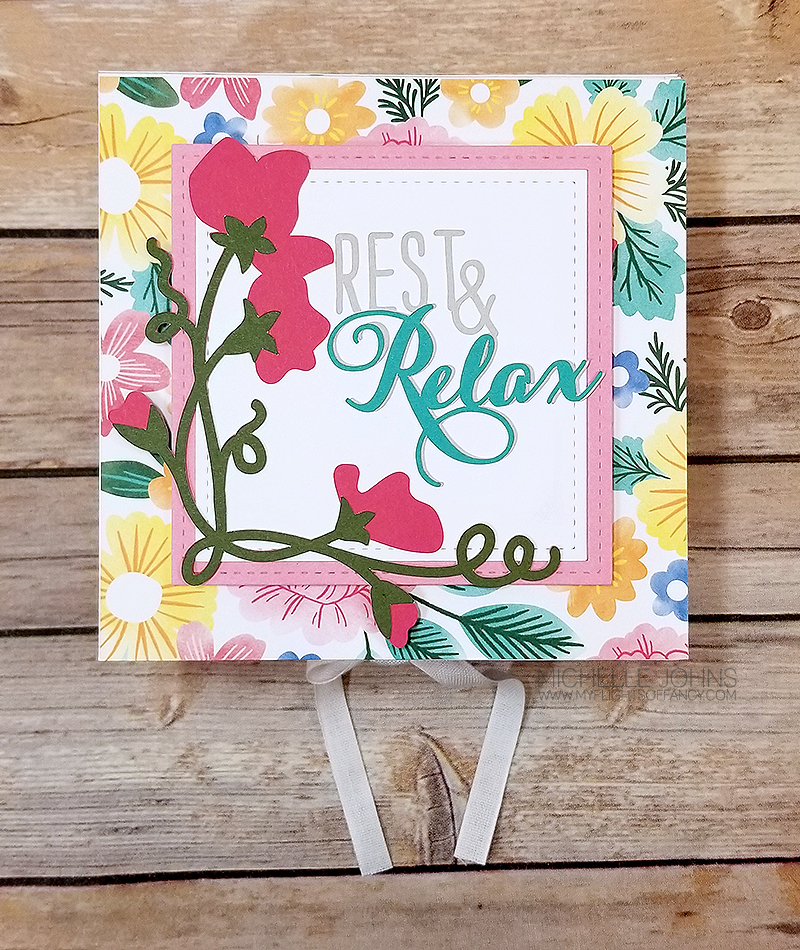
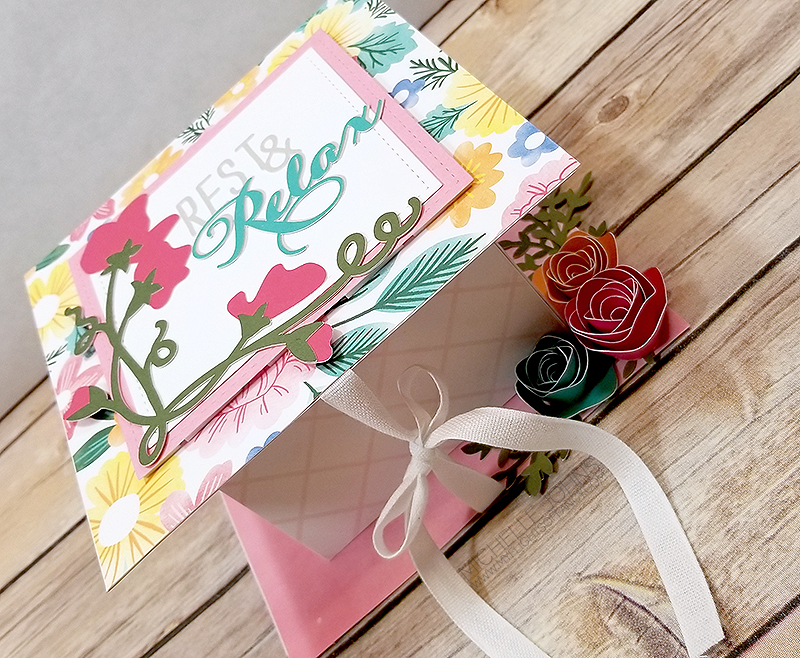
This creates a box that is 6 inches by 6 inches! (Well, on the outside!) The inside box is 4 inches square and 3 inches tall. You can fit quite a things into this not so little box! Now, there is one correction to the video that I found when I was making mine. The first measurement that she gives is that you need two sheets of card(stock) that are 6 x 3. However, that measurement should be 6 x 9.

This box does use 2 sheets of cardstock (before decorating), and 2 sheets of B & T paper. If you also do the inside of the box, you will use a bit more than that. I did choose to not cover the inside of the box. I used Celebrate Today and the Mix In paper packets for this fun box! Don’t you just love how well the paper packets go together?

If you use liquid glass instead of a tape runner, you will have a bit more of a sturdy box. I ran out of the bottle that I was using when I was putting the box together!

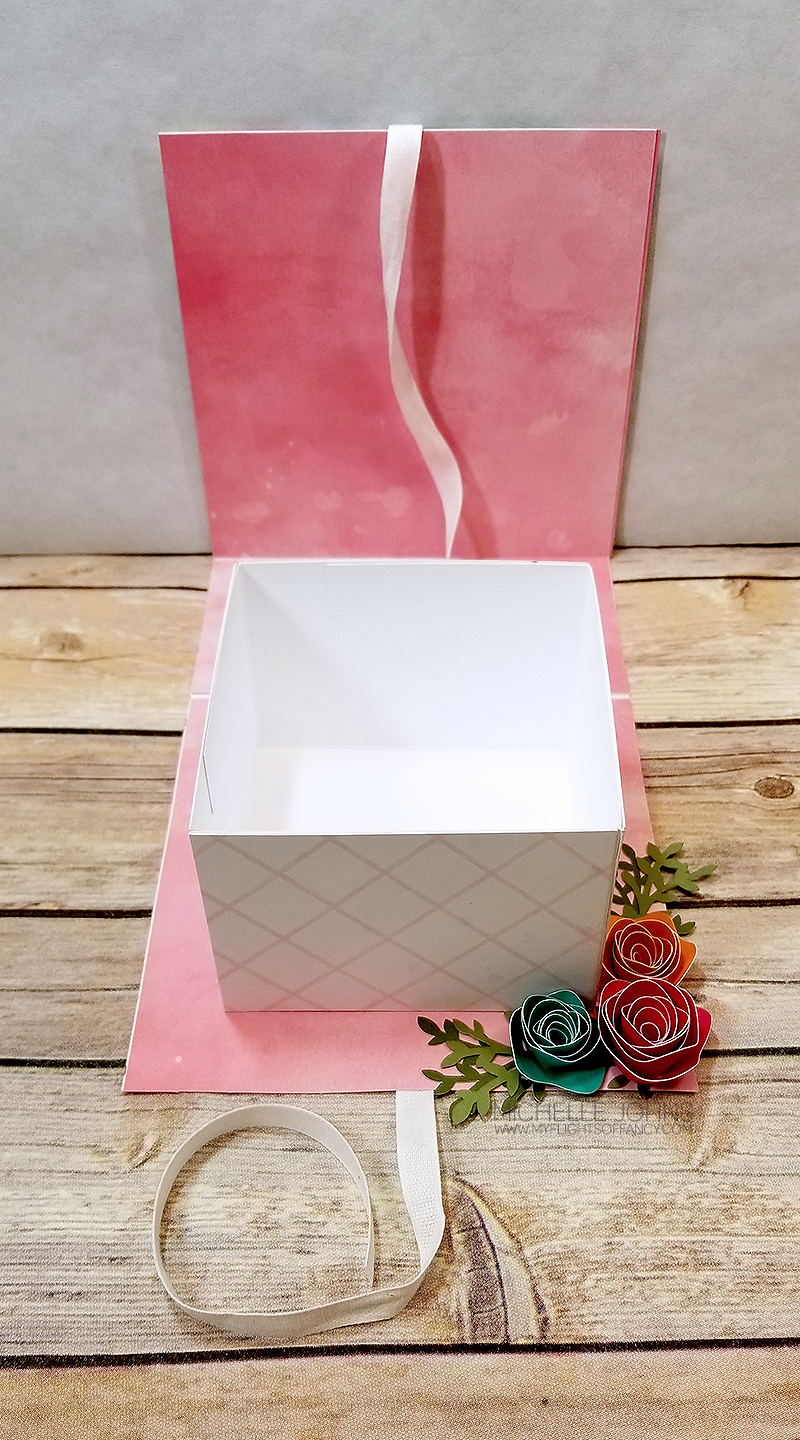
I decided to top the box with a fun title and some flowers. Then I added some greenery and flowers along the front inside right corner. I used colors from the paper packet, Raspberry, Lagoon, Nectarine, Evergreen, and Mink.

Here is the design space link for the flowers and title for this box! You will need to have these cartridges to cut for free, or you can purchase the individual files through your design space: Flower Market, You Are Here, and Art Philosophy.

This box is really easy to put together! I think you should try it!

Thanks so much for stopping by! Remember to check out Danielle’s box too, her’s is super cute! Let us know if you decide to make the box! We would love to see!

Until next time!

~ Michelle

{If you get my posts via email, my apologies for a double post!}

From Me to You

Welcome to another challenge from H2H Challenge blog! This is the last challenge of the month, and next week/month, you will be seeing new products available with CTMH, and I can’t wait to show you! This week is all about “From me to you” . . . which screams gift giving, right?

So, for this, I thought it would be perfect to create a card box to gift a set of cards to someone. I decided to go with the True Love Paper Packet, as I do love the colors in it! One of the ladies that I watch on Youtube quite frequently, is Sam Pootles, and she has a knack for making boxes. So, she was the first place I went! She has MANY boxes (many!) along with the tutorials for them. I found a couple of boxes for some smaller cards, but I wanted to make something to fit standard A2 sized cards (that means 4 1/4 x 5 1/2). So, I used her plan, figured out what sizes I needed, cut a test one, made some adjustments, and then came up with this fantastic little box!

This box holds 5 cards and envelopes perfectly. It is just one inch deep, so it wouldn’t hold a ton of cards, but you could easily make it deeper to hold more, should you want.

I did use a magnet to hold the box closed (since we no longer have our hook and loop dots!), and I couldn’t be more happy with it! I tied some white ribbon around the front flap, and it was just what it needed! I could add a sentiment onto the front of this box as well, however, I think it is just perfect like it is!

I do have the front, back, top, and insides covered with B&T paper, however chose to leave the side edges and inside top without the extra paper. Doing it that way allowed for the cardstock of the box to show through a bit more, which I really liked.

I hope you like the box, and the cards that I have inside! Let me know what you think!

Would you like to make one for yourself? I did a FB live Sunday video on how to do it! You could go and take a look, and make your own box!

Thanks for stopping by! Why don’t you come join us over at H2H with one of the weekly challenges? They are great fun, and give great inspiration!

All items used are CTMH unless otherwise noted.

True Love Paper Packet
Ballerina Cardstock
White Ribbon
Liquid Glass
Paper Trimmer
Corner Rounder
Micro tip Scissors
Bone Folder
Magnets