
Hey crafters!
So, what DO Awesome and Birthday have in common? Well, today they share the Modville My Crush Book, Cards, and guy appropriate! What a great combo, yes?
Remember what I was telling you about how there are shadows on some of the pages, that look like there are other papers on top? Check out this first card!
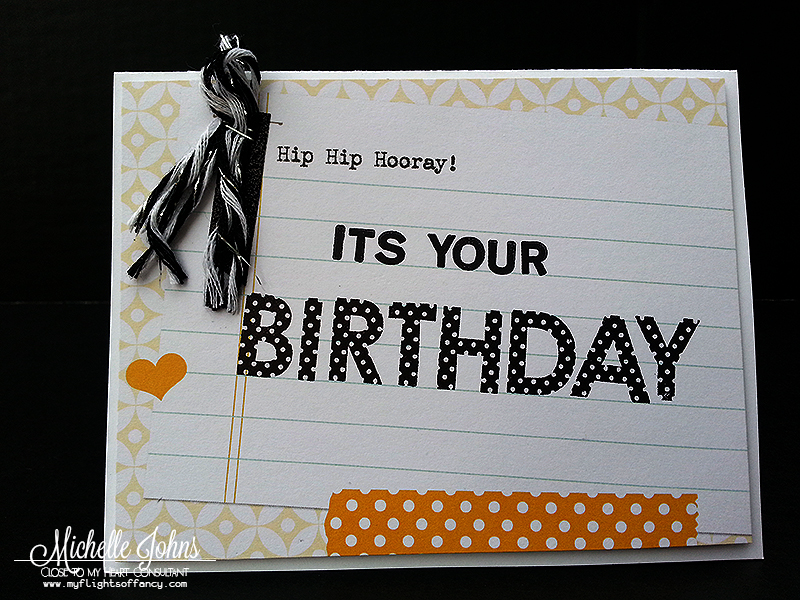
This is, believe it or not, a single layer card! Well, ok, paper wise, at least! LOL Isn’t it awesome? It has Hip Hip Hooray already printed on it, so I just had to come up with a reason to celebrate. And what better reason that a birthday, right?
To add the additional parts to the sentiment, I used two stamp sets, A Typeface and Polka Dot Alphabet, stamped with Archival Black ink.
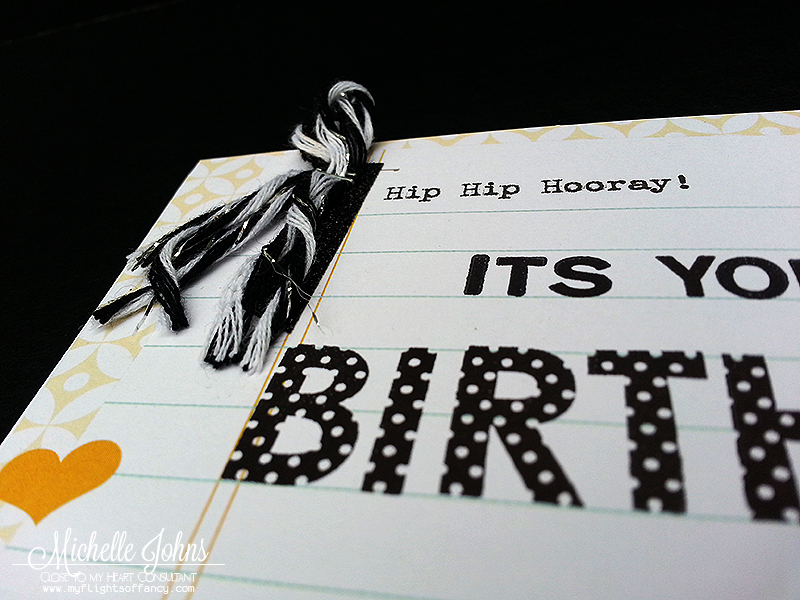
Then it was time to add some embellishments! Now, I think, even with the bit of bling, it would be good for a guy. But, you could always leave that off, and there would be less sparkle for him. Either way works, I think! I did use the Black Shimmer Trim and a bit of the Black Baker’s Twine from the Neutral Bakers Twine pack. I attached them with the Mini Stapler! I love this thing!!
Next, I decided to use another one of those fun Hostess Rewards Stamp Set! This one is in the Seasonal Expressions 2 book. It’s a FUN set of tags and sentiments.

I used a ‘scrap’ from one of the pages for the tags, that’s why you see the lines. Now, these are cricut compatible, but I just used my scissors and paper trimmer to get them cut down (since I was using scraps) I stamped one with Pear ink and one with flaxen ink. Then I used the Archival Black to add the fun sentiment.
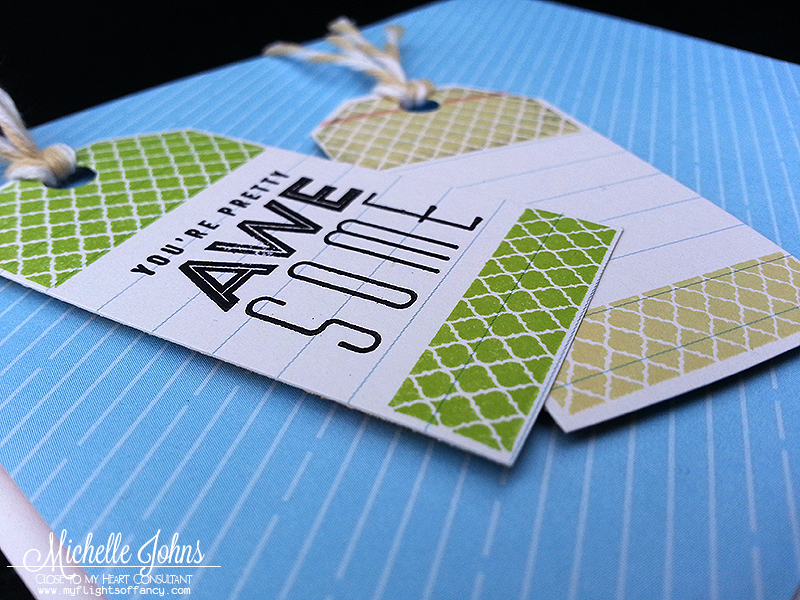
Now, if you do cricut cut these, there will already be a hole in the top, however, since I hand cut mine, I had to add my hole with a hole punch. Then I took 2 short strings (about 4 inches each) of the Cashmere twine, bent them in half, slipped the loop through the hole, and then pulled the ends through the loop. Once tightened, I trimmed the tops of the twine to the length that I wanted. I popped both the blue paper and the tags with foam tape. To make sure the tags laid correctly, I put foam tape on the upper and lower ends of the back side of the flaxen tag. Then I added foam tape to just the upper end of the pear tag. This allowed them to overlap, and not have odd bends in them.
I think these are both awesome little cards! More guy cards! Who couldn’t use more of those for their stash? Which one do you like more? Do you think they are both ‘guy worthy’?
Supplies needed for these cards:
Modville My Crush Book
A Typeface
Polka Dot Alphabet
Foam Tape
Neutral Baker’s Twine
Archival Black Ink (retiring at the end of August!)
White Daisy Card Base & Envelope Value Pack
Black Shimmer Trim
Mini Stapler
Pear Ink
Flaxen Ink
Remember, in July, when you buy $25 in stamps, you can get the SOTM free, or one of the hostess rewards sets for just $5! Make sure to get your order before the end of the month!
~ Michelle