Tag Archives: Marker

I like to move it, move it!

Hey Friends!  It’s the first Monday of the month, which means that there is a new challenge over at H2H!  This one is all about things that move!  Cards, scrapbooks, and any other crafty project!  I made this super fun and adorable card with a few new products!  Let’s take a look, shall we?
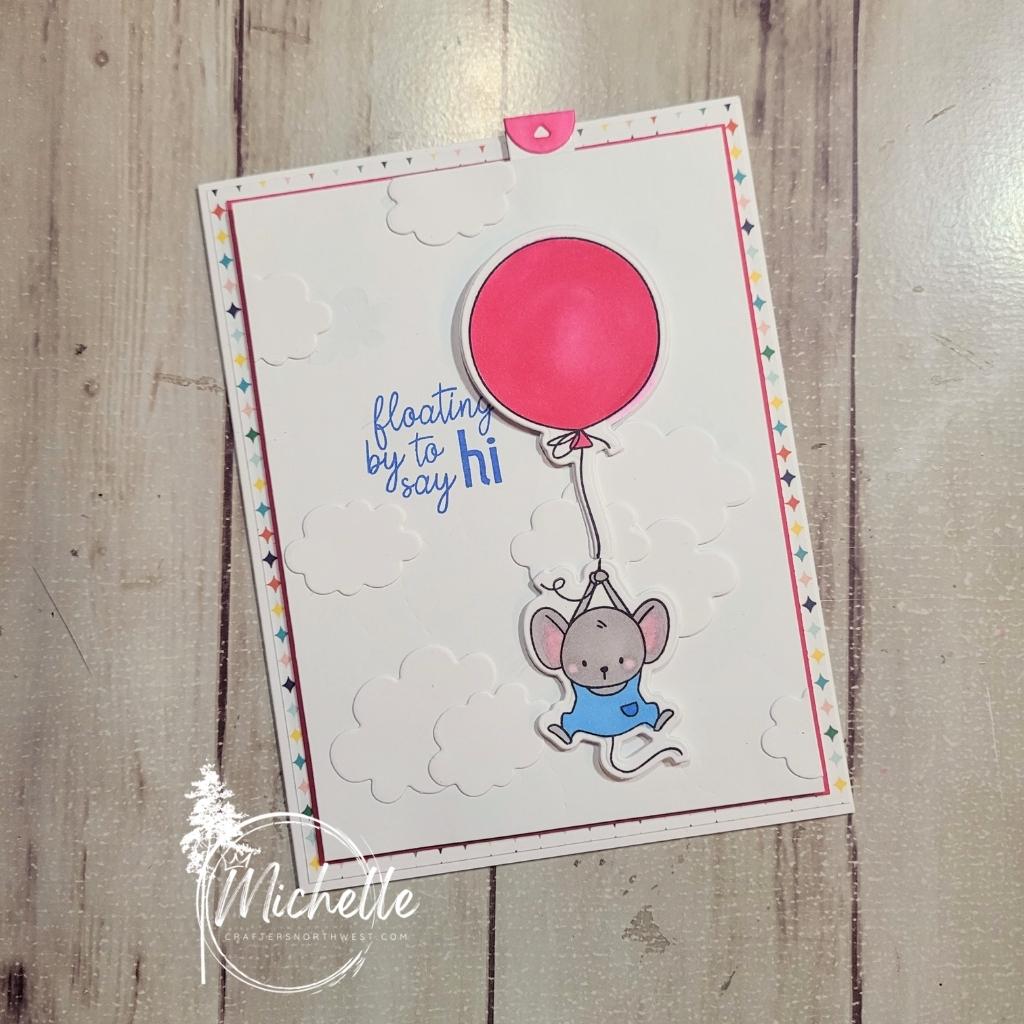
 

Floating Mouse

I used the Brights paper pack, that is available in the Flash sale happening until the end of the day, today.  I paired it with some white daisy cardstock (you can never go wrong with that!) and some Raspberry cardstock.  Add a few Triblend markers to the mix (True Blue Blend, Pale Pink Blend, Magenta Blend, Brown Grey Blend, Light Green Blend, and the clear Blender Pen) and you can’t go wrong!
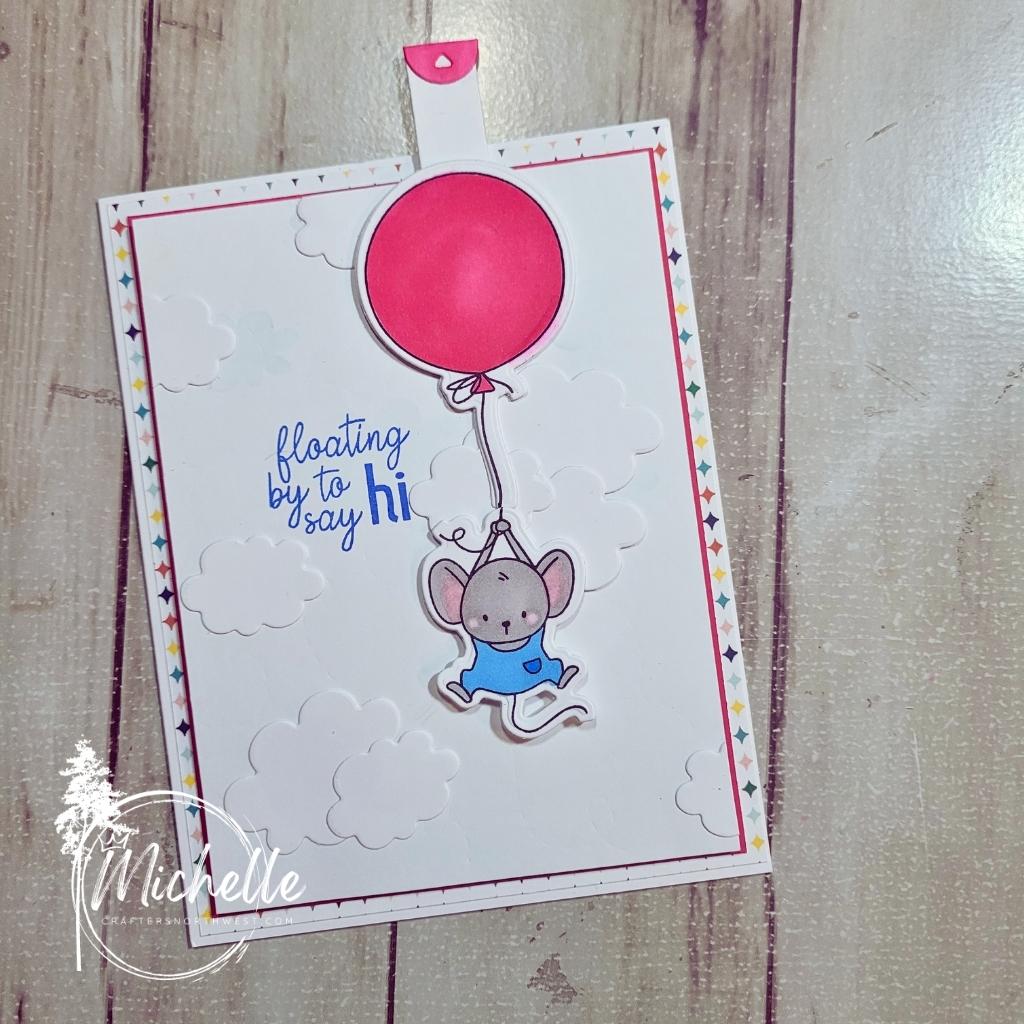
I used a few of the new things with the National Stamping Special, and it turned out super cute!  I will list all the items below, so you can grab them too, if you would like!


This new pull tab option is a thin cut that we now carry!  Isn’t it great?  It just makes this card so fun for the recipient!
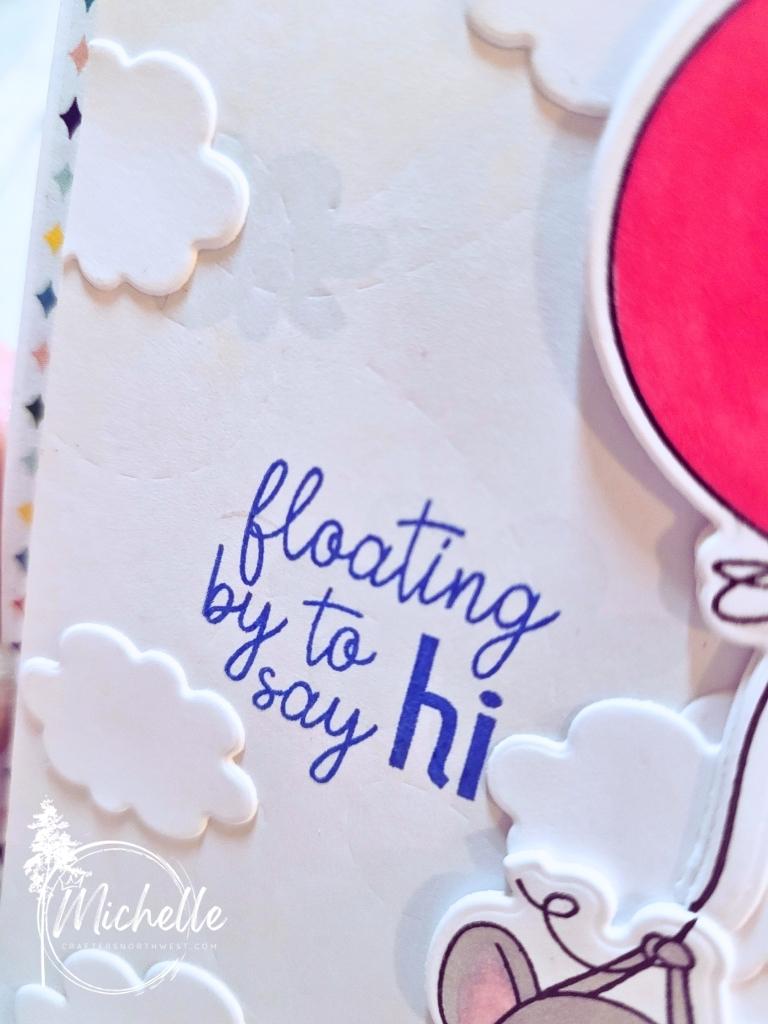


Here you can see a few different things.  The background die that I embossed instead of cut, the cloud stencil that is super light in the background, and the cloud die cuts that are from the cloud background die.  All of these, along with the mouse and balloon are part of the National Stamping Month special!  The pull tab thin cut is in the new core book!  I can’t wait to show you more things coming from it!  There are SO MANY THINGS!!


Thanks so much for stopping by!  I would love it if you left a little love before you left!


CTMH items used:

Card Close Up

Scraps in the Backyard?

The newest challenge over at H2H is “In the Backyard”.  You could take that any number of ways, however most of us are using the Backyard Bliss paper packet!  It’s such a fun paper, and I have so many projects coming up for you guys in the next few days!  I can’t wait to show you!

Onto today’s project!  I totally forgot to take a photo of the scraps that I was working with, I wish I had, but I will have a process video for you, soon!  It shows what I started with!

ANYWAY . . . Everything that I used on this card was scraps!  (except the card base and envelope!)  I LOVE being able to use up all of my bits and pieces!  (especially when it turns out super cute!)

I had the torn up pieces left from the scrapbook workshop that is coming out, the stickers are from the sticker sheet, more pieces that didn’t make it into that workshop!  The flowers are all from the paper board compliments, that I used the Purple Blend Tri-Blend marker on.  And the kraft paper was the perfect width, I just had to trim the length!

This card went together really very quickly!  it took more time to color the flowers than it did to do the whole rest of the card!  You have to love it when it comes together super quickly!

I would LOVE to know what you think about this card!  And if you decide to play along with the H2H challenge this time!  (remember, it’s “In the Backyard” not “Scraps”!)

Thanks so much for stopping by!  Until next time, be crafty!

Michelle's Signature

Have you been afraid to use Stencils?

Have you been scared to try stencils, because they might be hard?  Well, you shouldn’t be!  And with this Technique hop, we will give you more than a few reasons why you need to try them!

You should have arrived here from Danielle’s blog, (if you didn’t start here!) and she always has great ideas!  If you started here, no worries!  You will get back around to her blog, as it’s a giant circle!

So, let’s get started on what I have to show you, shall we?

Isn’t this just an adorable card!?!?  (I hope you leave a comment below to let me know what you think!!)  I loved coloring this little guy!  I used my friend’s son as my model for coloring!  (I’m not the best at it, but I think he’s cute!)


Now, the stenciling part.  I started with his hoodie!  I masked his hoodie first, so that I could get an ombre effect on it (which I looooove how that turned out!) and then masked off his arms and pocket, so I could add stripes from the stencil.  I used the card front 3 bundle for the stripes.  (these are all done in bluebird ink.)


Then I decided I needed to make it a bit more!  So, I grabbed the thanks stencil from the card stencil pack 1, picked the upper case A, masked off around it, and used texture paste and silver embossing powder to make an A on the front.  (my model’s first name starts with an A).  I let the paste dry, then heat embossed the A, it gives it some extra dimension!

I took some white daisy cardstock, and stamped the headphones, pizza, cup, donut, TV, and laptop in linen ink to make the background less boring!  I stamped and cut the headphones and cup with their thin cuts, and the pizza I fussy cut (no thin cut for that one!)  I popped up my model, and he is super cute!


I decided I needed a bit more blue, and a bit more silver, as well, so I grabbed a strip to heat emboss the word Awesome in the silver embossing powder, and then the ‘you are’ in sapphire ink just above it!


I used most of the guys stamps, because they are so easy to mix and match!  I even used one of the girls!

To finish off the card, I used the same stencil and same ink (bluebird) to create the stencils on the card base.  I think it ties everything in perfectly!  Now, after you leave a quick comment, head on over to Lauren’s blog!  She has some great stuff! 

Remember to leave a little love on everyone’s post!  We all love crafting, and we love to know that what we show you is appreciated!  

Thanks!  And see you next time!

~Michelle

Sometimes you just need some Winter Wonderland!

Hello crafty friends! It is another crafty challenge week at H2H! This time it is all about the Winter Wonderland! I just recently got this paper pack, and it is so fun! I wanted to make something extra useful for the holidays that are happening soon (are YOU ready?) So, I went with a gift card holder!

It’s super simple, can be used with scraps, and is great for any and all occasions! This gift card holder is beyond easy to make! Let me know if you guys make some!

Let me know what you think of this adorable little guy! Then, hop over to H2H’s blog, and play along with the challenges!

Let’s Celebrate Connections!

Welcome to Spring!  It’s May, and the flowers are popping up all over the place!  Along with the flowers is another challenge over at the H2H blog!  You should definitely check out the challenges and play along!  They are so fun!

Today I have a super fun card, that is going out to a friend that I haven’t seen in a bit.  I hadn’t gotten a chance to play with the white pearl paper yet, so I did!  It turned out so fun!!  (I wasn’t sure if my technique was going to work, or not!  I’m so glad it did!)

So, I grabbed my scraps bag and picked out a few colors that I thought would work well together.  I wanted one to be a very neutral color and one to be a bright pop of something.  I think I succeeded there, what do you think?

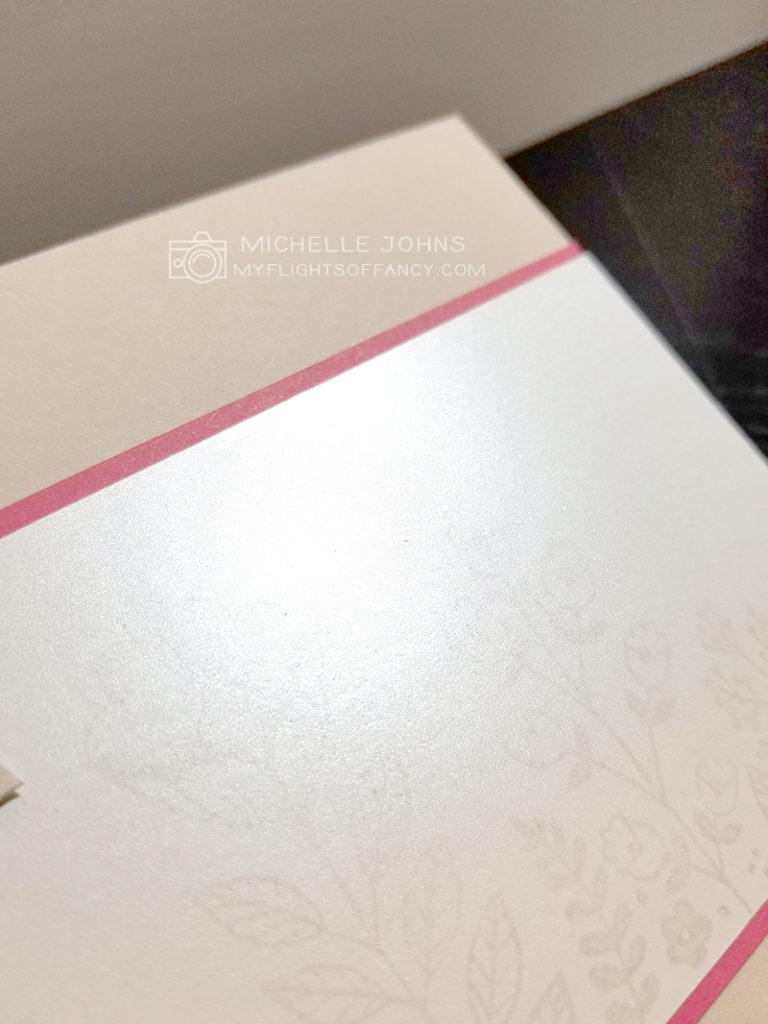
I am using Almond and Raspberry cardstocks along with the white pearl paper.  I stamped the image from the May SOTM in Mink ink, directly on the pearl paper.  Then I grabbed a piece of scrap printer paper, and ‘dabbed’ it over the pearl paper, to remove any excess ink.  Since this paper does have a shine, it wasn’t going to take as much ink as normal cardstock would.  Then I took my heat tool to it, just to be safe.

Then I just lined everything up!  I did just use scraps of the Raspberry paper under the pearl, and the Almond is just a couple of strips as well!

I popped the sentiment up on some thin foam tape, after stamping in Raspberry ink, of course!  I wrapped a smidge of the mink twine around it, and viola!

And!  Those adorable dots!  I WISH we had them in raspberry!!  But, believe it or not, those started as white!  I used the dark red blend and the bright pink blend markers to create the raspberry color!  It’s hard to photograph with the sheen of the pearl paper, but they match almost perfectly!  I was so pleased!

Join me, Monday night as I make another card just like this!  5pm Pacific over on my Facebook page!

Thanks so much for checking out my little card today!  I do hope you stop over to the H2H challenge blog to see what the other fantastic ladies have for you!  (They are all super cute, btw!)  Then, maybe you can play along as well!

~ Michelle

Do you have a Green Thumb?

Today’s challenge over at the Heart 2 Heart Challenge Blog is “Green Thumb”. I LOVE this! Each week there is a fun new challenge, that you can do ANYTHING with!

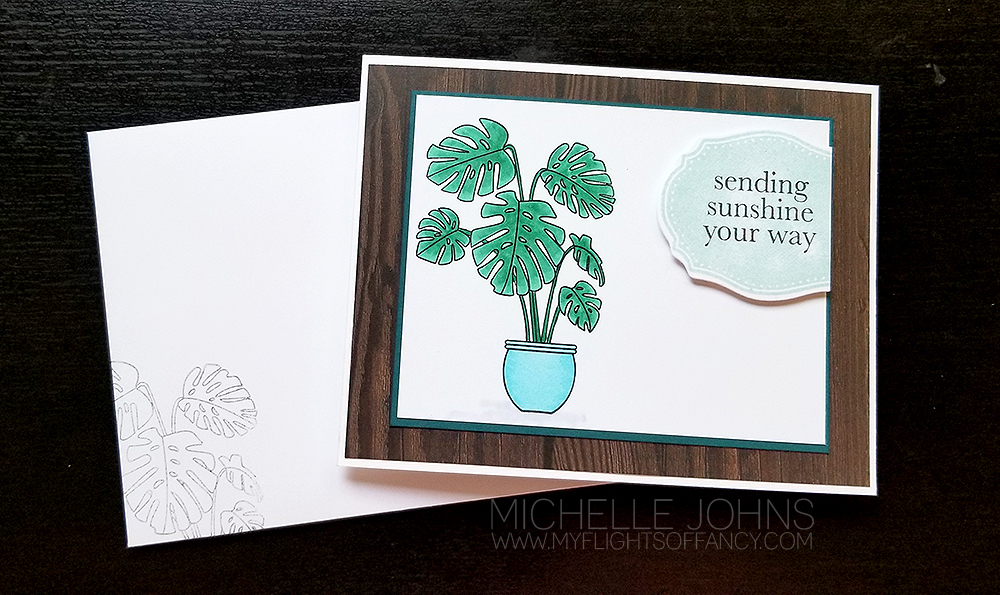
So, Green Thumb, obviously is going to be something green, and what would be more green than a bunch of (faux) plants? LOL!! I’ve got a 50% green thumb (and 50% black thumb…. soooo…). For the front of the card, I used the Born to Bloom stamp and Thin Cut set. According to the all-mighty google, this is the Monstera plant. (I don’t know about you, but I’ve now learned something new!) I used the Jade Green Tri Blend marker to color the plant and the Ice Blue Blend for the pot. I created the shadow underneath it with the Ice Grey blend and the colorless blender!

I used the label stamp (with Glacier Ink) and thin cut from the Joyful Sunflower set. I also used the sentiment from that set, stamped in Archival Black Ink.

I had seen a video that showed how to do this, and when I put it together, it didn’t quite match up, so I had to fudge a few things to make it work (otherwise I would share that video with you!) But, the overall look turned out GREAT!!

The papers that I used are the Wood Grain from Timber, White Daisy Cardstock, and Peacock Cardstock.

When you open up the card, you have two different little planter boxes! It is SUPER fun!!

I used the Monstera plant, the Calla lily, and the other plant (couldn’t figure that one out) on the inside of the card, and added the Citrus Blend Tri Blend Marker, Light Green Blend, and the Dull Green Blend markers to the mix.

I really liked how this card turned out! Tell me what YOU think! Then, make a project that shows YOUR green thumb, and play along at Heart 2 Heart Challenges!

CTMH Items used:
Born to Bloom stamp and Thin Cut set
Joyful Sunflower
Glacier Ink
Archival Black Ink
Jade Green Tri Blend Marker
Ice Blue Blend Tri Blend Marker
Ice Grey Blend Tri Blend Marker
Citrus Blend Tri Blend Marker
Light Green Blend
Dull Green Blend
Colorless Blender Tri Blend Marker
Timber Paper Packet
White Daisy Cardstock
Peacock Cardstock

Making Waves with H2H!

This week’s challenge over at Heart 2 Heart is all about making waves! There are so many things that we could go with on this one, but I went more crafty, than photographic!

I decided to create my own B&T paper with the wave stamp from the Escape to Paradise set. I used sapphire ink on sapphire paper, and a little bit of masking to make the fun paper!

I used the Make it from your Heart, Volume 1 book, pattern 22 for this card. The stars paper is from the Into the Wild paper pack. I stamped the ship and tree with Intense black ink, and the sentiment and envelope with the archival ink. I colored the ship with the Carmine Touch Twin marker, and the tree on the inside used the Vivid Green and Clay markers. I did use the matching thin cuts to cut both the ship and the tree out. Both the front and the inside are layered with some sapphire cardstock.

I really had fun coming up with this card! I hope you enjoy it as well! Let me know what you think!

Supplies used are all CTMH unless otherwise noted:

Escape to Paradise Bundle Z4085
Into the Wild Paper Pack
White Daisy Cardstock
Sapphire Cardstock
Intense Black Ink
Archival Black Ink
Sapphire Ink *photo shows old style pad
Carmine Touch Twin Marker
Vivid Green Touch Twin Marker
Clay Touch Twin Marker
White Cards & Envelopes Value Pack
2 x 3 1/2 Clear Acrylix Block
1 x 3 1/2 Clear Acrylix Block
Fiskars Paper Trimmer