Do you know that I do a Facebook live every Sunday evening? It is at 5pm pacific time, and I do all sorts of crafty things! I have always had great intentions of putting the photos and dimensions up on my blog after the video, and, well, life seems to always get in the way! So, now I am going to turn over a new leaf, and get them up on the blog on the Tuesday following! So, welcome to the first Tuesday repost of the Sunday live! LOL!!
Click here for the FB Live video!

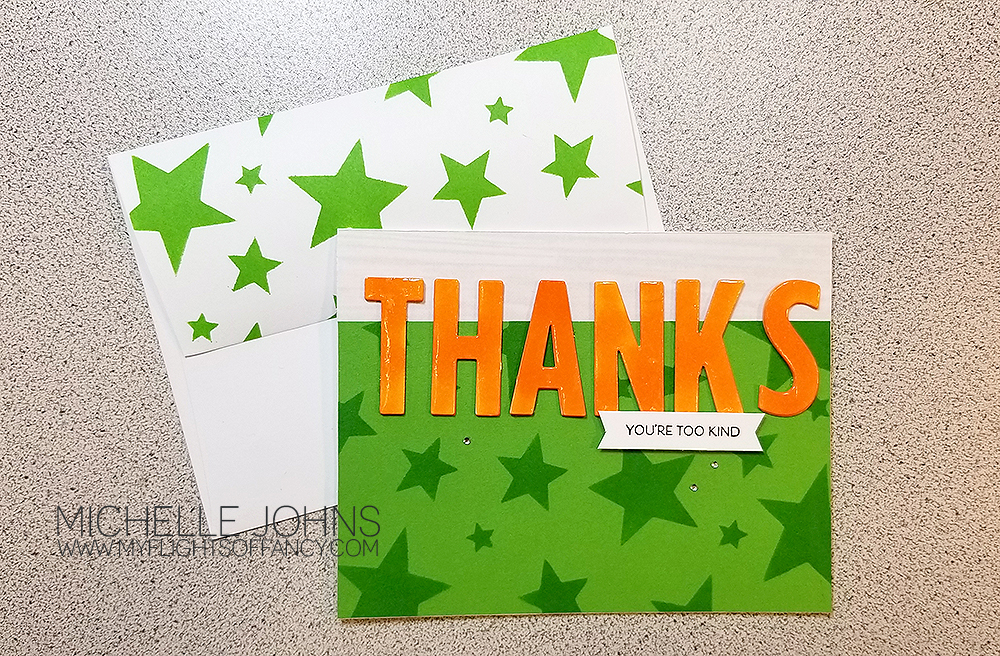
Sunday we were playing with stencils and different things that you can do with them! I have a few examples to show you, and we made a card with one as well! If you want to play along, here is the star stencil that I used. It is on the Artbooking cartridge, so you will need to have that cartridge to cut this stencil. It is slightly different than that image, as I wanted to add a few more stars. So, at the end of the post are the steps that I did to get this stencil, in case you want to try it with one of yours!

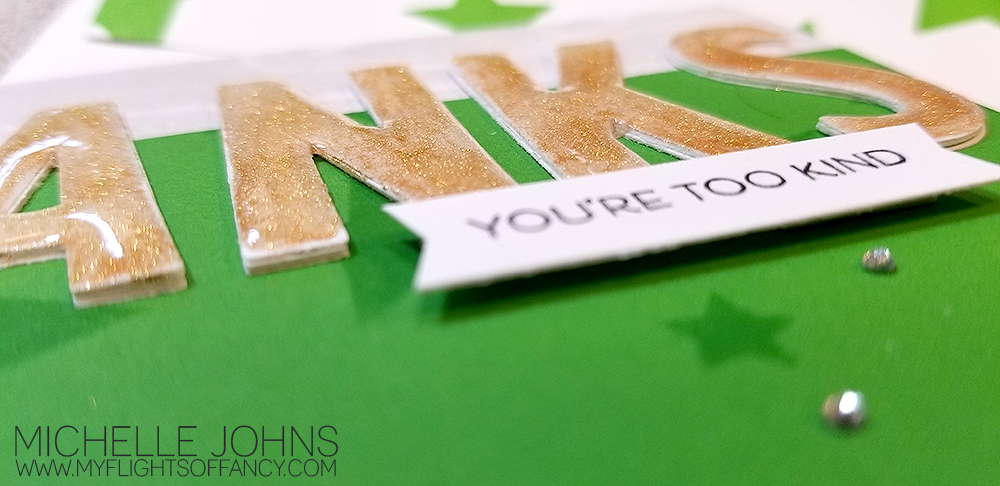
We used a variety of mediums in the video, including dye ink, pigment ink, texture paste, & embossing powder. Different things will give you different looks, so you should try them all out!

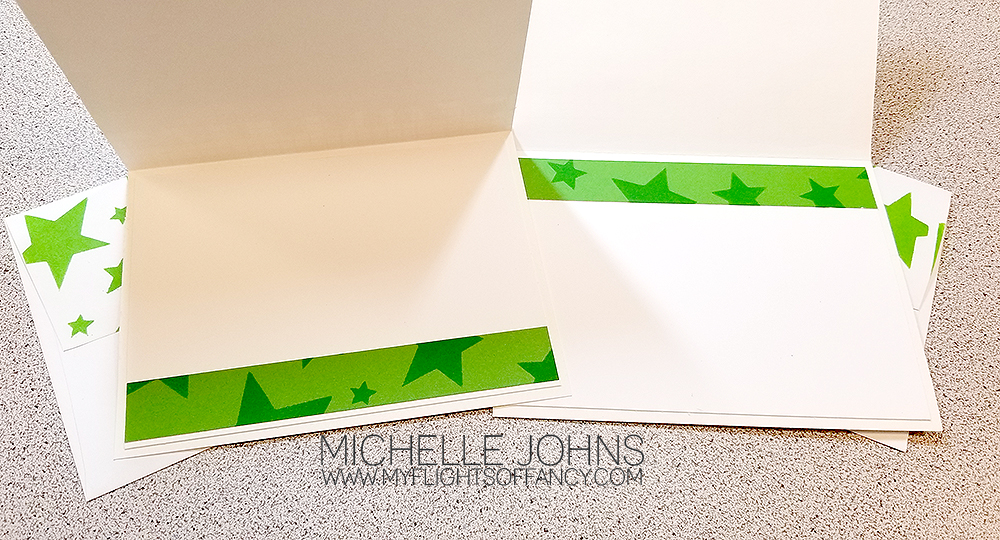
This card was so fun to put together! And super easy, as well! Maybe a smidge time consuming, but not too bad, overall! I hope that you make one too! Please show me what you make, I love knowing that my tutorials are helpful to you!


Click here for the FB Live video! While you are there, make sure to click ‘like’ on my fb page!
Paper size info:
Willow: 6 x 4 {Trimmed after stenciling to 5 1/2 x 3 1/4 & 5 1/4 x 3/4}
Into the Wild, Wood Grain B&T: 5 1/2 x 1 1/4
White Daisy: 2 x 3/8 & 5 1/2 x 4 & scraps for “thanks” letters
Step by step how to make your own stencil:
1. Open Image: #M3D15D Stars overlay from Artbooking cartridge and make it be 6×6
2. Add Shape>Square to your mat
3. Click and drag square to be slightly larger than your star overlay
4. Select both images and slice
5. Select the grey image that looks like your stencil, and delete.
6. Move the grey stars & outline to the side of your overlay
7. Add Shape>Circle & duplicate it
8. Shrink one circle to fit over just one star in the grey overlay
9. Select that circle and the grey overlay and slice
10. Step 9 will give you 2 grey stars separate from everything.
11. Delete the circle with a start cut from it.
12. Repeat steps 8 & 9 & 11 with the 2nd circle.
13. Select all 4 grey stars, and like with the grey square, click and drag, but make smaller instead of larger
14. Place the individual stars on the original overlay (mine is a lagoon color) in the solid portions of the overlay
15. Select ONE grey star and the overlay, and slice. (you can ONLY slice 2 layers at one time)
16. Delete (or move) both the grey and the lagoon stars. (move if you might want to cut more stars from the overlay)
17. Repeat steps 15 & 16 for the other 3 stars.
18. You are now ready to cut your stencil!
If you don’t want to do all of those steps (looks harder in writing than it really actually is!!), here is the link to my stencil that I am using in the video!
Star Stencil Design Space Link
Products used in the video:
Willow cardstock
Sapphire Cardstock
White Daisy Cardstock
Into the Wild Paper Packet
White Daisy Pigment Ink
Willow Dye Ink
Texture Paste Trio (Transparent Gloss)
Gold Tinsel Embossing Powder
Gold Shimmer Brush
Marigold Shinhan Touch Twin Marker
Liquid Glass
Archival Black Ink
Bitty Sparkles
Block Alphabet Thin Cut Die
I really do love seeing the creations that you guys and gals come up with! Leave me a comment and let me know what you think, and show me what YOU come up with!

Are you having a mid August crop. If so please put me on the list of attendees.
Jeanne,
I am! I have the event up now on the FB group and my blog! Here’s the link, just to make it easier! https://www.facebook.com/events/2458367271062102/
You make it look easy. I’m still thinking about it. Well I have worked on my scrapbook page and uploading pics. But I do want to use my stencil great job!
Maria,
I promise, it IS as easy as it looks! I can’t wait to see what you come up with!