Monthly Archives: August 2018

Central Park Happy Birthday!

Last weekend I did a FB live video, and made this fun card. I was cutting pieces for the 2nd card as well, but didn’t put it together during the FB live video. I really like how they both turned out! They were such a fun way to use some Thin Cuts that wouldn’t necessarily be how you think of them! Today I am linking up to the H2H Challenge, “For the love of crafting”. You should join in too! You have until the end of the month to join us!

This is the card that I made during the video. Do you know which thin cuts I used? (if you didn’t watch the video) Would you believe that I used the diamond in the Fresh Air thin cuts? (which, looks like they have sold out, that is so sad!)

I just lined them up so that there was about the same amount of space between the diamonds on the whole card. Just trimmed off the excess from around the edges of the card. I used a zip strip for the middle, and a scrap of White Daisy cardstock to stamp the Happy Birthday sentiment from the Birthday Key stamp set (which you won’t find in the book, but you will find online!). I love the font that they used for this stamp!

This card uses one of the other shapes in the same thin cut set. This time I decided to add a layer of bashful cardstock (retiring at the end of this month) to add a bit more interest to the card. I popped up each of the die cut pieces onto some foam tape to add more dimension.

I cut down one of the zip strips so it was less than 1/2 an inch, and wrapped some white twine around it. I used the same happy birthday sentiment on some scrap white daisy cardstock with archival black ink.

On both cards I added a few of the sequins from the central park sequin pack.

I hope you like my cards today! Come play along with us at H2H, and get your crafting on!

See you next time!
~ Michelle

Purposeful Plastic – CTMH Technique Blog Hop

Welcome to the CTMH Technique Blog hop! Today we are working with Plastic! This can be page protectors, flip flaps, or any number of other fun things! You should have arrived here from Darlys’ blog, but if not, that’s ok, it’s a big circle, and you will get back to her!

Today I wanted to make a little mini album brag book type of thing. My first attempt went waaaay wrong, as I was trying to hurry, and kept gluing things upside down and backwards and such. So, I will have to attempt to try again, with another paper pack (as I have ruined a good chunk of the one I was using!)

So, I am using the 3×4 flip flaps in my little mini album! I made a piece of ‘chipboard’ out of our white daisy cardstock and liquid glass. I’ve done this many times in the past for mini albums, and it works fantastically!! Then I covered it using papers from Beautiful Friendship.

I used PML cards to decorate the front of this little mini album, and because they are vertical on one side and horizintal on the other side, this album could easily have been made in the opposite direction! (so it lays instead of stands)

This little album would be perfect for a grandmother’s purse! Tell me what YOU think!

Next up is Marciava, so hop on over to her blog and see what fantastic-ness she has to offer you!

Time to Gear Up

Have you seen the hostess rewards stamps in the Seasonal Expressions book? These are only available until the end of August, so if you haven’t seen them, run and go look! If you have seen them, and haven’t gotten them yet, you will definitely want to grab a couple of friends and put in a party order, so that you can get them! Just ask me what you need to do to have that happen!

Today I am working with the Dino-mite Birthday stamp set. I LOVE the little dinosaur in this set, but wanted to play along with the Heavy Metal challenge with Heart 2 Heart Challenges. So, I got to playing!! I started with the Make it from your Heart, volume 4, again. And used pattern 10, just like I did with my notebook, here.

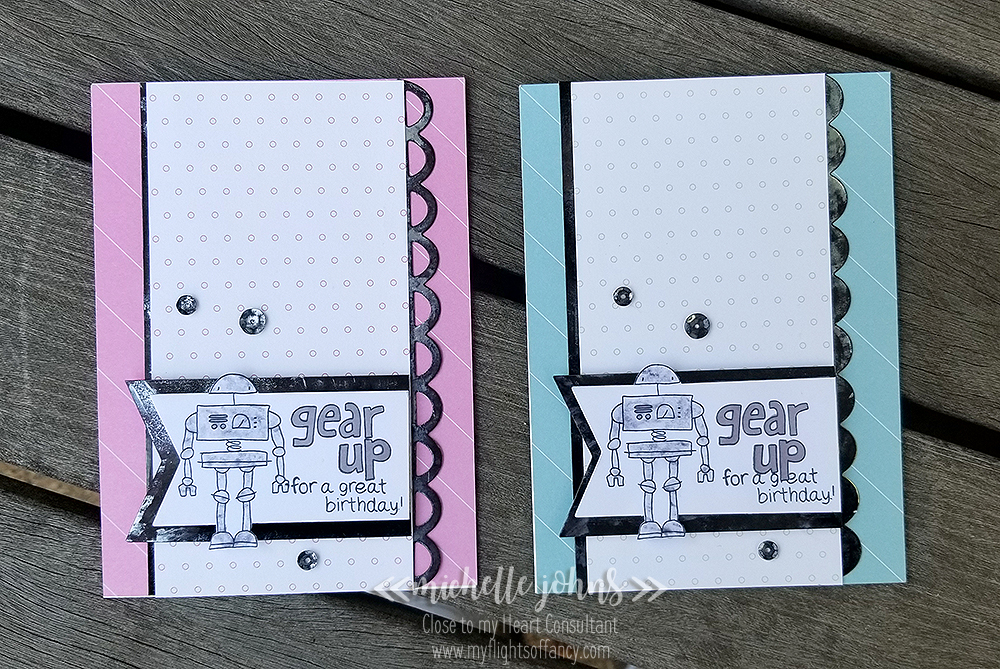
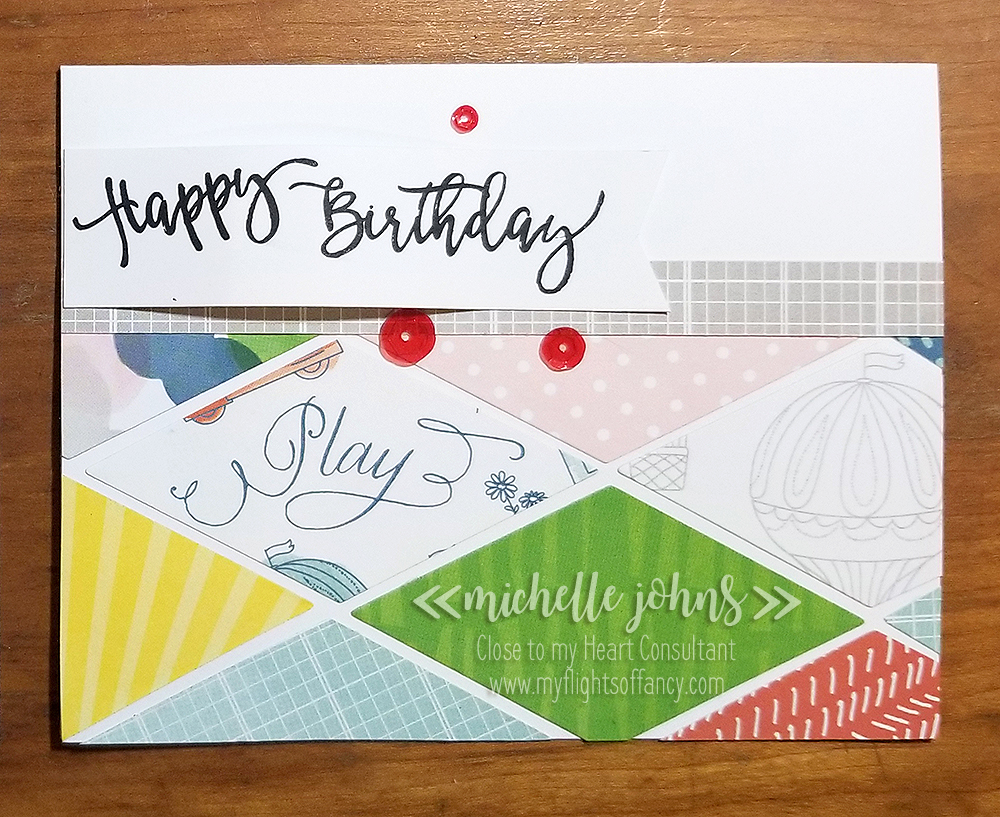
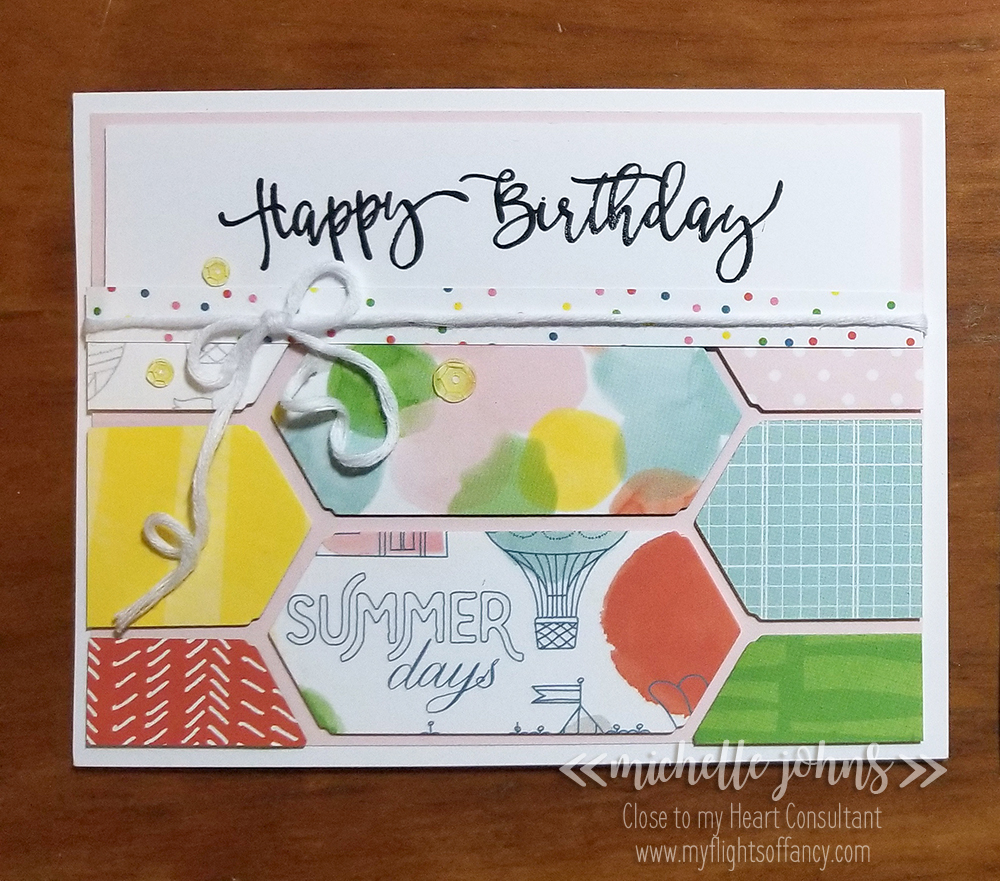
I was going to make just one card, but couldn’t just go with a boy card, so believe it or not, both of these cards are made with the same two pieces of paper, just flipped to use the opposite side!

I started with the boy card, and didn’t get very far before I had to go with a girl card too!

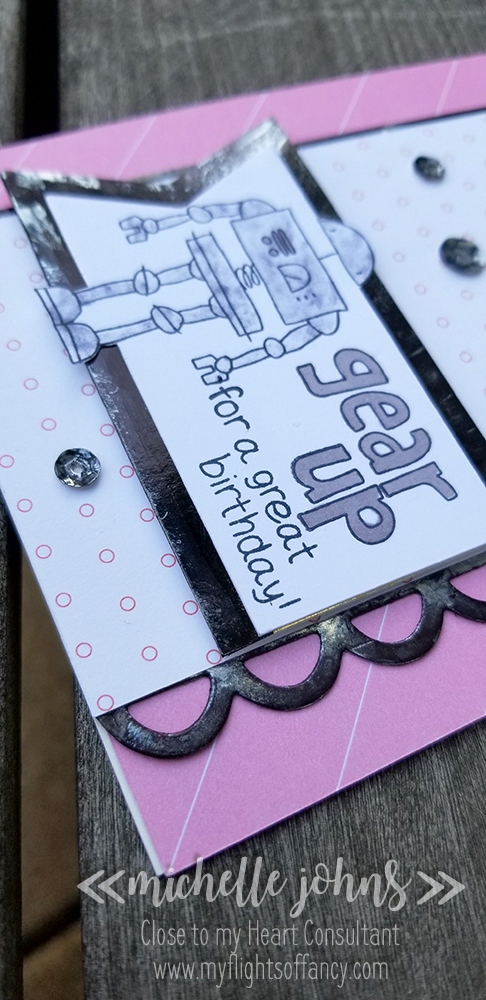
Now, believe it or not, this metal paper is the gold foil cardstock! What?!?! Right? I am LOVING how this turned out!! And believe it or not, it was SUPER simple to do!! I really wanted an ‘old’ and patina type look to my metal, and, as you know, we don’t carry anything like that in the idea book. However, we do have LOTS of different supplies to be able to do many fun things!

So, this is what I did. . . First I cut the scallop sides with the dies, from the gold foil cardstock. Then I tried a couple if things, but the one that worked the best was to use the black shinhan marker to cover the gold side, then flip it over and press it into a piece of scrap paper, to remove a bit of the black. On the spots that weren’t quite removed enough, I took an alcohol wipe and blotted in spots to make it a bit more worn looking. Then I did the same thing for a straight piece for each card. (actually, I did one piece and then split it in half to put the left edge on the cards). And then I repeated it yet again for a banner mat. I just LOVE how this worked out!! I don’t think I can tell you guys how much I liked how well it worked!

Now, this robot, was just as much work . . but turned out equally as well! So, first I measured how big the 2nd largest banner die cut was. Compared that to how tall my robot was. Then I cut some pieces to be about 2 1/4″ tall and 4″ long. This gives me enough height to have my entire robot on. Then I lined up my die to the left of my robot, and did a partial die cut. Then continued the straight cuts on the right side of my robot with my paper trimmer. Next, I trimmed the rest of the robot out with my micro-tip scissors. This gives a fun popped out look.

Now, to back up just a bit, after I stamped my robot, I decided I needed to add some color to him, but didn’t want to just color him in. I know, I know, I have to be a pain, right? So, I grabbed a post it note, stamped my robot twice, and then cut out the body parts that are colored in. I did the head and the hips/legs on one, and the chest/arms on another. This made sure my post it had a little bit of stability, as I was using the negative spaces for this technique. So, I covered my robots with my post it notes (this ended up with two passes per robot) and then squished my archival black in pad together to get some ink on the lid, grabbed a baby wipe and ‘cleaned up’ the lid. Next I dabbed the baby wipe over the robot to give the mottled grey coloring. I really like that he isn’t just one solid color.

So, these cards needed a bit more ‘bling’ . . . but with as old and grungy as the rest of the card already was, I couldn’t very well just add something sparkly and ‘new’. . . . so I grabbed some of the bronze sequins and did the same thing as the gold foil cardstock! I added some of the black shinhan marker on top, and then dabbed with an alcohol pad to get the old look.

Oh, and not to forget using the markers to add a bit on the chest of the robot and coloring in the “gear up” on these cards. I did do some stamp surgery to be able to get the sentiment to be able to fit onto the banner. When I was stamping the ‘boy’ card, I started a bit too low, so then I used a mask to put the smaller part of the sentiment “under” the block letter. I kind of like how it turned out!

So, please, let me know what you think of these fun cards! Do YOU need to have a party so that you can get this fun stamp set?

~ Michelle

Items used to make these cards:

Value pack card base (and envelope)
Whimsy fundamentals paper pack (retiring 8/31/18)
Gold Foil Cardstock
White Daisy Cardstock
Black Shinhan Marker
Archival Black Ink
Memento Black Ink (retiring 8/31/18)
Warm Grey Shinhan Marker
Bronze Sequins
Liquid Glass
Fiskars Paper Trimmer
Microtip Nonstick Scissors
– baby wipe
– alcohol wipe

Central Park Layers

So, I am part of the design team at Heart 2 Heart Challenges, and they have all sorts of weekly challenges that run through the end of each month. (so you have more time to play with the first challenge than the last) The challenges are super fun! You should totally go and check them out to see what they have going on!

Today I have a little something that fits into two of the challenges, so I am putting it in for the Layers, Layers, Layers challenge! This is a top bound spiral notebook that I altered the cover on. (so would also fit into the Duly Noted Challenge)

I used the pattern #10 in the Make it from your Heart Volume 4 book as inspiration for the cover on this notebook. I loved the sun ray paper from Central Park, and just had to use it!!

I also used one of the PML cards mixed with the August Stamp of the Month for just a fun bit of glib-ness! Add a bit of the whimsy ribbon to the front, and you have a bit of texture and a bit of glitter, that won’t be rubbing off on you or your clothes!

This whole thing is flat, with no foam tape, so it will fit into a bag or large purse without having to worry about something popping off in the dark.

I hope you like the little project I made! I think it’s super fun! Let me know what YOU think!

~ Michelle

Items used in today’s project:

-Spiral Notebook
Central Park Paper
Sapphire Cardstock
White Daisy Cardstock
Archival Black Ink
1 x 6 1/2 Block
Liquid Glass Adhesive
Make it from your Heart, Volume 4
Whimsy Ribbon Pack
Fiskars Paper Trimmer
Microtip Nonstick Scissors

August SOTM – For the Love of Crafting

Welcome to the August Stamp of the month Blog hop! This month we have almost 30 consultants sharing ideas with you about how to use this fantastic stamp set! It is suuuuper fun! Today you should have arrived here from Debi’s blog, but if not, that’s ok, it’s a big circle, and you will get back around to her!

Take a look at all the fun stamps in this set!

While I was trying to decide what to make for this fun blog hop, I looked over and saw the package of mini chips ahoy cookies, and I thought that would be perfect match with the “Enjoy the small stuff” stamp in the set.

If you don’t know already, I am enamored by Sam of Pootles Papercraft. She has TONS of videos on how to make fantastic little boxes for all sorts of things. So, that was the first place that I went to to try to find a little box for these cookies! I found one, and decided to make it a bit smaller (you know, to go with the whole “small stuff” theme!)

So, it’s this cute little triangle box, with a Central Park paper wrapper. One side tucks in, and the other folds over.

I don’t have access to all of my tools and stamps, as I am staying at the hospital with my youngest. That means I work with what I have. Sam uses a small punch to put a finger hold in the part of the box that tucks in. I don’t have that with me, so I decided to add a little bit of ribbon with the mini stapler, to be able to pull the box open.

Since I do have a super small stash of things with me, I do only have the black archival ink with me, but wanted a bit of color around the sentiment. So, I ‘cheated’! I stamped the image once in the archival black, then stamped again with 2nd generation on my white daisy cardstock. I cut out both images with my micro tip scissors. The first generation I cut just inside the solid black line, and on the 2nd generation I cut on the outside of the black line. Then I flipped the larger piece over and colored with the Turquoise Blue Shinhan marker. I popped the two pieces up on some foam tape, and then used a bit of the same ribbon behind to help the colors pop some more!

I hope you like my little treat box! They would be perfect for party treats, teacher appreciation, co-worker gifts, gifts for nurses, and so many other things!

I hope you leave a comment and let me know what you think of it! Then, hop on over to Tracey’s blog to see what fun stuff she has for you!

Thanks again for stopping by! Make sure to stop by tomorrow to see more fun goodies with this stamp set!