Category Archives: CTMH

15 years of Close to my Heart goodness!

A Happy Hello!

Welcome to the February SOTM blog hop! This month we have almost 70 consultants sharing their fabulous artwork with you! You should have arrived from Katy’s blog. if you started here, great! It’s a big circle, and you can continue on through until you have gotten to everyone! If you happen to get lost along the way, Melinda has the list posted here for you. Now, let’s get started, shall we?

01

I started with a simple CAS card, but I couldn’t get it to look how I imagined it. So, I started going another direction, and then I ended up here! I really like how this turned out!

02

This card is still somewhat simple. I uses few supplies! There are three ink colors (Chocolate, Cashmere, and Desert Sand), and only 2 card bases used. I repurposed the first one that didn’t turn out how I liked, by using the stamps for the 4 squares, and the back side for the strip that is behind them.

I inked the edges of the squares and the band behind in cashmere ink that was directly from the pad. This gives a nice border, but there is no matting involved. I ended up cutting the sentiment apart, initially to make it 2 lines, but then I decided that I liked just the hello part!

This fun mono-chromatic card turned out quite nicely, I think!

Remember, the Stamp of the month is only available during that month, so you will want to get it before it’s gone! Just $5 with a qualifying order!

Thank you so much for stopping by! Next up is another Michelle! She’s sweet, and her project is too! Go check out her blog, and all the rest as well!

I hope you have a crafty day!

Year Noted & Mistakes

Just so you know, crafters make mistakes, just like everyone else!

oops-01

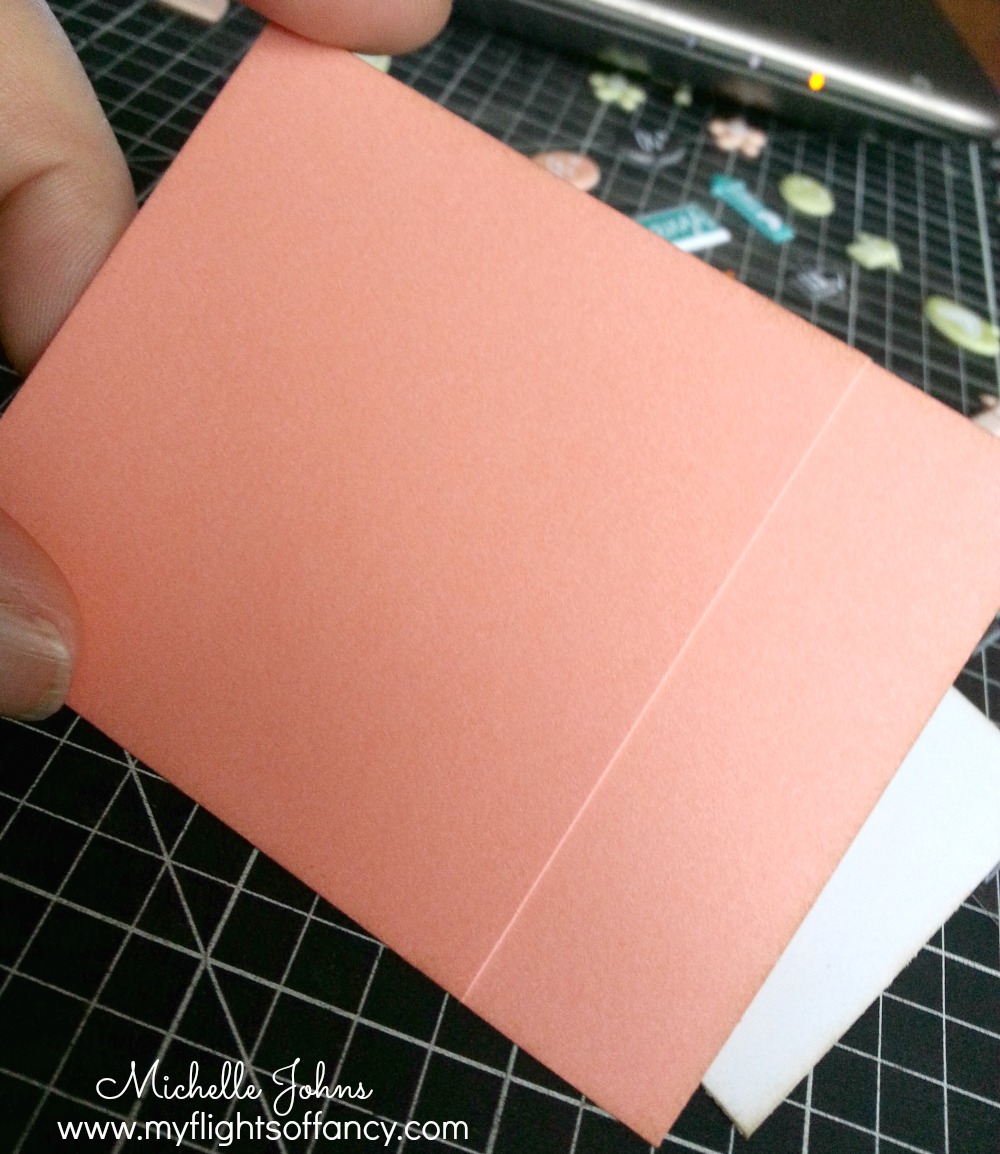
I was working on my Year Noted kit, using Susan William’s cutting guide for cards, and I wasn’t paying attention, and cut my piece smaller than it should have been. The scraps that hadn’t been cut into weren’t big enough to just grab another piece, so I needed to figure out how to make it right.

So, I kept the two pieces together, and went about making the rest of the cards. When I got to this one (which, happened to be the last card of the group), I was able to come up with a solution.

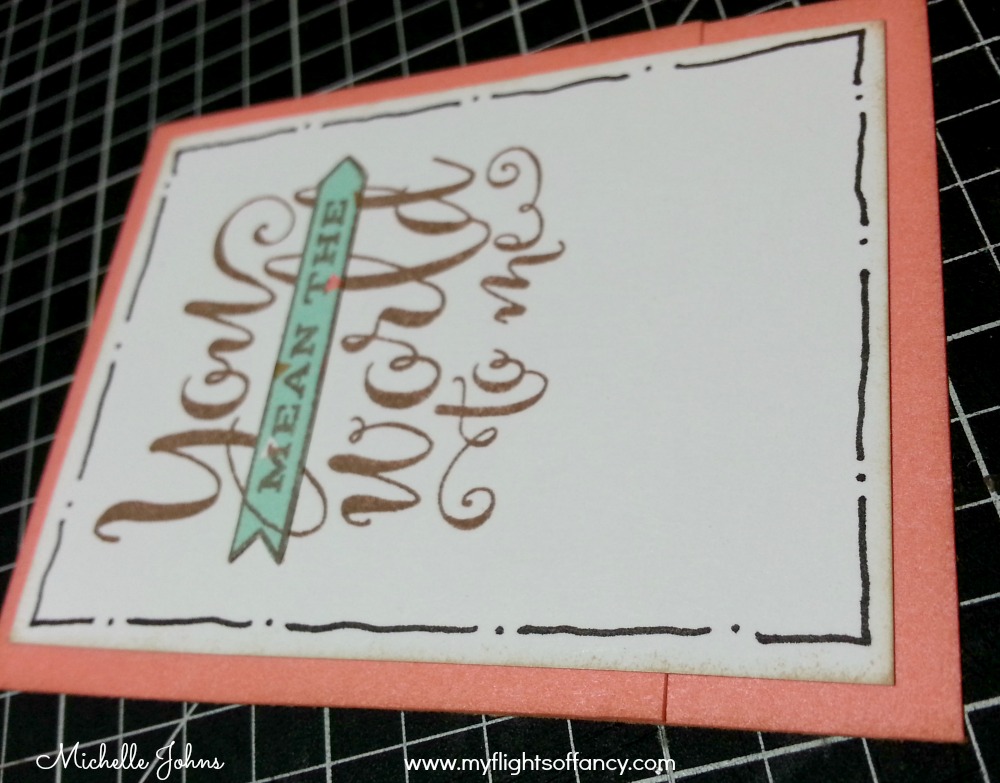
As you see with the first photo above, I have already glued them together. When I put the sentiment piece on, you can still see the line.

oops-02

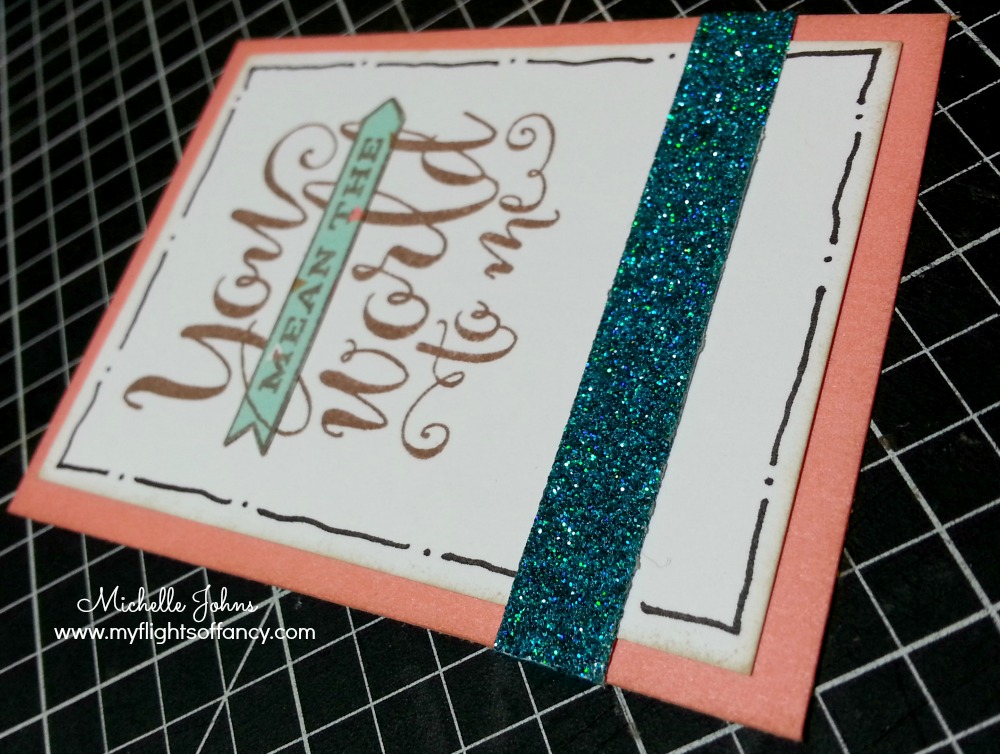
When I got to my ‘fix’, I didn’t even have to change the card design! I was able to use the card design and embellishments to my favor! Here you can see the first step in embellishing, before it was attached to the card.

oops-03

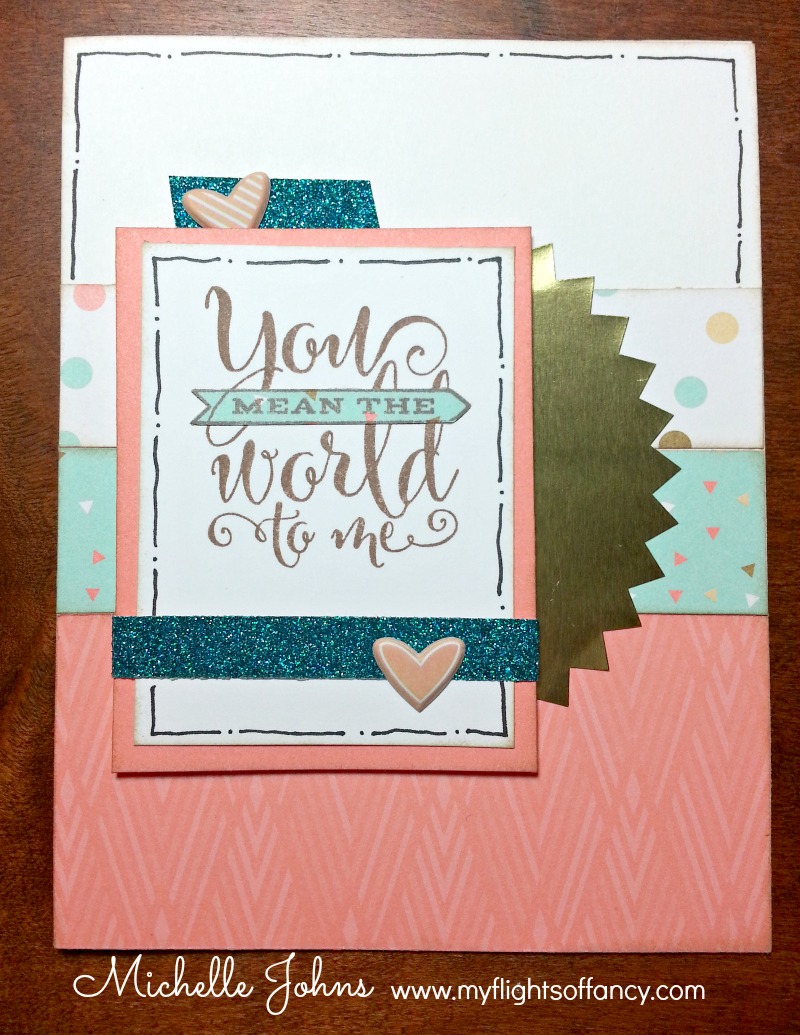
Now, if I didn’t tell you, you would NEVER know that I screwed up! But, it really does happen, and more times than not, it’s easily fixable!!

Here’s the final card!

oops-04

This fun kit, Year Noted, is meant to be a little mini album to create a little time capsule. However, my upline, Susan Williams, has created this fun card kit from it. It makes 15 cards, and you only add some teal shimmer trim, and the Chalk it Up Assortment. It is a different stamp set than what comes with the kit, but it is SUCH a fun little set! You could use any stamp set, really.

If you place a qualifying order with me, and get the Year Noted Kit, I will send you the Cutting guides to make these cards, FREE! I know you will love them! I sure do!

Until Tomorrow!
Stay Crafty, my friend!

~ Michelle

Be Amazing

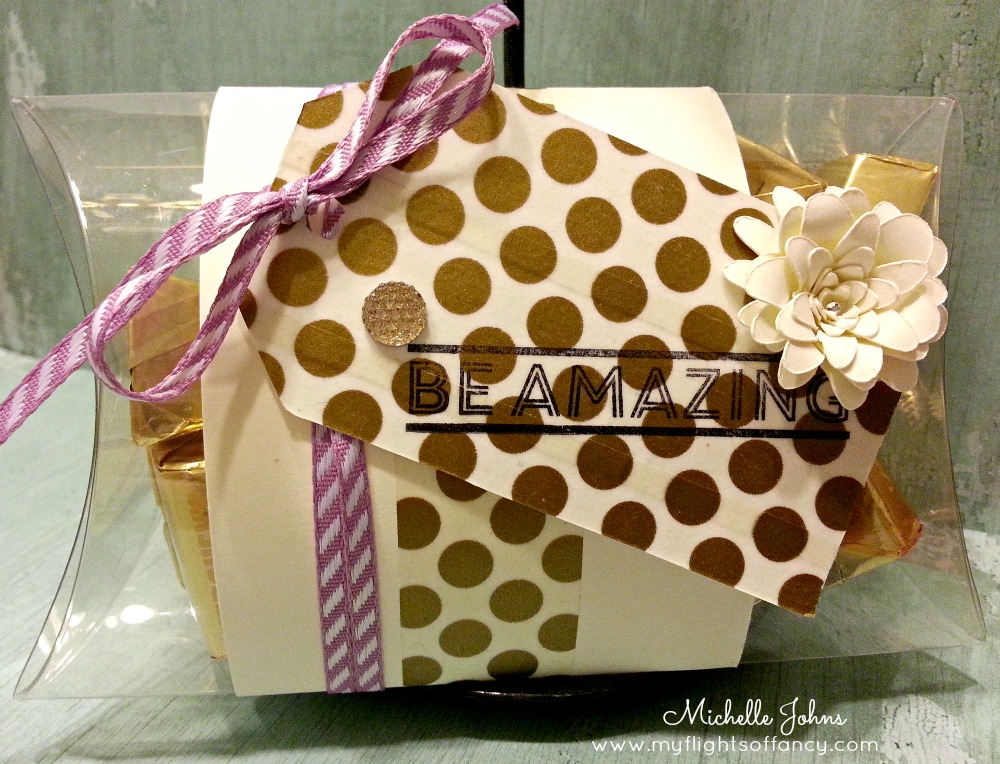
Today’s creation uses the January Stamp of the Month, This Moment. There are so many fun things that you can use this stamp for! Today, I have a little pillow box that is filled with Hershey Nuggets that are in gold foil wrappers. So, I decided to stick with the gold theme!

amazing-pillow-01

I used the gold polka dot washi tape to cover a tag that was cut with the Art Philosophy Cartridge. I used a piece of Colonial White Cardstock to wrap the pillow box with. I also used a a strip of washi tape on that wrap to connect the look of the tag with the box wrapper. I stamped Be Amazing from the “This Moment” set in Archival Black ink.

amazing-pillow-02

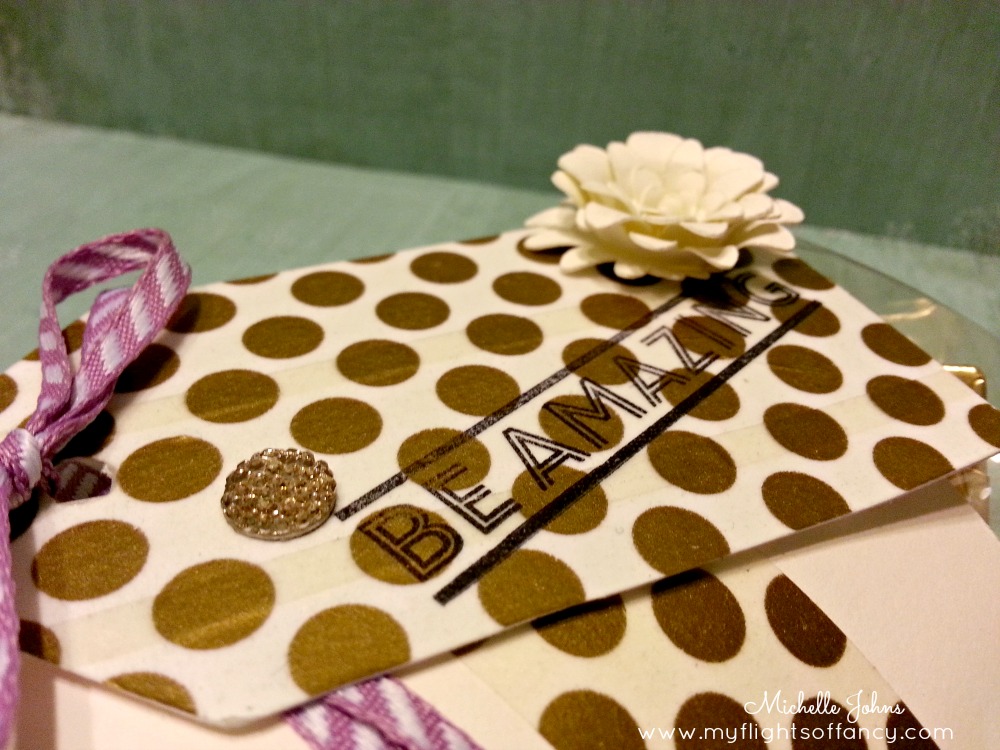
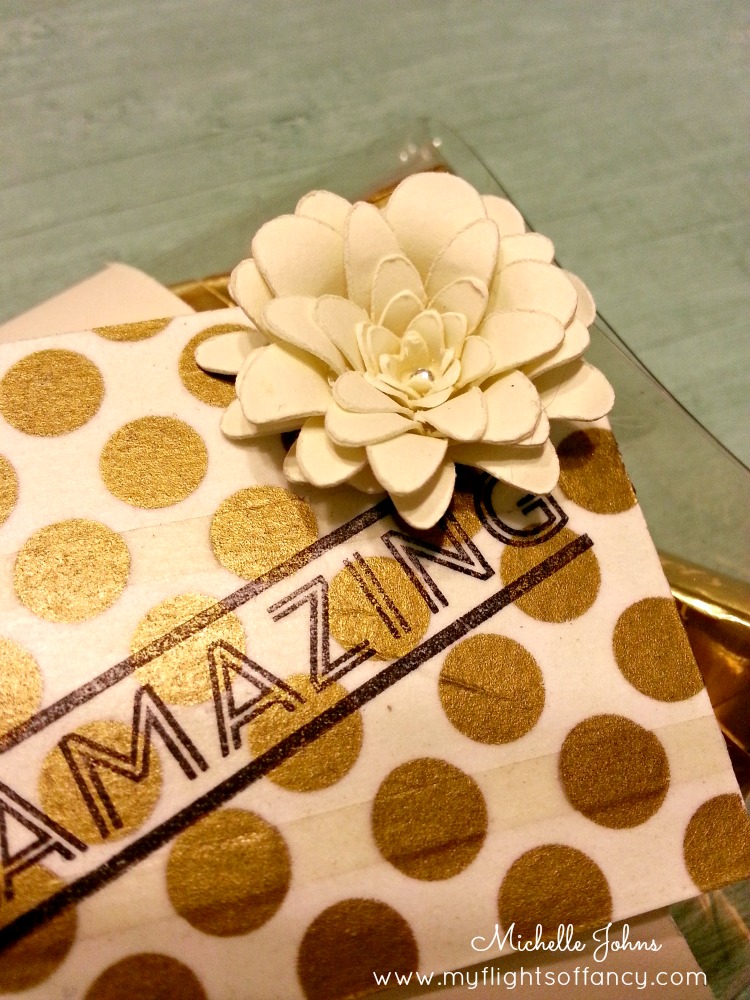
I used a gold bling gem, well, because who can’t use a bit of bling! I also attached a flower that was cut from the Art Philosophy cartridge and added a bitty sparkle in the center of it. I tied the tag on with some thistle striped ribbon, and even used a bit of a glue dot to keep the tag in one spot (so it doesn’t flap around)

amazing-pillow-03

I think this is such a fun little box! With the sentiment, you could give it for almost any reason, or even no reason at all! How fun is that!?

Remember, each month you have the possibility of getting the Stamp of the Month for just $5 with a qualifying order of just $50. In January, there is an even bigger incentive! Take a look at this!

full-special

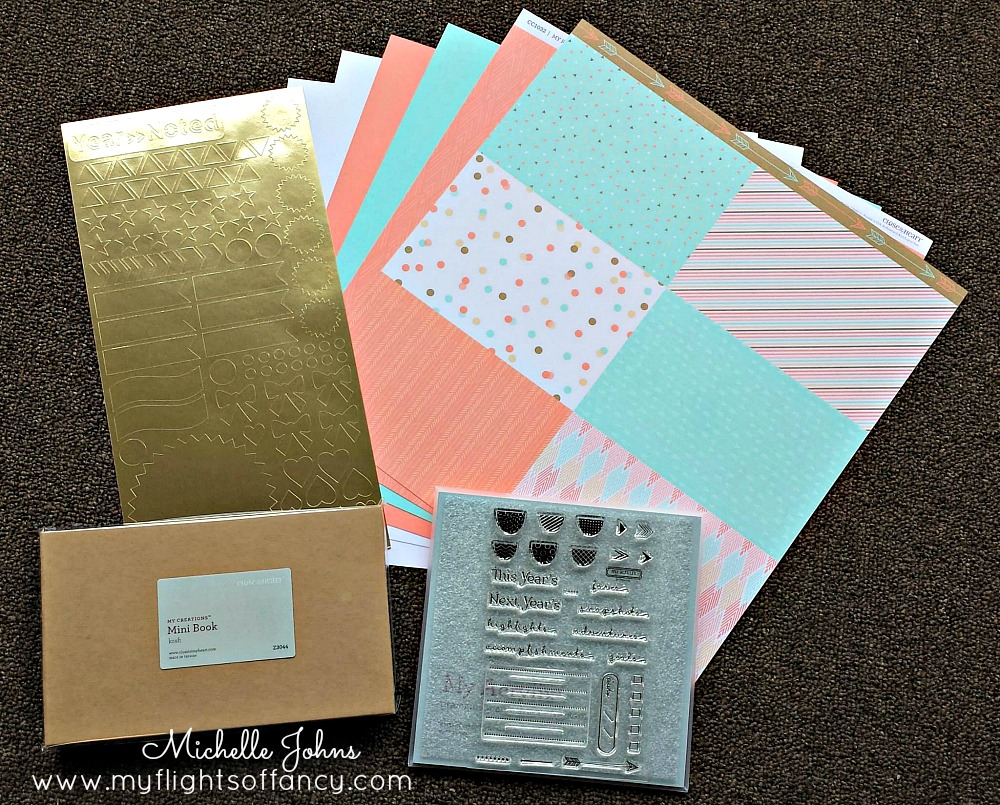
In January, when you place a qualifying order of $50, you not only get the chance to get the stamp of the month for just $5, but you also have the ability to get the Year Noted kit, as shown, for just $10 more! The papers, cardstock, foil sticker sheet, and stamp set are just $5, and you can add on the new little mini albums for just $5. (making it $10 total for the entire picture) How terrific is that?!?! These papers are so fun and cheery! Close to my Heart has made a little video showing you a few different options on what you can do with your kit. Of course, you can do anything you would like to do, but here are some starting off points for you!


{If you are seeing this in email, you will probably have to go to the blog to see the video}

Here is a close up of the stamp set that you get. Isn’t it just adorable?

stamp

I hope you have all had a fabulously crafty weekend! I will see you tomorrow with more crafty goodness!

~ Michelle

Sports Bottles

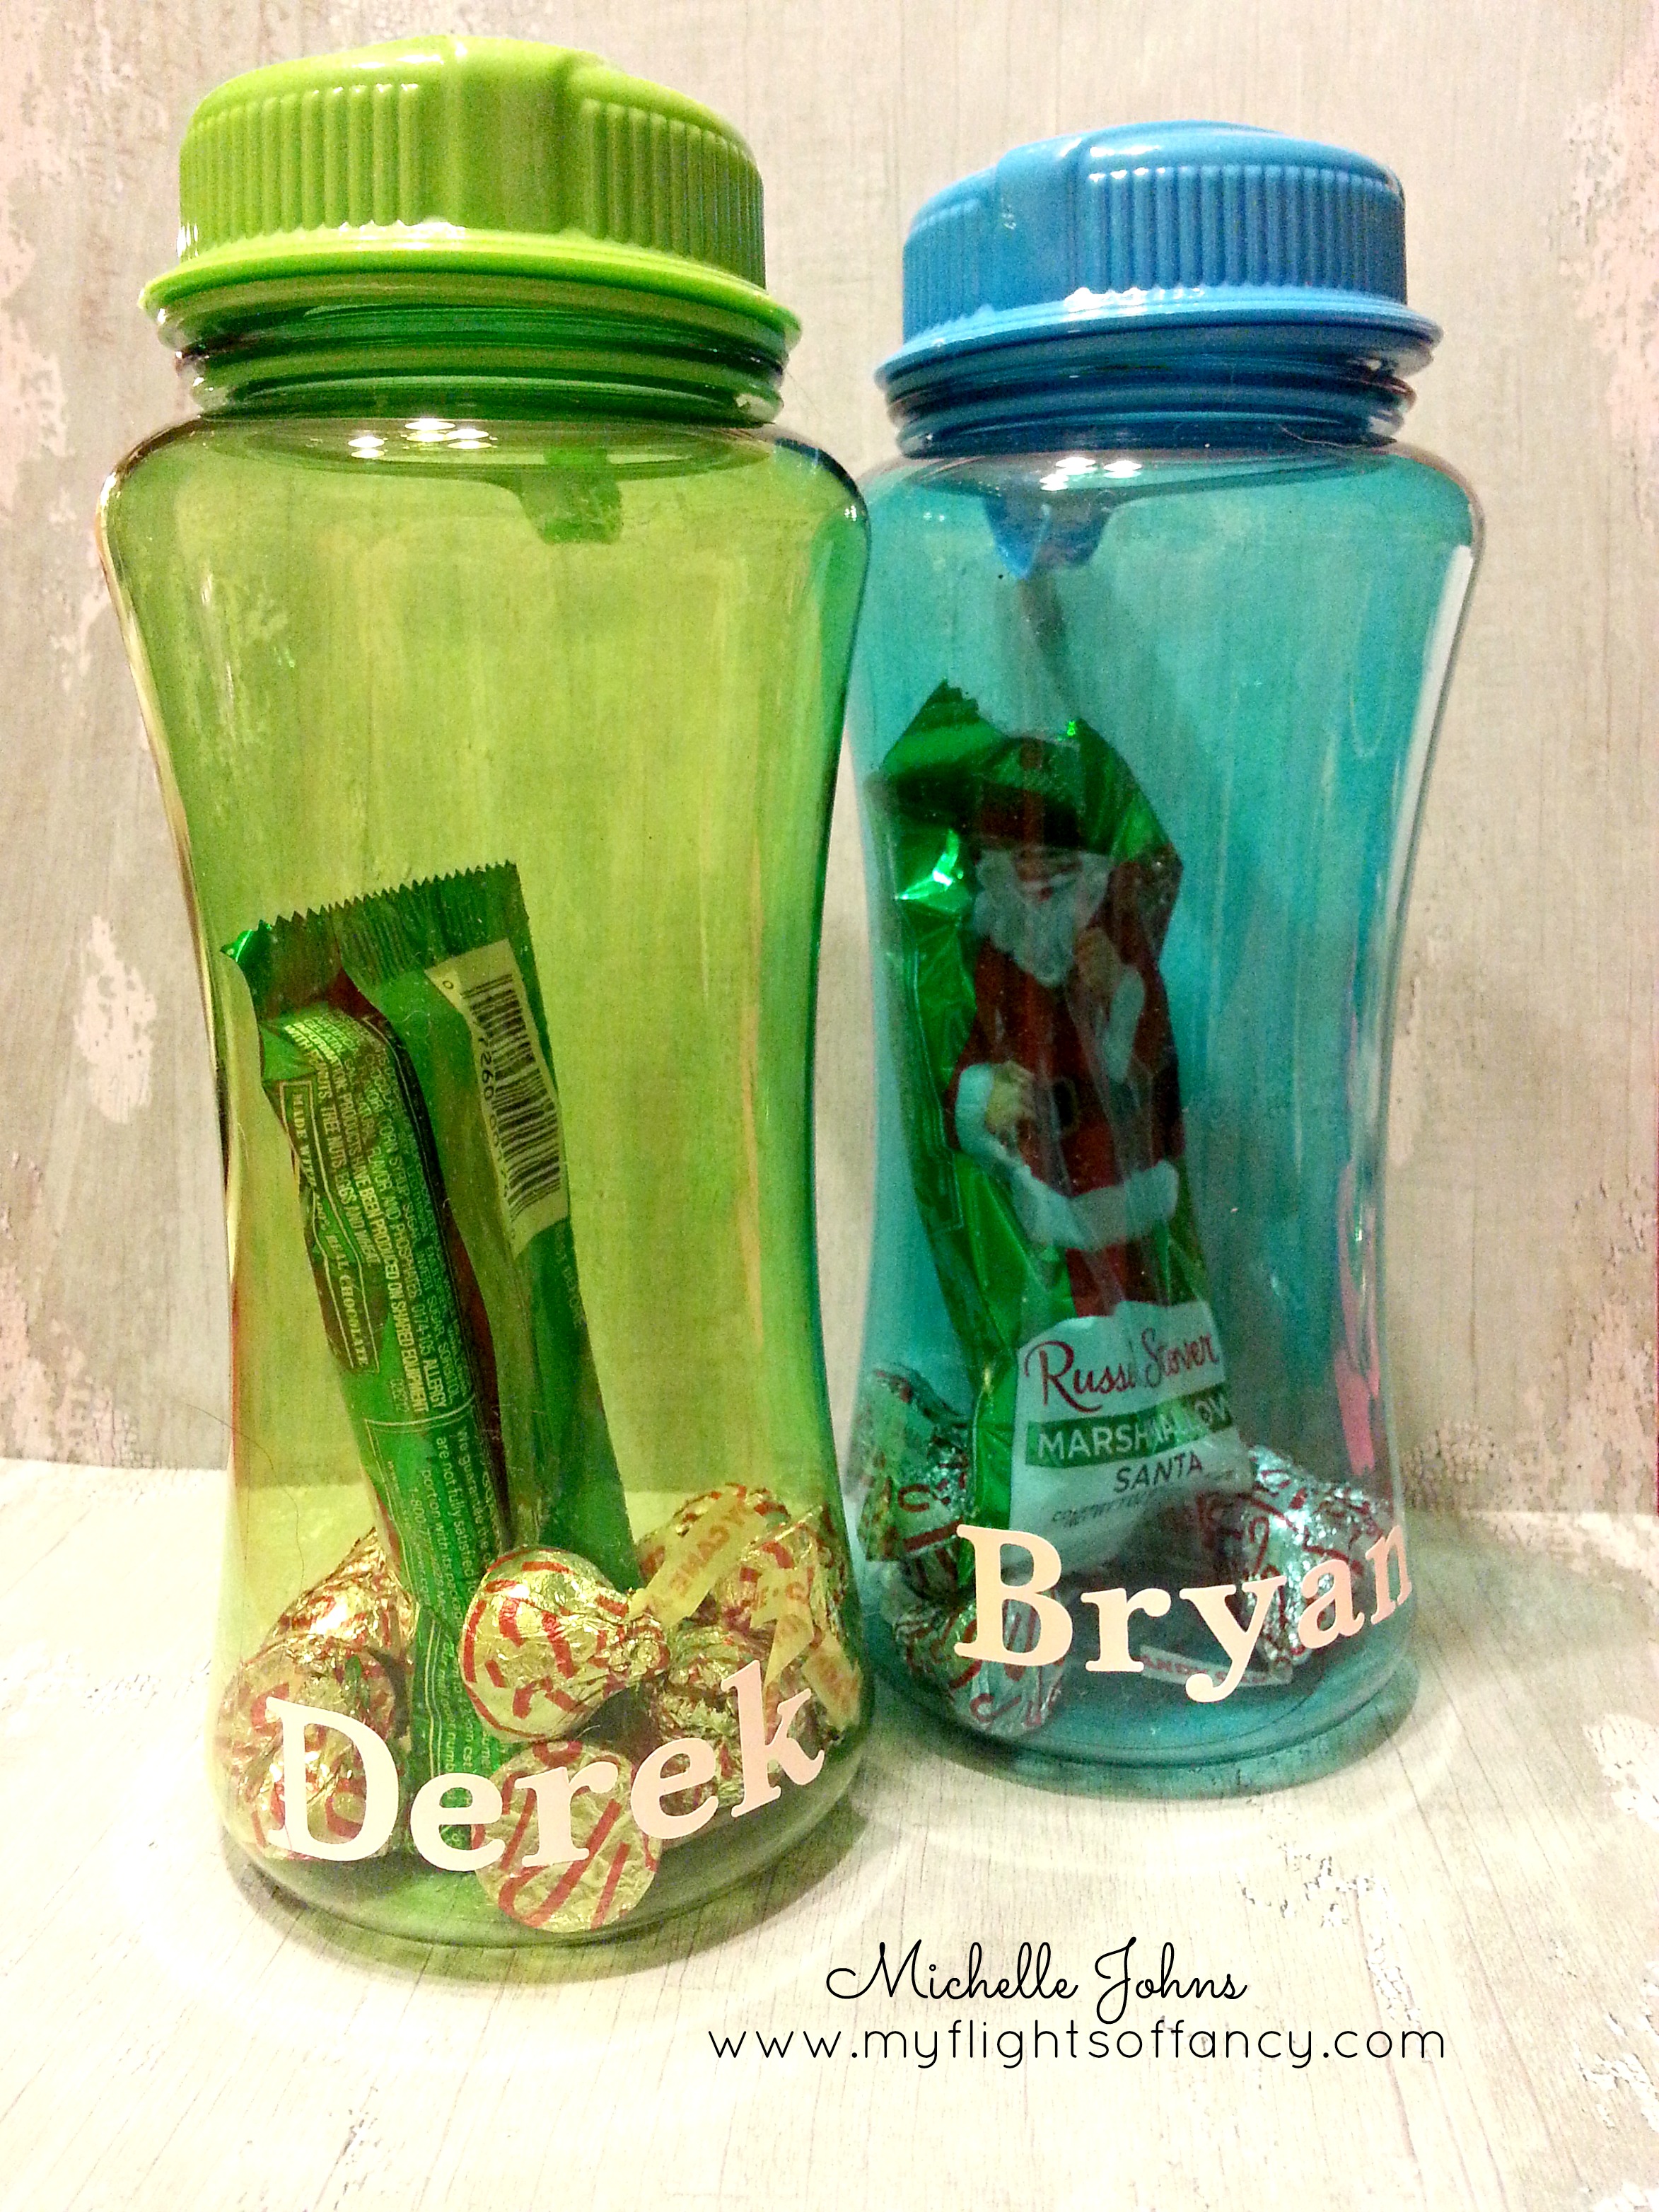
Today we had a family Christmas gathering. While we didn’t exchange presents, I made a little something for all of the ‘kids’ of the family. I didn’t get photos of all of the bottles, but here are a few that I did get a picture of.

bottles

The bigger boys got larger water bottles. I used the Art Philosophy cartridge to cut out the letters for their names in vinyl.

bottle-small

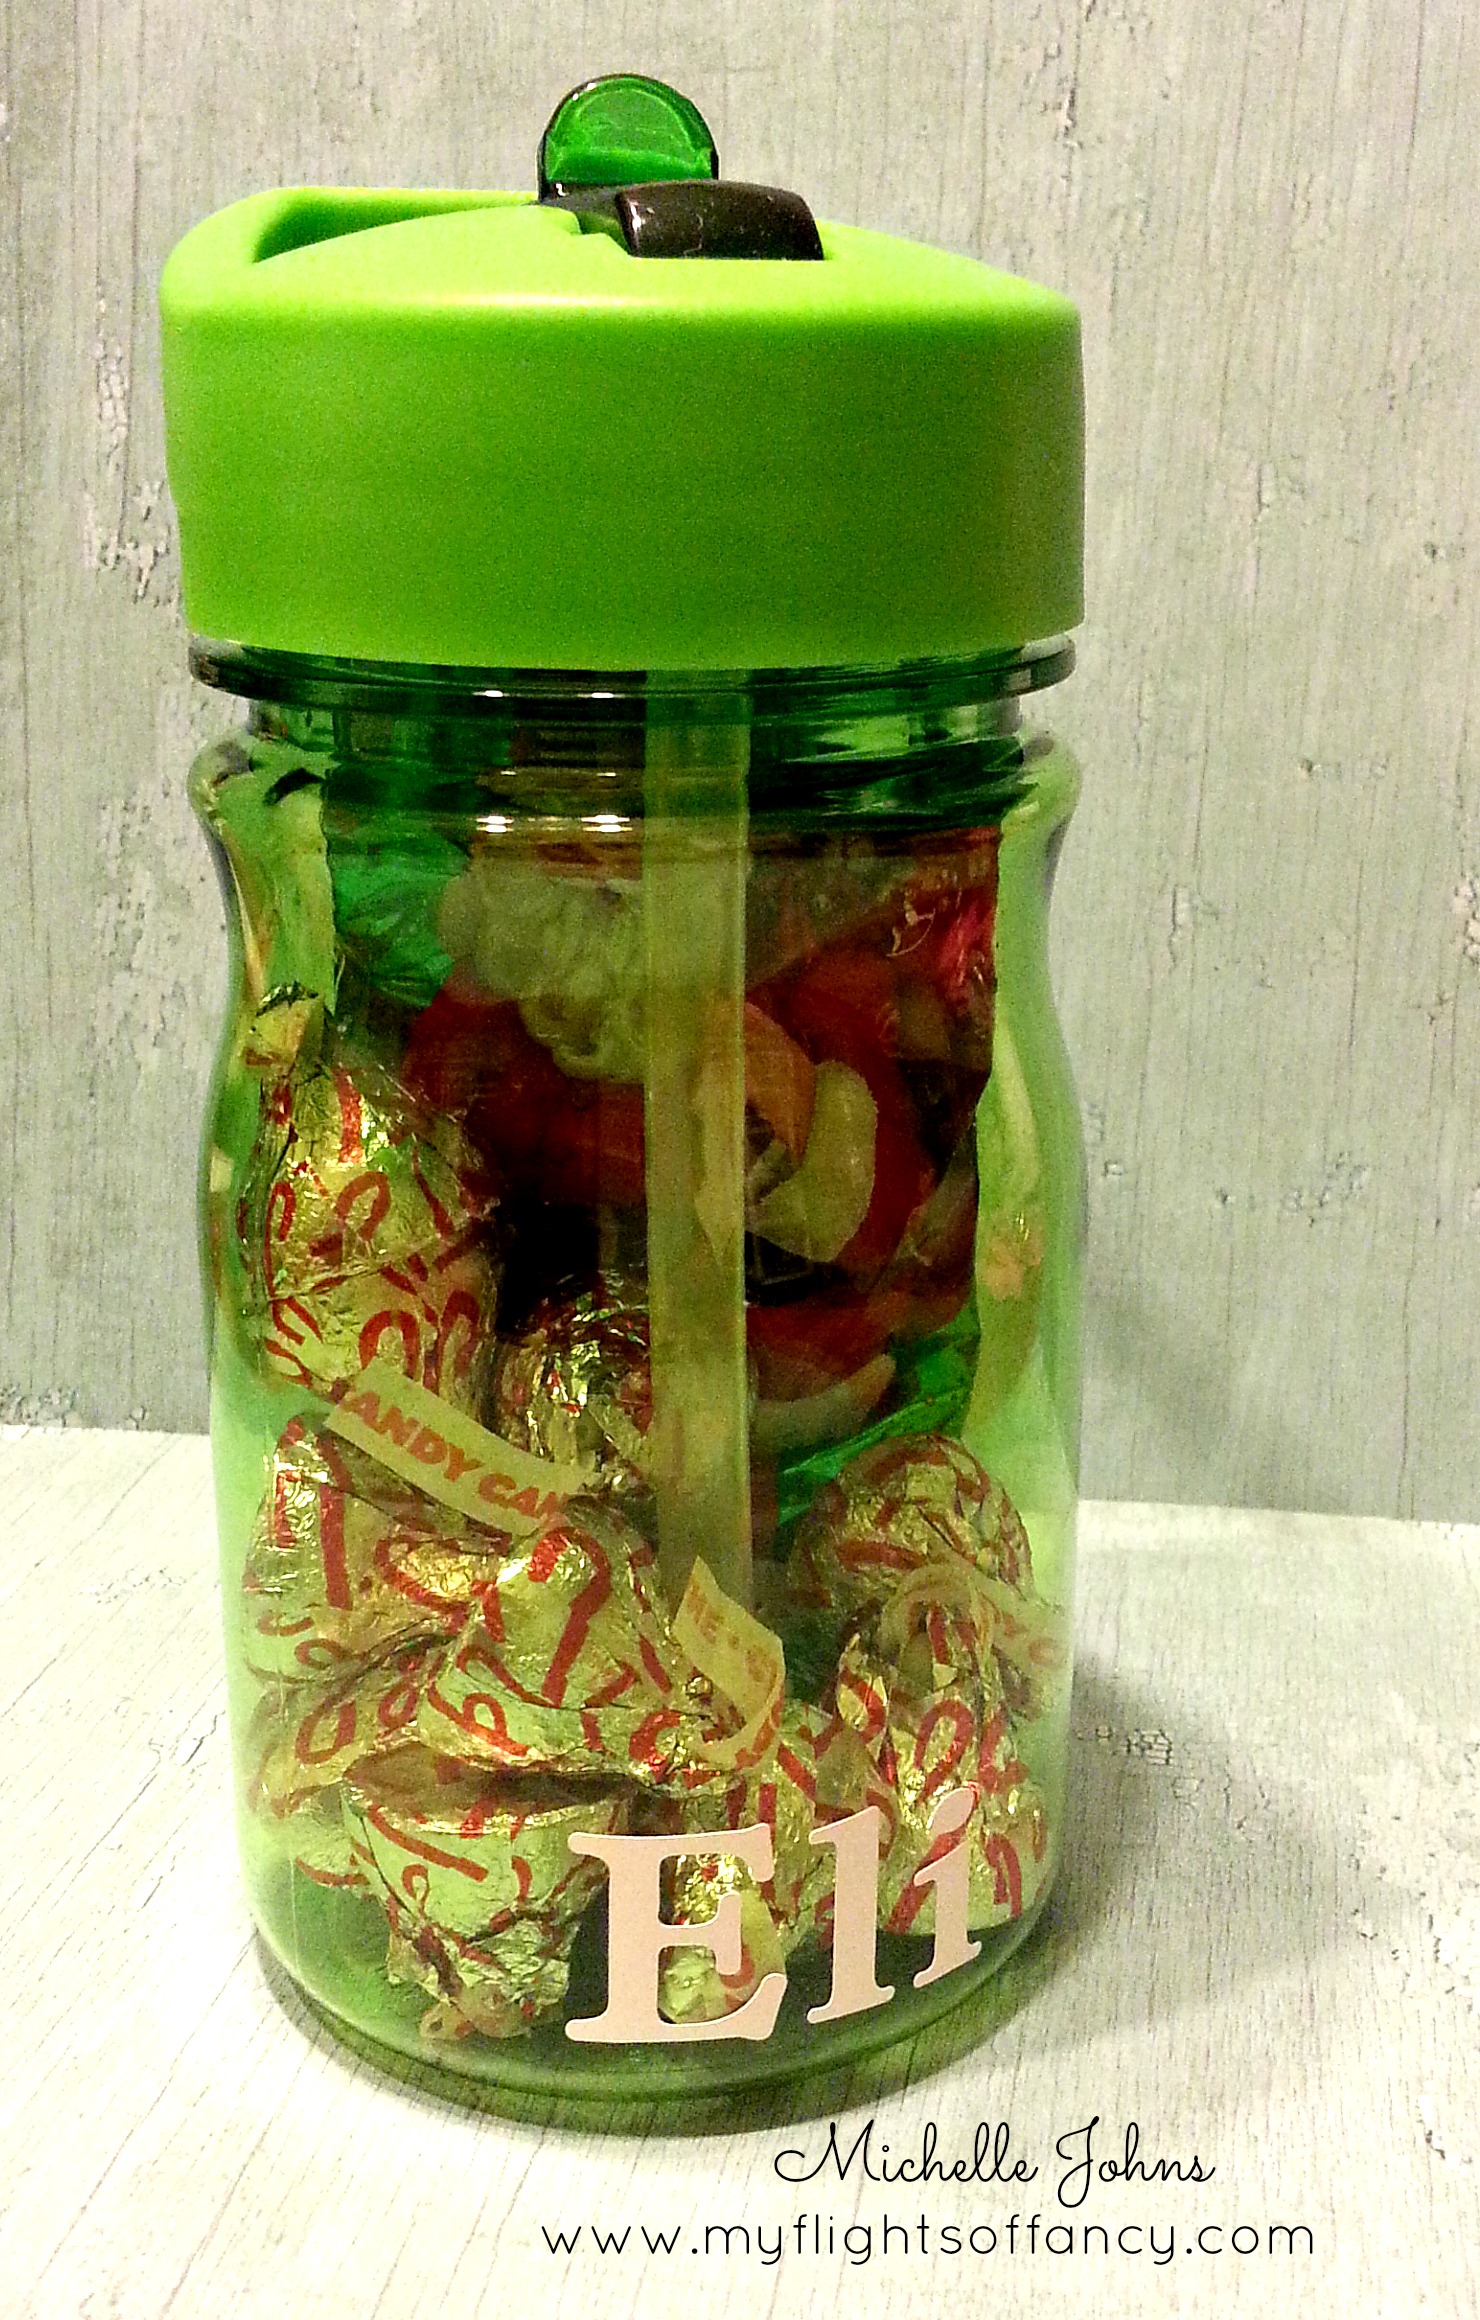
The smaller boys got smaller water bottles.

These made for perfect little gifties, and didn’t cost a lot. From what I saw, they all enjoyed them! (maybe it was just the candy that was inside though. . . LOL!)

Until tomorrow, stay crafty, my friend!

~ Michelle

Cookies!

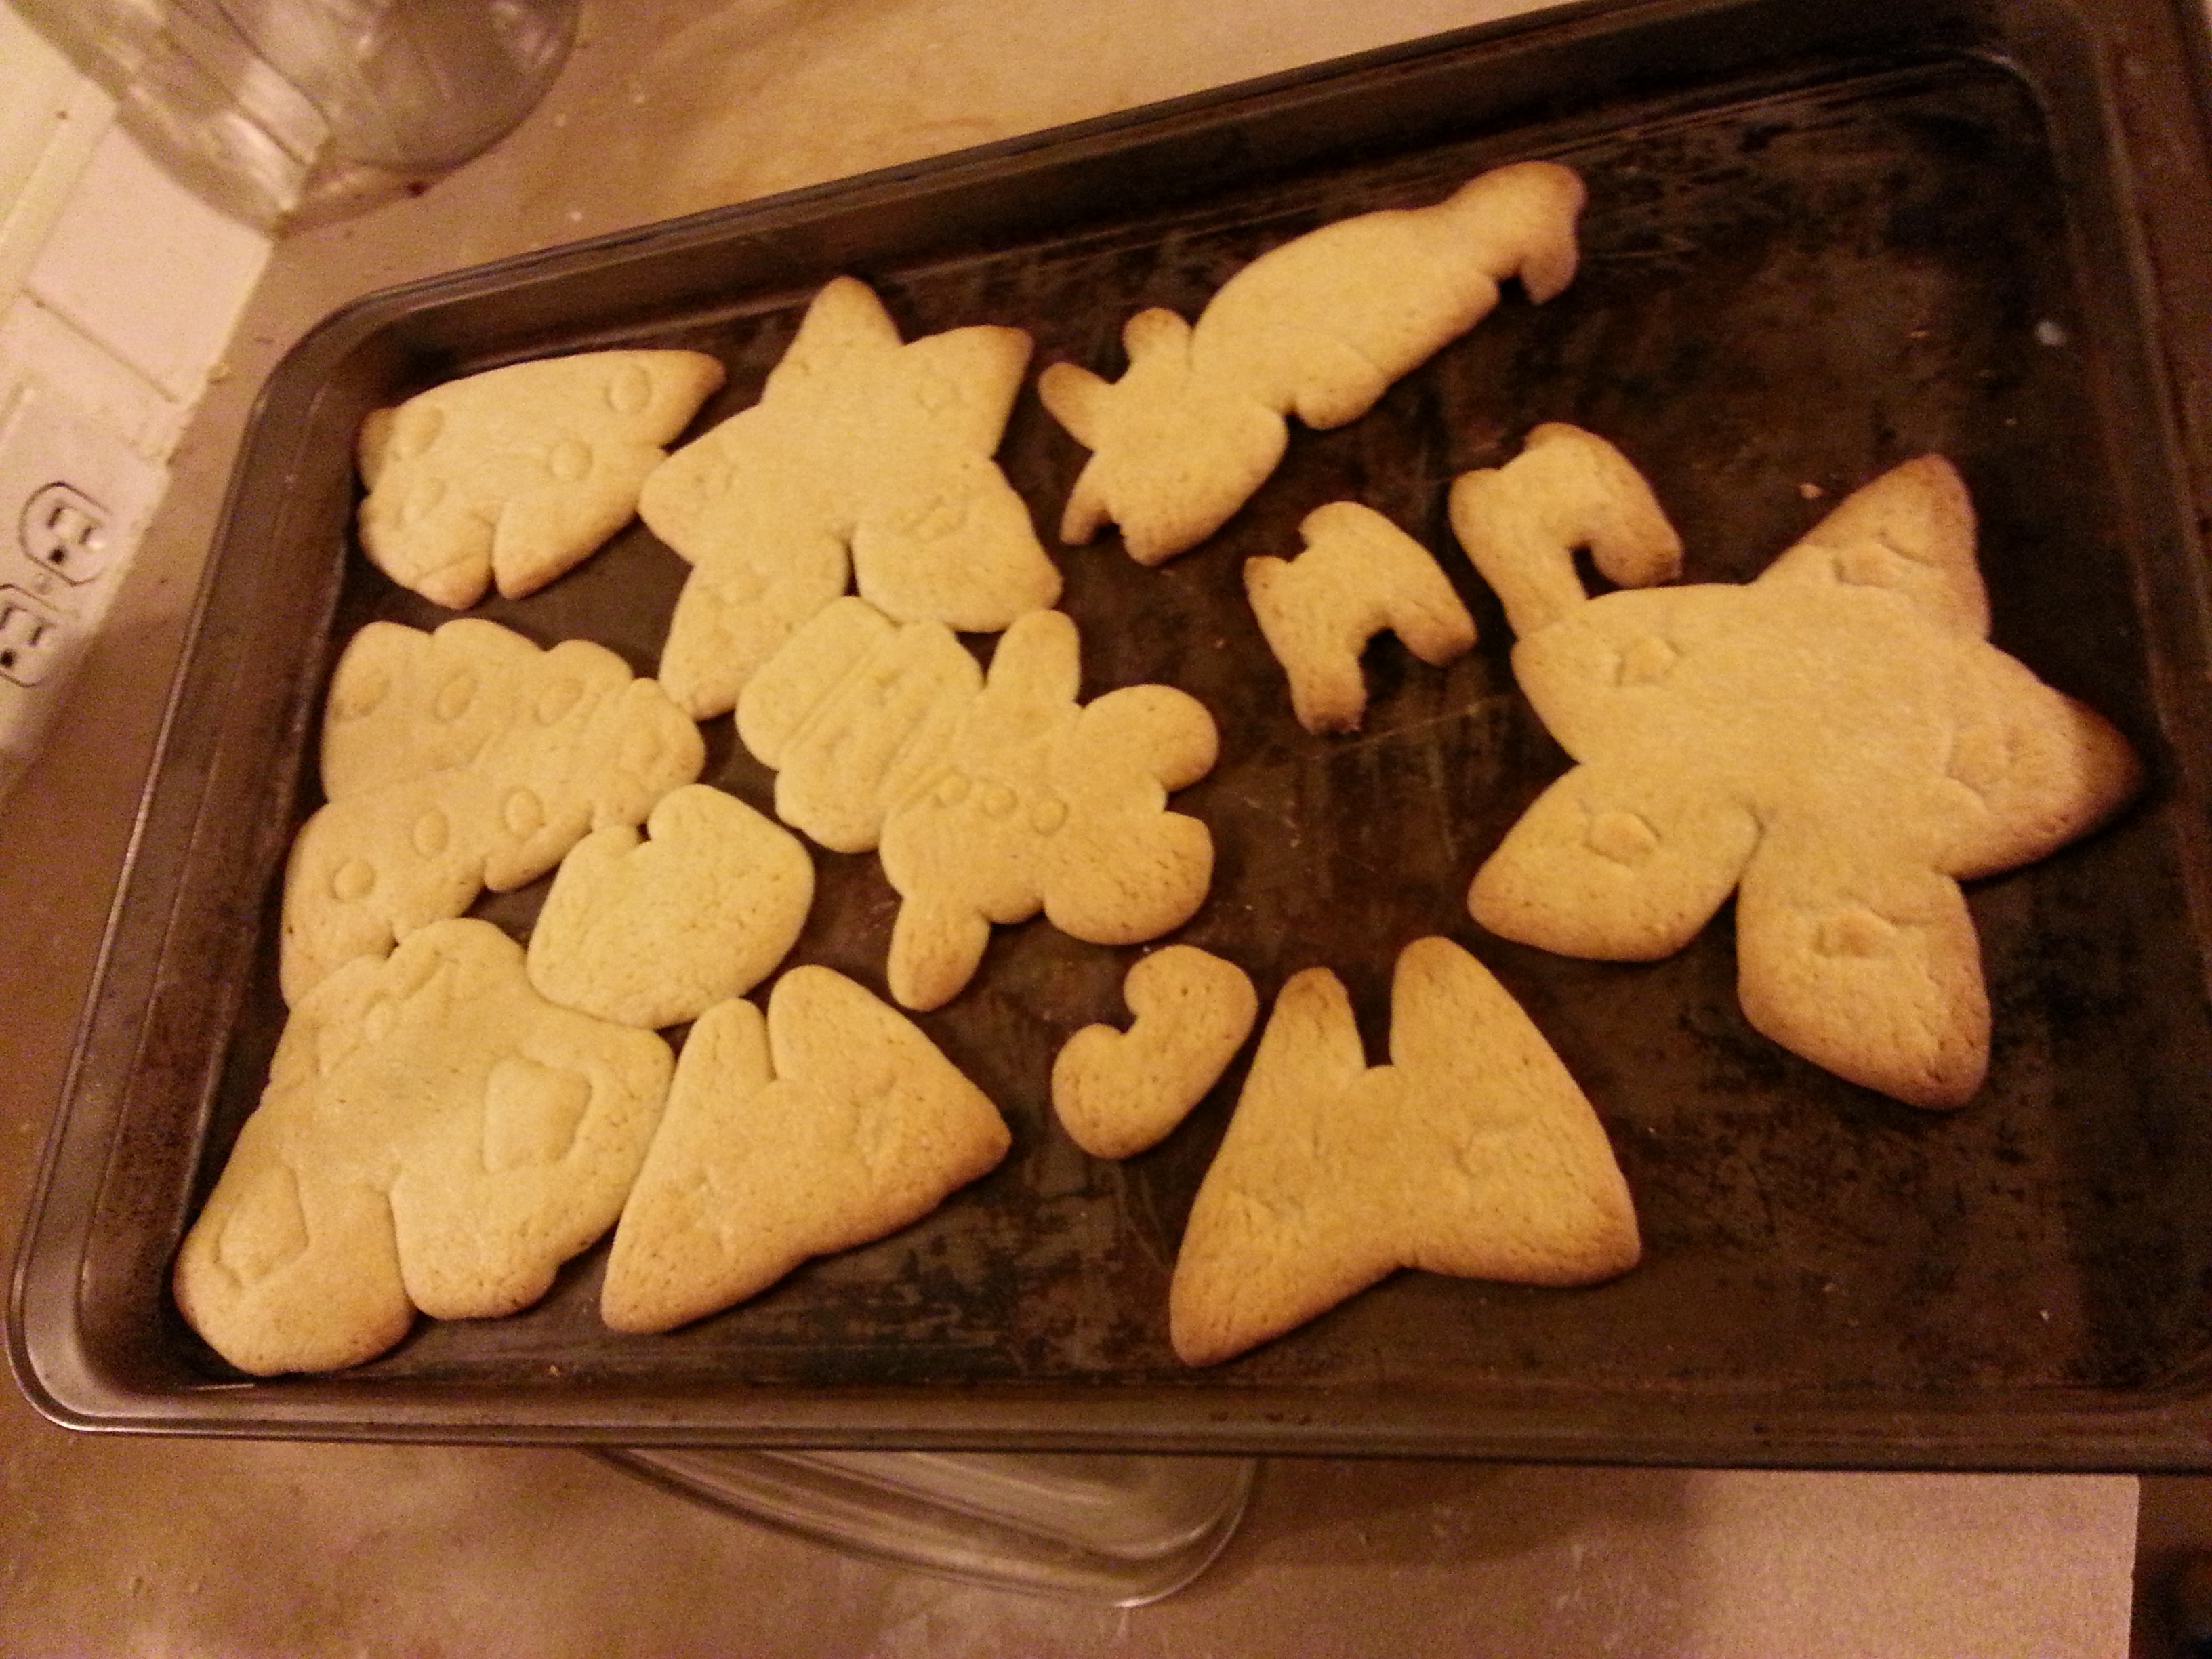
Audrey and I made cookies tonight with some 3-d cookie cutters. There are two pieces for every cookie….the main part and the “stand” for the cookie. They looked like great fun!

2015-01-02 22.30.45

Well . . . . As you can see. . . . They didnt turn out quite like we had planned!! LOL! They still taste good, but they sure don’t work like they are supposed to! I think our problem might have been that we didn’t chill the dough first. What do you think?

I hope you had a good day, and are able to be crafty this weekend!

~ Michelle

Once Upon a Day

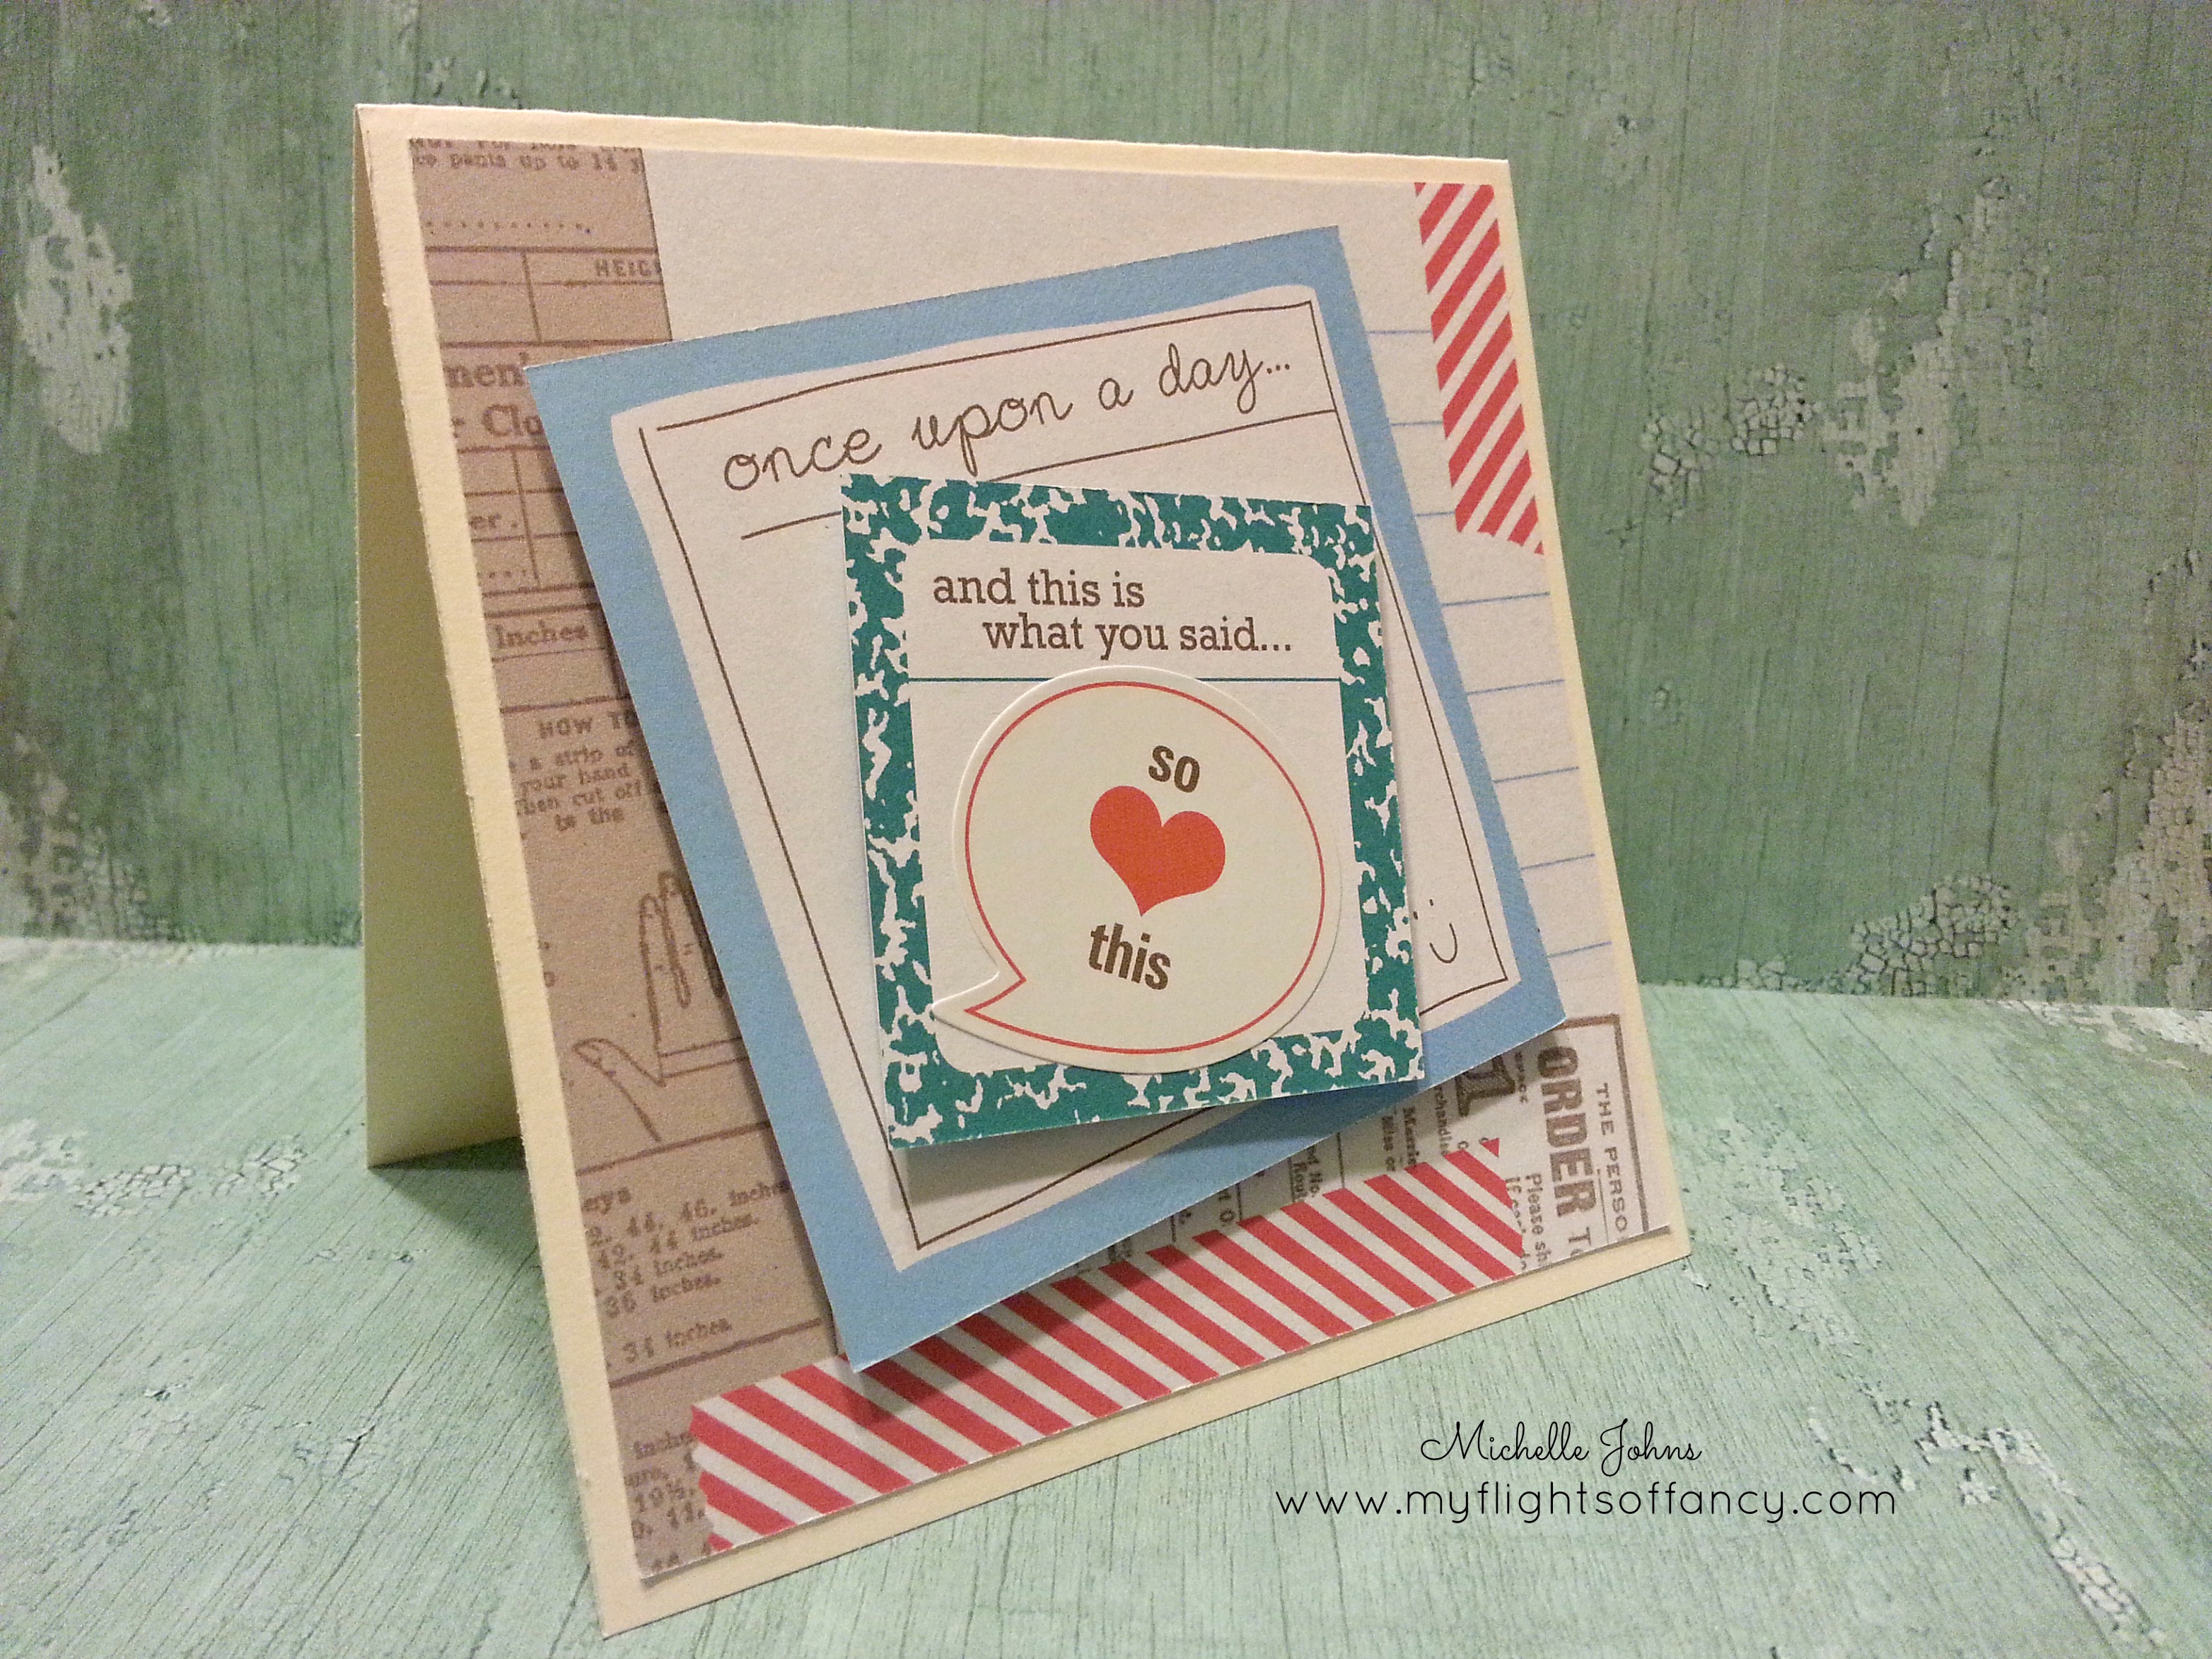
I decided to make a little card today.

onceuponaday

I used the Best Day Ever Assortment. It’s just a little 4 1/4 x 4 1/4 card base cut down from the value pack.

This fun little assortment is made to go with the My Crush Books, Modville & Bluebird.

I layered it with foam tape, and other than that . . . there was nothing else added to the card!

I think it’s a cute little thing! Still small enough to be mailed and enjoyed by someone special!

“This Moment” ~ January 2015 SOTM blog hop

Welcome to the January Stamp of the Month blog hop! We have 60 consultants participating this month, so you should be getting a LOT of inspiration! What a great thing for the beginning of a new year! Today, you should have arrived from Traci’s blog. If you happen to get lost along the way, Melinda has the whole hop listed on her blog.

mini-01

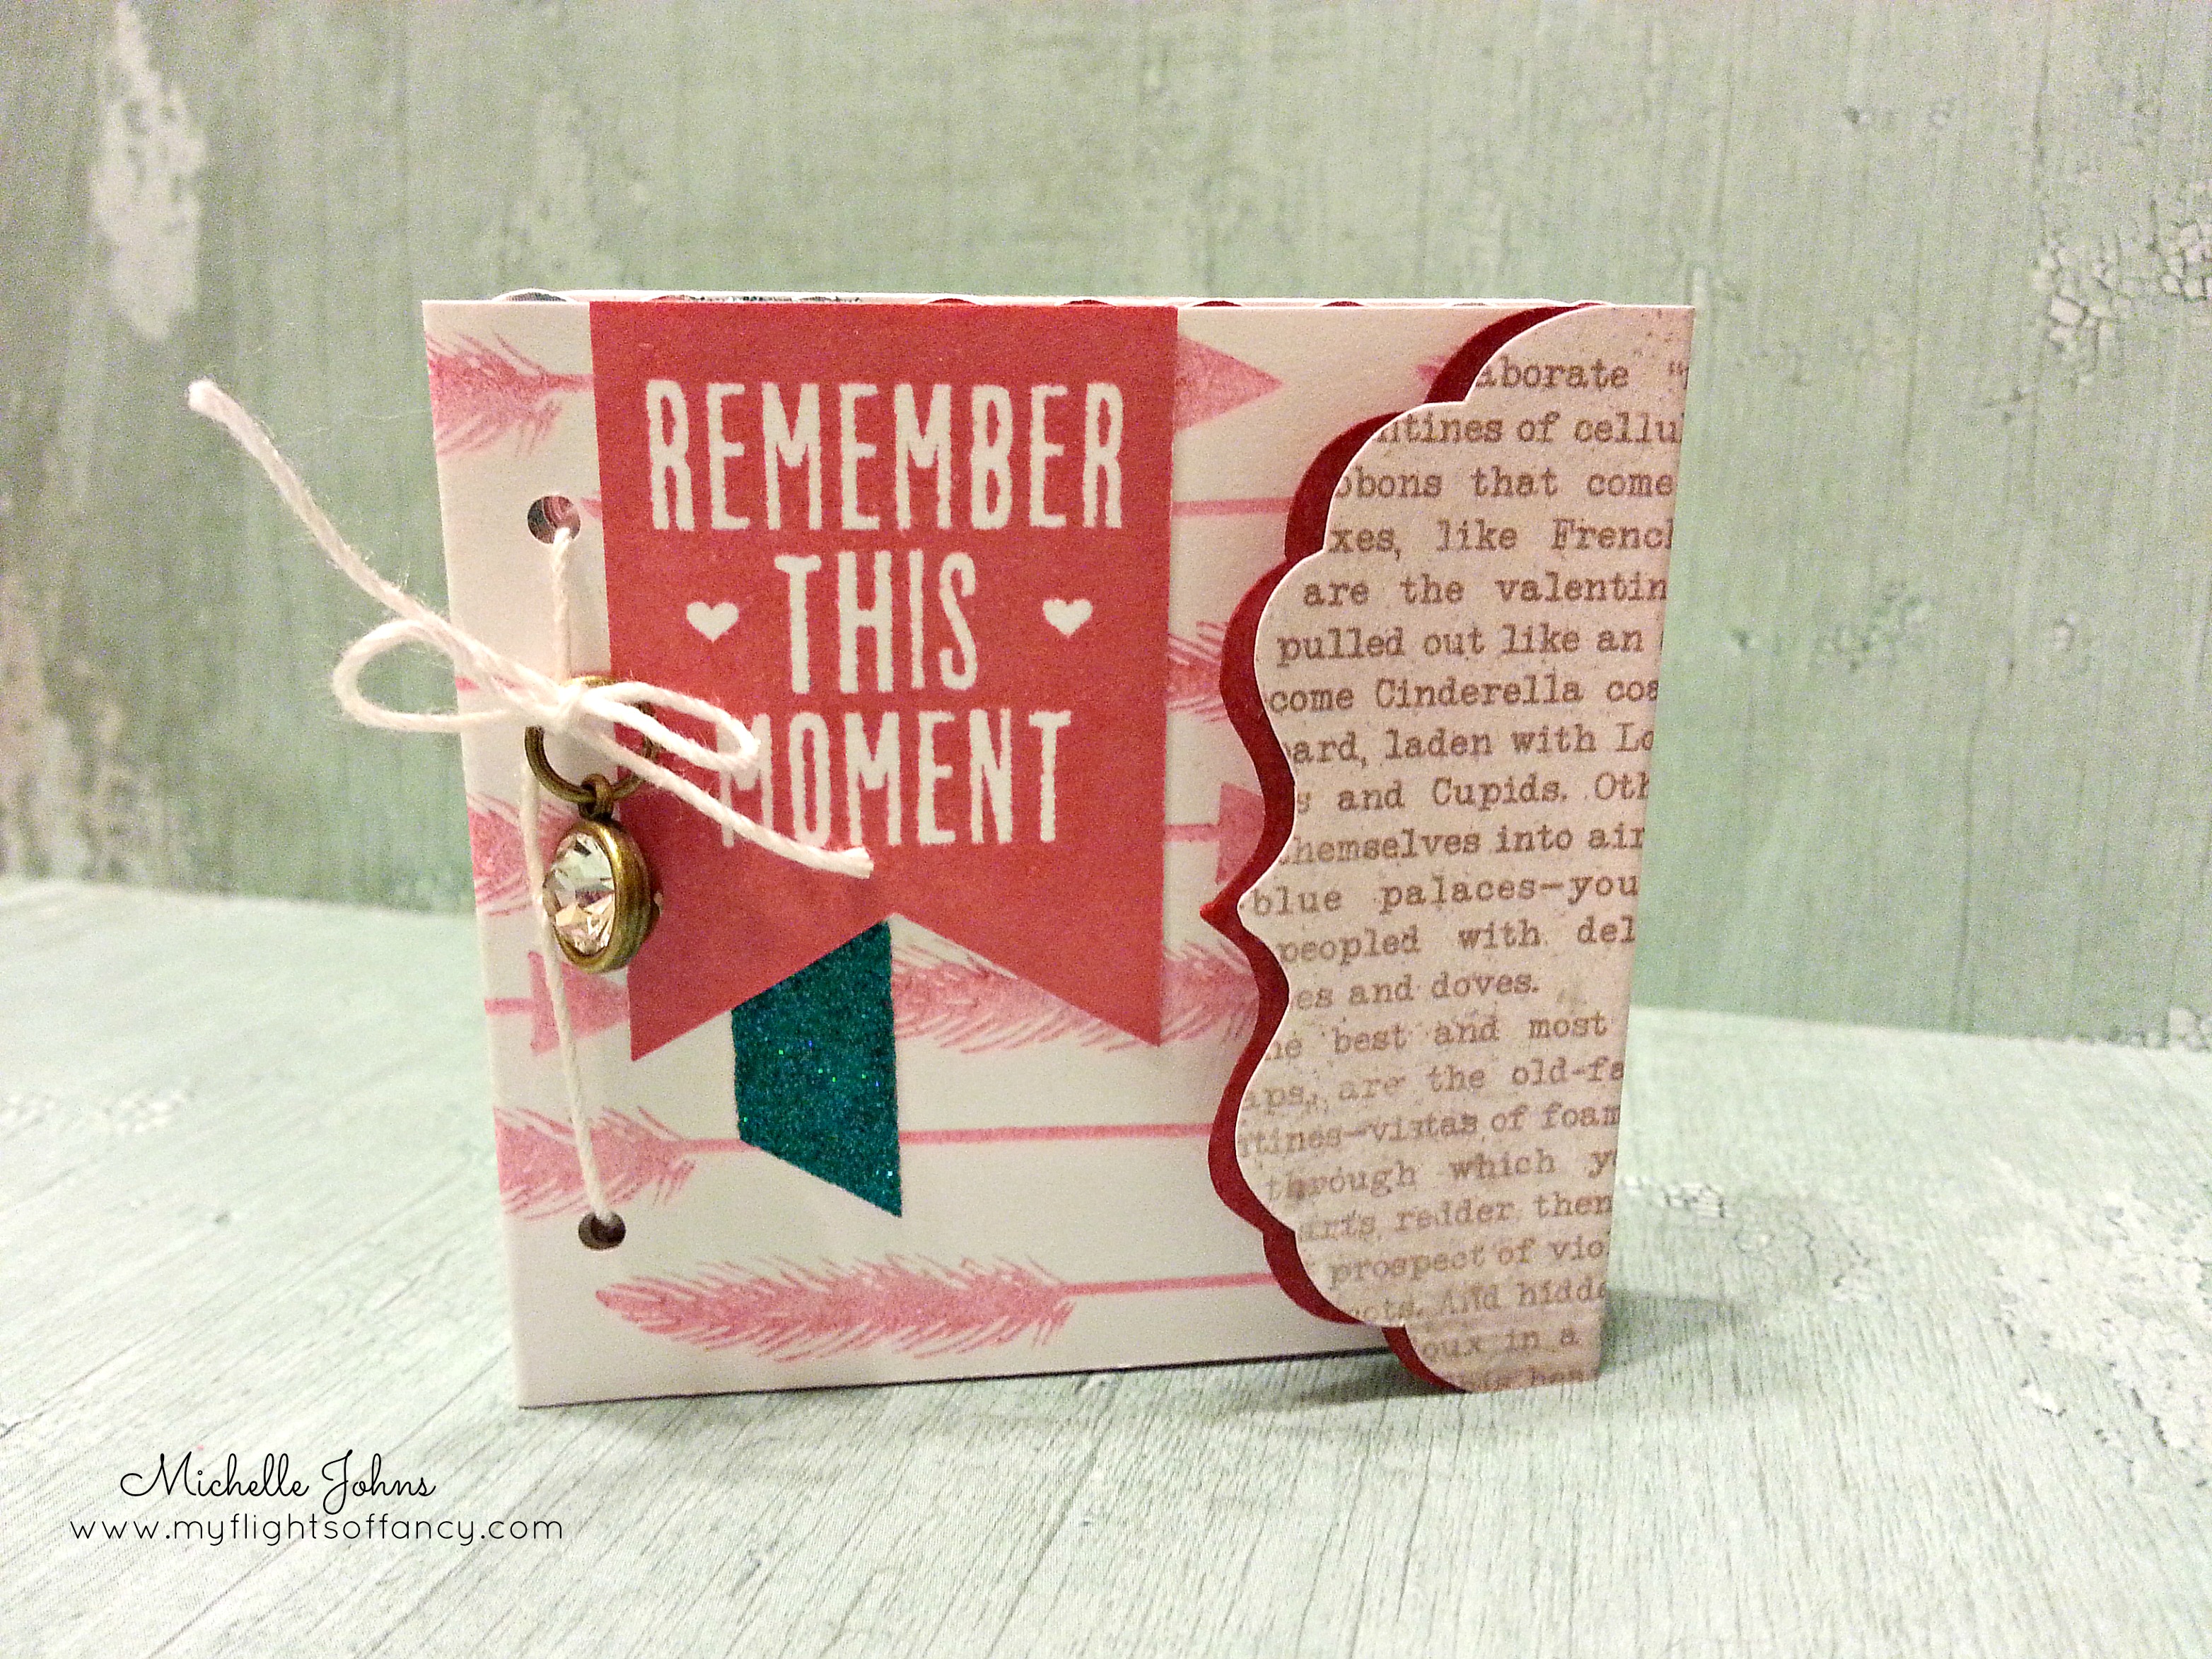
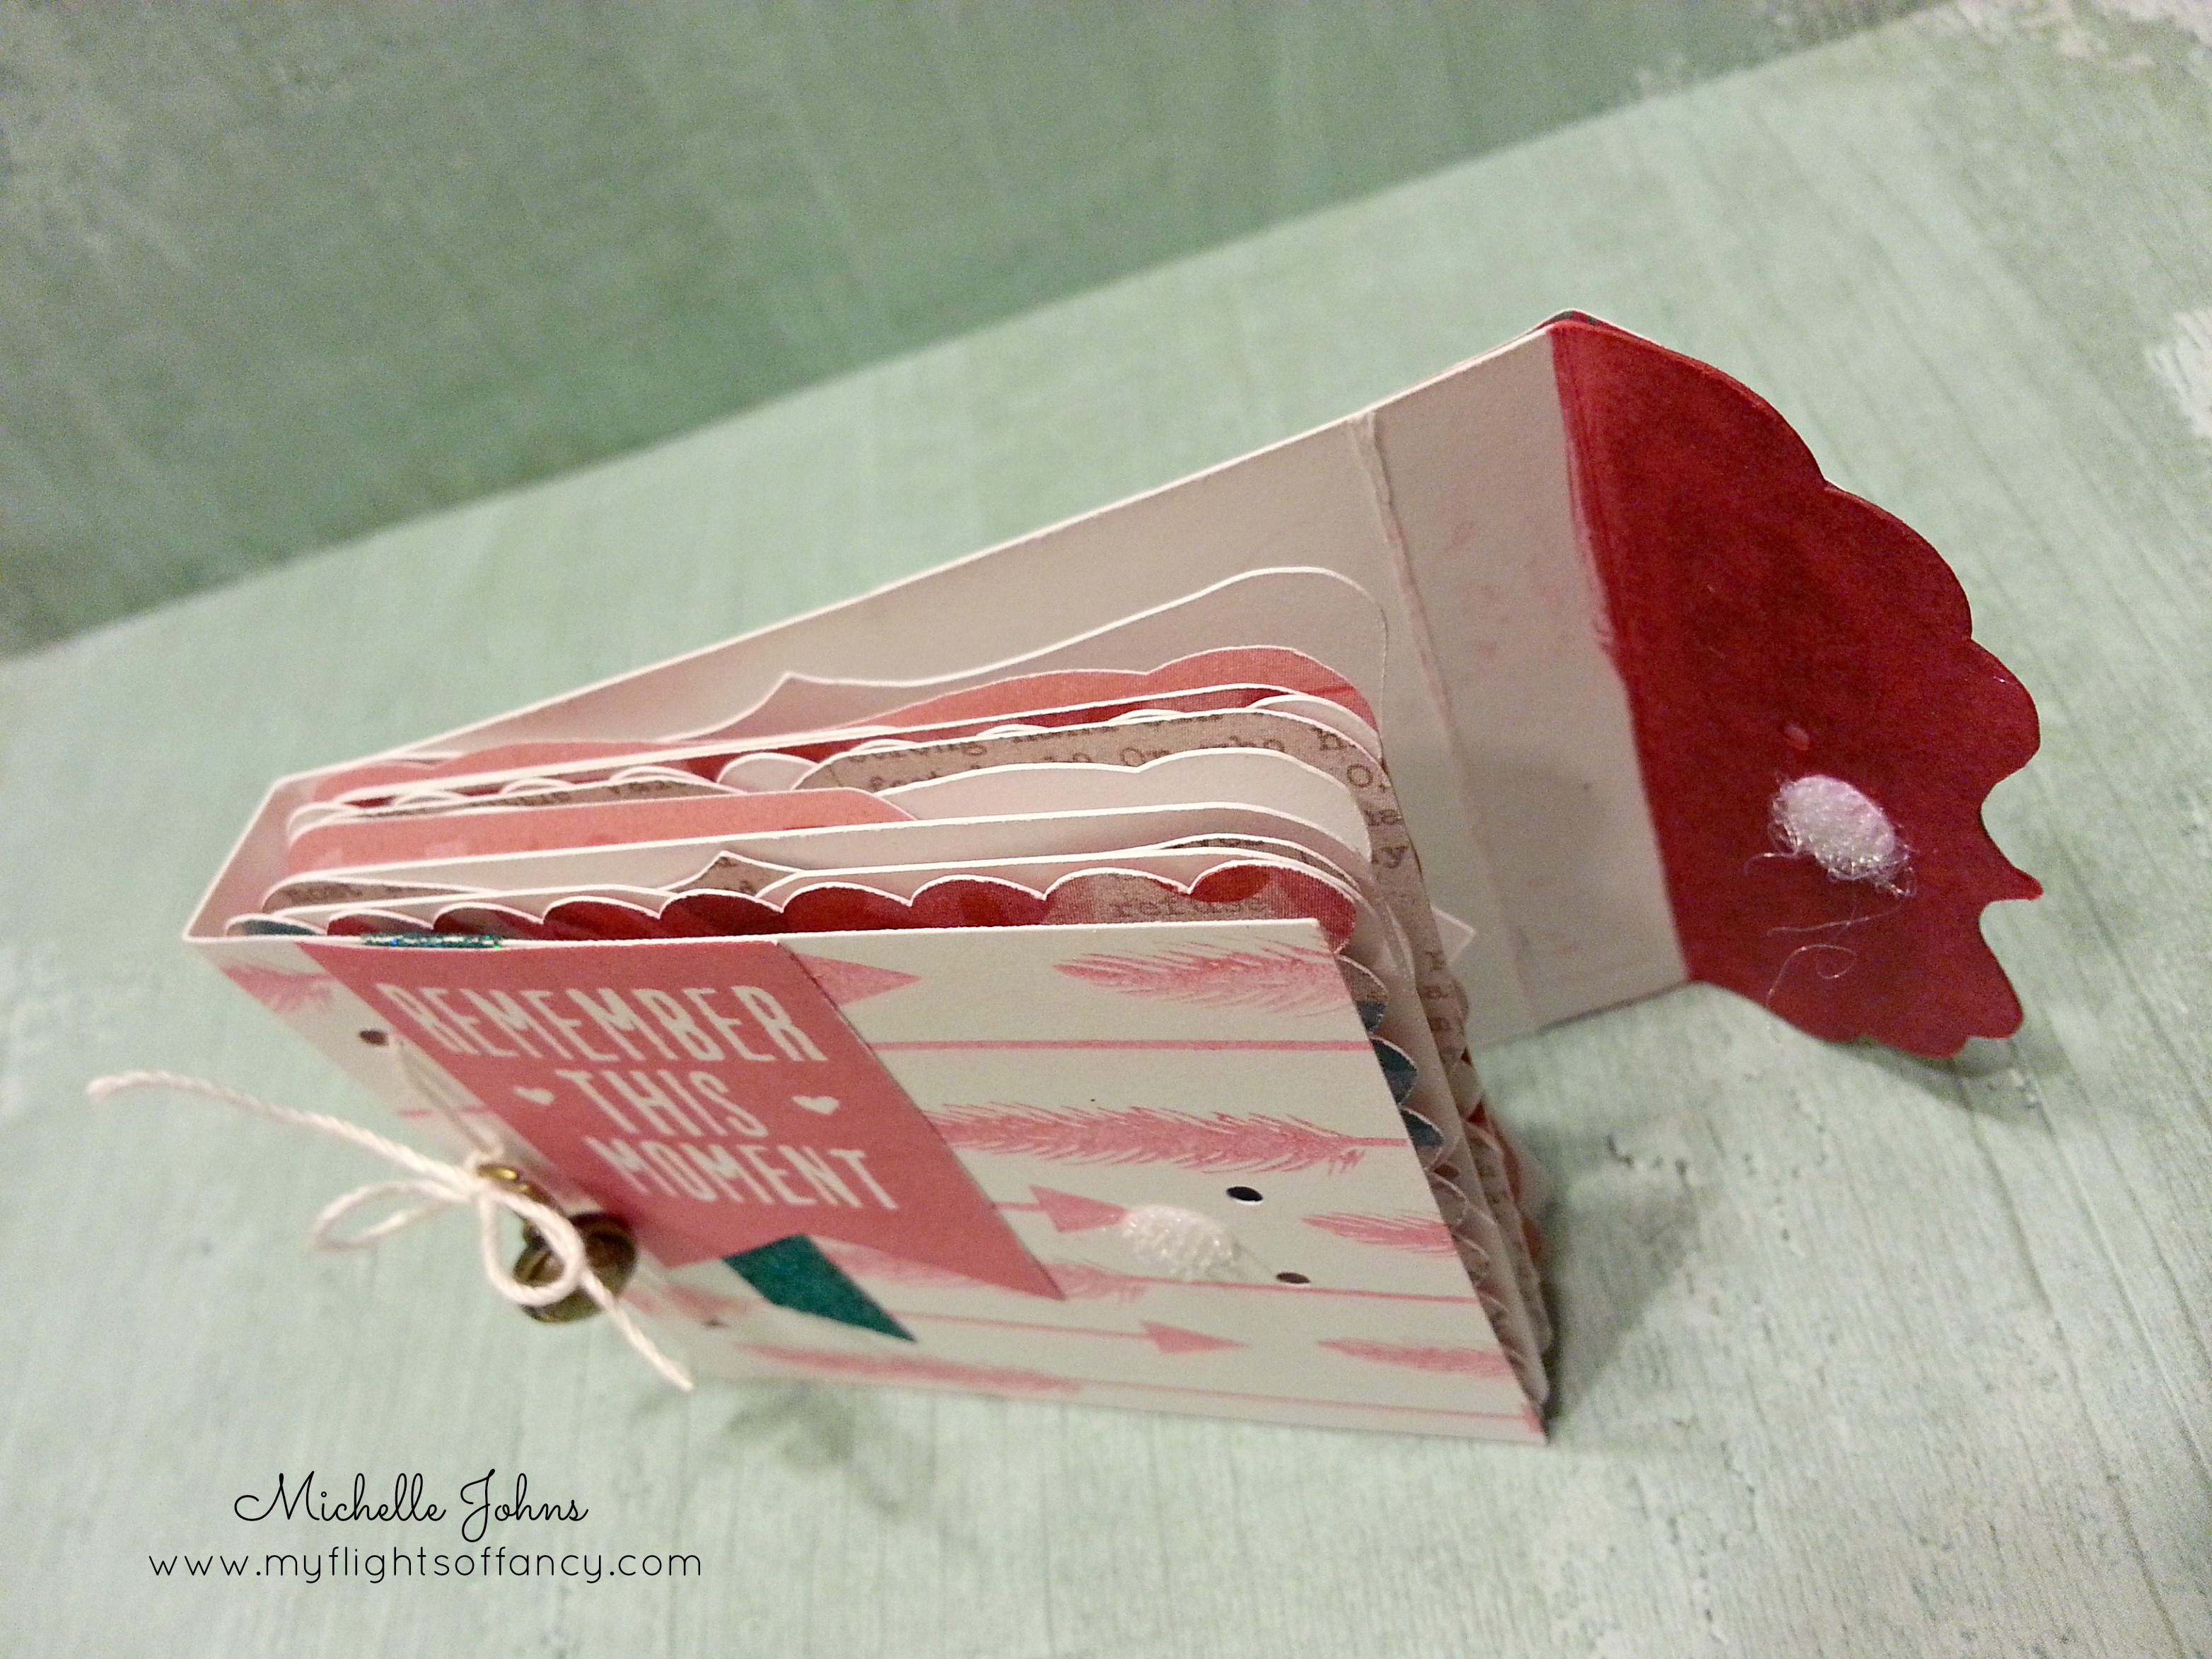
I wanted to make something fun with some of the fun papers from the Seasonal Expressions 1 book. I used the Heartstrings paper pack with some White Daisy Cardstock, and made this cute little mini album from the Artiste Cartridge. I added a little charm too, just for a bit more sparkle!

mini-02

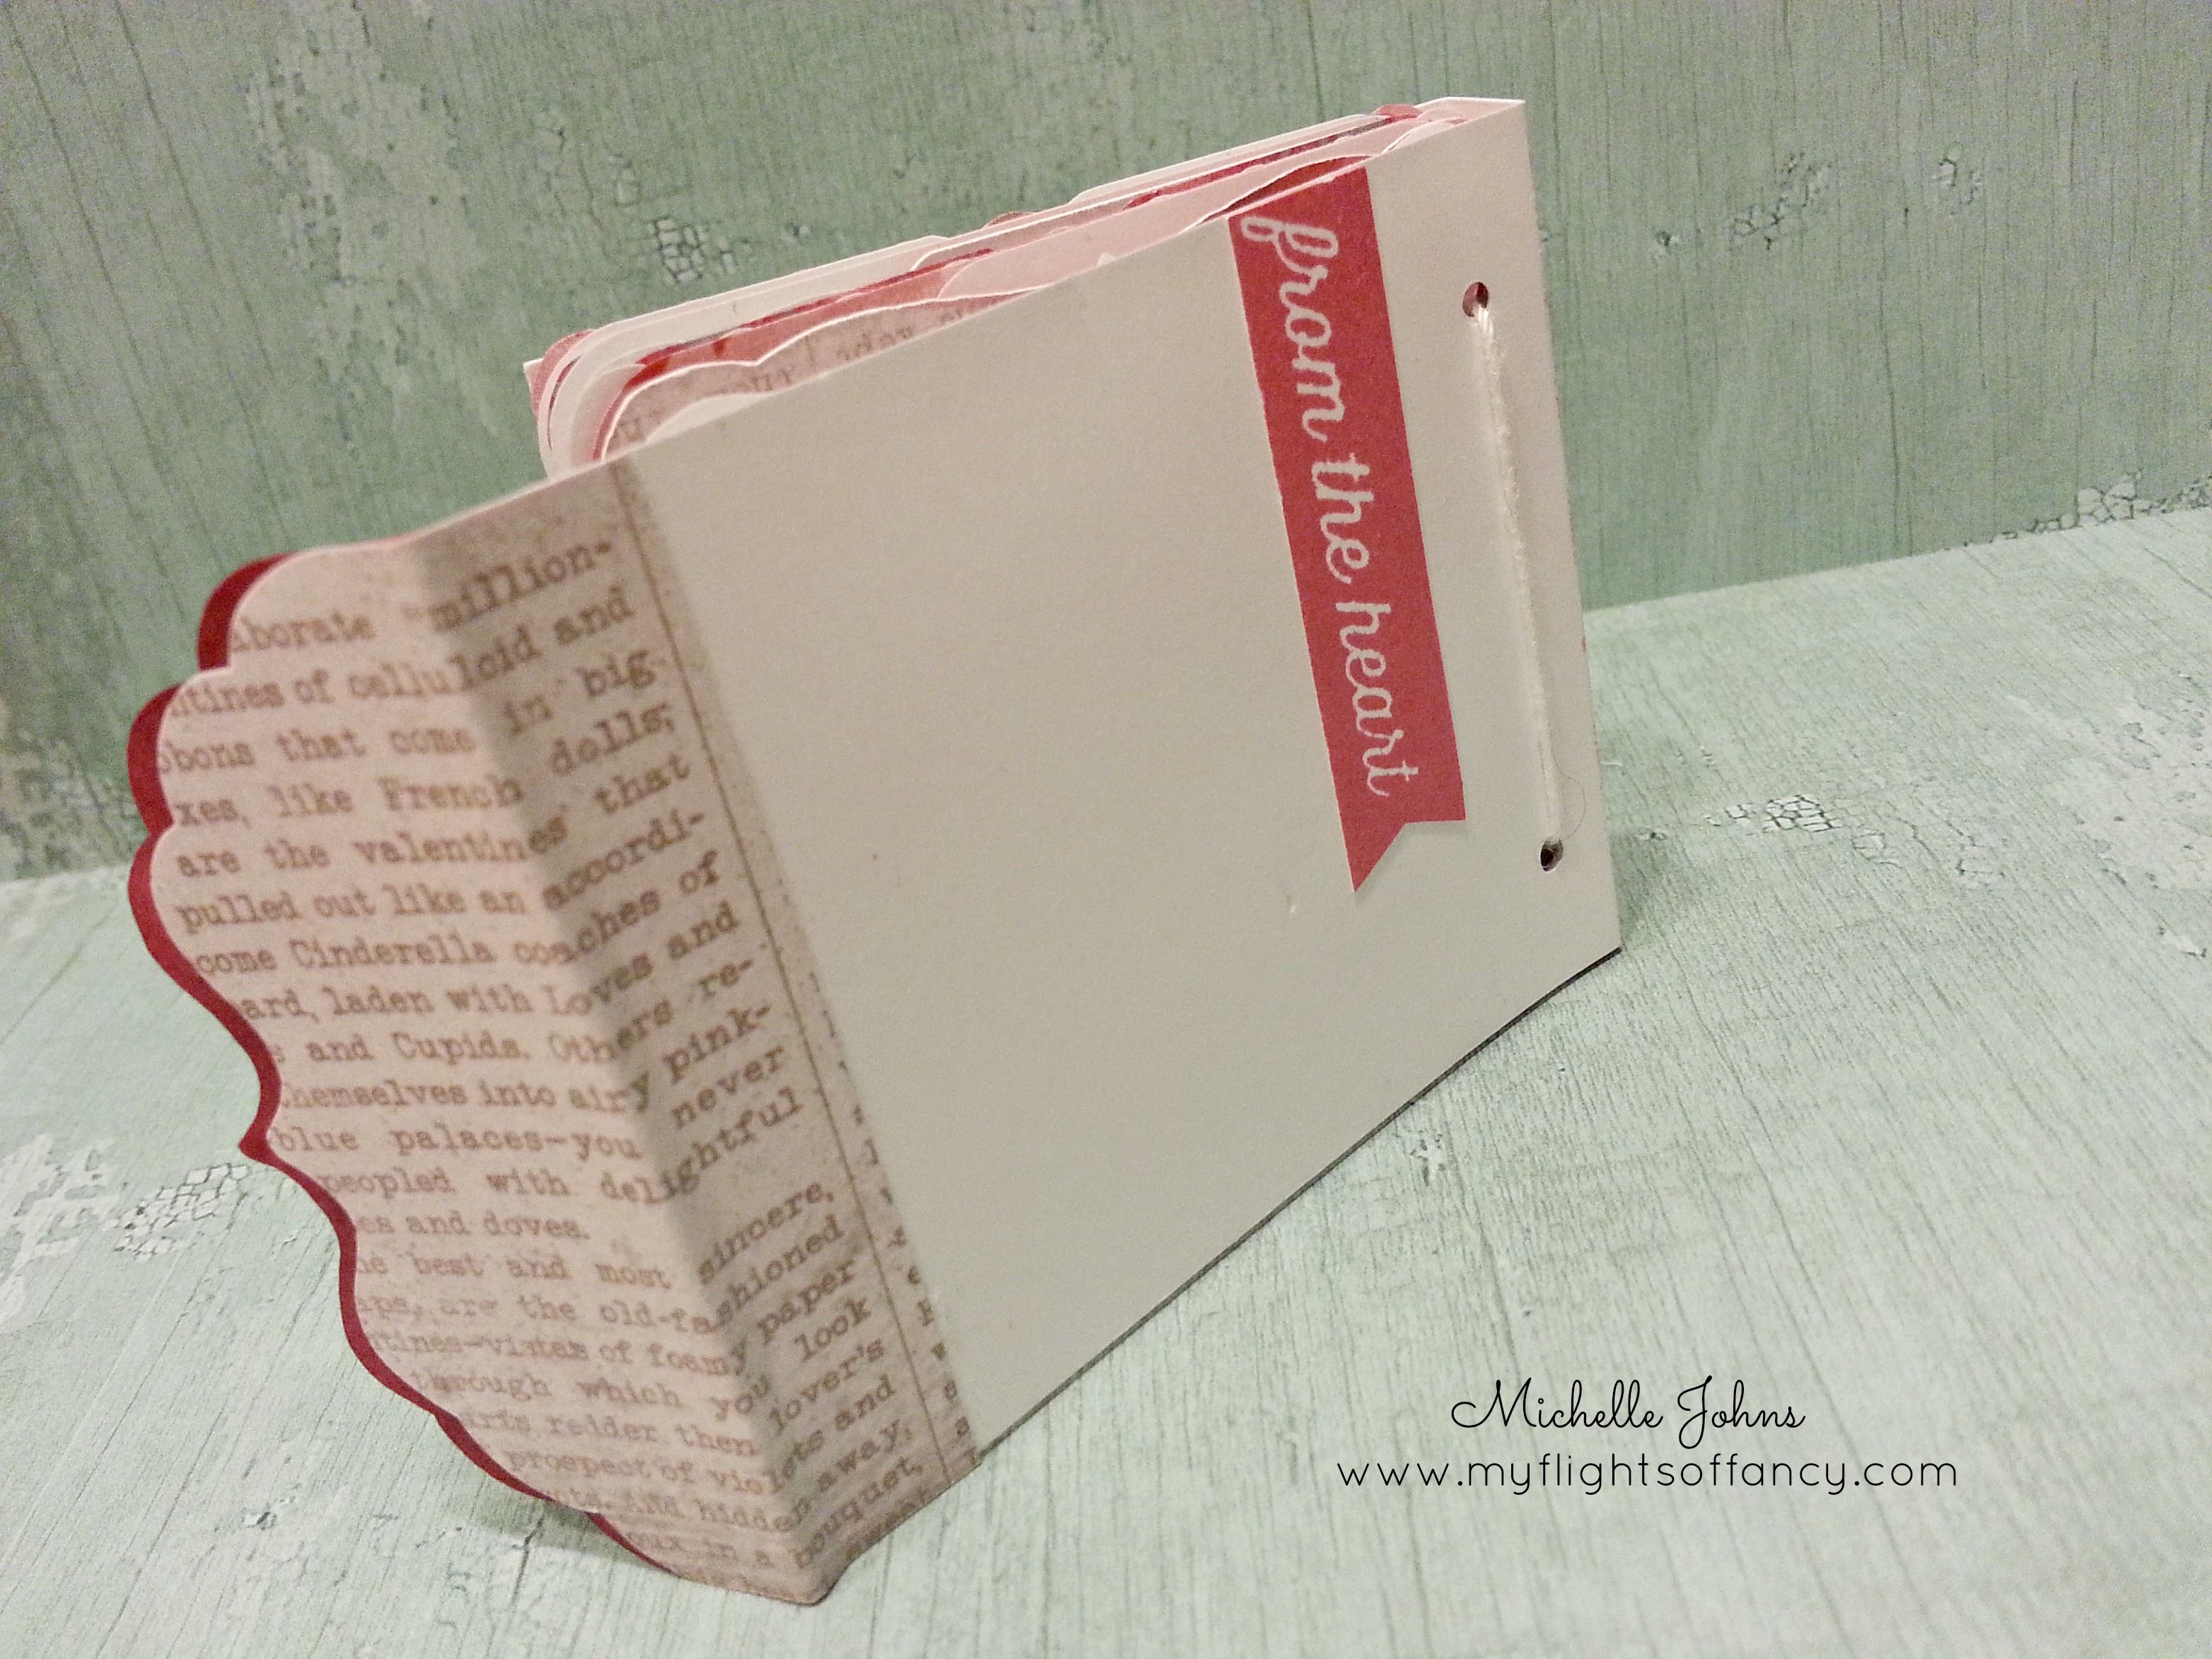
I cut out the mini album, and then stamped the arrows in 2nd generation Hollyhock ink on the front cover. I inked the flap with hollyhock ink, and it isn’t quite dry in the pics, that’s why it’s a bit dark. I stamped the little banner image on the front and the back in hollyhock ink too. I decided I needed a little bit more, so I used a small scrap piece to cover the front flap. I just used a pencil and traced it, and cut it out with my micro tip scissors.

mini-03

I tied the whole thing together with some white thread that I have on hand, and attached the charm just to add a little ‘sumim sumin’.

This book measures just 2.5 inches tall, but it is perfect for little notes, or to maybe make some ‘love coupons’!

I didn’t have my artwork up earlier, because the hubs and I were at the dealership getting me a new (to me) car! The one I was driving was just slowly dying, and we couldn’t afford to keep dumping money into it. So, I figured I could share my new little car.

2014-12-31 17.48.32

Thanks for stopping by! I hope you have enjoyed my project! Now you will hop on over to Lauren’s blog!

Until next time, stay crafty my friend!

~Michelle

Seasonal Expressions Blog Hop

So, as you have seen, there is a new book available, that complements the Annual Inspirations book. There are some SUPER fun things in this book! We have almost 40 ladies participating in this blog hop to show off some of these fun things!! Today, you should have arrived from Jacquelin’s blog. If you started here, no worries, it’s a circular hop! If you happen to get lost along the way, Melinda has the whole list up on her blog, just for you!

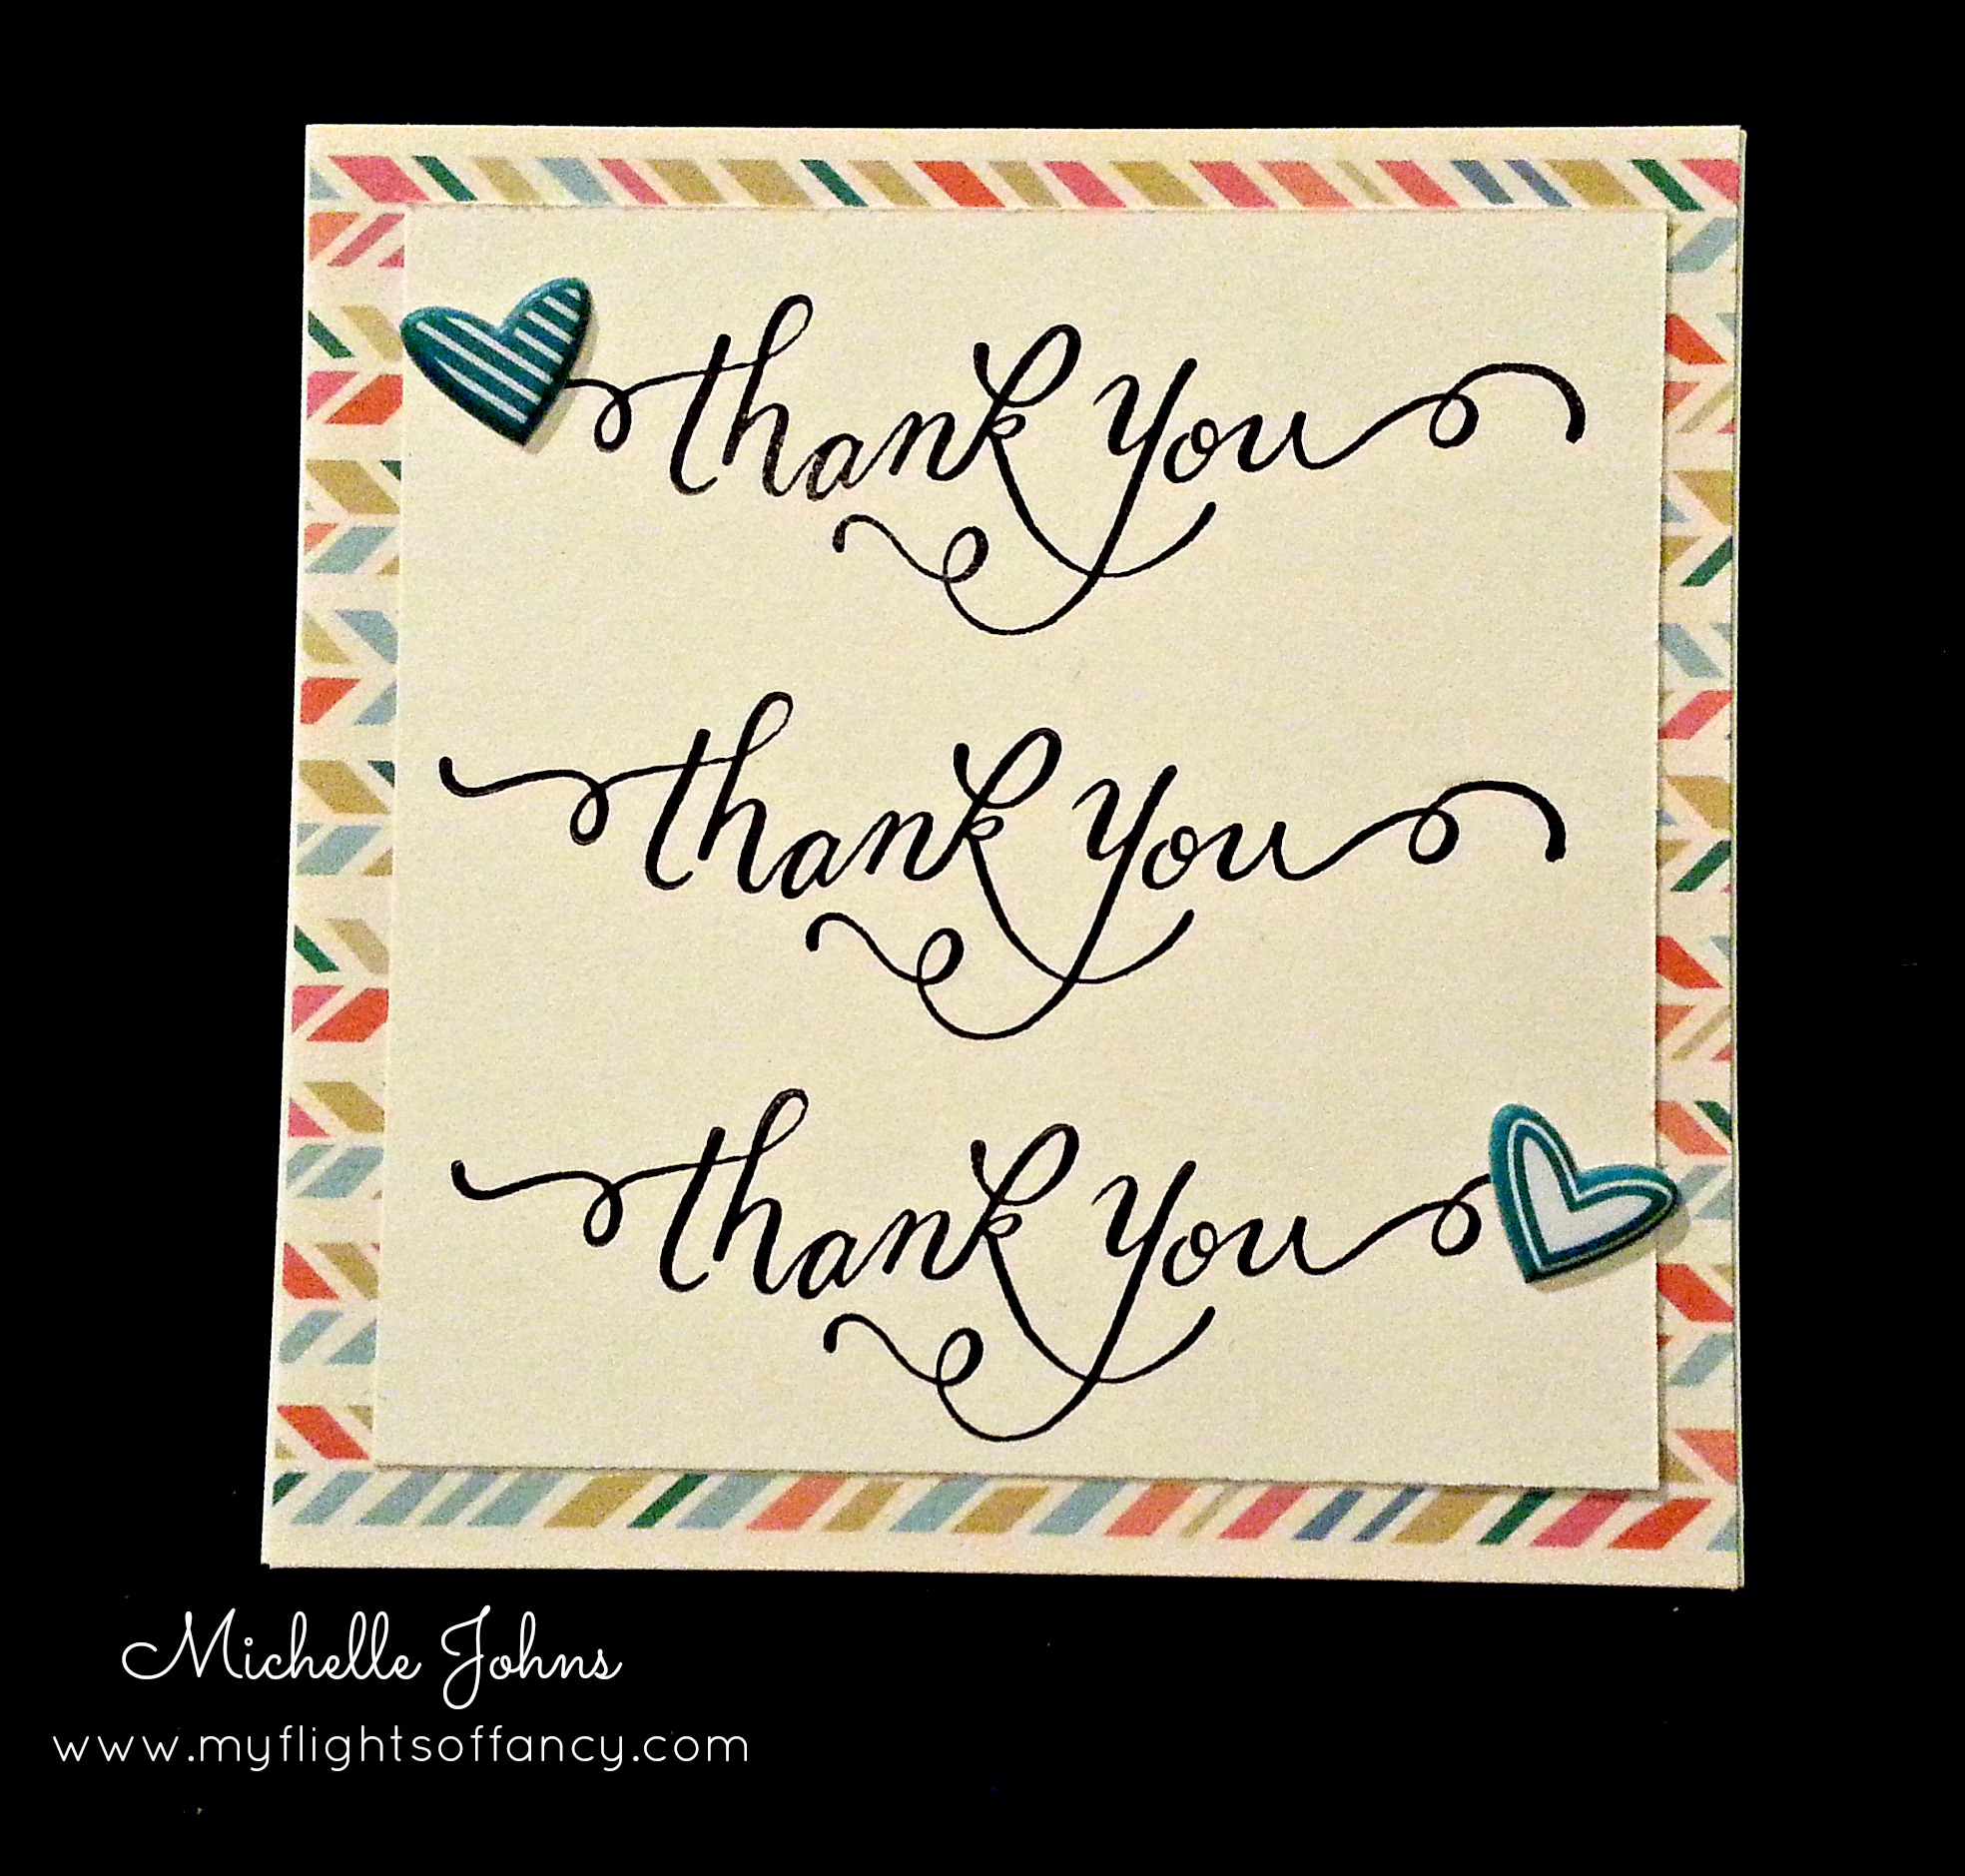
Today, I wanted to show you a cute little card based off the “Hello” card in the Annual Inspirations book, page 118.

hopscotch-01

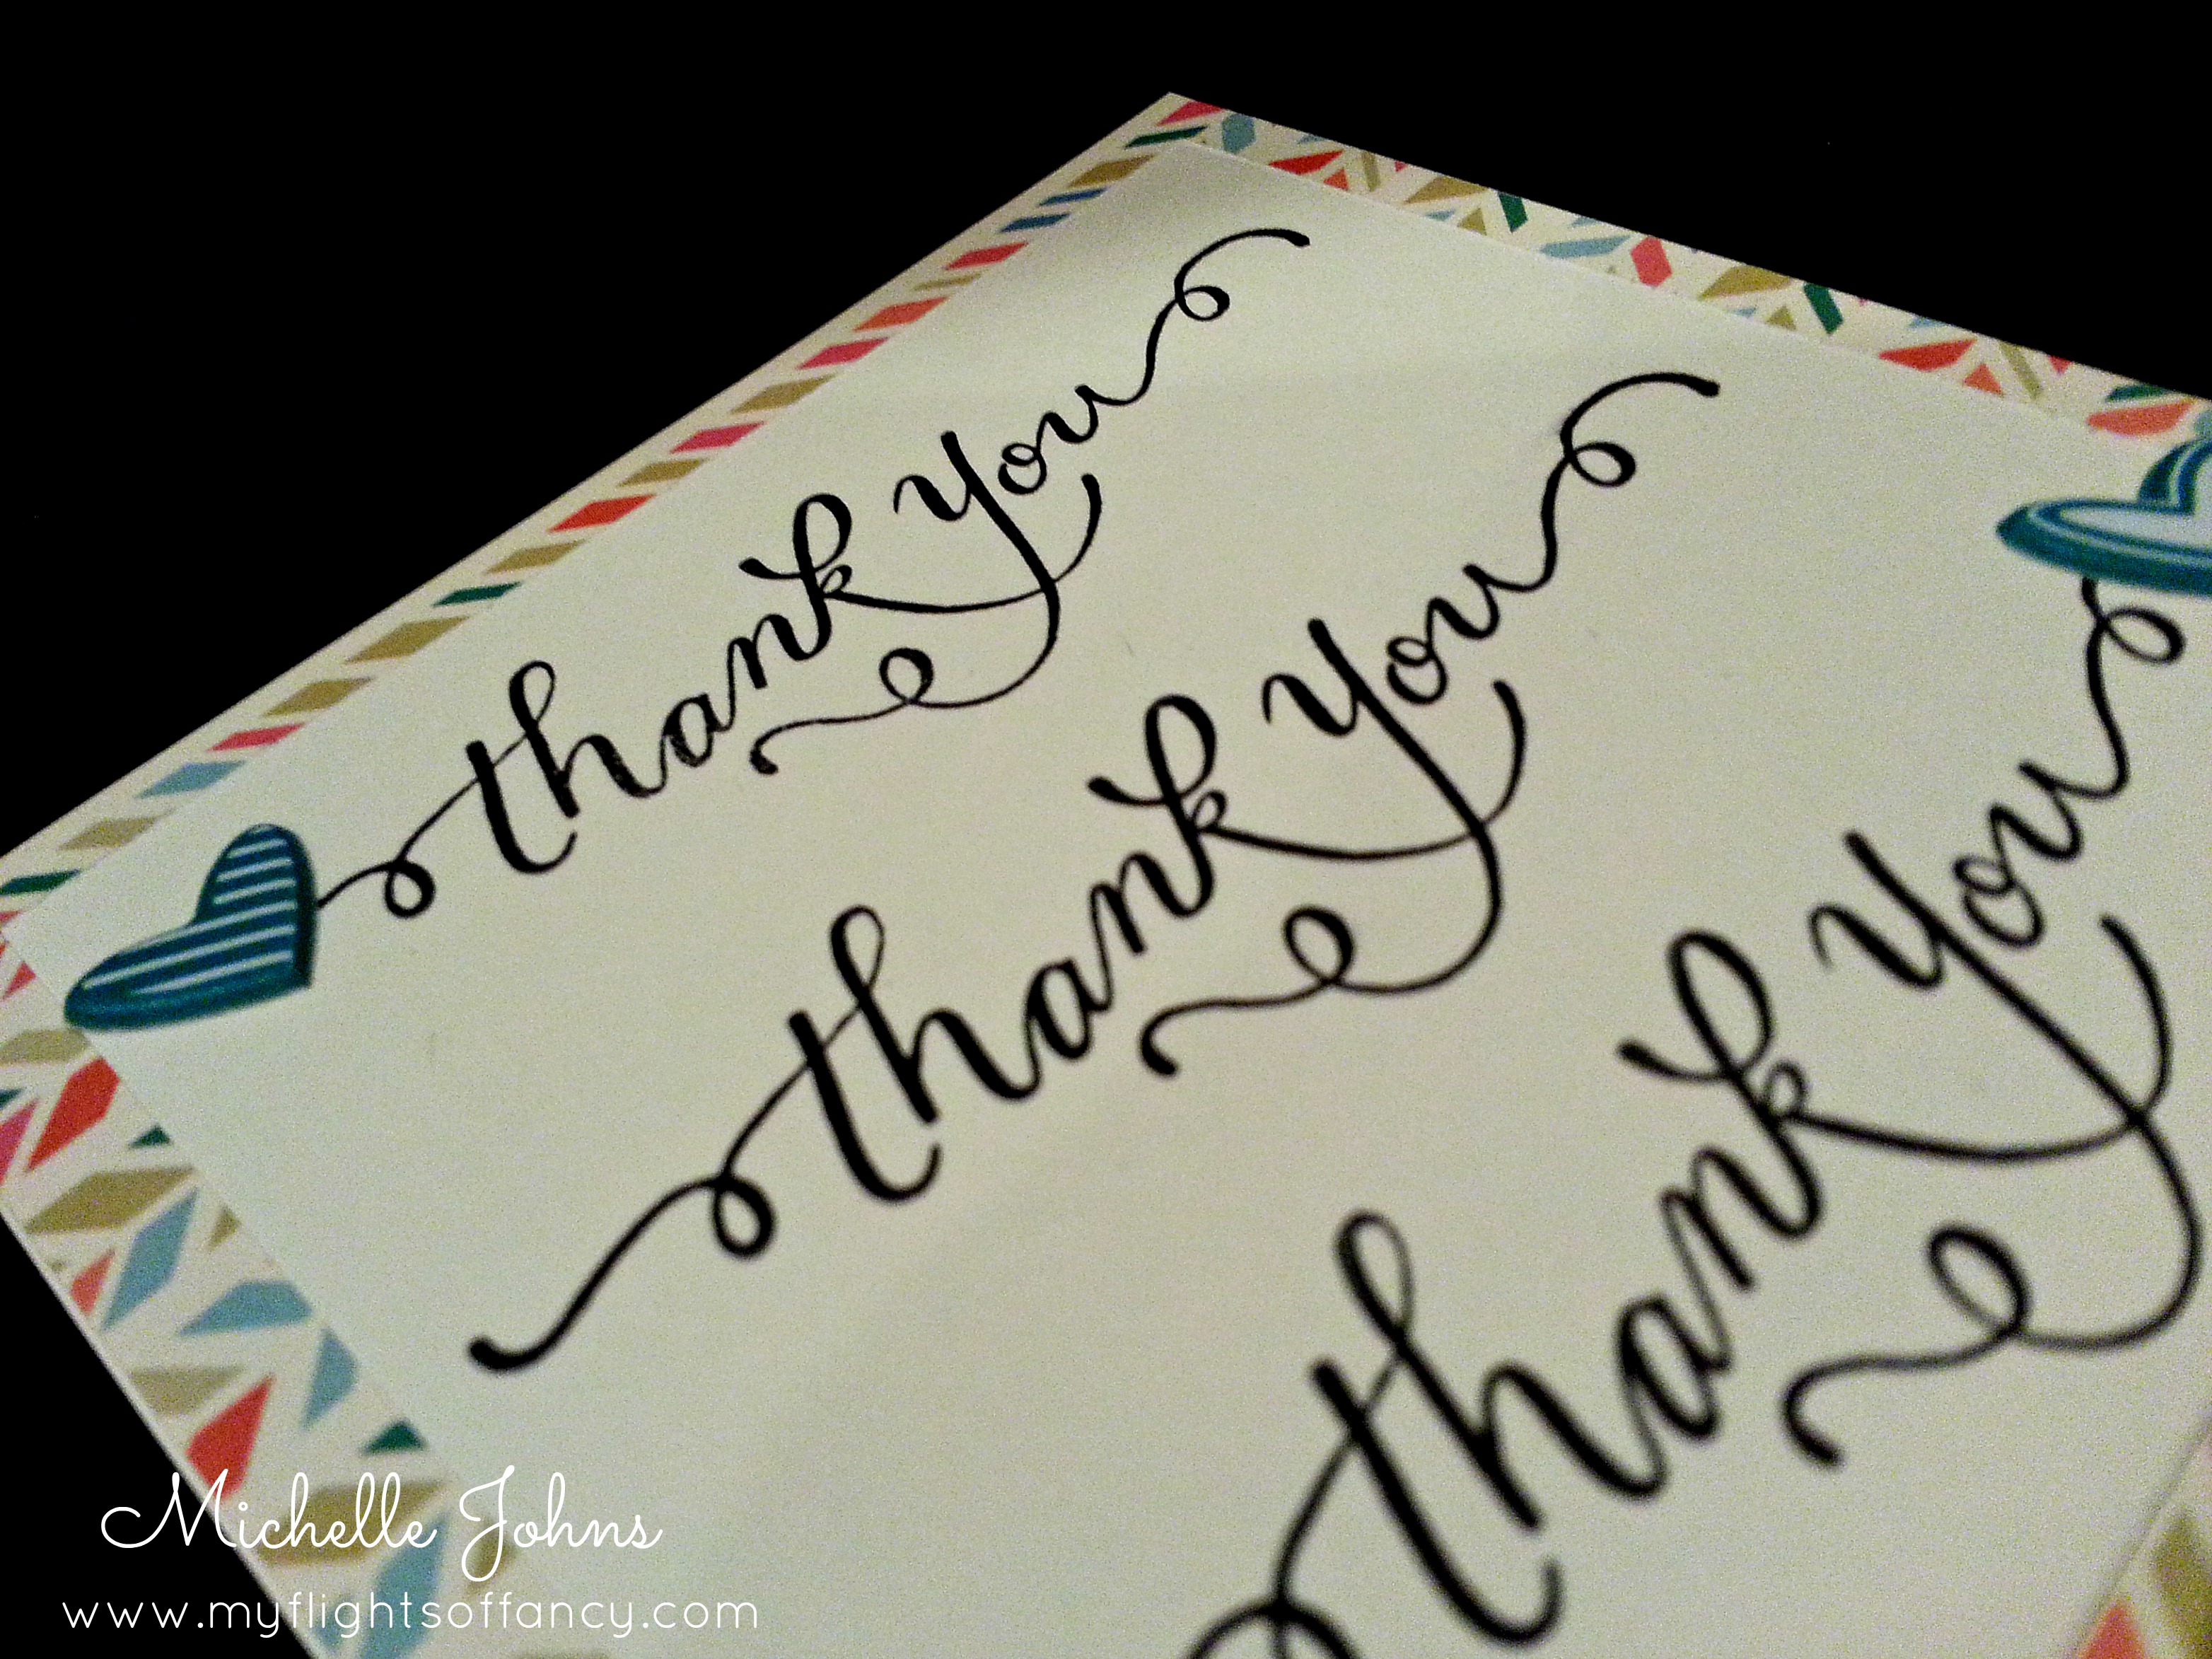
I used the Variety of Thanks Hostess Stamp set, stamped in Archival Black ink on Colonial White Cardstock. The fun background is one of the papers in the new Hopscotch Paper Pack.

Another great thing that I discovered, is that the puffy stickers for the Chalk it Up paper pack match perfectly to the Hopscotch papers!

Hopscotch-02

So, I grabbed a couple of the hearts from the sticker sheet, and added them to the front of the card. It added just a bit of pop to the card. It’s super cute!

I hope you have enjoyed my little card today, I know I had fun making it! Next you will hop on over to Michelle’s blog to see what fun things she has created!

Until next time!

~ Stay Crafty my Friends!

December 2014 SOTM Blog Hop ~ Cutie Pie

Welcome hoppers! This month we have more than 60 ladies showing off some fantabulous ideas on how to use this month’s stamp of the month, Cutie Pie. This stamp set is freekin A D O R A B L E !!! You know you will want it! And with the specials in December, it will be well worth it!

Today you should have come from Kelly’s blog. This hop is a big ol’ circle, so you can start here if you would like, and continue until you get back here! If you get lost along the way, Melinda has the list on her blog. Let’s get hopping, shall we?

When I sat down to come up with what I wanted to do . . . I couldn’t stop at just one idea, or even two or three! I came up with 21, yes twenty one! solid ideas, with sketches, and a few more that are just basic ideas. So, make sure you come back throughout the month to get more and more ideas!

It was hard to pick which idea to start with, but I went with this one.

cupcake-01

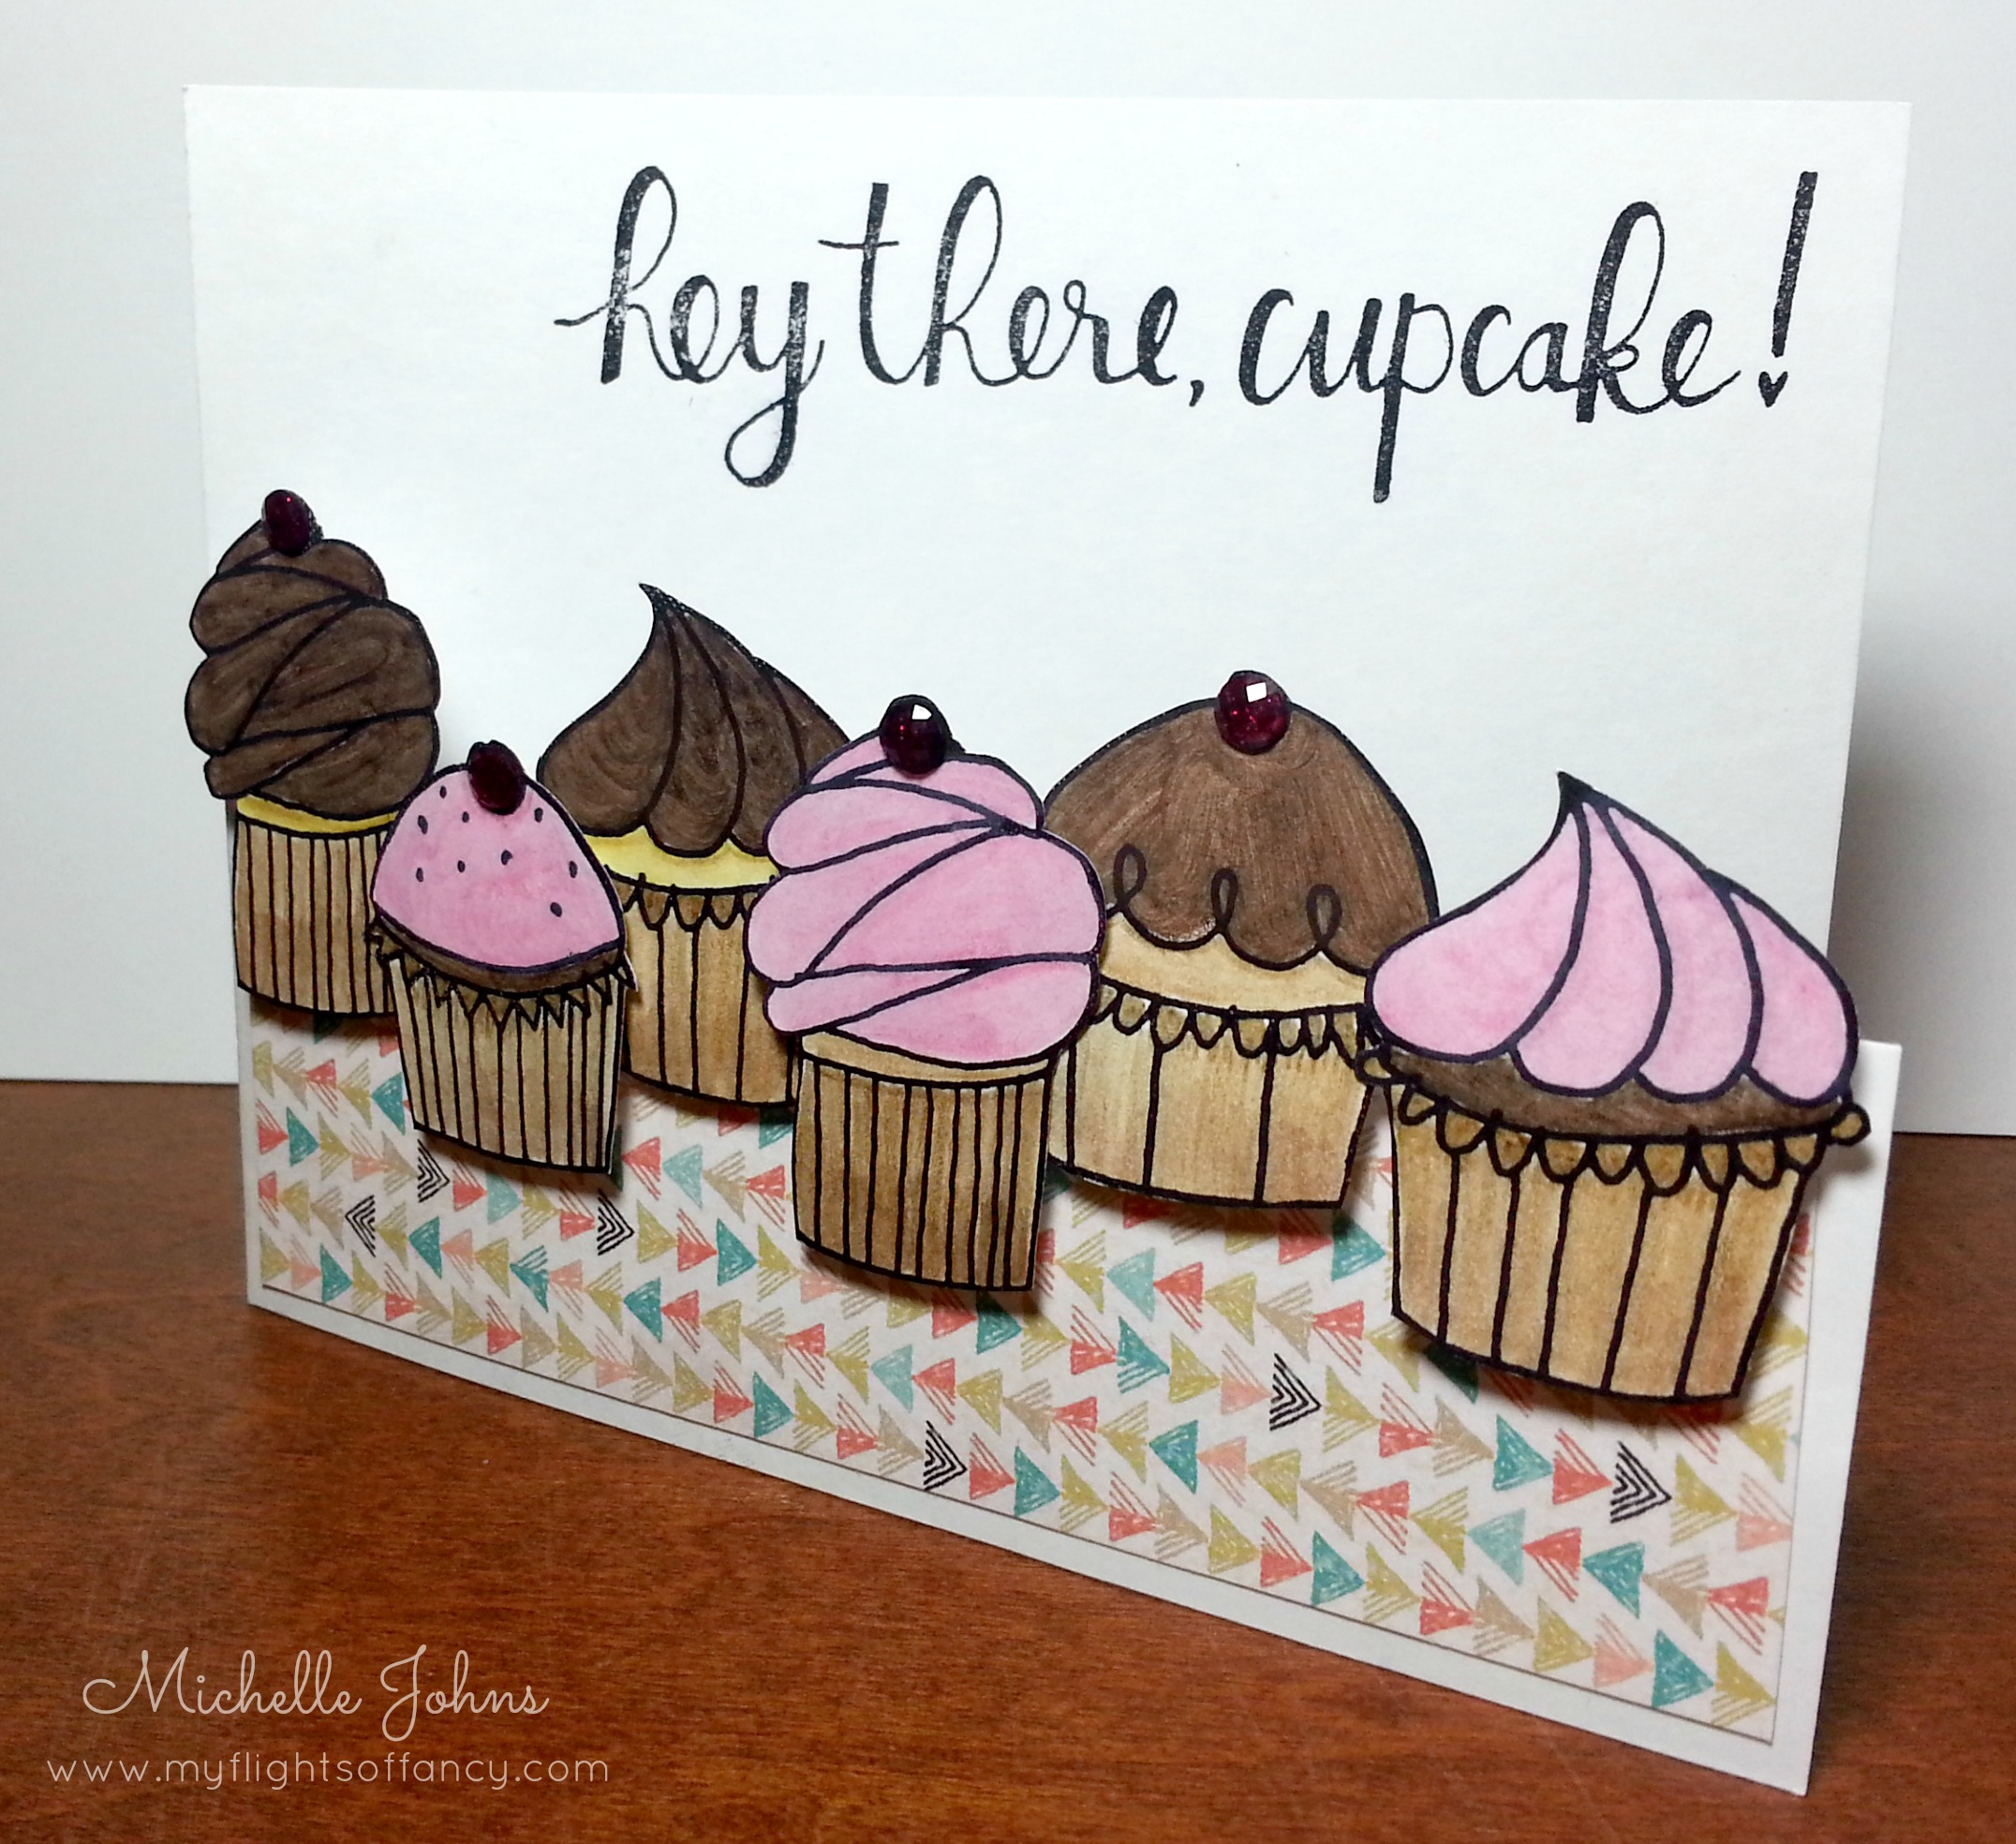
Lisa Stenz had made a fabulous card with the Pathfinding paper pack and some fun cricut flowers, and I totally ran with that idea! The card front is just a small panel, less than half the card. I think it works just perfectly, don’t you?

cupcake-02

I stamped my cupcakes with Archival Black ink, and colored them in with CTMH’s watercolor pencils. Then I used a blending pen to mix the colors. I wanted the chocolate cupcakes and frosting to be DARK! So, I put a layer of chocolate pencil, then went over it with the black pencil. Then they mixed when I ran the blending pen over them, to create a nice, dark chocolate color.

I needed a bit ‘more’ for the tops of my cupcakes, so I used some red sparkly gems. If you don’t have these, but have some clear sparkles, with the new markers that we have, you can color any clear sparkle with a color that matches, and you have the perfect gem for your project!

I hope you have enjoyed the project I shared today! Make sure to come back many times this month to see more ideas! It is surely a stamp set that you will want!

Thanks for stopping by! Next you will be off to Maureen’s blog.

Until we craft again!

~Michelle