This is such a fun and easy challenge to do! If you stamp, you can play along!
I had fun making this card for a class! It turned out so beautifully!
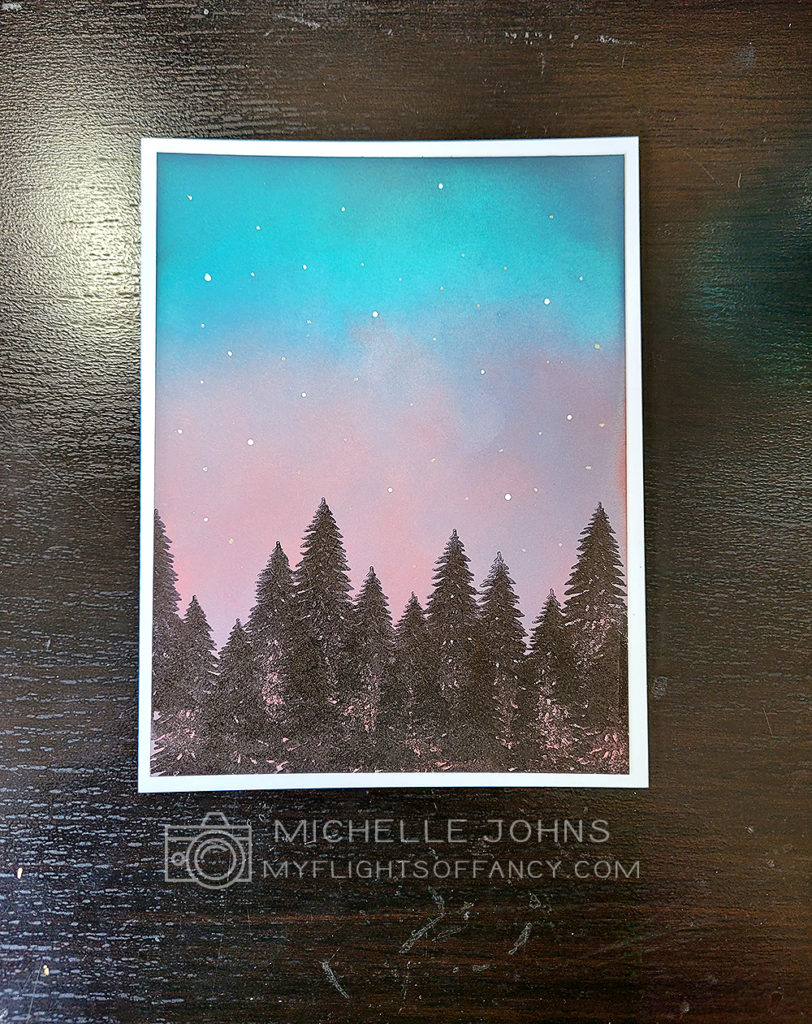
So, go and grab some inks, and get inky! And join us over at the H2H blog, and share your inki-ness!


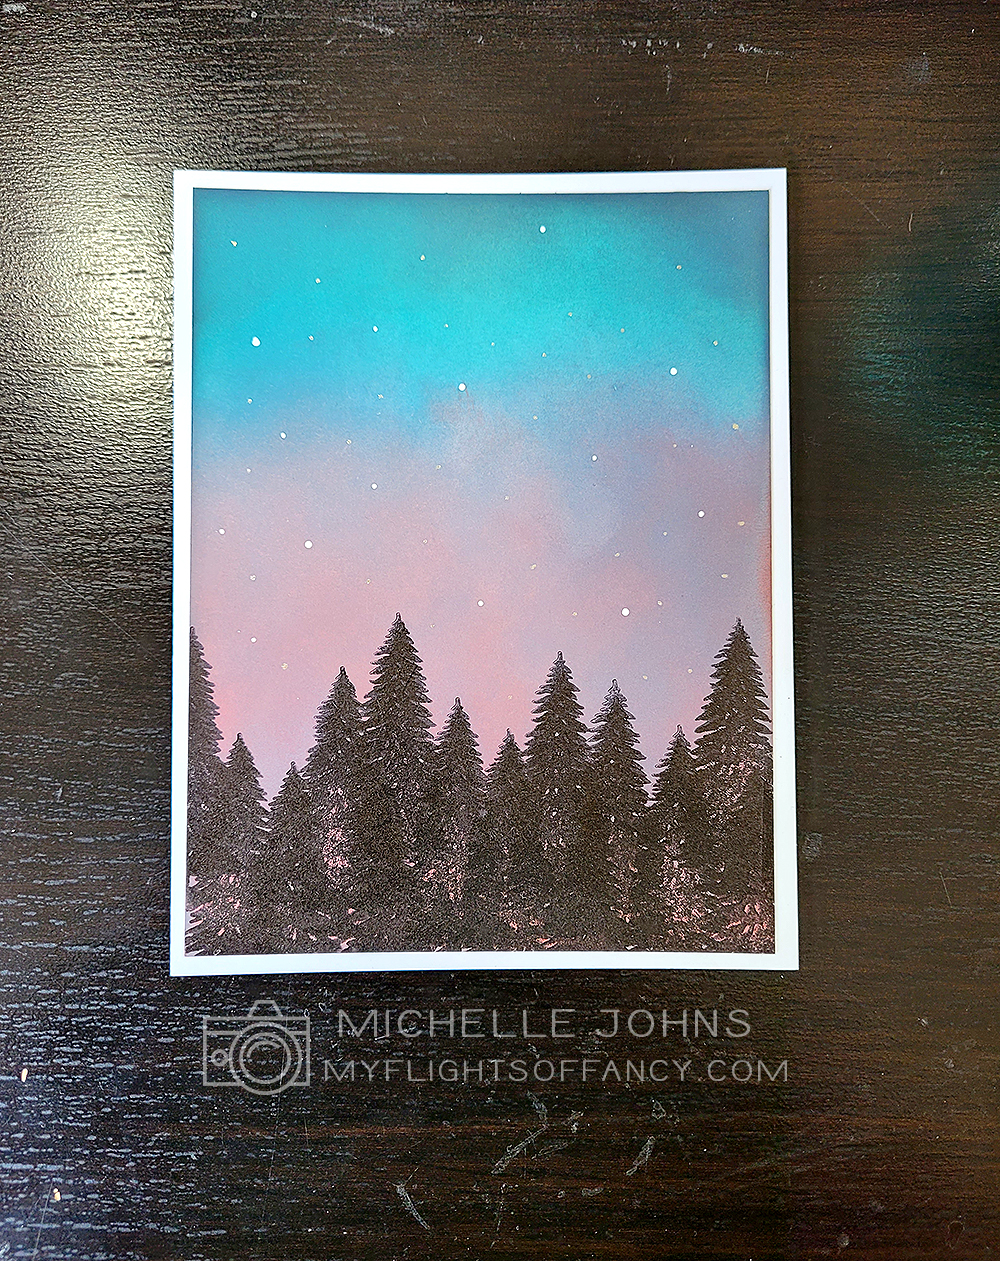
This is such a fun and easy challenge to do! If you stamp, you can play along!
I had fun making this card for a class! It turned out so beautifully!

So, go and grab some inks, and get inky! And join us over at the H2H blog, and share your inki-ness!

Welcome one, welcome all! Ok, so that sounds like it’s a circus today, but it’s just time to jump into the pond with the rest of us! Since we can’t do that right now in person, let’s do it virtually! This is going to be O-Fish-ally Awesome!! (hahaha!) So, you should have gotten here via Becca’s blog, but if not, that’s ok! You can start here and follow the fishy tails! If you get lost along the way, Melinda has the whole blog hop list up here.
So, let’s get swimming, shall we? I went crazy pinning a BUNCH of ideas for this set, because it’s just adorable! And with so many fish options, who couldn’t find a good reason for using it?? So, I picked this one to be inspired by, and just started coloring!
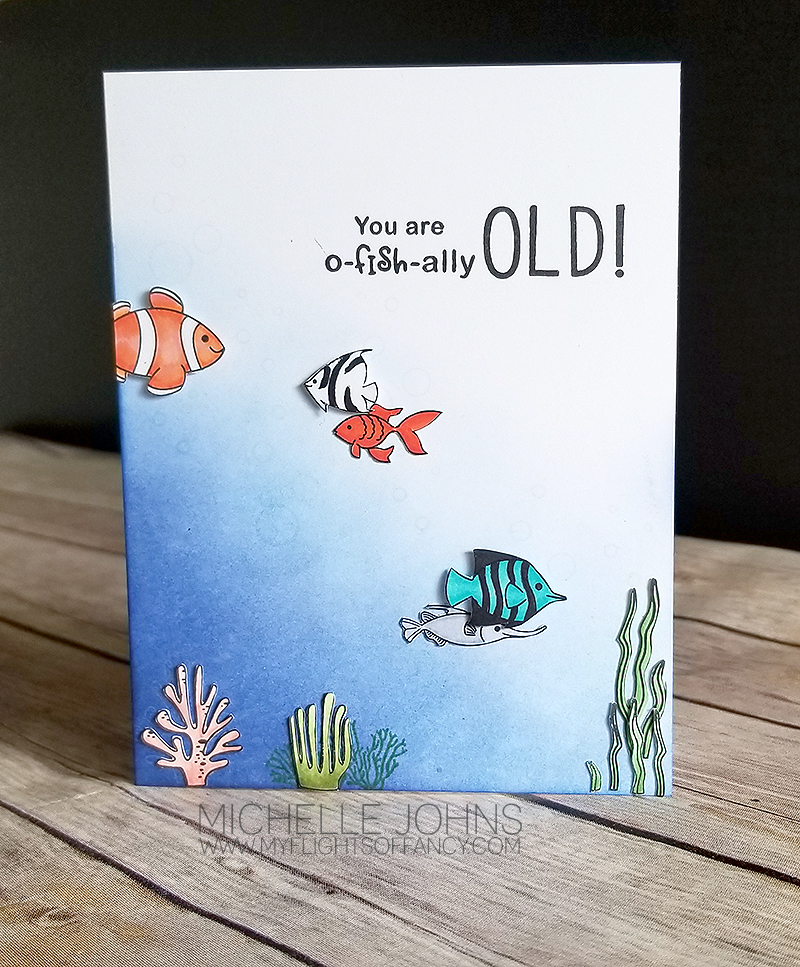
I used a handful of the Spectrum Noir alcohol markers to color everything in, after stamping it in intense black ink. Then I cut them all out by hand using our micro tip scissors! (they give some great fine line details!)
Next, I did some ink blending. I started with bluebird ink and then moved to sapphire ink. I just LOVE how much depth there is to this coloring! (I truly am amazed!!) Then I needed to add in the bubbles. At first I was thinking of using water drops, but then I decided that I wanted to actually use the bubbles in the stamp set. So, I loaded them onto three different 1×1 blocks, and stamped them with linen ink! (There really is a use for this ink color, I promise!!) It is very light, but it looks like it lifted some of the blue color, but still also stamped in the linen color where it was white (or mostly white)! I did swipe the stamps after every press with the shammy, so that I didn’t transfer any of the blue ink to the linen ink pad!

I stamped one of the coral pieces in evergreen ink at the bottom. I also stamped one of the seaweed pieces with the linen ink, so that I would know how to place it, and it wouldn’t ruin anything if I wasn’t perfect in placing it! Then I used the tombow glue to add my seaweed pieces to the bottom of the card, and also the fishes that are flat on the card front. I used some thin 3-D foam tape for a few of the fishes, to give some dimension to this not so many layer card! (I can’t and won’t call it a CAS (Clean and Simple) card, since it does have things attached to it, whereas a CAS card does not.)
I got everything glued on, and realized I hadn’t done my sentiment yet! OH NO!! I was terrified! I know you know how that felt! I didn’t want to do it, I was debating just leaving it blank, and maybe putting something on the inside! I didn’t want to mess it up! LOL!! So, I consulted hubby (who really liked the card!) and we came up with something fun. So, first I grabbed a ruler and made a SUPER light line on my card, in pencil. Then I worked backwards with my sentiment, since I wanted it on the right side of the card. I used the Simply Said alphabet to stamp the word “OLD!”, and then I used some tape and masked off the word ‘awesome’ from the sentiment. (I did test it on a scrap piece first, just so that I knew it would look good!) Success!! It worked! The only little annoying part, is there was a hair on the stamp! (or ink pad, not sure, but darn cats!) If that’s the only ‘ooo-bo’, I’m ok with it! LOL!
I would LOVE to hear what you think of this card! Who would you send it to? What might you have done differently? After you leave me a comment, please hop over to Miss. Carrie’s Creations, because (a) she’s next and (b) she ALWAYS has fantastic things to share!
Thanks so much for stopping by!

Ok, that may sound silly, but it’s what I see everytime I look at the sketch that Danielle and I are using today! Originally I think it was designed for a card, but I thought it could EASILY be made into a mini layout! So, that’s what we did!

Now, this could EASILY be done with my cricut, but I didn’t want to have to pull it out and do all that, I just wanted to sit at my desk and make it happen. So, I grabbed a few different dies! I used the large scallped circle from the card spinner set, and the three smaller circles from the Basic Circles thin cut set, and the large circle from the Shaker Window set!
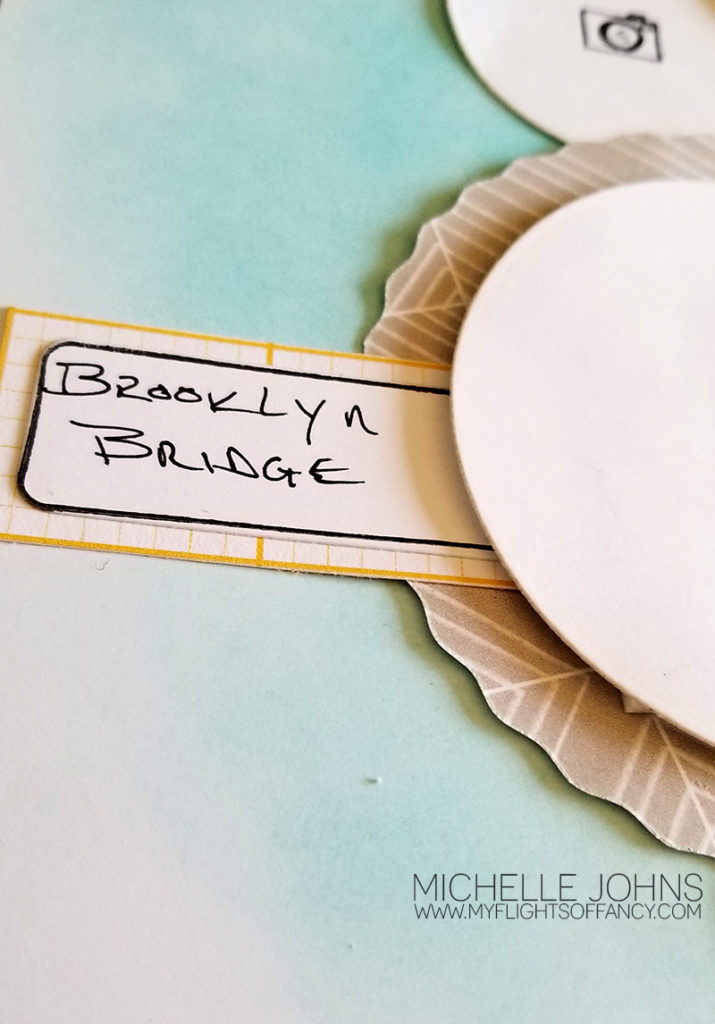
The journal box comes from the New Beginnings set, which includes a die, too! I masked off “word of the year” on the journal spot, so I could have enough room for hubby to write Brooklyn Bridge, since that is what I will be putting on this page!
All of the papers are from the Mix In paper packet, it’s so versatile! Originally I had used glacier ink to put the color behind, but that just kind of vanished in the few hours that I had put it onto the paper! ACK! So, then I tore it apart, I know none of you have ever done that before, right? hahaha!! So, then I grabbed my lagoon ink and redid the sponging to get that color behind there.
Take a look at the difference! (I made a couple of other changes too, but essentially the same) WOW!
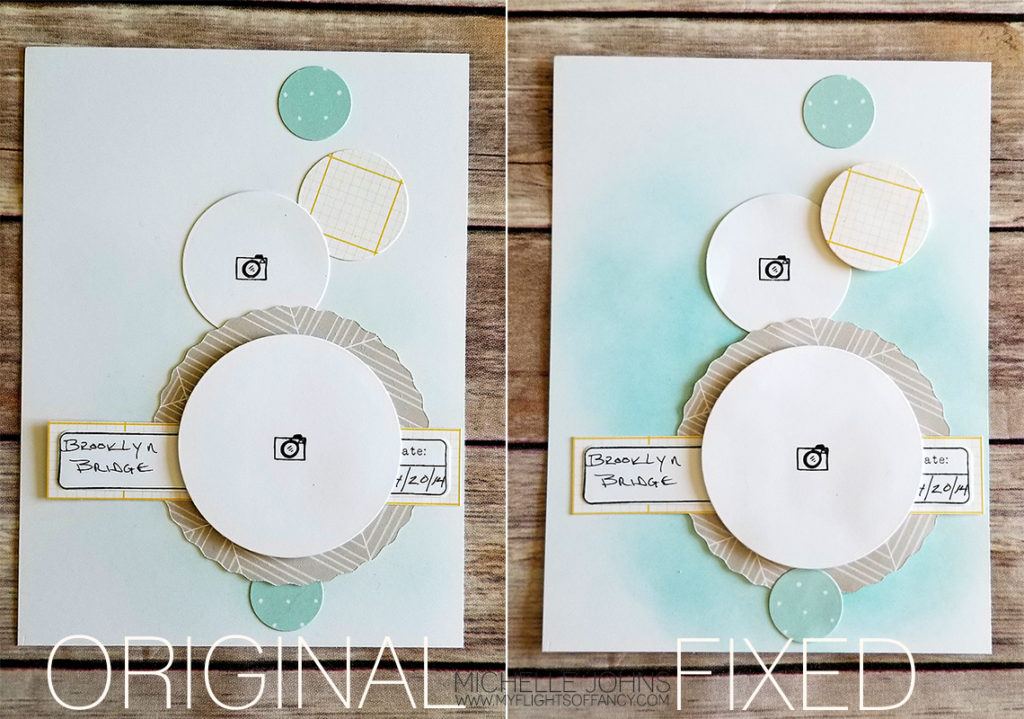
I really like how this turned out! I used the lines on the different papers to go with all of the cables of the bridge, I thought it tied it all together, really well!
I would love to know what you think! Leave me a message below, and then hop over to Danielle’s blog to see what she came up with! (it’s adorbs, btw, in case you didn’t already know that!)