Author Archives: Michelle

15 day Countdown: Day 14

Next up, I think is my favorite WOTG kit! I do like them all, I really do, but I think I like this one the best!! Maybe it’s because I am longing for some warmer weather, and this is all about sweet treats and ice cream! The colors are so fun and bright too!

Fanfare WOTG!


{click image to order on my website}

This shows the stamp set that you get with this WOTG (isn’t it adorable??). If you didn’t know, every WOTG (that’s Workshop On The Go) includes a full level 2 paper pack, an exclusive stamp set, and embellishments of some sort. This particular kit you get the neutral embroidery floss set and the blue assortment of buttons. You also get instructions on making a 2 page LO and 3 different cards. You can make both of these with the papers in the kit, and still have LOTS of paper left!!

Want to see the pages that the WOTG makes?

and what about the cards that it makes?

I’ll be making some additional cards this month with this kit, because it’s so fun! I can’t wait to show you!!

15 day countdown: Day 15

So, I thought I would share some fun things from the idea book that are some of my favorite things! And since it’s my birthday this month (watch my newsletter for a special!), I thought that I would show you a ‘wish list’ of sorts. 🙂

So, each day I will be sharing something with you from the book that I like (or love!) and why I think you should order it!

So, first we have Card Chatter – Birthday

{click image to order on my website}

So, this is wonderful for any number of reasons. 1. Everyone you know has a birthday! 2. Everyone LOVES to get cards! 3. These don’t have to be used for just birthdays!!

Just looking at this set, I can think of a number of cards that you can make!! Use just the ‘celebrate’ stamp for a wedding, promotion, new house, new baby, new car, and any number of things to celebrate!!

Use the “hip hip hooray” for any celebration, just like the celebrate! Or just a just because card!

And, because these are clear acryllic stamps, you can cut them easily, and cleanly, and still be able to use them apart or together. So what about cutting between the lines on the ‘sending you birthday wishes’, use the sending you part, and add any other sentiment on there, stamped or hand written (on the inside). Sending you flowers, sending you hugs, sending warm thoughts, etc.

So, with just one stamp set, we have covered pretty much any and every occasion that you could possibly come up with, to send a card for!

How are those for reasons on why everyone should have this stamp set!?!?

Want to try it before you buy it? Let me know, and we can set up a workshop for you!

~Michelle

April Stamp of the Month

When I first saw this set, it didn’t scream out at me. But when I started playing with it, I had a LOT of fun! There are still some things that I would like to try with it, but I wanted to show you what I have made with it so far! Here’s the stamp set itself. . .


This is a cute little 3×3 card that would be perfect with a little gift.


This card is 4.5 inches x 4.5 inches. I used the tag template coluzzle to cut out the kraft paper to make a cute little label shape. The white dove shows up perfectly against it!


This card took the longest to do! I had to make a number of masks so that the flowers wouldn’t stamp over each other. I wanted it to be a garden full of flowers to go with the quote. What do you think?

So those are my cards so far! Remember to check out all of the workshop dates that I have available! We will be making these cards and a few more too!

And you have heard about the Hope for Japan set, right? It is an awesome little set that is only $5 (plus tax & shipping). (normally that A sized stamp set would be $7.95) All of the proceeds go to the Red Cross to help Japan after the horrible tragedies that they have had to deal with. (this means I make no money off it, and neither does CTMH) What a wonderful thing for them to do! You can order this set on my site, or call/email me to place the order!


Hope for Japan

It’s been a while since I have had 2 posts in a day, but when I saw this, I wanted to share. I know we’ve all been reeling with the images of tragedy and devastation in Japan. If you’re looking for an easy, real, practical way to help relief efforts, then take a look at this!


Typically, our A-sized sets retail for $7.95, but the “Hope for Japan” set will be available through April 30 for just $5–and Close To My Heart will be donating 100% of the profits to the American Red Cross to benefit relief efforts in Japan.

If we all do a little, together we can do a lot. Let’s show our support and together, provide real HOPE for Japan!

If you would like to order this, email me and we will get it ordered for you!

~Michelle

Need Bunnies?

The March Stamp of the Month is bunnies! They are adorable bunnies! Perfect for coloring and/or paper piecing! They are so very cute!

I am part of Jen Rubio’s Stamp of the Month swap group. And these are the cards that I made for that! (and they are available for workshop cards too! Just let me know!) I was really happy with how they turned out! We used the Sophia paper pack with these cards.


Momma Bunny with a little gift! I colored her with our watercolor pencils. You see 2 new ribbons on the card too, these are the pink ribbons. They have 4 different styles in a package for just $7.95!


Little Boy Bunny is cute in his green jacket. The left side is tied with our hemp twine. I colored him too with the water color pencils and used a blending pen to give it a nice smooth look.


This cute little 3×3 card would be perfect on a package or easter basket! Just a small piece of hemp tied around the sign! Again, this is colored with the water color pencils.

All of the products used were CTMH products! I would love to show you how to make these adorable cards!


Products used for these cards:
Sophia paper pack: X7131B $12.95
Pink Ribbon Collection: Z1385 $7.95
March Stamp of the Month: D1454 $22.95 (or less, maybe even free!)
Water color pencils: 3505 $22.95
Blending Pen: 3174 $3.95
Foam Tape: Z1151 $5.95
White Daisy Cardstock: 1385 $9.50
Chocolate Cardstock: X5643 $9.50
Black Archival ink: 44751 $5.95
Hemp: Natural: Z280 $2.95
Antique copper brads (from Mini Medley): Z1275 $4.95
Tombow Glue: 1514 $8.95
Assorted Clear Blocks

Brides to be!


So, today I went to my first Bridal shower ever! Are you amazed? I know I am! So, I was freaking out about what to get/make for my sister in law, Kristina. I don’t know her all that well (I feel like I should know her much better, since we’ve been in the same family now for the last 22 years . . . . ).

I was going to do some scrapbook pages, but didn’t know if she scrapbooked. Then I was going to do a mini album, but didn’t know if she would like it. Then was going to make some Anthro knock offs (because I found some that were awesome!!) . . but didn’t know what colors she liked to wear.

So, then I came to the decision that I would make a memo board for her, and of course, the card too. Her wedding colors are chocolate and champagne, and I am going to guess those are her favorite colors too (but I could be wrong!). The stuff on her registry are blacks and espressos . . . so . . . I went with that color scheme. (she had some towels or linnens on there that had a blue in them, so I used that to)

So, I made this memo board that is partly metallic, partly cork board, and a spot for a saying (or photos or whatnot).

memo

And of course, I had to have an awesome card to go with. Not just any ol’ card . . . an awesome one! So, I went searching through my ‘ideas’ folder, and found a beautiful card by Teneale Williams. Here is her card:

Teneale1

Isn’t it gorgeous?? You can find her blog >>here< <. Her blog is one that I must visit daily! Beautiful cards! Wonderful inspiration!!! Anyway, you can see that I did a lot of following, but a bit of difference. Because I had the dress on the front, I decided that I didn't need more ribbon to distract from it.

The inside I decided needed to be decorated, but not overbearing. (and I forgot to get a photo BEFORE I wrote in it! LOL) I wanted to incorporate the dress form from the front too. This is what I came up with!

So, I hope you liked what you saw today!

~Michelle

All products used are CTMH (unless otherwise noted):
Card
White & Chocolate cardstock
Sweetheart paper
January Stamp of the month
Chocolate ink
Itty Bitty sparkles
(non CTMH: material for dress & brown ribbon)

Memo Board
Cocoa & Parchment Cardstock
both papers from the came paper pack (unfortunately, I don’t recall which it was)
Top bracket paper from specialty pack, that was a short term offer
Brackets on side and corkboard: CTMH chipboard covered with papers
liquid glass
(non CTMH: magnets, cork board, frame

Jewelry lovin’

So, at Creative University, I met my “sista’ from another motha'”! We are so alike, it’s sometimes scary! But, she totally gets the things I am saying, when other people just look at me funny! LOL And, She totally turned me onto jewelry making. I had such a blast learning how to make charms and bracelets!!

Miss Erin taught us how to make charms, and arranged the charm swap. She also had a necklace making class available. And, while I could do a whole post about it, with photos, she already did one . . . so I am just going to point you in her direction! So, Check out Erin’s blog, Inky Smiles

And, just for a little teaser . . . here’s one of the photos!

Isn’t it gorgeous???

So, keep an eye out, because, soon, jewelry classes will be on the schedule!!

Creative University!

So, you may (or may not) know that I attended Creative University. Don’t know what that is? Well, it is a weekend chalk full of lots of stuff!! There was charm making, adding sewing/stitching to your layouts, making cards, meeting new people, learning about different business ideas and how to’s, and food. Boy oh boy was there food! Pretty much anything you could have wanted for, you had available to you! LOL

So, first, the lady that put it all together! Mrs. Tresa Black! The stamp goddess in all her glory! (Seen here with Denise)

And then there were roomies! All of us roomies arrived on Thursday! (some, later than others . . . )

Here is my car mate and roomie, Lynn! Isn’t this a fun thing to have done?

Then on to the classes!

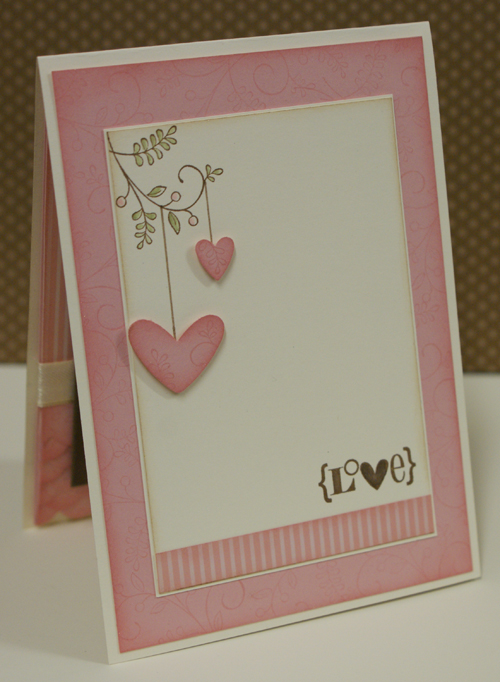
Here is a fun picture of Jenn, she did our bookmark cards!

Here is the card, with the bookmark removed. It just fits right over that pink diamond/square thing.

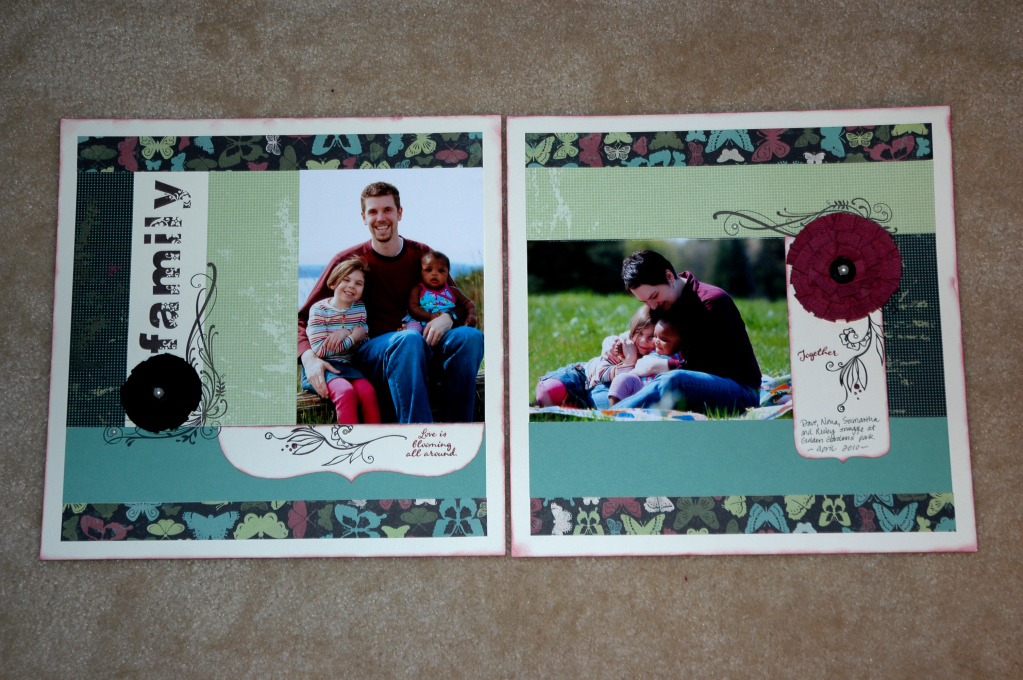
Here is a fun one of Chrissy, she did our sewing on a layout class

Here is a layout that isn’t quite finished yet (not that mine is yet either!)

Here is Nona in her teacher’s apron (adorable, aren’t they?)

This is the layout that Nona taught us (with her photos, of course). We all learned about how to make these fun flowers!

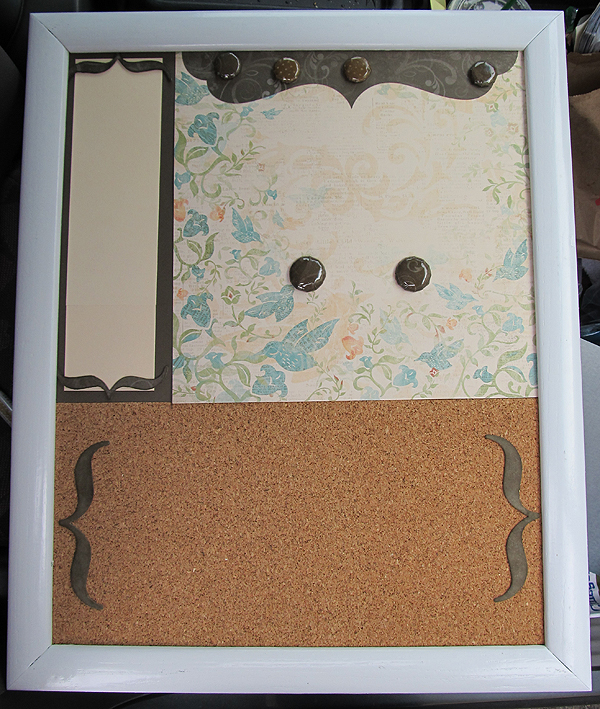
This is one photo of the altered clipboard that Denise taught us! What a fun project!

And a photo of Denise showing another ‘camper’ how to make the rolled roses

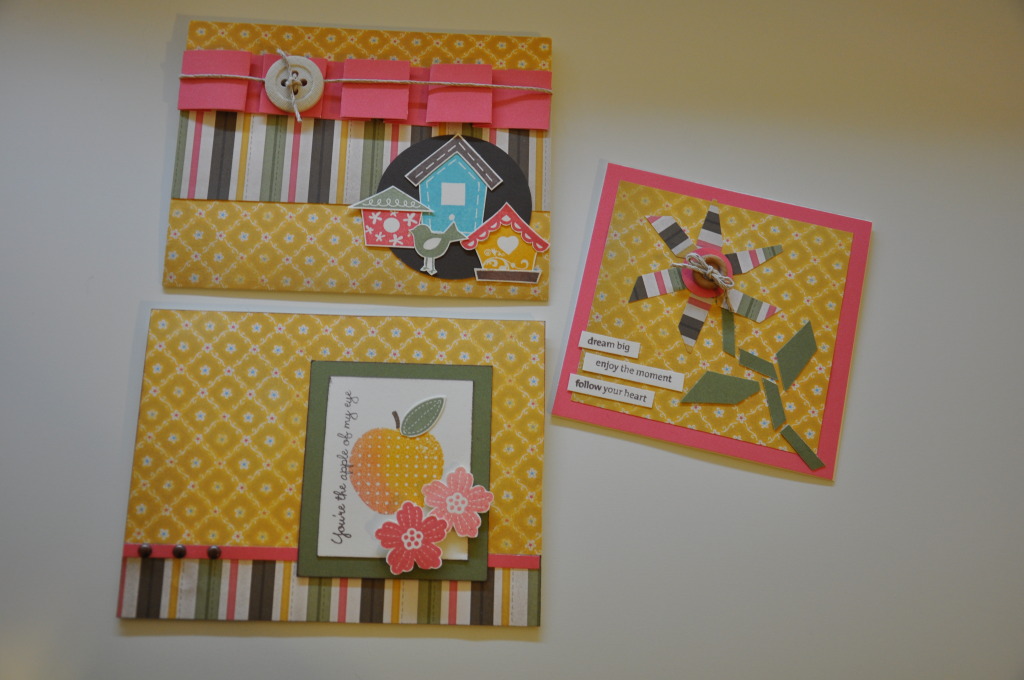
On Friday there was a card botique, where you would make 3 cards and 3 card/gift card holders. It was put on by Donna Smith and Sheila Bennett.

Here are the gift card holders . . aren’t they great?

Here are the cards themselves:

Here is a fun photo of some ladies doing their cards at the card botique.
Erin in the back left corner, Linda in the front right corner (she was one of my table mates), Roberta in the grey, and Kim Garrett in the back right corner.

And there was the junk-lace class and charm swap! I had a blast making charms for this swap! I learned a lot! Erin taught the class and was in charge of the charm swap. Here are the pieces that most everyone (except me) got for their ‘junk-lace’

For that charm swap, she hired some special mafia ladies! Here’s a fun photo of most of the mafia group . . . Tamara had left already, so she isn’t in our photo (boooooo!!!)

I met some ladies, that were great fun! This is Kimberly and Tamara. Kim lives out in Scappoose (where I went to school, if you didn’t know). I think Tamara is out there too . . . but I don’t know for sure! Kimberly is a massage therapist and is Terra’s consultant. 🙂 And Tamara belongs in another photo (see the Charm Mafia) . . but these two left before we could get that team photo!

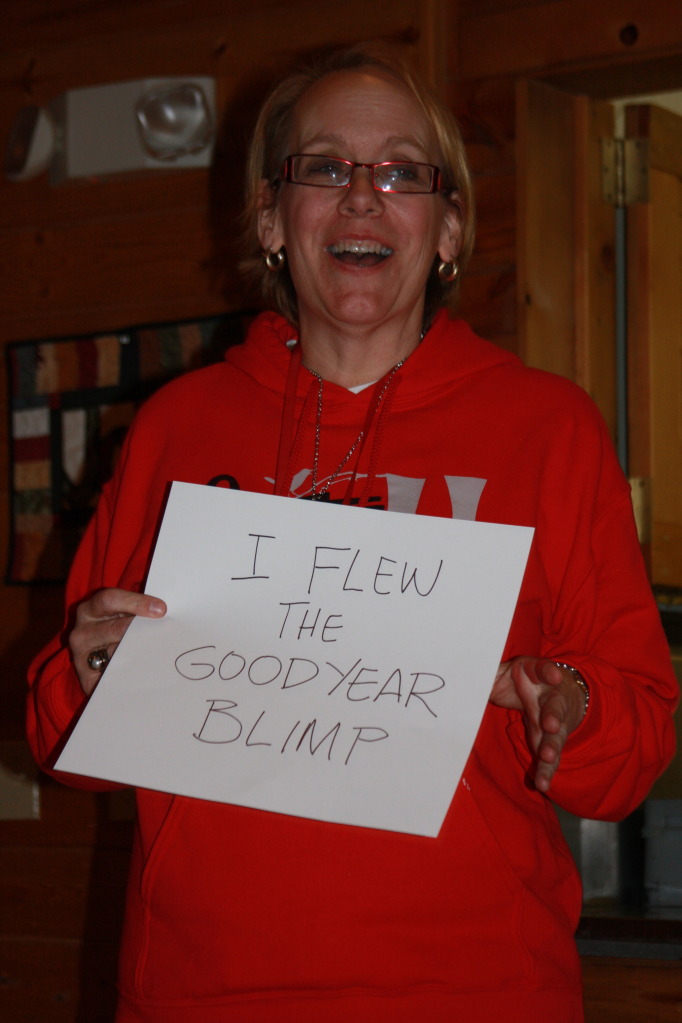
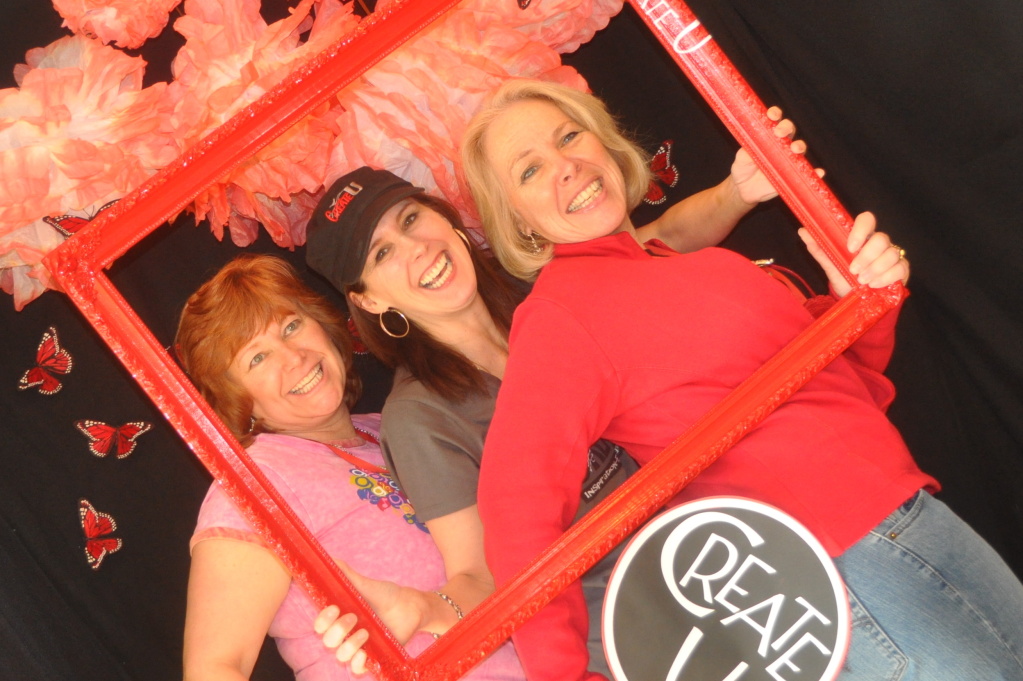
And now some just plain fun ones in the ‘photo booth’! This is the photo booth, before people started messing with it . . .

This is Me, Tresa, Erin, and Kathy!

Me, Erin, and Kathy!

Three of my roomies! Kari, Kandi, and Amy

Kimberly, Tresa, and Tamara having fun!

This one is so funny! I was being part of the paparazzi . . . standing on a chair to a. eliminate the white of the ceiling in the photos and b. gives a better vantage point . . . removes ‘chins’ .. . lol! Kathy saw me and thought that I needed to have some sturdying! So she grabbed my leg. I don’t know who snapped the photo, but it’s funny!!

And . . . meal times! Lots of fun then too! We got to know some of our retreat-mates better! Catch up with friends that we hadn’t seen for a while and general whatnots. Plus, the food was sooooooo good!! (Amy made THE BEST banana bread ever! And the cranberry muffins we had for breakfast . . . oooooh la la!!)

This is .. . . I think Friday lunch. At the table we have Kim Garrett (far left), Lisa Tafoya, Tahne, Bobie, me, and Erin. (see those pink frosted sprinkle cookies? They liked to have our dessert on the tables when we arrived to eat! LOL)

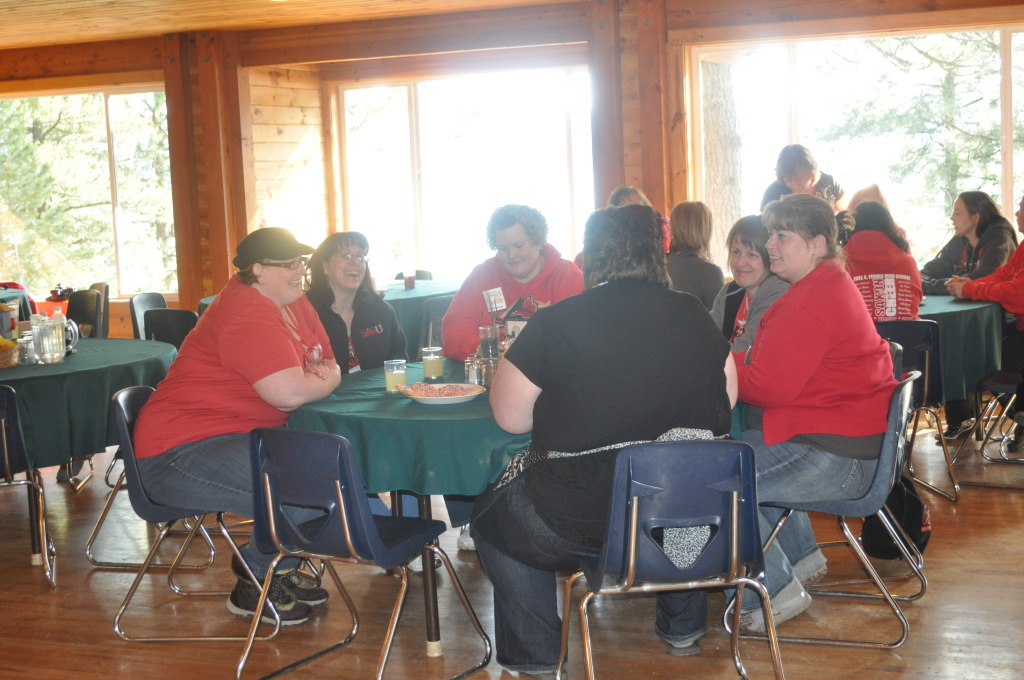
Here is another of Kim, Tahne, and Lisa at one of the meals, these girls were so fun!

Friday dinner was YUMMY!! Lasagna with bread, and fun red sparkly pens waiting on the table for us! At our table on Friday night was: Erica, Erin, Me, Jeri, Kathie, Amy, Amy, Dawn, and Nichole

And Friday’s dessert was delish! Brownie topped with peppermint ice cream and whipped cream! mmmmmm!

We had all these cute little bird houses on the tables as center pieces. Saturday night, after dinner, Tresa read this great little poem, and we passed a pepper shaker around the table each time she said left or right. At the very end it was back and forth between Erin and I. I, however, was not the lucky winner. Erin got to take home this super uber cute little birdhouse!

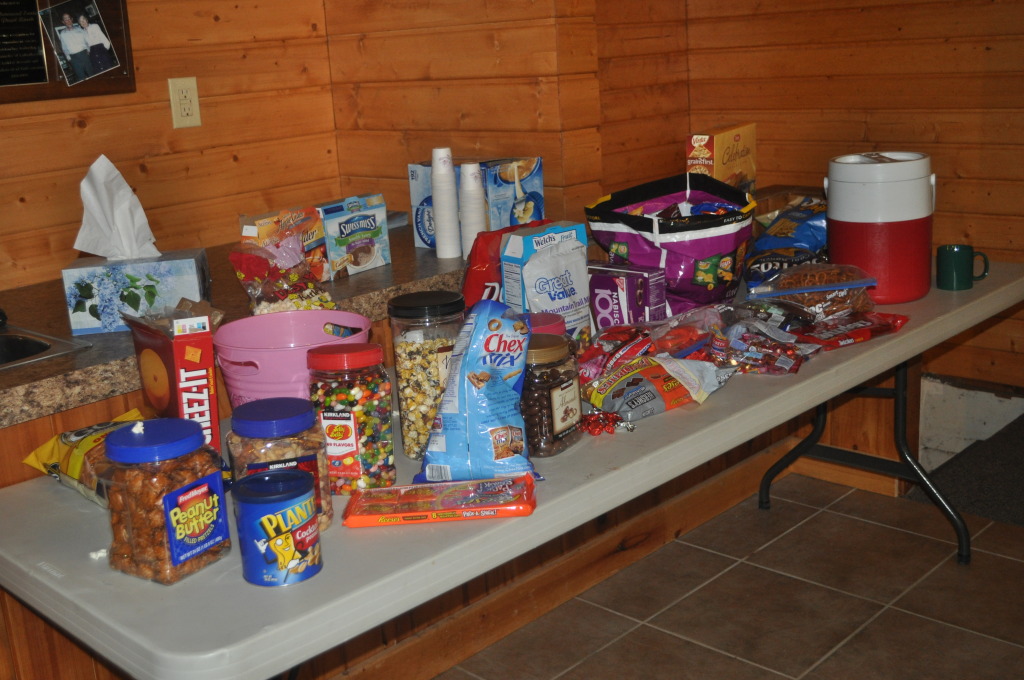
I mentioned food above? Right? Well, there were two tables set up, one upstairs and one downstairs. For everyone to put stuff on to share. This is just the upstairs table! (and I think some things were gone by then too!)

And, last, but not least in the food category, this is Amy, she was the coffee/latte maker, kitchen help, grace sayer, and all out fun gal! I have to say though, she is the female version of Pauly Shore, if there ever was one!

And, what would university be, without a class photo? Here is CU class of 2011!

Thank you Tresa for a wonderful weekend!!

I’ll have another photo heavy post in a couple of days!! 🙂

Do you have hooligans?

I know it’s January, and Halloween was months ago . .. but I don’t know that I ever shared this little book I made! I used a Level 1 kit with the Stickease that comes with it, and some flip flaps. I think it is soooo stinkin cute! This would be a great thing to allow your kids to have to look back. And you can use any level one kit, this isn’t the only one that it works with!

Now, the photos are not the best, I took them with my iphone, but they show what I did!


If you would like to do a workshop to make a cute little book like this, let me know! They are super fun and really easy! (and great gifts for presents, or even gift cards!)