Author Archives: Michelle

The circus is in town! {July SOTM Blog Hop}

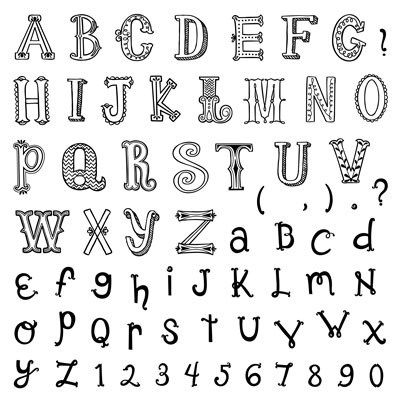
Well, at least the circus alphabet, This month’s Stamp of the Month!! It has two styles of every letter in the alphabet, plus numbers and punctuation! There are so very many different things that you can do with this set!! Today you will see many consultant’s ideas of what to do with this fun set! Today you should have arrived from Krista’s Blog. If you get lost along the way, Melinda has the full list, HERE.

I do so love CTMH’s artwork that they have in the Idea Book for this stamp set!! Check it out!

1407-sotm

Isn’t that adorable? I love the background stamping! So, I ran with that idea, and this idea that I found, and this is what I came up with!

2014-07-01

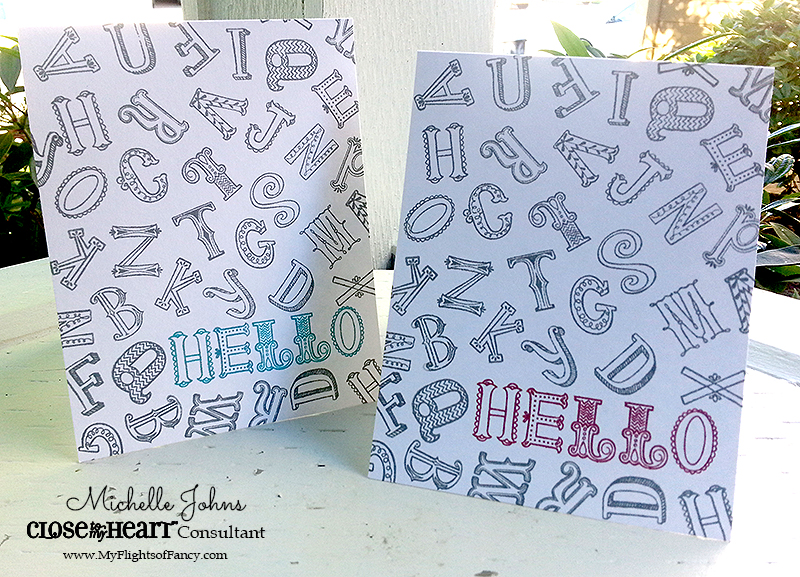
This card was so easy, that I decided I needed to make two! This would be a simple card to be able to do multiples of!

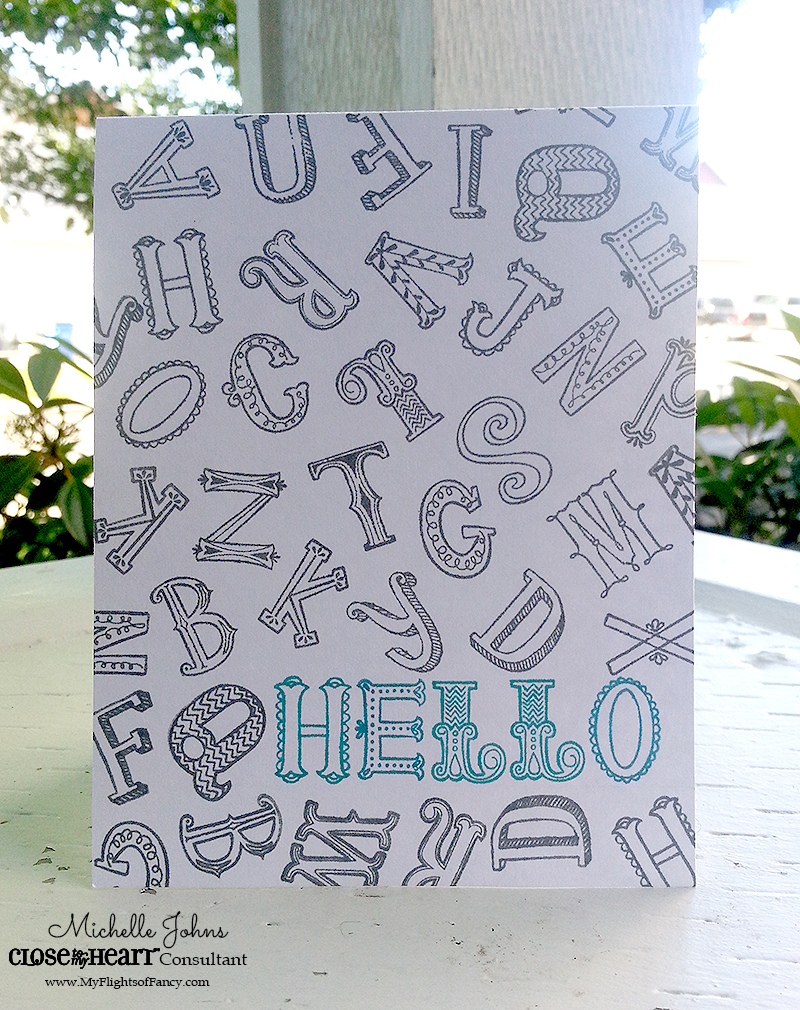
2014-07-02

This one uses Slate and Lagoon Inks.

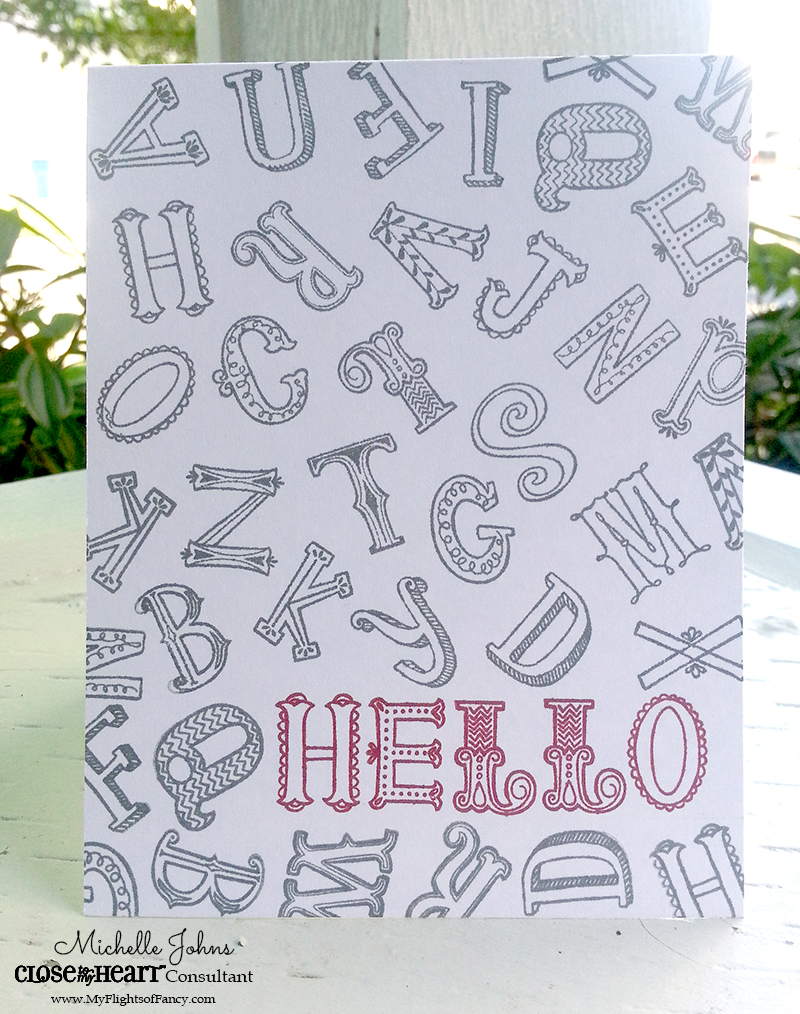
2014-07-03

This one uses Slate and Ruby Inks.

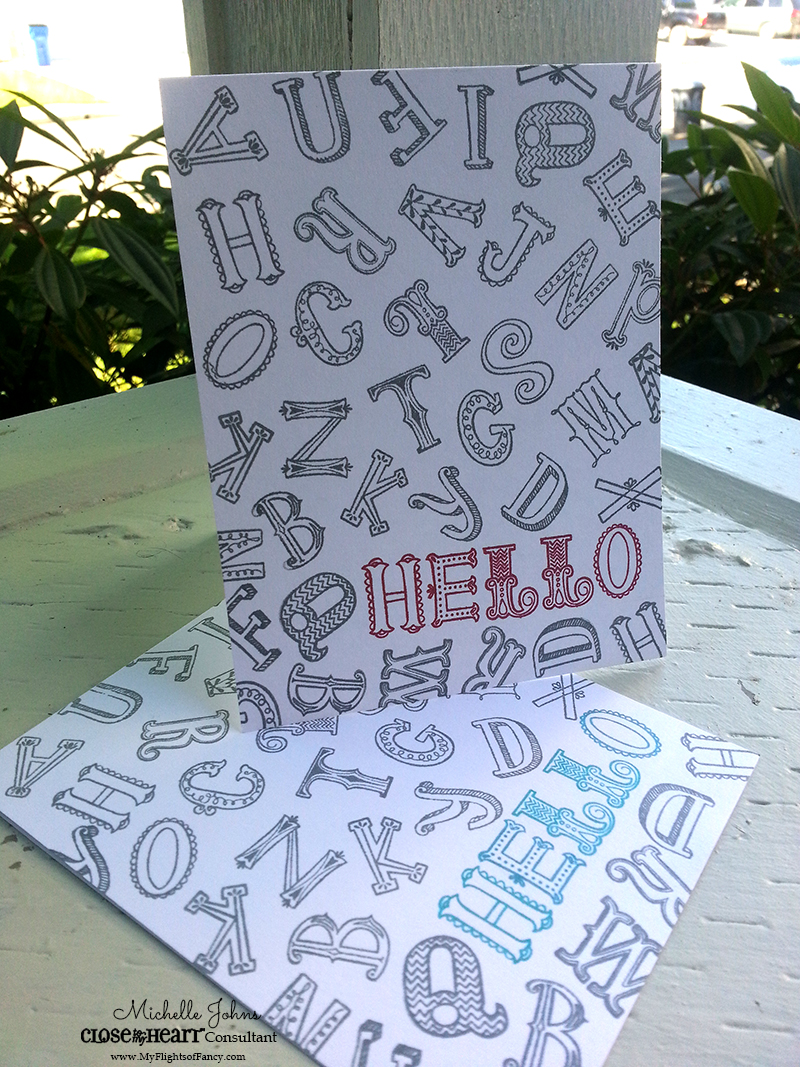
2014-07-04

Pretty awesome, right?? This is super easy to do, and the set is so worth it! It can be yours for just $5 when you place a qualifying order of $50. Contact me today to get your order in!

264ea907-7c1d-4468-9f2f-0a80005553c5

Thanks for stopping by!! The next stop in the hop is over at Jean’s Blog! Have a super fantastic day!

~ Michelle

Kaboom! June’s Stamp of the Month Blog Hop

Happy June! Are you ready for some fun? This month, the Stamp of the Month blog hop has more than 50 participants! I know you will get some great ideas, and be inspired to have a party! This stamp set is perfect to get ready for the 1st (if you are in the North) or the 4th of July! Today, you should have arrived from Krista’s blog. If you happen to get lost along the way, Melinda has the whole hop listed on her blog, here.

Let’s get hopping, shall we?

Kami’s graduation is coming up, and she wanted some homemade announcements and party invites. So, this is a combo of a few that I found on pinterest, matched with this month’s SOTM!

The front cover doesn’t fully reach the far right side, to give the small panel that you see the 2014 on.

I got out my trusty Art Philsophy cartridge, and cut out the numbers, the white circle, the spikey circle, and the scalloped piece on the side. The banner itself was fussy cut by hand with some micro tip scissors.

The circle and the banner are both popped up with a bit of foam tape, to give it some dimension. The ‘waves’ of the banner are actually glued to the silver spikey circle, to help give it a curved appearance.

The spikey circle and the scallop trim on the edge were both colored with our silver metallic pen!

So, if you are family or friends, you very well may receive something that looks just like this, or very similar, in your mail boxes soon!!

This set has so many different options on it! I am certain that you will find LOTS of inspiration along the hop!

Thanks for stopping by! I hope you enjoyed it! Your next stop in the hop, is Nancy’s blog.

Happy Crafting!!
~ Michelle

Puyallup Heirloom Stamp Show and the party dress

It’s been a whirlwind week! On Wednesday I agreed to be the vendor for CTMH at the Puyallup Heirloom Stamp Show, THIS weekend! Yup, that means that I had 2 days (and a smidge) to get ready!! I’ve been a busy lady, with some help from great friends!

Saturday, the show went great! Many fabulous ladies commented on my Party Dress Cards, so I thought I would make it easier to find for everyone!

So, welcome to all the fabulous ladies from the Heirloom Stamp Show, and the guys too!! I would love it if you subscribed to my blog!

Remember this card?

Or even this one?

They aren’t terribly hard to make, and I made a video tutorial for you, so you can make some too! Just hop on over to the post that has the info!

Party Dress Tutorial post

Thanks for stopping by! I hope you enjoyed the tutorial! Take a look around, maybe stay around for a bit.

Have a great evening (or whatever is left of your day after reading this! 🙂 )

~Michelle

You’ve got a friend in me, May SOTM blog hop

Welome to the SOTM blog hop! You will find more than 50 consultants participating this month! You should have arrived from Kathleen’s blog. If you get lost along the way, Melinda has a full list of blogs on her blog.

This month’s stamp set has 5 different stamps, that have so many possibilities! I found a fun little packet type giftable, and wanted to make it more!!

Isn’t this fun? I think it would be a perfect little gift for teachers! (and will probably use it for JUST that! The student teacher in Audrey’s classroom will be leaving at the end of the week, and I think this might just fit the bill for an appreciation gift!)

As you can see, it hold a via packet, but this is one of the big packets, not the little ones!

I used scraps from my Jubilee cards that I made back in March for the front pocket, just needed to cut them into banner shapes!

I stamped the image from the stamp set two times, colored with one of the blue watercolor pencils, and then cut them up! Then I layered them with some 3-D foam tape.

Remember how I said I wanted this to be ‘more’? Well, the one that I got the idea from, was just the packet. But I wanted to be able to have a card with it too, but wanted it to be all one! So, that’s just exactly what I did!

This card folds into thirds! This is the inside shot, and as you can see, the card is standing up! This is a great way to be able to display the front, and still have plenty of room on the inside for the kids to write on! I added a few more scraps from the paper on the inside, so it wasn’t just plain.

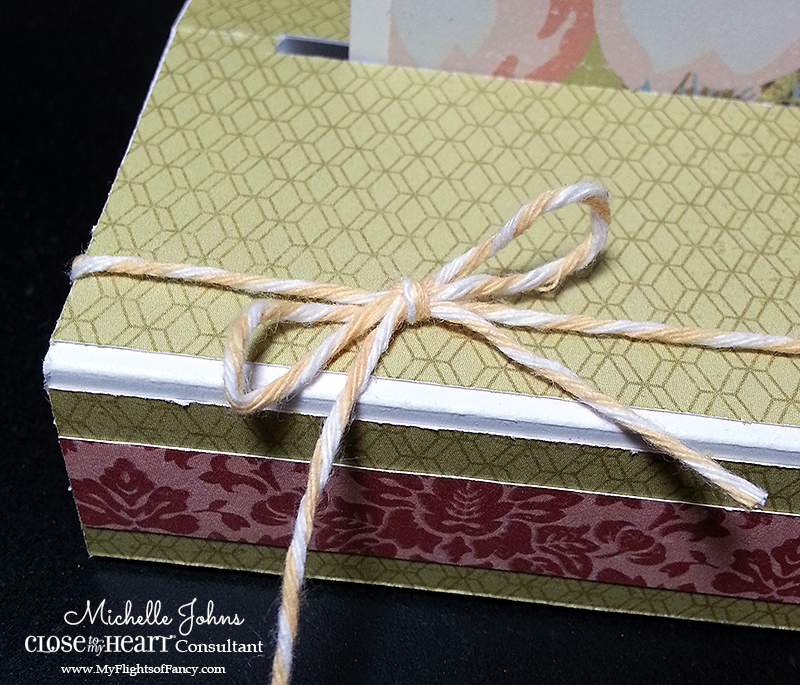
Here are two different shots of the back. The first is with the card completely closed (and leaning against something). The twine helps to keep the card closed. The right is with the card open, and you seeing a side view. No, you aren’t seeing crooked, the card really is tilted, just a bit! I cut off just the smallest wedge of a triangle from the bottom of both of the sides, so that it would sit nicely when open.

Isn’t this a fun little detail/cluster? It’s cut directly from one of the papers in the Jubilee pack! I thought it worked well, and gave just a bit more dimension to the card/packet!

I would love to hear what you think about this fun little giftable! Leave me a comment, and let me know what you think!

Next up in the blog hop is Michelle (two in a row!), and I am certain that she has something fabulous to show you! So, hop on over to her blog next!

Thanks for stopping by!

~Michelle

Balloon Talk Blog Hop!

Are you ready to jump right back into things? I know I am! Today we have a hop of about 50 consultants showing you some super fun things to do with this stamp set! I can’t wait to see everyone’s stuff!! Today you should have arrived from Michelle Jones’ blog. If you happen to get lost along the way, you can find the full list on Melinda’s blog, HERE.

This set gives you so many great options to use it! I found a super fun page made with some die cuts and sponging, and thought that it would be perfect to make something similar with this fun set!

I used one of the photos I snapped of my guys on a trip south. They were both singing along to one of their favorite songs!

I used Whisper, Slate, Sweet Leaf, and Twilight inks for this layout, and used both the front and the backs of the stamps! (one of the best things about the clear unmounted stamps!!)

I hadn’t grabbed any colored cardstock, since I wasn’t sure which color I wanted to use, so I just used my ink to color my mat for my photo! I love that it is so easy to do, and guarantees that it matches the inks on my page!

To add a bit of dimension to my page, I added some washi tape and some triangle durables. I think it flows quite nicely!

I do hope you have enjoyed my project! I know I did! This fabulous stamp set is available for just $5 with a qualifying order, so make sure to get yours!!

Now you can hop over to Gina’s Blog to see what she has come up with!

Until next time, have a crafty day!

~Michelle

Matryoshka Erin?

My friend Erin collects these matryoshka dolls, and so I went to her for a suggestion for a card.

She suggested that I do a gate fold that opens up, so that it could act like the dolls do, in that the heads come up, and in chatting with her, I thought about this swing top card that I had done long ago with the Hooligan’s paper pack.

So, this one swings up, and you can see another, smaller doll inside! Fun, right??

But, one thing I bet she didn’t expect, is to be the face on the doll! Wouldn’t this be so fun to use as a party invite?? (and it WAS just Erin’s 21st birthday, again)

I thought this was just so fun to do! I used the sketch from My Favorite Things for this card.

I hope you enjoyed this card! I am off to the beach tomorrow morning for my Retreat! I will have more stuff for you over the weekend!

Have a crafty day!

~ Michelle

Just fluttering by

Today I am using the “A Tree” stamp set with my Ariana papers! Such a fun combo!

I stamped the leaves on the green paper in black archivl ink, and cut them out. Then I stamped in chocolate onto some Colonial White cardstock.

Added a few layers, and viola! The original inspiration card had the tree cut off on the left side, to match the white cardstock, but I liked how it looked hanging over, so I kept it!

This card was super fun, and simple, and easy to make! Took very little time to do. At only $6.95, this is a GREAT set to have handy!

Check out some great cards made by some other fabulous ladies!


by Aaron Brown


by Karen Day


by Miriam Prantner


by Vicki Wizniuk

Aren’t these great cards? Need some more inspiration? Check out my A Tree board on Pinterest.

I hope you have a crafty day!

~ Michelle

Ariana Pop Up Card

Have you seen those cute little pop up cards? Not the ones that I showed you the other day, but this other one.

This cute little card fits into an envelope, so you can mail it to whoever you need to send a card off to!

It stands up all by itself! (well, after you pull it up, of course!)

When you take it out of the envelope, this is what it looks like. Fairly simple, but it contains the wow inside!

I used a bit of Baker’s Twine to add some extra cuteness to it!

Are you ready to learn how to do this step by step?


{If you are reading in email, you may need to click through to see the video}

Here are the paper sizes for you.
(2) 7/8 x 4 1/8
(1) 3 3/8 x 4 1/8
(1) 1 5/8 x 4 1/8
(1) 2 1/2 x 5

(If you want the white on all sides, instead of doing 4 1/8, just do 4″)

I hope you have enjoyed the tutorial! I would love to see the cards that you create with it!

~ Michelle

Ariana is here!

This week we will be focusing on the Ariana paper pack, and since it is Monday, that means that it is the day for a Layout!

Isn’t this just a gorgeous page? I have had THIS page pinned to my board for more than a year. I just loved it so much, but it sooooo isn’t my style. In fact, I almost didn’t make this layout . . but, I decided to challenge myself and just do it!

I have used a number of different products on this page. In this cluster, you can see I have used some cardstock, a few pieces that are cut from the B&T paper, some textiles, some Trinkets wooden shapes, and some retired pearls.

This flower was FUN to make!! I cut a strip from the textile, and because I can’t cut fabric straight (this is why I’m not a quilter), it was a bit lopsided. I ran a stitch through one side with a needle and thread. Then I went to fray the end a little bit, because I wanted a bit of a shabby looking flower, and found that I REALLY liked how it looked with the long strings hanging off of it. Then I tightened the fabric on the thread, and wound it in a bit of a spiral shape, so that it overlapped. {part of this is because I used black thread, and didn’t want you to see it!!} I added one of the wooden flower shapes to the middle (to hide the ‘hole’), and added a pearl on top.

I cut out a tiny rose to add a bit more detail, and added a butterfly from the trinket embellishment pack.

You can see in some of the close up shots, that the paper is torn and curled. I tore the shapes with the help of Kiwi Lanes Designs Cascade Trails Border kit. They made it REALLY easy!! After I had my shapes torn, I then wet a washcloth with some water, and dabbed the torn edges with the washcloth, and rolled them. I wasn’t particularly careful in the process, as I wanted it to look a bit worn (otherwise I would have cut the edges, right?). I kept the curls a bit tight. After they dried, they became pretty hard! (much harder than one might think they would be, anyway . . . . well, at least more than I thought!)

In the upper corner of the photo spot, I have another little flower ‘cluster’. It isn’t really a cluster, but because of the multiple layers, it gives more heft to the eye than if it were just one single flower. I cut out two flowers from one of the B&T sheets, and layered the smaller on top of the larger with some foam tape, then added a pearl to the middle. Both layers are just slightly tucked under one of the curled layers, to help with depth as well!

On the edges of the top and bottom piece, I wanted to give a bit more dimension, so I distressed them. There are many ways to do this, the two most common are straight to paper (i.e. ink pad directly touches the paper) and with a sponge. I usually use the sponge method, because I want light coloring on the edges of my papers. This time, however, I did straight to paper. It’s still really soft though, because I didn’t use the regular ink, but the pigment ink pads. They are a great size to be able to do this, and because of their sponginess, they keep the soft look that the sponge distressing does.

I do hope you have enjoyed my layout today! I know I had fun making it!!

I hope you have a crafty day!!

~ Michelle

Items used to create this fun layout:
Paper Pack: Ariana
Cardstock: Cashmere, Sky, White Daisy
Ink: Cashmere Pigment Ink
Embellishments: Chantilly Textiles {retired}, Trinkets Wooden Shapes, Pearls {retired}
Glue: Tombow, Liquid Glass, 3-D Foam Tape
Tools: Paper Trimmer, Cascade Trails {Kiwi Lane}, Micro-Tip Scissors, Art Philsophy Cricut Cartridge

Jubilee WOTG

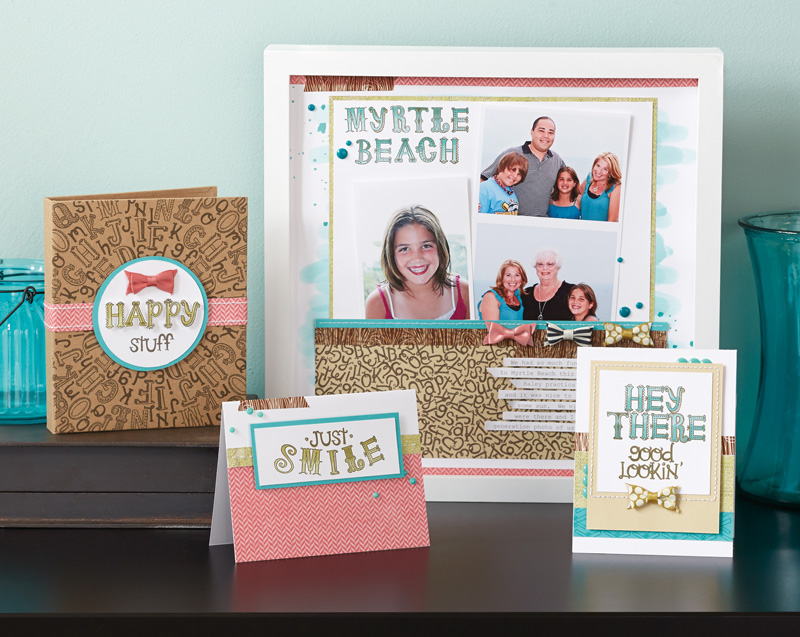
This paper pack has been fun to use this week! As I’ve said, it would be perfect for summer happenings, picnics, family reunions, BBQ, fairs, and so many other things! Check out the layouts that you get to make with the WOTG.


{Click here to see a larger version}


{Click here to see a larger version}

Don’t they look fun? You can get the Jubilee WOTG through July, but why not get it sooner, and have your pages all ready to add photos to!

I hope you had a Crafty Day!

~ Michelle